Connecting Lens Studio to Spectacles
Spectacles can connect directly to Lens Studio either via a USB cable (wired) or through a local Wi-Fi network (wireless). To display Spectacles Connectivity options under the Preview Lens Additional Settings popup, ensure that Made For Spectacles is checked in Project Info.
Wireless connectivity always requires an internet connection. Wired connectivity does not require login or internet. Spectacles will automatically connect to Lens Studio when plugged in—no need to press the Preview Lens or Connect Spectacles button.
When your device is connected to Lens Studio, you can perform the following actions:
- Send a Lens to the device
- Access print statements and crash log information through the Logger Panel from any Draft Lens running on Spectacles.
- Profile your device using:
If multiple devices are paired with your Spectacles app, Lens Studio connects to only one device and ignores the rest. To connect with a specific device, keep only that device awake for wireless, or keep only one device plugged in for wired. If Spectacles can connect to a device via both wired and wireless, the wired connection is used automatically.
Wired Direct Connection Setup
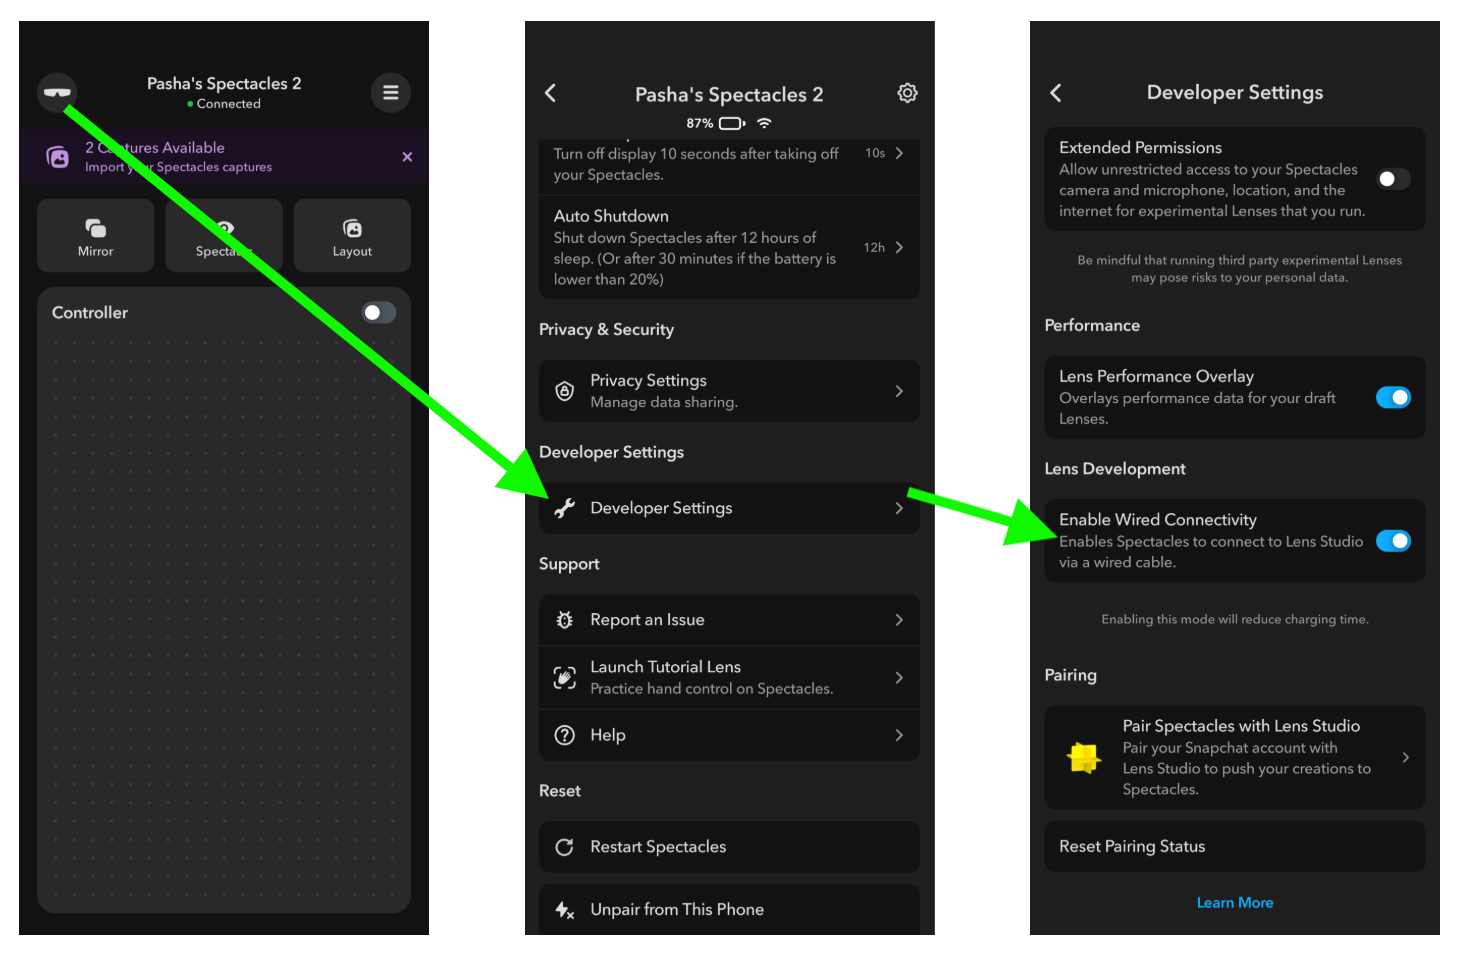
To enable wired connectivity open the Spectacles mobile app. Navigate to Developer Settings -> Lens Development and toggle on Enable Wired Connectivity. This needs to be done only once: this setting will persist through restarts and updates.
device temperature while it is plugged into your computer. :::
Connect Spectacles to Lens Studio using a USB cable to plug the device into your computer. The device will remain connected as long as it is powered and plugged in.
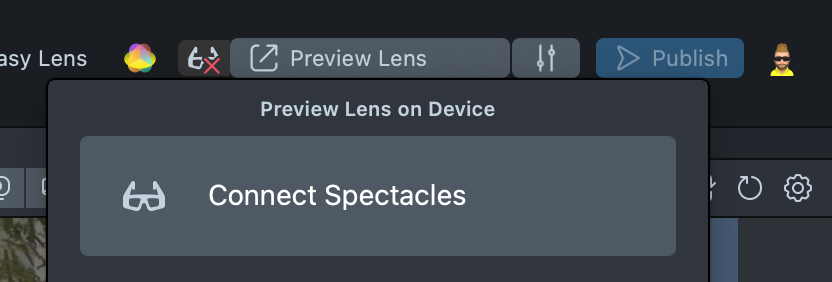
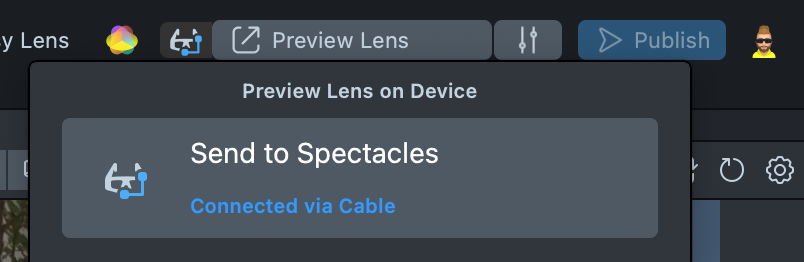
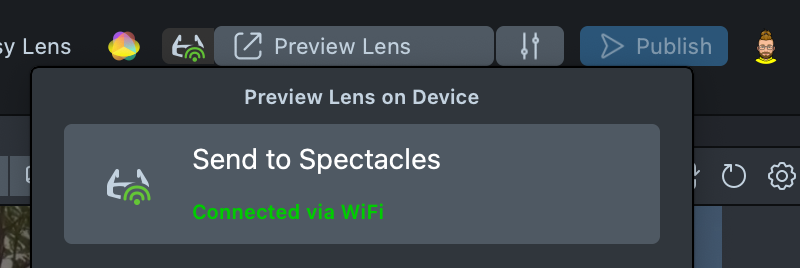
The toolbar includes a Preview Lens button. When clicked the first time, Lens Studio will attempt to connect to Spectacles. Once connected, clicking Preview Lens sends the Lens to Spectacles. Use the Additional Settings button next to Preview Lens to access the full Connectivity UI, from which you can launch the Spectacles Monitor and access other platform options. If the Made for Mobile or Made for Camera Kit checkboxes are selected in Project Settings, additional options for those platforms will appear.
When Lens Studio detects Spectacles with wired connectivity enabled, the Logger panel will display Spectacles connected to USB.
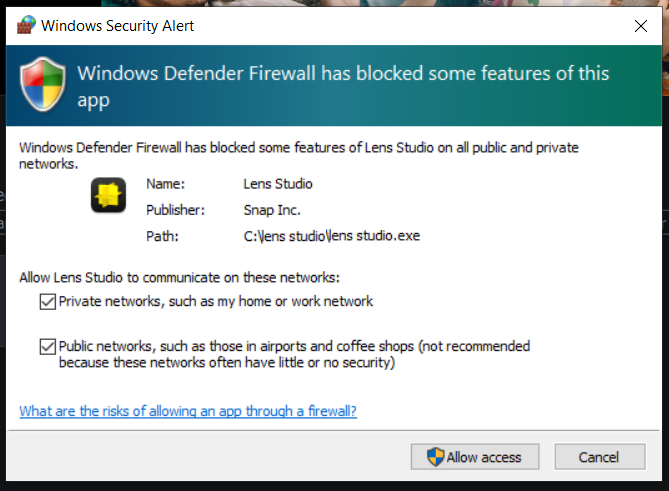
Depending on Windows configuration you might need to allow local network connection via Windows system dialog, which automatically appears on Lens Studio launching. If you accidentally disallowed local network connection, or Spectacles cannot be detected, consider restarting your computer.
The USB-C to USB-C cable included in the Spectacles package is recommended for wired connection for the best experience, but most modern USB data cables are suitable.
Connecting with Wireless Connection
Before connecting to Spectacles wirelessly, make sure:
- You're logged into Lens Studio through the My Lenses portal using the same account paired with your Spectacles.
- Your Spectacles device is awake and its displays are turned on, showing the System UI.
To be able to use wireless connection, verify that your computer and Spectacles are connected to the same Wi-Fi network.
It is recommended to keep Spectacles awake during the wireless connectivity session.
Wireless connectivity does not function if the network restricts device-to-device connections (often referred to as peer isolation, client isolation, AP isolation, or SSID isolation).
Most mobile devices running Android and iOS support the Mobile Hotspot / Personal Hotspot feature. This feature creates a WiFi network that can be used for a wireless connection between Lens Studio and the Spectacles.
If you enable Wired Connectivity for Spectacles and connect the device using a USB cable, it will use the wired connection instead. The device will lose the wireless connection if it goes to sleep.
Limitations
- The maximum size of a Lens which can be sent to Spectacles is 50MB. Lens Size is displayed in Project Settings dialog -> Lens Size.
Connection Troubleshooting
If you experience connection issues with your Spectacles, verify the following:
Basic Requirements
- Ensure your Spectacles are connected to the internet, powered on, and displaying the Lens Explorer.
- Verify that both Spectacles and Lens Studio are logged in to the same account.
Wired Connectivity Requirements
- Enable Wired Connectivity in the Spectacles app. You can find this setting in the Spectacles app, by navigating to Settings -> Lens Development.
- Connect Spectacles to your computer using a USB-C cable.
Wireless Connectivity Requirements
- Ensure your computer and Spectacles are connected to the same Wi-Fi network.
Troubleshooting Steps
If you've checked the requirements and Spectacles still can't connect to Lens Studio, try these steps in order:
- Ensure that the Spectacles are not connected to any other instance of Lens Studio, whether on this computer or another device
- Restart Lens Studio
- Restart your Spectacles device
- Restart your computer
- Toggle Enable Wired Connectivity off and on in the Spectacles App:
Developer Settings->Lens Development
Additional Windows Troubleshooting Steps
- Open
Control Panel>System and Security>Windows Defender Firewall>Allowed appsand confirm that Lens Studio and adb.exe have checkboxes turned on for both Private and Public columns
Additional Wireless Troubleshooting Steps
- Open https://accounts.snapchat.com/ in your default browser and confirm that you are logged in to the same account as the one you are using in Spectacles App
- Sign out of Lens Studio by
Main Menu->My Lenses->Log Outand sign back in byMain Menu->My Lenses->Login, confirm that you are using the same browser as you opened in the previous step - Clear com.Snap.LensStudio.Tokens:
- On macOS: Clear from Keychain Access
- On Windows: Remove from Windows Credential Manager
Additional Solutions
If the issue persists, try these additional steps:
- Enable "Snapchat" in the Lens Studio Project Settings dialog
- Send a Lens using the 'Preview Lens' -> 'Send to Snapchat' button in Lens Studio (requires pairing the Spectacles app or Snapchat via Snapcode first, similar to the Snapchat pairing process)
Draft Folder
Lenses sent to Spectacles will stay in the Draft folder. When a Lens with the same Project Name as an existing Lens in the Draft folder is sent, it overwrites the existing Lens. Otherwise, a new Lens is added. These Lenses stay until the device is wiped or a Lens is deleted using the Delete button on the Lens Tile.
Additional Settings
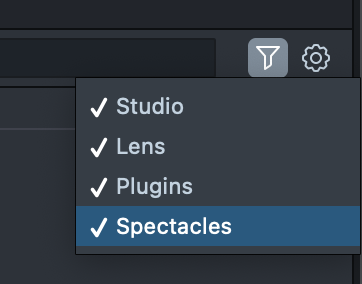
Filtering Spectacles Logs
Filter logs from Spectacles to reduce clutter. You can create a separate Logger Panel specifically for Spectacles logs if desired.
Send On Project Save
For rapid prototyping, enable the Send On Project Save setting in Preferences.
