Post Effect
Post effects are visual effects that you can apply to the whole screen. Lens Studio has a number of such built in effects that you can easily add and modify. Because Color Correction is by far the most commonly used Post Effect, this guide is broken out into two sections: the Color Correction Post Effect and all of the other Post Effects.
Color Correction Post Effect
The Color Correction Post Effect uses an input color lookup table image to adjust the coloring of the Lenses. Image adjustments (saturation, exposure, color balance, etc.) are performed in an external editor like Photoshop and applied to the lookup table. The lookup table is then imported into Lens Studio and added to a Color Correction Post Effect object.
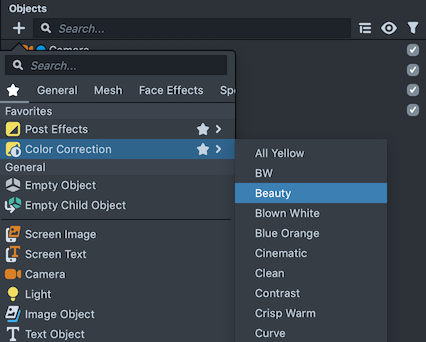
To create a Color Correction Post Effect object, press the "+" button in the Objects panel. Then, select Color Correction and pick one of the built in textures
You can also tune the intensity of the Post Effect with the Alpha slider in the Inspector panel.

Tip Make sure your Color Correction Post Effect object is listed below everything you want to colorize in the Objects panel.
Lens Studio includes a number of built-in Color Correction textures if you are unable to create your own. They can be added to your project in the Objects panel by selecting + -> Color Correction.
Download the Color Correction Lookup Table
To make your own custom Color Correction Post Effect, download the below base lookup table. You'll be making your modifications to this image.
Download the Base Lookup Table
![]()
You can also get this texture by going to the Resources Panel -> + -> Color Correction Texture -> Empty.
![]()
Modify the Color Correction Lookup Table
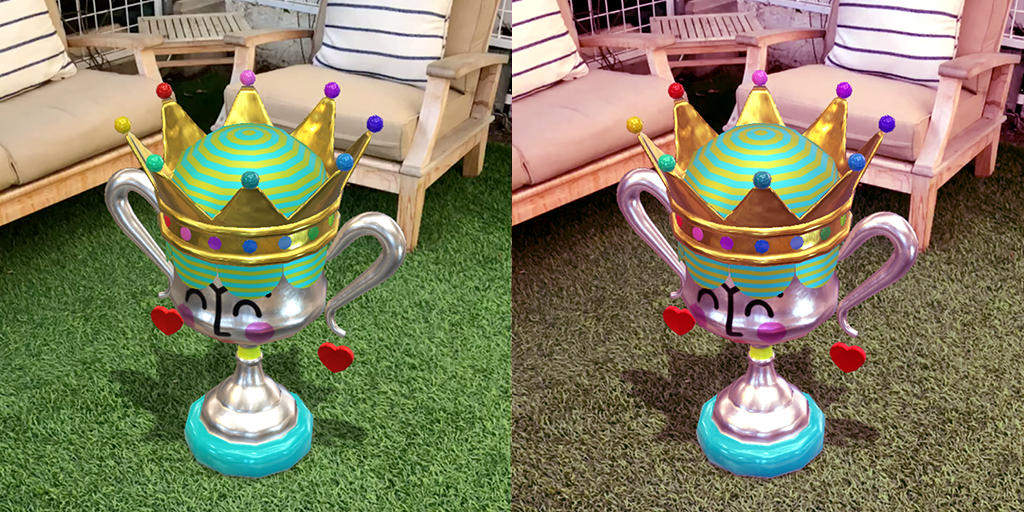
Open the base lookup table image in Photoshop or a similar image editing tool. You'll be making your adjustments to this lookup image. Add a reference photo as a layer above the lookup layer. Then, add adjustment layers above both the reference and the lookup. In the example below, we've added simple Hue/Saturation and Color Balance adjustment layers to give the Lenses a pink tone.
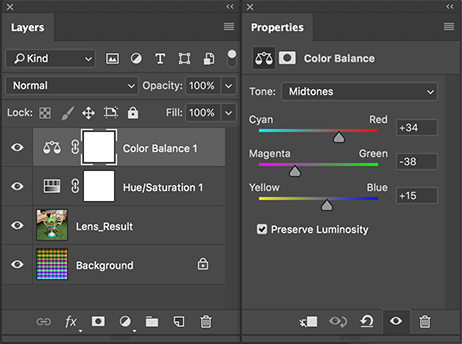
Use your reference layer and the added adjustment layers to tune your effect.
Before export, hide the reference layer. Your adjustment layers will apply to the still visible image lookup table.
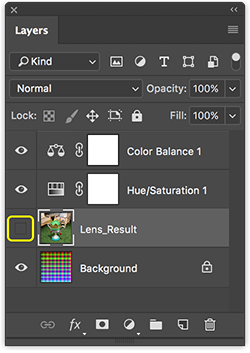
Export the lookup image with your newly added adjustments as a PNG.
![]()
Add your adjusted lookup table texture to your project by dragging it to the Resources panel. Then, in the Objects panel, select your newly added Post Effect object and set its Main Texture to the adjusted lookup table texture in the Inspector panel. You should now see your image adjustments applied to your Lenses.
The Color Correction Post Effect object only supports a non-compressed PNG. Compressing the PNG or using a JPG will result in noticeable artifacts.
Post Effects
Adding Post Effects
To add a Post Effect select + -> Post Effect in the Objects panel.
Adjusting the Post Effect
Post Effects have various parameters that you can adjust in the Inspector panel. First, find the corresponding material for the added Post Effect in the Resources panel.
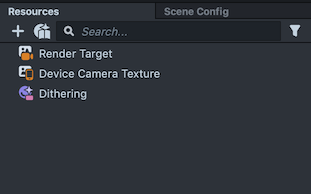
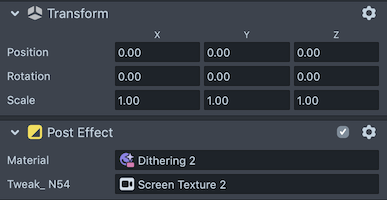
With the corresponding material selected in the Resources panel, you're able to adjust its settings in the Inspector panel.
Post Effect Types
Below are the available Post Effect types outside of Color Correction and their available tunable params. All this materials are Graph Post Effect Materials. You can double click on each of them in the Resources panel and see what's under the hood.
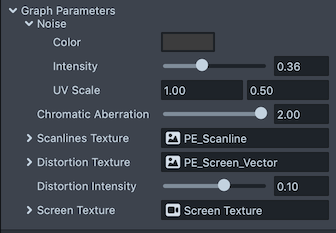
Analog TV
Creates an Analog TV effect with tunable noise, distortion and chromatic aberration.
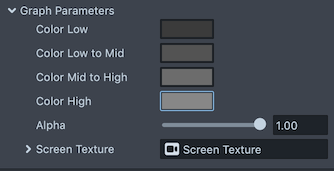
Color Gradient
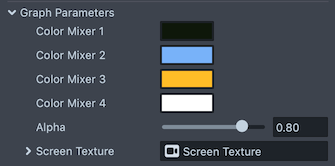
Adjust the colors in the camera to a gradient defined by four colors.
Color Remap
Re-maps the colors in the camera with four separate color mixer colors.
Distortion
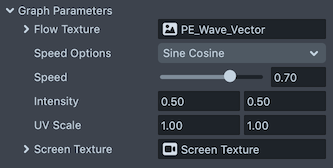
Distorts the camera with a tunable distortion texture.
Dithering
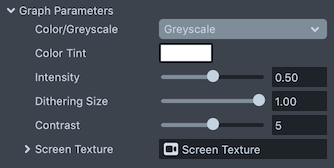
Dithers the screen, either in Color or Greyscale, with a tunable dithering size.
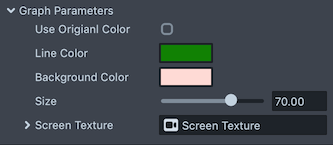
Edge detection
Finds edges in the camera and colors them with a tunable outline color.
Halftone
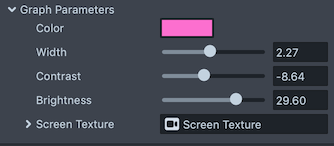
Creates a comic book like dot pattern with two tunable colors.
Oil Paint
Creates a painterly effect applied to the camera with a tunable intensity.
Pixelization
Pixelates the screen and allows you to tune the effect's pixel size.
![]()
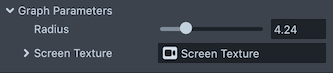
Zoom Blur
Creates a blur centered on a point of the screen.
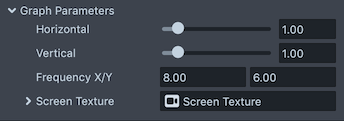
Shake
Shakes the screen with a tunable horizontal and vertical intensity.
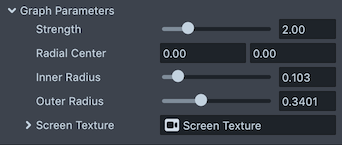
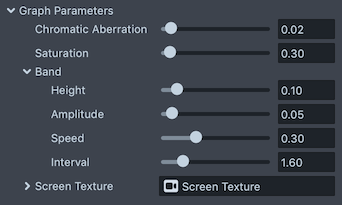
VHS
Creates a VHS like effect with an animated band.
Smoothing
Removes hi-frequency artifacts from the screen

Gaussian Blur
Adds a gaussian blur effect to the screen
