Custom Components
Custom Components are a type of component that are created from a script and include all of the resources needed in order for the script to work. This allows Lens Creators to bundle together script and resources in a convenient package.
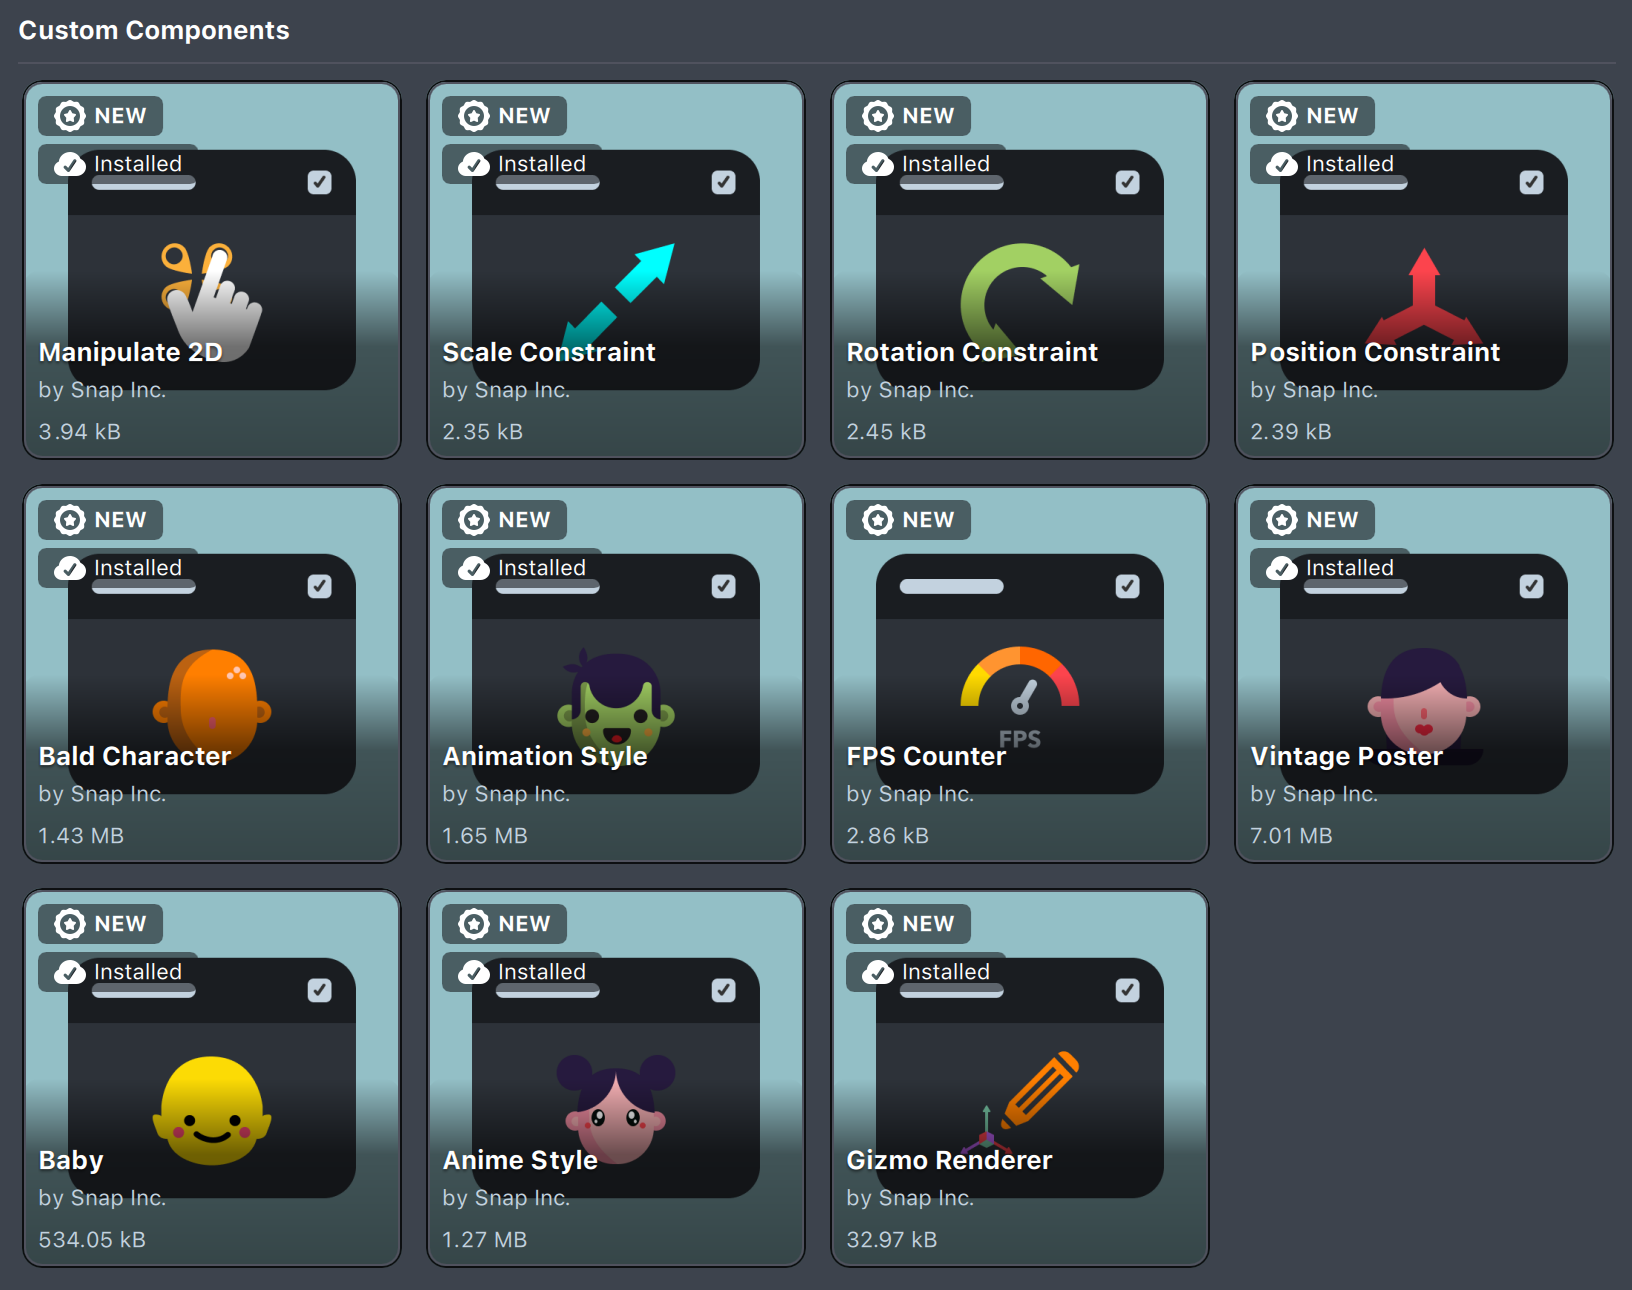
Effective February 24th 2023, Lens Studio will no longer offer certain Snap ML Custom Components in the Asset Library nor the Custom Component template. This is to ensure a better overall Snapchatter experience and provide a better opportunity for search and discovery of original Community Lenses. Listed below are the Snap ML Custom Components that will be removed:
- Smile
- Tongue Twister
- Shook
- Avatar Style
- Cartoon 2D Style
- Animation Style
- Crying
- Vintage Poster
- Baby
- Anime Style
- Zombie
- Old Age
- Live Young
- Cute Cartoon
- Open Mouth
- Comics Style
Additionally, beginning on February 24th, a subset of duplicate lenses will be removed from Snapchat. Please reach out to lensstudio-support@snapchat.com to contest Lens removal.
With Lens Studio 4.34 and later you are able to create and share your own Custom Components. Learn how to make one in the Creating Custom Components guide.

The benefits of using Custom Components are that they simplify the usage of a complex set of interdependent resources. They are also available for creation as normal or native components: right from the Inspector panel which makes them a bit easier to use comparing to lens studio objects (*.lso).
Custom Component is represented with a file with .lrc extension.
Installing Custom Components
To use Custom Component in the project you first need it to be installed in your Lens Studio, that can be done in several ways:
- Install it from the
Asset Library'sCustom Componentssection

-
Create Custom Component from scratch.
-
Import a
.lscfile by drag and drop into Lens Studio
Importing lrc this way allows you to use this Custom Component only in the current project. To make it available across different projects, right-click and select Register This Custom Component in the dropdown menu.

- Add a
.lscfile directly to a folder set as a Installed Library
Adding Custom Components
Once installed to Lens Studio, Custom Components can be used across different projects.
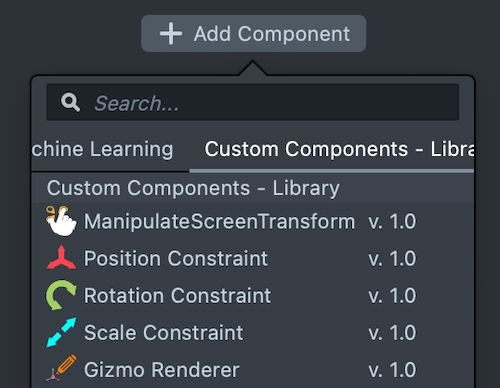
Add Custom Components to scene as any other component: with the SceneObject selected click on the Add Component button in the Inspector panel:

Using Custom Components in Scripts
Please note that Custom Component exists in the LS project in two forms: As an Custom Component Asset in the Resources panel where it represents a type and as a Component added to the scene object where it represents an instance of that type.
You can create a specific input of your Custom Component type in another script and access its properties.
//@typename posConst
//@input posConst constraint

// Set influence weight of the constraint to 0.5
script.constraint.weight = 0.5;
- A typename is declared by plugging in Custom Component Asset into @typename input
- An input of
Custom Componenttype is available to plug in an instance of component.

This approach provides you access to API calls of a Custom Component as if it is a typical script. And even create the component at run time once you've passed in the typename.
//@typename posConst
script.getSceneObject().createComponent(posConst);
Do not forget to assign the proper Custom Component resource and it's instance from the scene in the corresponding fields.
Please refer to the guides below for additional information: