Transitions Library Plugin
This plugin is a library of VFX transitions, with the ability to preview existing transitions, search among them, and install them into a project without the need for additional settings.

Where to Find it
Asset Library
To Install Transitions Library Plugin in Lens Studio:
-
In Lens Studio, navigate to the
Pluginscategory in the Asset Library.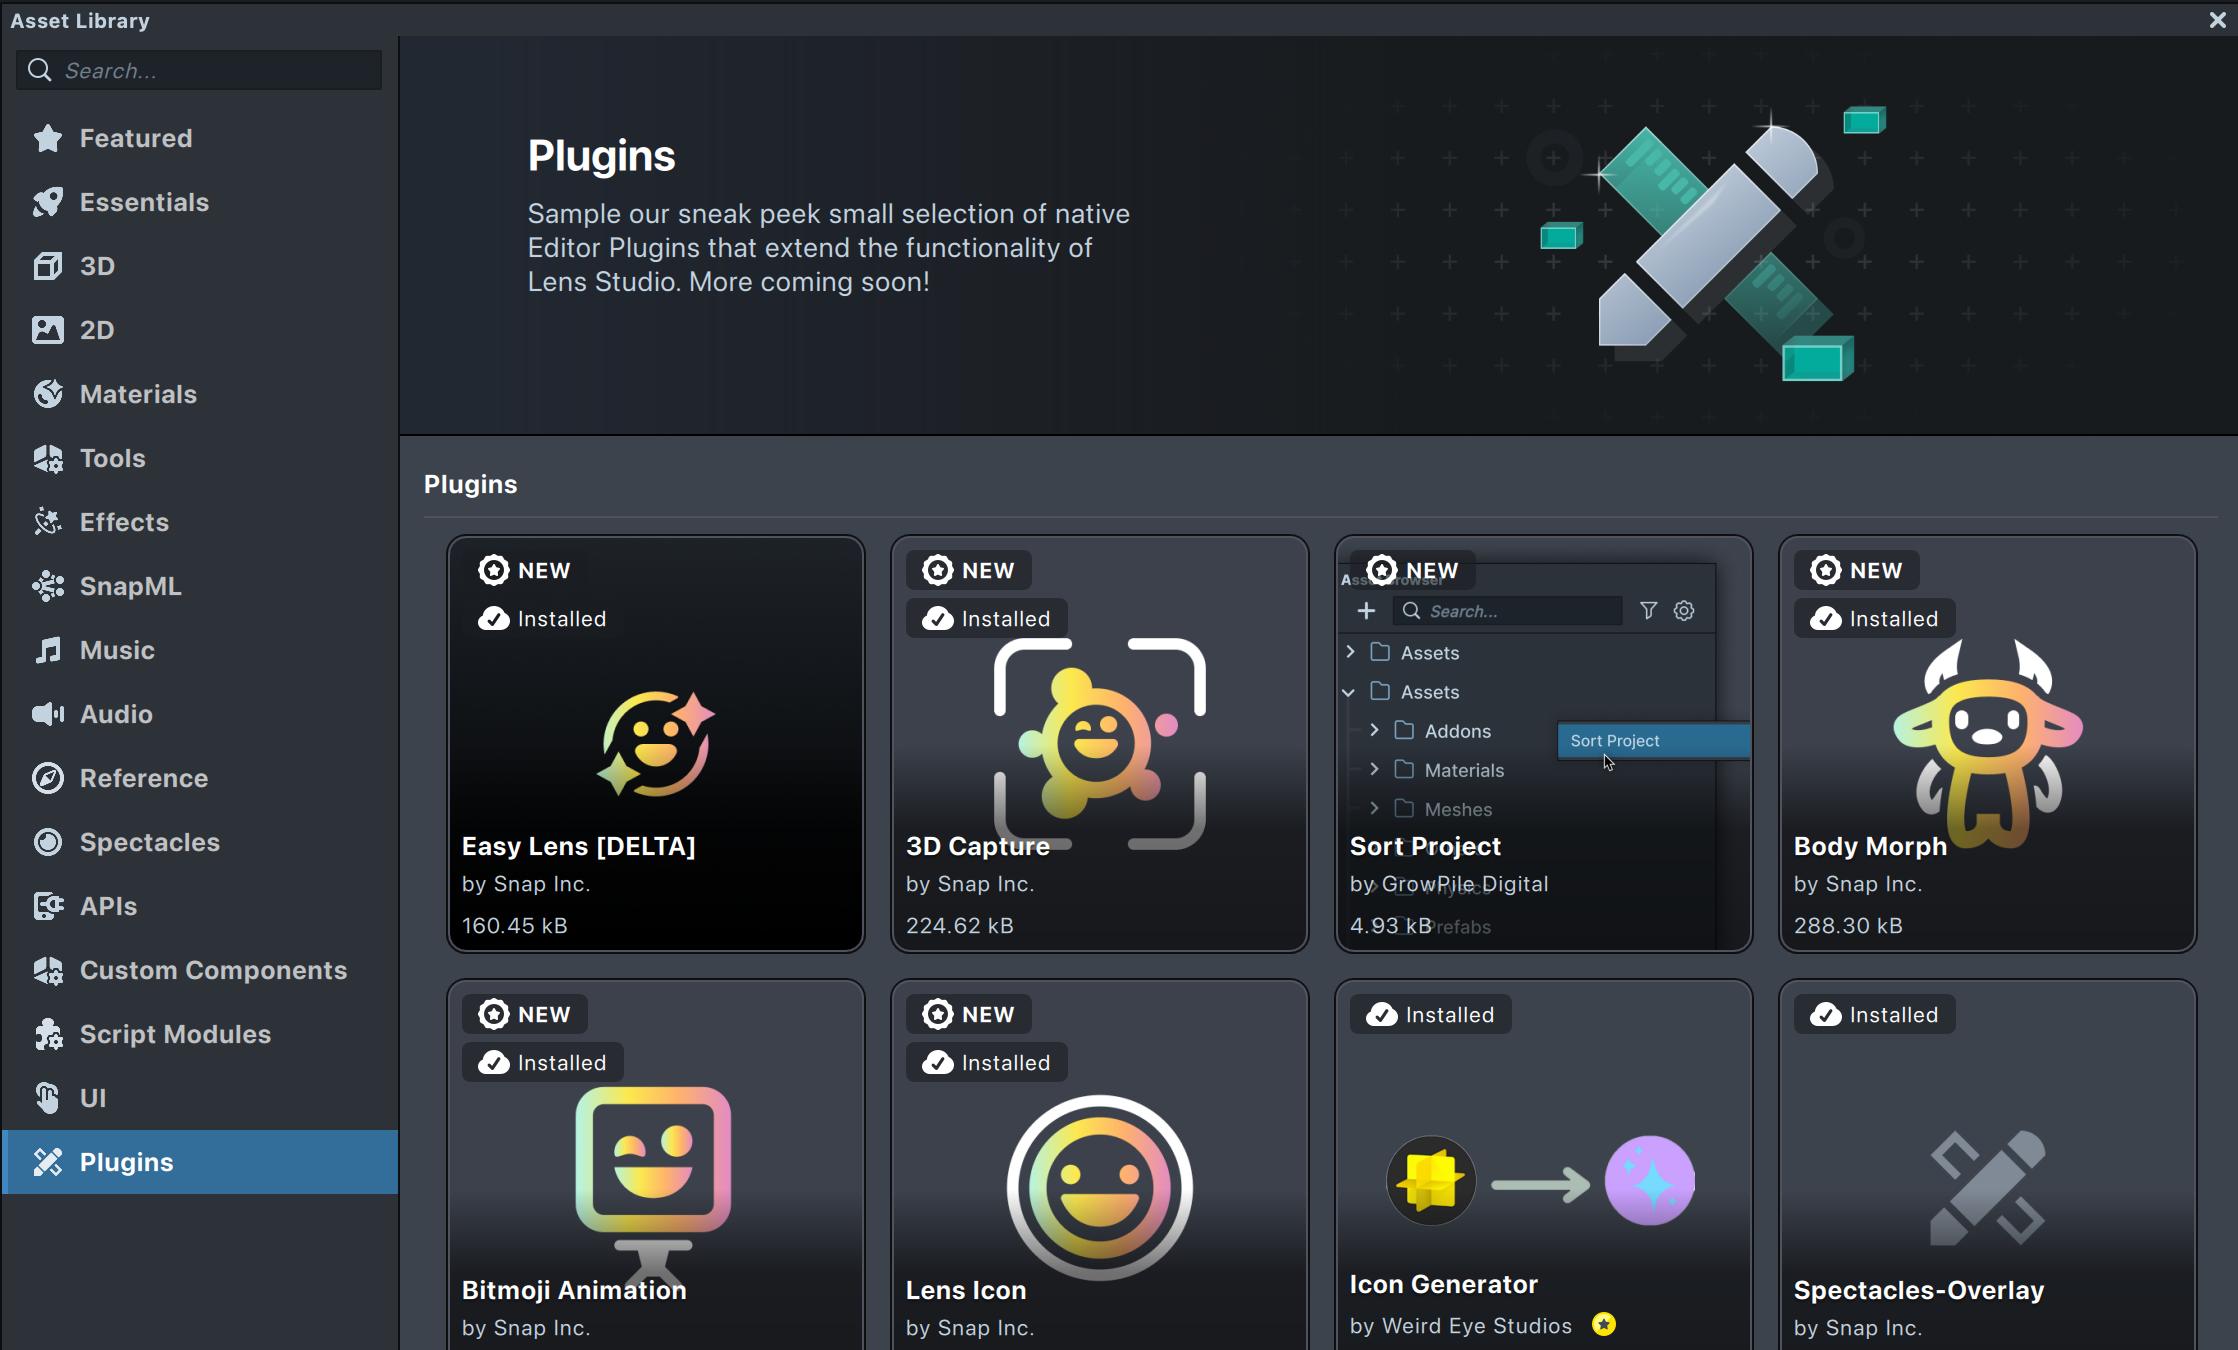
-
Locate the
Transitions LibraryPlugin and click on it to install.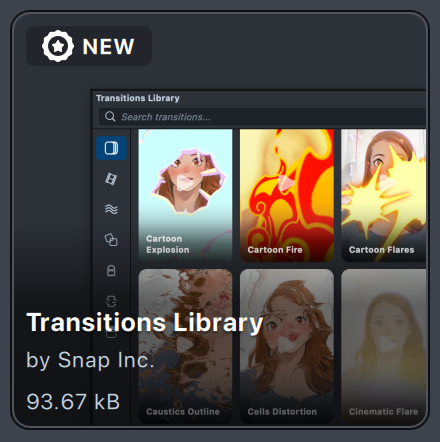
-
Access the
Transitions Librarypanel by navigating toWindow -> Transitions Libraryin the top menu bar.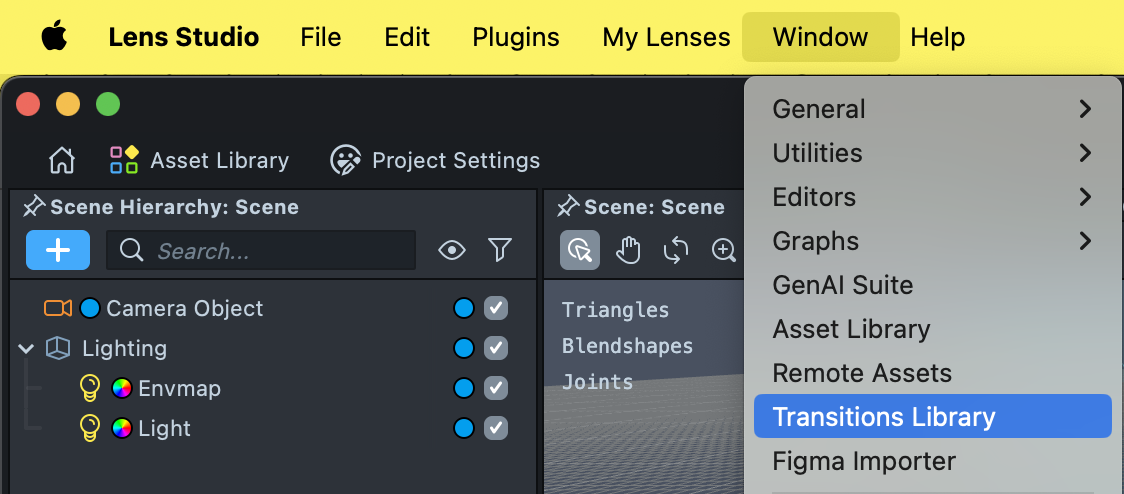
Usage
- Initially, a page with all the transitions will be visible. You can also use the menu on the left to navigate through the following categories:
-
Camera Effects: Effects that emulate various types of camera lenses and techniques, such as bokeh, flares, vintage film styles, and others, creating unique visual aesthetics. -
Motion: Abstract animations and movements that can be used to create dynamic and engaging visual effects, often utilized for backgrounds or as supplementary elements. -
Overlay: The application of various graphical elements, such as textures, colors, or images, layered over the main content to enhance visual appeal and style. -
Cartoon: Effects that mimic hand-drawn or cartoon styles, including pencil sketches, pastel effects, or 2D animation-inspired visuals. -
Distortion: Visual effects involving glitches, image warping, and disruptions, creating a damaged or altered appearance. -
Scan: Effects related to scanning processes, such as scan lines, retro scanner aesthetics, or visuals that utilize depth and slicing for dramatic effect. -
Nature: Transitions associated with the effects of nature - rain, lightning, seasons. -
Fast transitions: Effects designed to create seamless and quick changes between scenes or elements, adding a sense of movement and energy.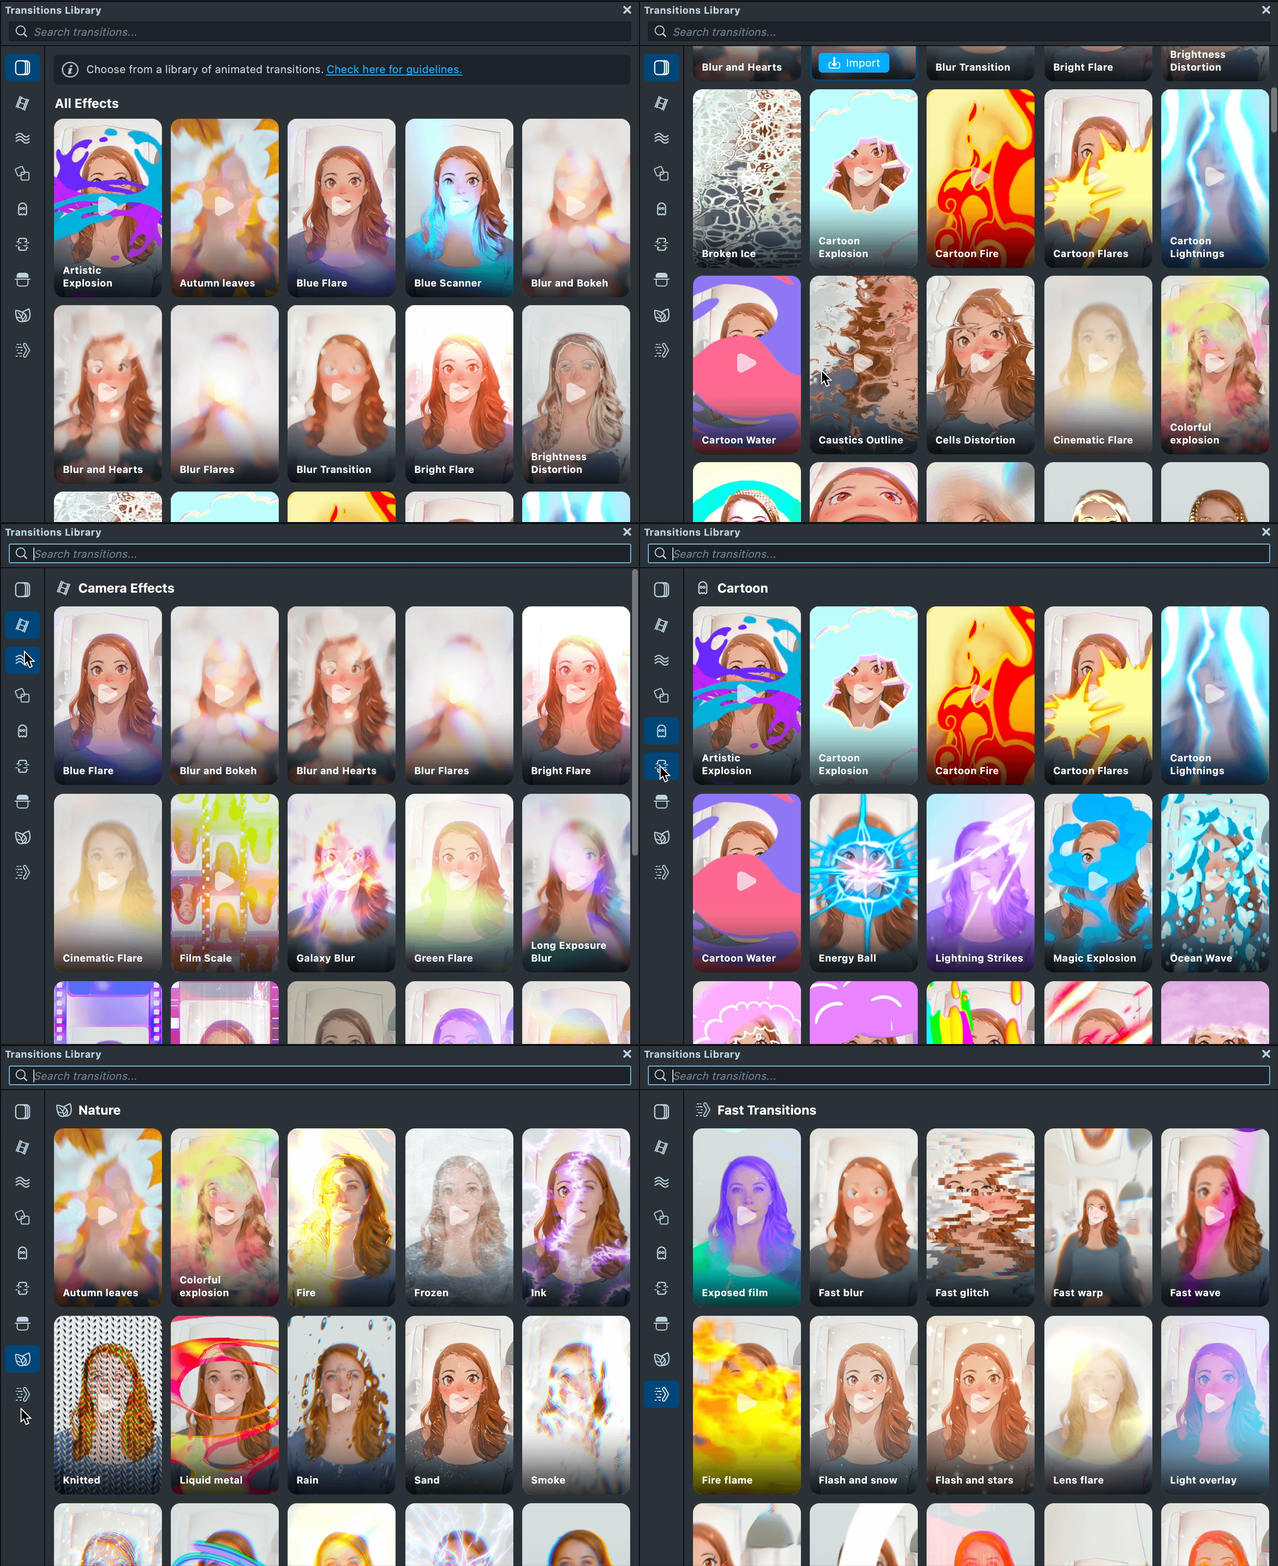
- When hovering over each transition, the option to play a video preview and download the transition will appear.
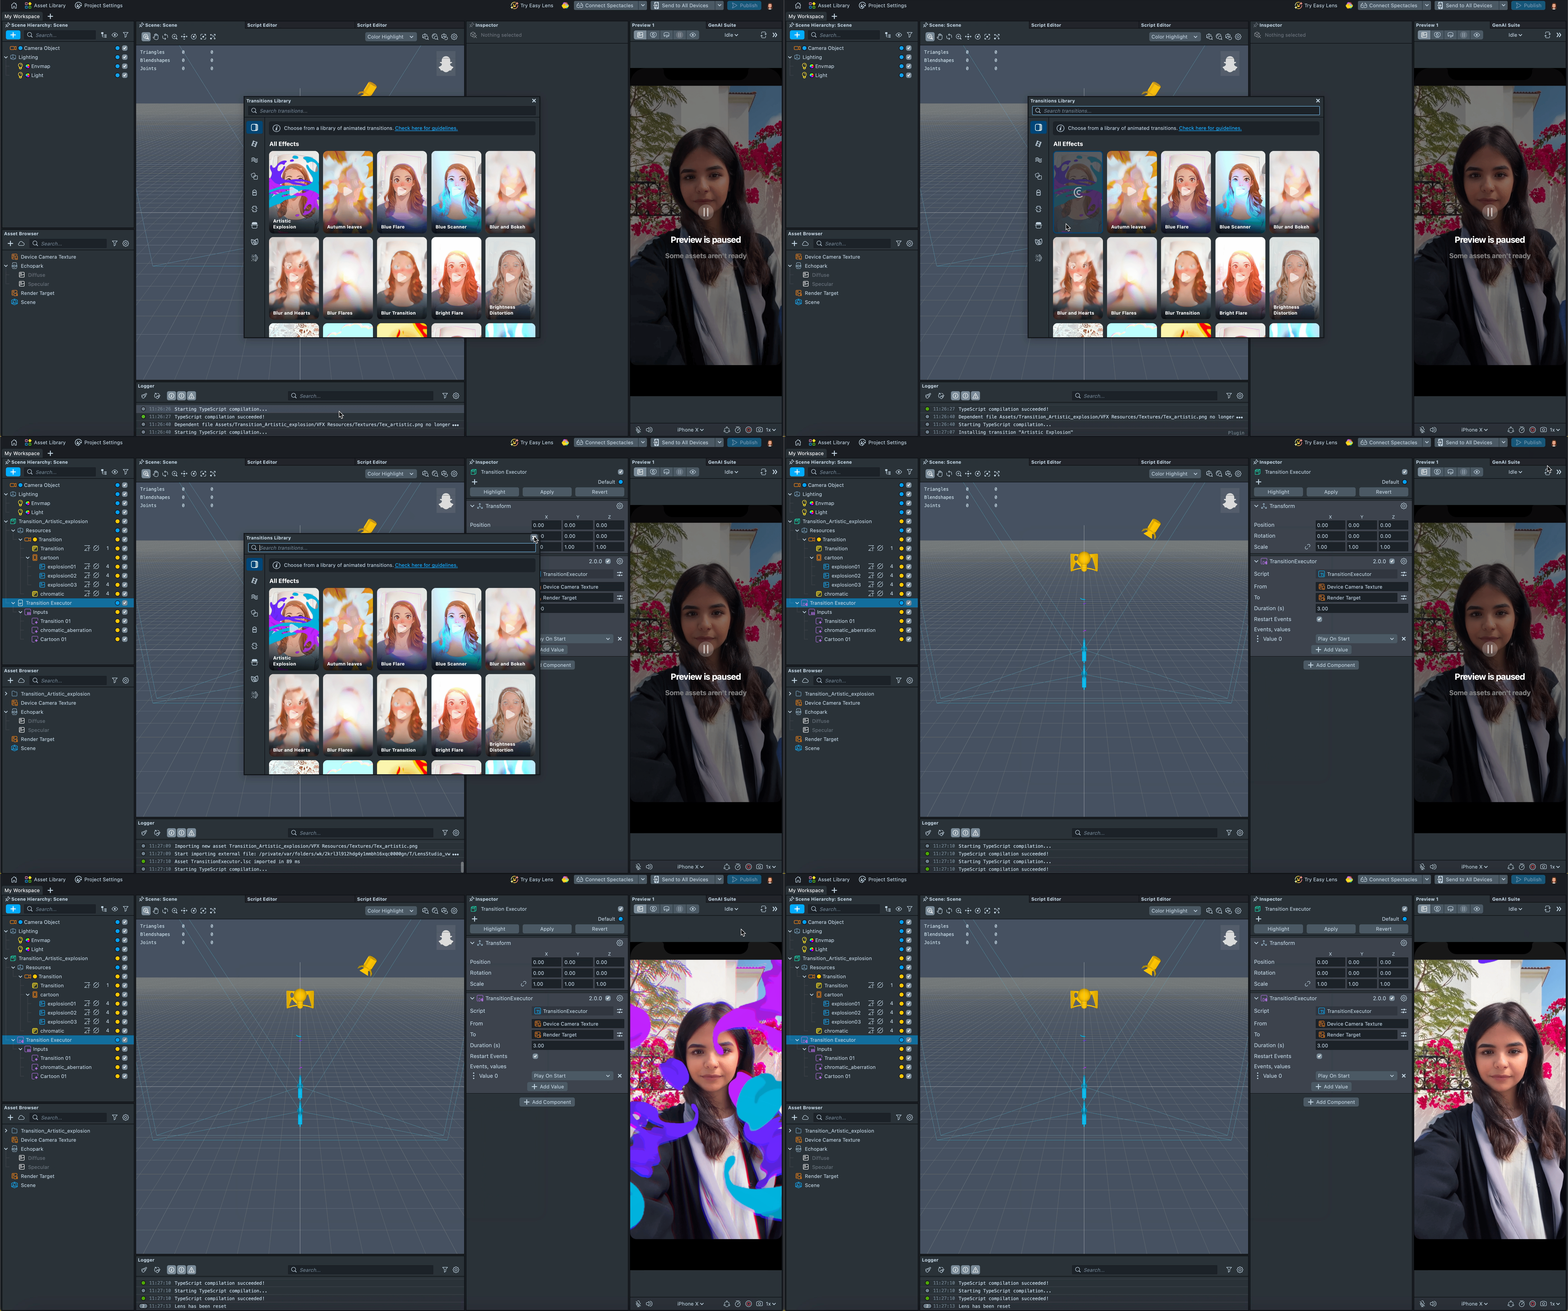
- After pressing the
Importbutton, a prefab of the selected transition will be added to the scene. No additional setup is needed. The added transition immediately has the necessary parameters for render targets and scripts required for its execution.
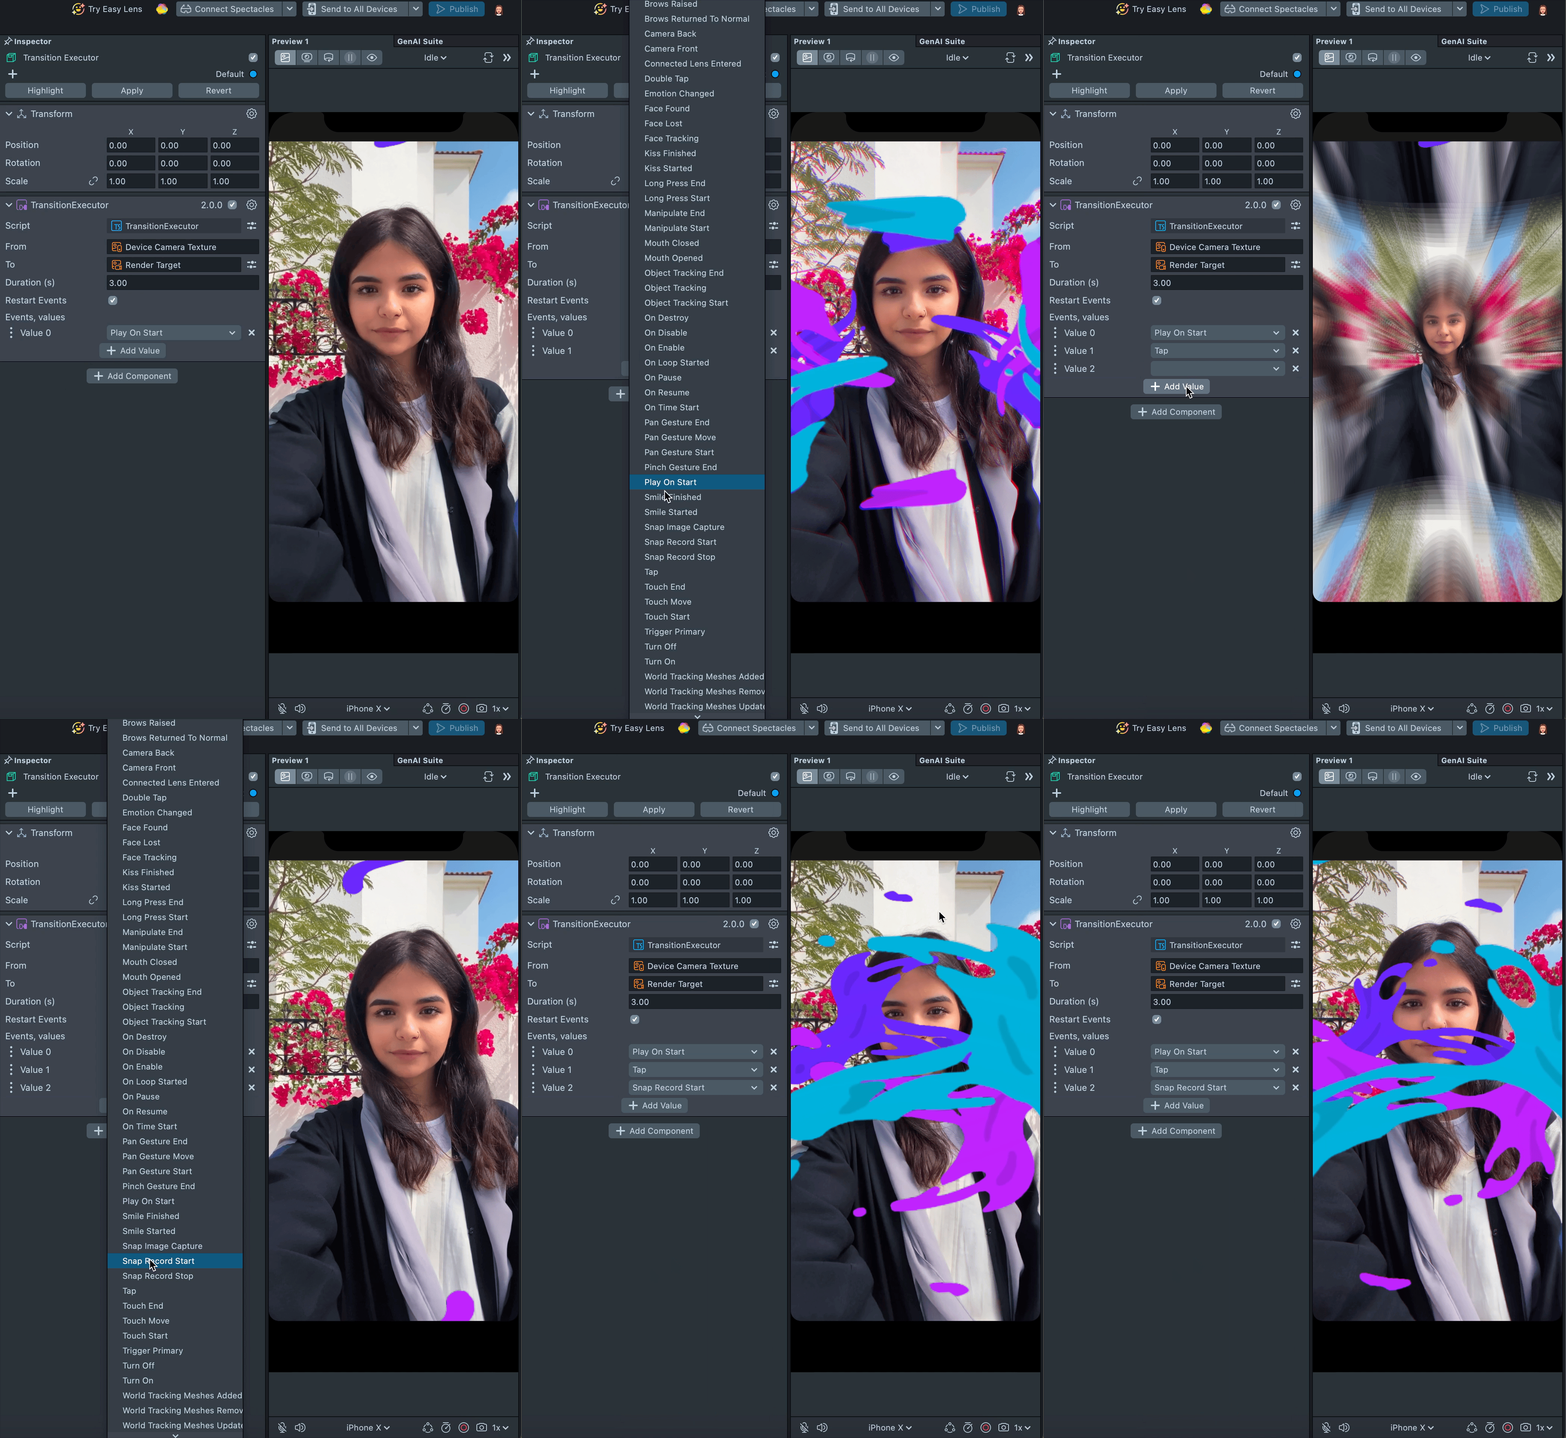
- You can use the
Transition Executorscript to select events during which the transition restarts and reverts to the previous state. Additionally, you can trigger it through code using theplay()method of the custom componentTransition Executor.
- JavaScript
- TypeScript
// @input Component.ScriptComponent transitionExecutor
// @input float delayBeforeStart
let delay = script.createEvent('DelayedCallbackEvent');
delay.bind(function () {
  script.transitionExecutor.play();
});
delay.reset(script.delayBeforeStart);
interface TransitionExecutor {
  setDuration(value: number): void;
  reset(): void;
  pause(): void;
  play(): void;
  stop(): void;
}
@component
export class Logic extends BaseScriptComponent {
  @input('Component.ScriptComponent')
  private transitionExecutor: TransitionExecutor;
  @input
  private delayBeforeStart: number;

  onAwake() {
    const delay = this.createEvent('DelayedCallbackEvent');
    delay.bind(() => {
      this.transitionExecutor.play();
    });
    delay.reset(this.delayBeforeStart);
  }
}
Modification of the transition:
If you need to modify a transition (such as speed, duration, textures, etc.), you can do so using the custom components included within the imported transition.
-
If you want to change the textures from which or to which the transition is made, or the duration of the transition - configure this in the input data of the
Transition Executorscript: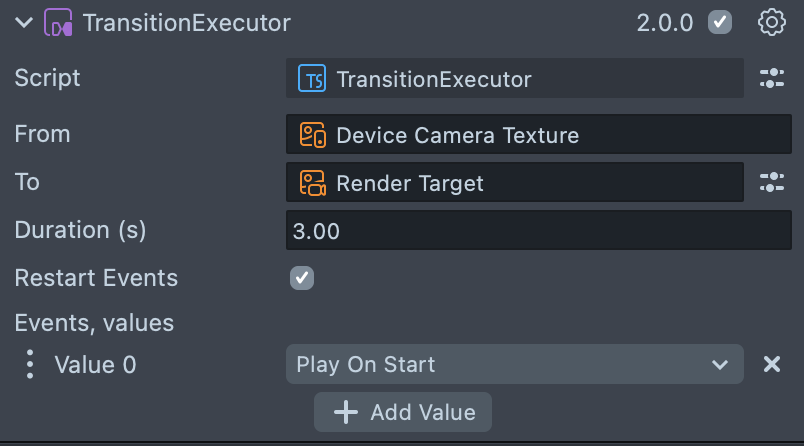
-
If you want to change the animation of the materials involved in the transition - configure this in the input data of the
TimeLineItemInputsscript.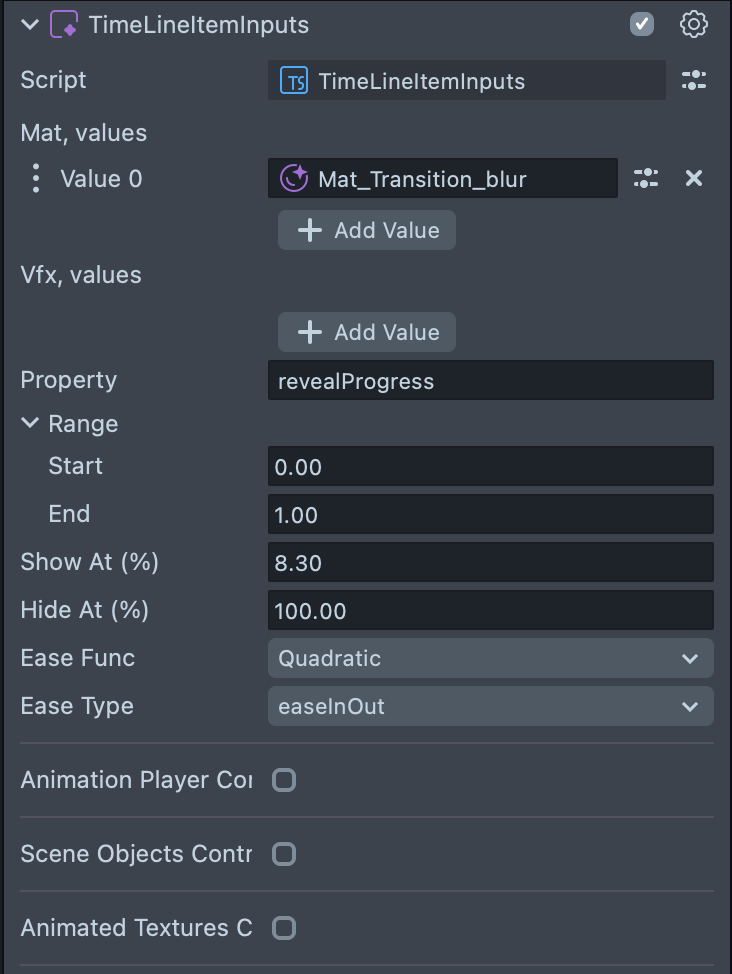
TransitionExecutor
TransitionExecutor is a component that manages the execution of transitions.
API
setDuration(value: number) : void
Sets the duration for each timeline item to the specified duration.
reset() : void
Resets the state of the TransitionExecutor and all timeline items.
pause(): void
Pauses the execution of the transition.
play(): void
Starts the execution of the transition.
stop(): void
Stops the execution of the transition.