Development Workflow
Since the Connected Lenses experience works best when more than one device is connected, take a look at the following tips on how to test your experience.
Testing Methods
You can test on your Lens in both Lens Studio and on device. Which method is most helpful will depend on what you're working on:
- Lens Studio: Allows you to easily get debug information and iterate, but can not connect to a backend to test connection flow
- On Device: You can push to multiple devices simultaneously and test data being sent to each other. However, debugging experience is not as robust.
Testing in Lens Studio
You can use the Preview panels to test out the parts of your experience as multple players within Lens Studio. To open additional Preview panel, go to Windows->General->Preview.
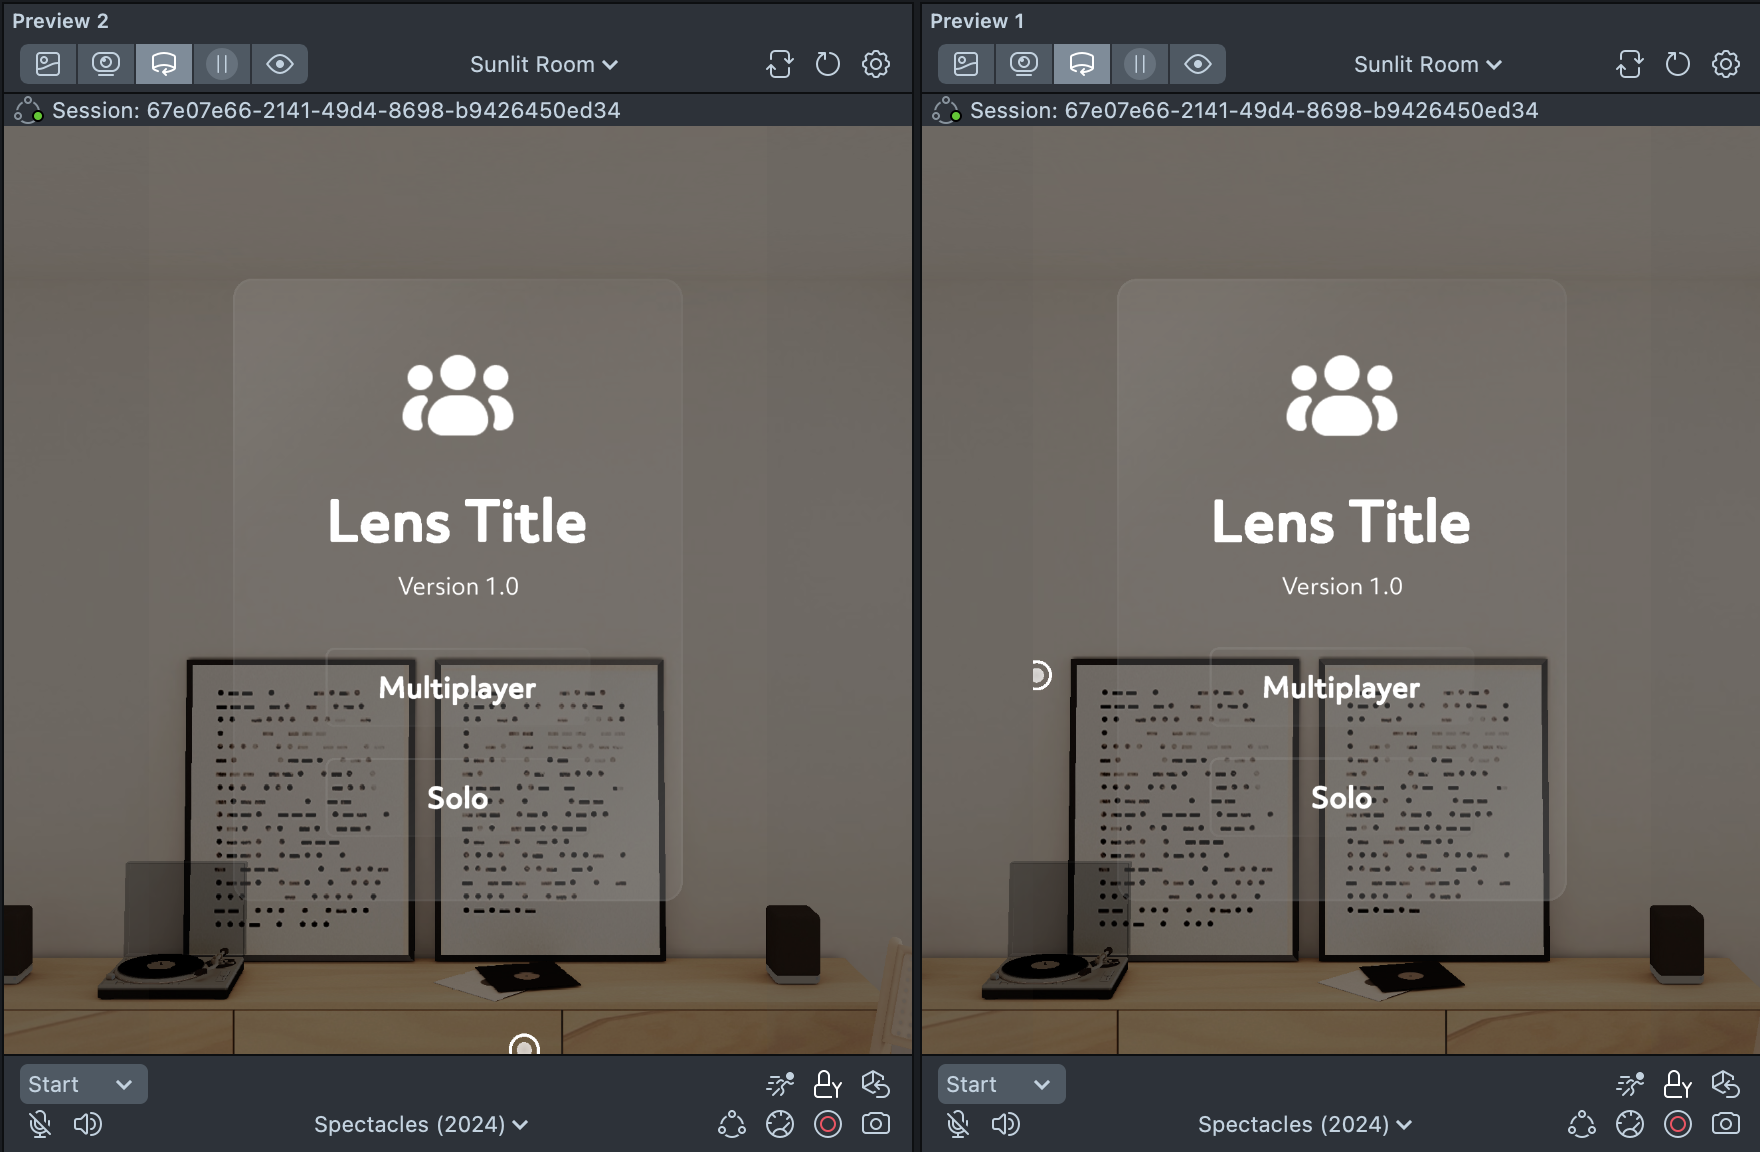
If you create a new preview panel you will need to set up the simulation environment again (i.e. Spectacles (2024) if you are using Spectacles).
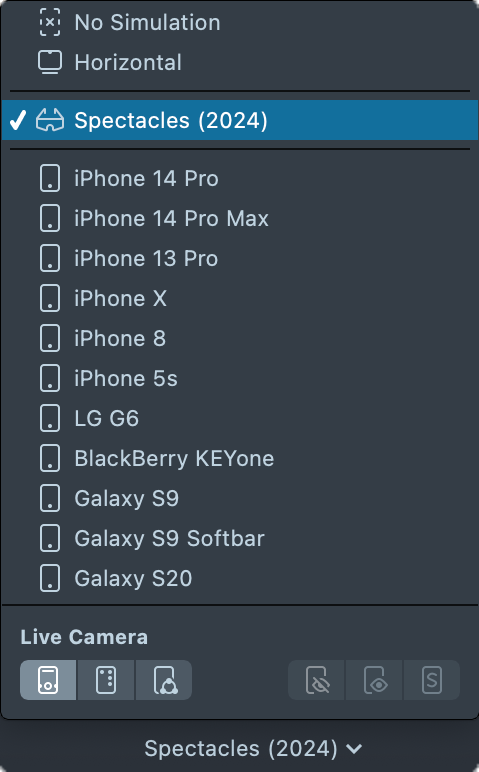
Using Interactive Preview
You can use Interactive Preview to simulate moving around your Lens experience. For example, you can test what happens when a user gets closer to an object in your Lens. To activate the Interactive Preview mode, press the Interactive Preview button at the top left of the Preview panel. To move around press WASD on your keyboard. Press CTRL to move down, and SPACE to move up.
Using Connected Lenses Monitor
With Connected Lenses Monitor, you can view users, messages, and real-time stores information in Connected Lens Sessions.
How to use Connected Lenses Monitor
To open Connected Lenses Monitor, go to Windows-> Unitilies -> Connected Lens Monitor.
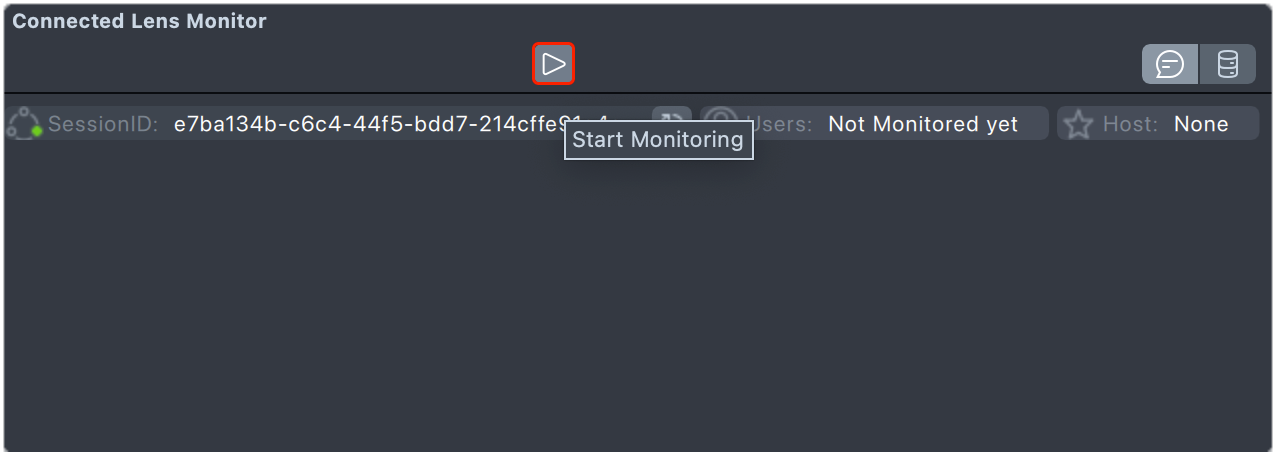
You can click on the Start Monitoring button after previews joined Session.
You can click on the Stop Monitoring button to stop monitoring.
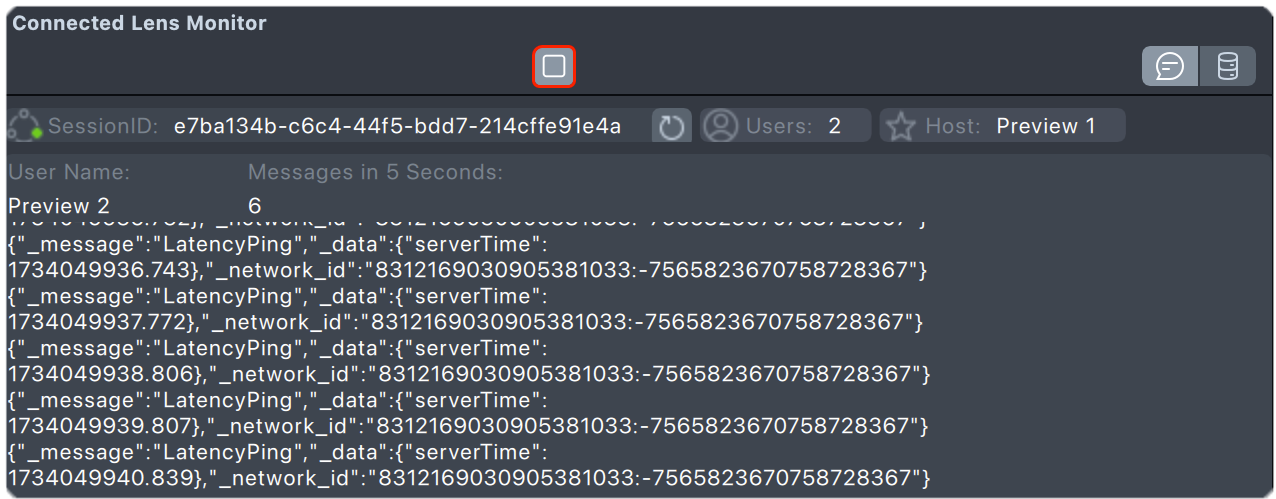
Once you start the Connected Lenses Monitor. You can then find SessionID, Users and Host information.
![]()
Click on the Reset Button to reset Lens for all the Previews.
Note the ConnectedLensEnteredEvent has been deprecated. If you are using this event, you still need to click Join Session Button.
Users Button
With Users Button selected, you can see messages sent by each preview window, the order you sent them, and what the messages contained.
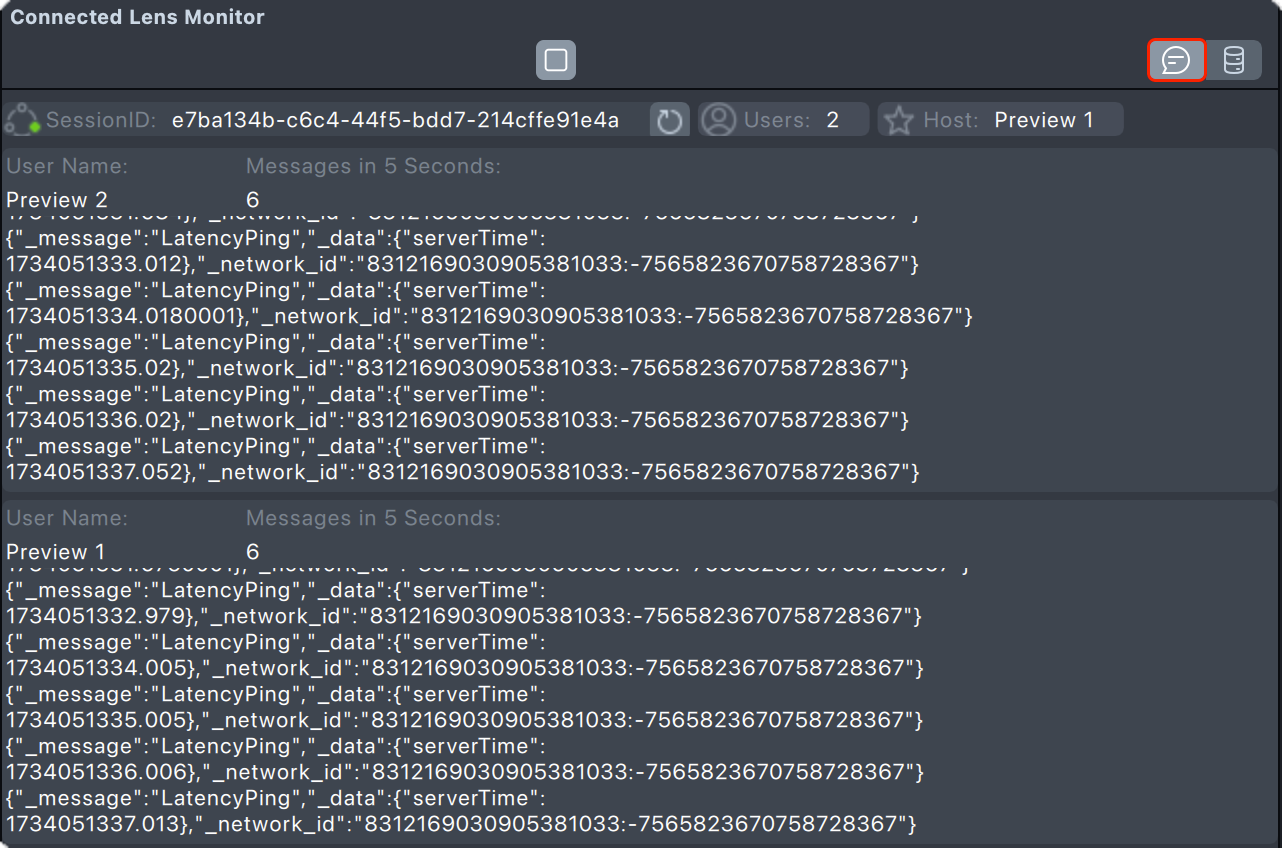
Connected Lenses Monitor displays messages in 5 seconds, but there is a rate limit for real-time messages, 250 requests over 5 seconds window for both Lens Studio push and in production.
Realtime Store Button
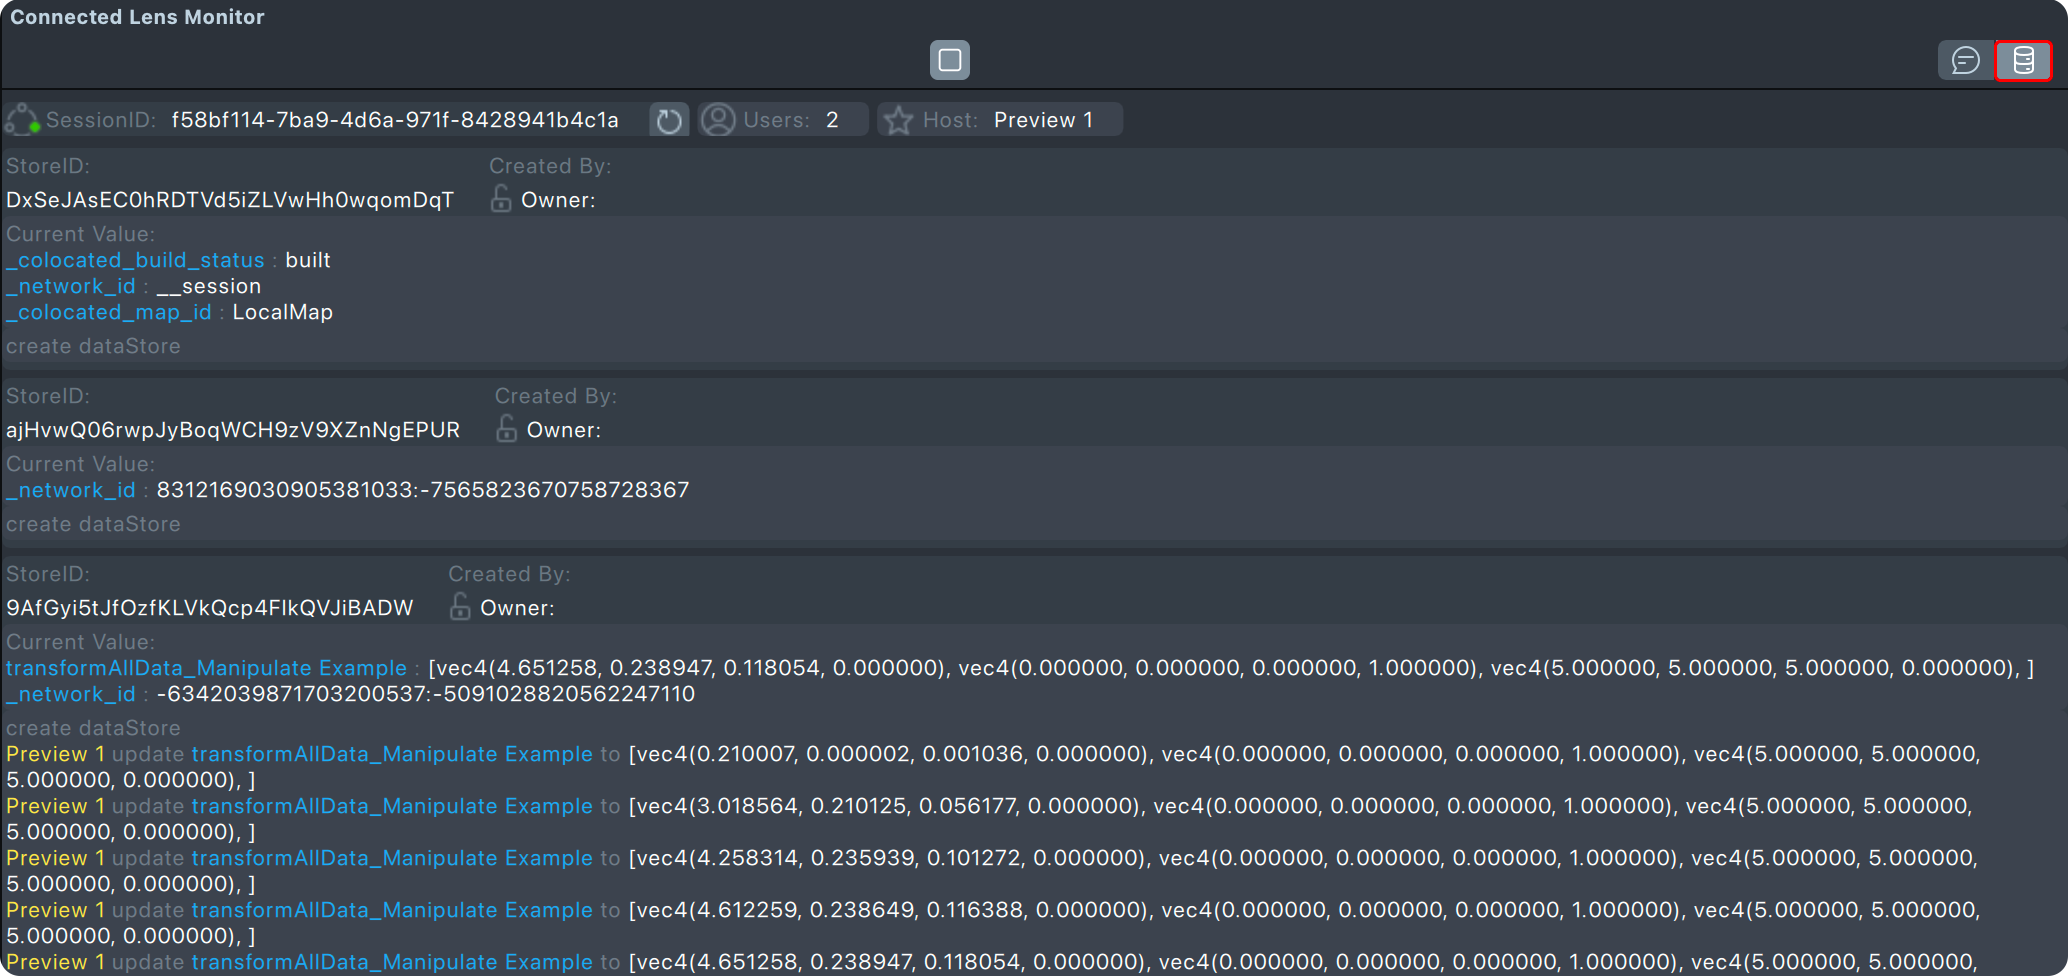
With Realtime Store Button selected, you can use the Connected Lens Monitor to check all of the storage values on a datastore. If the storage values changed, and who changed them. Identify the Prefab instantiated by each Preview window, see who owns it, and see the network ID / values associated with the store.
Session ID Button
With Session ID Button selected, you can change the session ID when Spectacles Sync Kit package is packed. Please see Configuring Session ID to set up correct session ID in UUID format.

Testing on device (Spectacles)
Check out Spectacles Sync Kit.