Instancing
This guide walks you through the Gem Rendering Template which offers several examples on how to use the Gem Rendering Custom Component and the Gem Rendering material.

For more information on how Gem Rendering works in Lens Studio, please see the Gem Rendering Guide
Basic Gem Setup
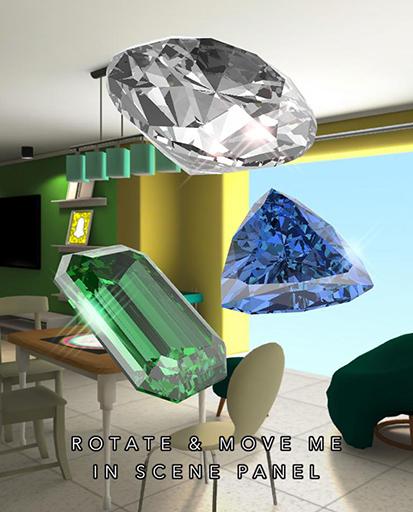
This first example shows three different meshes using the Gem Rendering Custom Component.
The Diamond object just has the Gem Rendering Custom Component assigned with no other modifications. Since a Render Mesh Visual already exists on the Scene Object, no other changes need to be made- the component will automatically use the Render Mesh Visual and its assigned mesh as a basis for Gem Rendering. It is also using the default material which is configured to look like a white diamond.
The same setup can be found on the other two objects in this example; Emerald and Trilliant, except they have different Gem Materials assigned. The Gem Material only works with the Gem Rendering Custom Component and can be found on the Asset Library, or it can be exported from this template.
Mesh Array

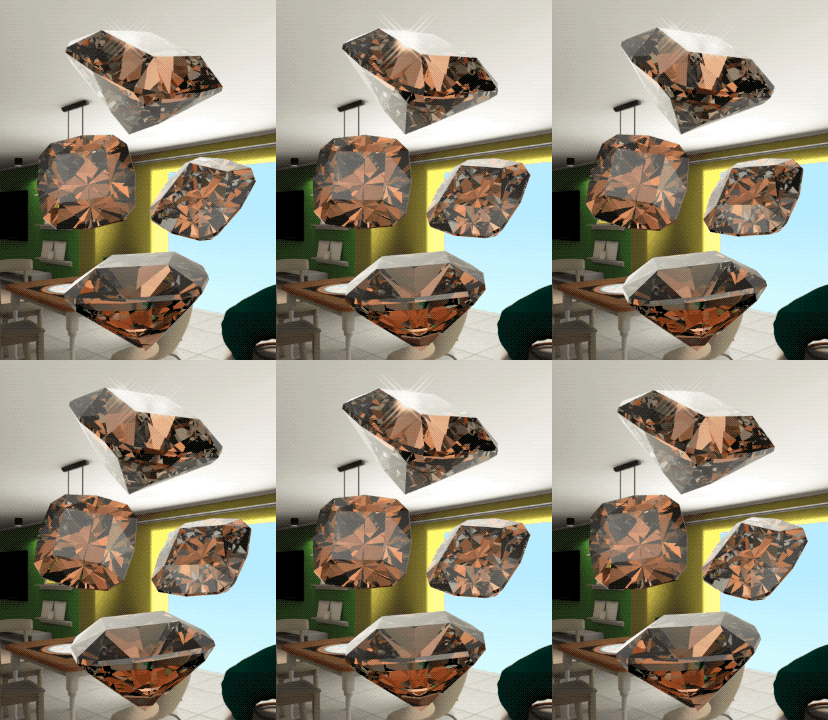
The Mesh Array example shows the Gem Rendering component’s Mesh Assignment parameter set to Mesh Visual Array. When set to this option, an array input is exposed that lets you assign multiple Render Mesh Visuals to the Gem Rendering component.
In all Mesh Assignment modes, Gem Rendering only works on one unique mesh at a time. The mesh found on the first element in the Mesh Visual Array will be used for all subsequent elements.
Mesh Visual Array is a good option to use when you need to render several copies of the same mesh and material. It is more efficient than doing the same thing with as many unique Gem Rendering components. If you need to render more than a dozen or so of the same mesh and material, consider Instancing.
Lighting Types

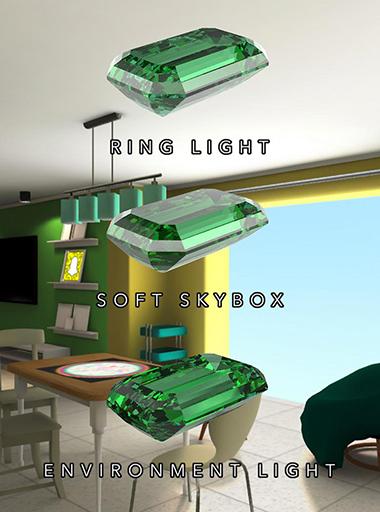
Gem Materials can be configured to use three different light types: Ring Light, Soft Skybox, and Environment Light. This example shows the same gem mesh with the same material applied to it, the only difference being the lighting type.
Just like in real life, lighting plays a big role in how the gem looks. Changing the lighting can have a dramatic effect on the absorption, highlights, and sparkles. For more information on lighting in Gem Rendering, check out the Lighting section of the Gem Rendering Guide.
For Environment Lighting, neutral environments tend to look the best. We have included a new neutral envmap that’s already assigned to the environment light in the scene.

When you need to render dozens or even hundreds of gems, instancing is the way to go. Instancing greatly reduces the number of draw calls, but it does come with some extra overhead when the lens first starts, and every frame in the vertex shader.
Instancing requires the object to be set up in a particular way. This example shows a Tiara asset that was modeled to include two groups: instanceA and instanceB. Each of these groups has a number of child Scene Objects with nothing more than transform information on them - no Render Mesh Visuals or anything else. Each child will become one instance, and its transform information converted to data that is sent to the GPU.
Keep in mind that individual instance positions can not be changed at run time. Their initial positions are saved when the lens starts, but after that only the transform hierarchy coming from their parent transforms are updated every frame. If you need to change the initial position of an instance, refresh the lens to see the change.
There are two Gem Rendering components set up to handle each instance group - Gem Instance A and Gem Instance B. Here, you can see that their Mesh Assignment has been set to Instancing, the Instancing Root set to their respective parent groups that contain all the child nodes to be converted to instances, and finally a Gem Mesh to use for the instance geometry.
A third Gem Rendering component, Gem Trilliant, has a simpler setup to just render the single large centerpiece gemstone.
Instancing requires a special approach to modeling to create the required child nodes, but it can go a long way to increasing performance of the lens.
Custom Component API Example
The Gem Rendering Custom Component can be created and configured entirely from another script. In the template, this is shown in the example script Gem CC API Example.js.
When this example is enabled, some information that was fetched from the newly created Gem Rendering component will be printed to Logger. For more details on Gem Rendering’s API, see the Gem Rendering Guide.
Gem Sparkles Post Effect

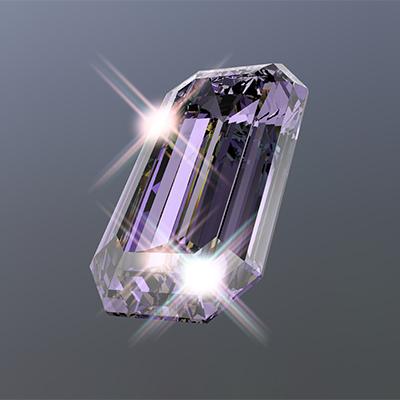
The Gem Sparkles asset was created specifically to use with Gem Rendering and the associated Gem Material. It is based on the Sparkles post effect found on the Asset Library, but with a number of improvements to make it more stable and performant with Gem Rendering. It works in tandem with the Sparkle Amount parameter on the Gem Material which controls how responsive Gem Sparkles is on a per-Gem Material basis.
Be sure to check out the Controller Material on Gem Sparkles for more control over the sparkle effect, including the sparkle texture, size, and color.