Configuring Project Settings
The Project Settings settings window is where additional info, required for Lens submission, is configured. To access the Project Settings settings window, click the Project Settings button in Lens Studio's toolbar.
You should make sure the Lens Project Settings is configured properly before submitting the Lens. Below are the various settings that are configurable through the Project Settings settings window.
On the left sidebar, you will find the various categories of settings you will need to configure.
In the center, you will find the settings for each category.
On the right side, you will find a summary of your Lens settings, which were configured.
In the bottom right, you will see a list of validation checks you will need to complete before you publish your Lens.
Finally, the Publish button itself!
General
Lens Name

The name of your Lens. This will be shown to users when they receive the Lens. It's also how people can identify, and search for your Lens.
caution
Your Lens name must be 18 characters or less, containing only letters, numbers, or spaces.
Platform Settings
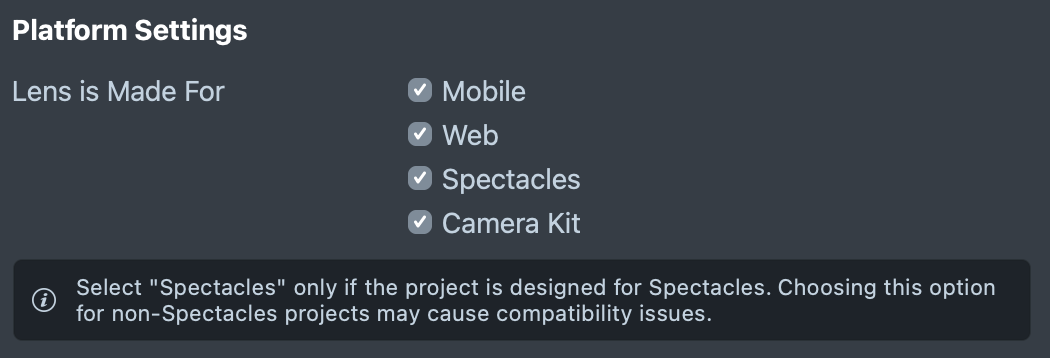
This setting indicates what kind of platform the Lens is made for.
- By selecting Mobile, your Lens will be enabled for native Snapchat and Camera Kit Mobile applications.
- By selecting Web, your Lens will be enabled for Camera Kit Web – which includes mobile web and Snapchat for Web.
- By selecting Spectacles, your Lens will be enabled for Spectacles. You will only be able to target your Lens for Spectacles if you have either checked your Lens in the Preview panel with the Spectacles device simulation option, OR have paired your device.
Toggling a platform may change the availability of various settings in the Platform Settings section of the sidebar.
Size
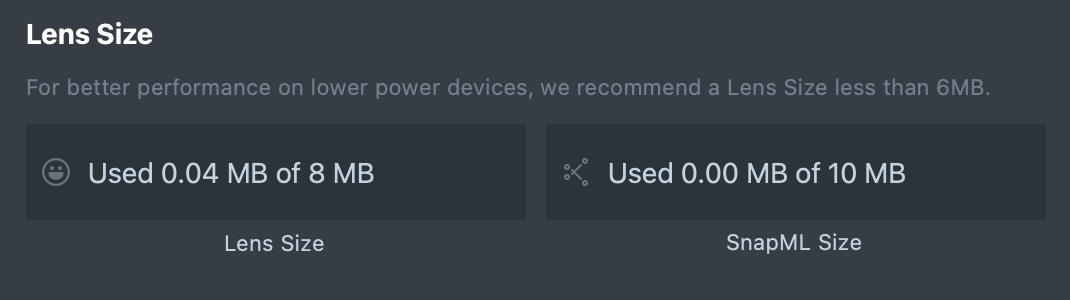
The size of the compressed Lens that will be uploaded upon submission. The size limit for a submitted Lens is 8 mb but we advise staying at 2 mb or less for a quicker download. For more information, refer to the Performance and Optimization guide. For information on optimizing 2D images, see the 2D Optimization guide.
important
If you are working on building Sponsored Lenses, please make sure your lens is less than 4MB to ensure the most optimal performance across the widest array of devices.
In addition to the Lens Size, you can have up to 10mb dedicated to ML model when you’re using the SnapML Machine Learning component.
API Settings
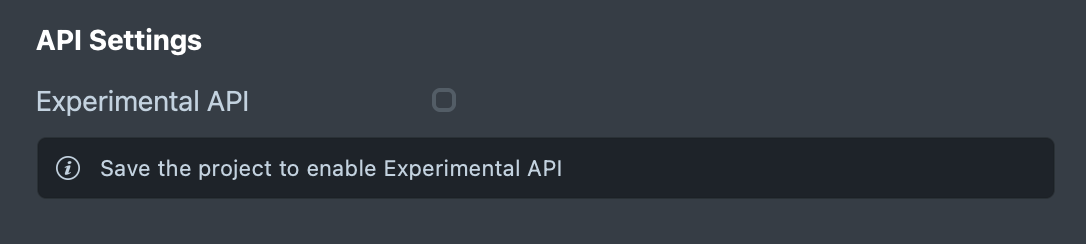
When Experimental API is enabled, you will have access to additional APIs. However, this will limit your ability to publish your Lens!
This is mostly used when developing for Spectacles.
Distribution Settings
Discoverability
This allows you to configure settings that will help your Lens show up to various Snapchatters.
Tags of the Month
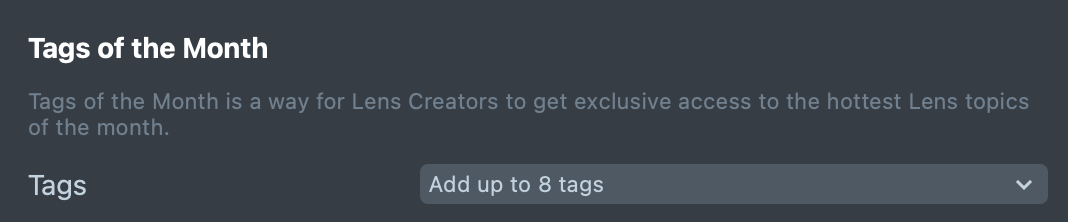
Tags of the Month is a way for Lens Creators to get exclusive access to the hottest Lens topics of the month. Tags are sourced from both on-platform and off-platform repositories to highlight the “hottest” themes/trends of the moment. Creating high quality Lenses related to these tags, and tagging them here will increase your chances of being featured across a number of places in the app!
Learn more about Tags of the Month in the Submitting your Lens guide.
Other Lens Details
There are no settings to be changed here as you’ll be able to set these in My Lenses during submission.
Lens Icon
The icon for the Lens is packaged with the Lens. They help identify your Lens for Snapchatters to come back to.
You can Import an image, or generate one using GenAI Suite. To learn more about creating an icon, follow the Creating an Icon guide.
With your icon selected, you can use the built in crop tool to change how you want your icon to look.
If your icon has a transparent background, you can enable the Background option and select a background color.
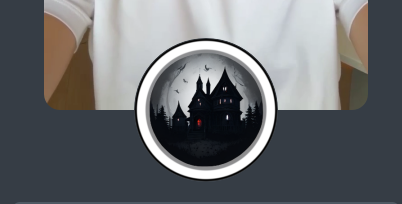
Your selected icon will appear in the right side of the window.
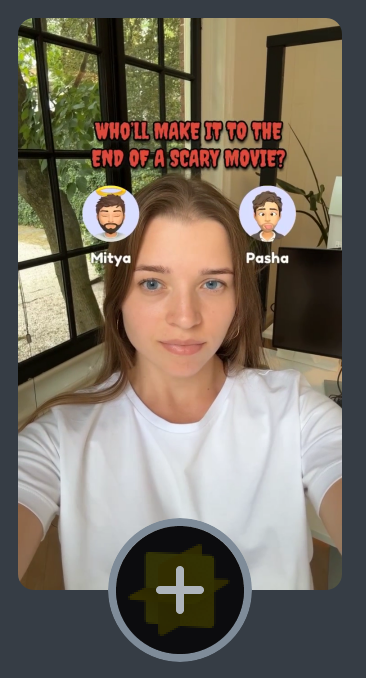
For example, using GenAI Suite, with the prompt horror in the style of Vector art you can add a Lens icon like so:
Lens Preview
A Lens Preview is also packaged with your Lens. A preview shows off your Lens in Lens Explorer and will be visible to the public. Click on + to pick a pre-made video or upload your own. For more information on Preview Videos, please refer to the Preview Videos guide.
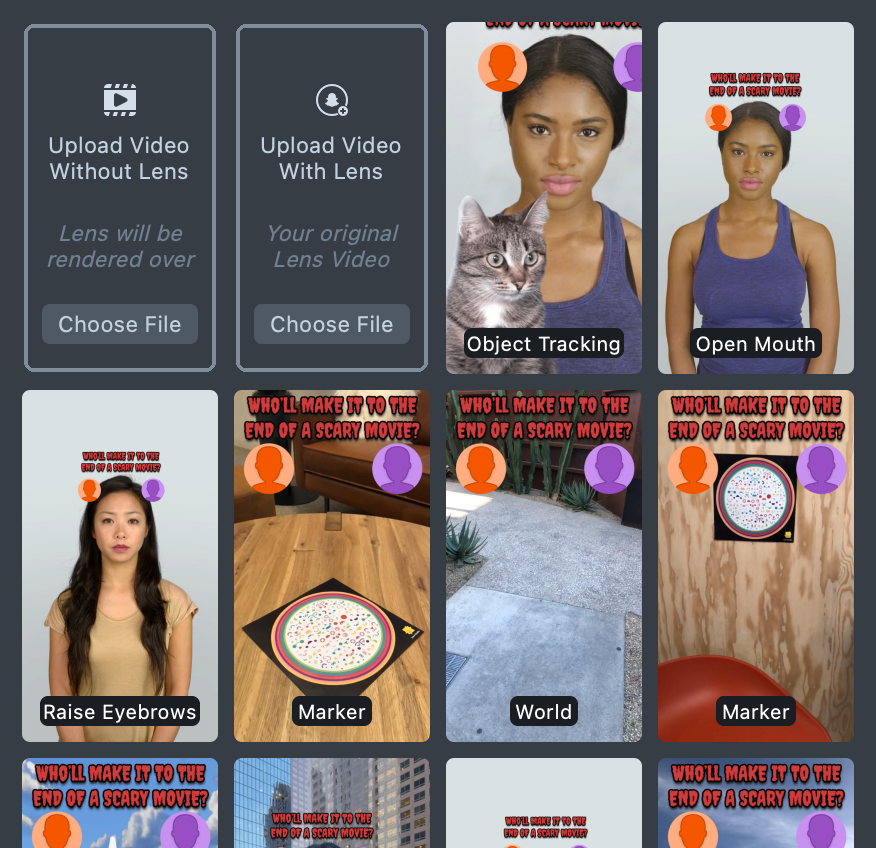
Once you’ve selected your preview, you should see the chosen preview in the right side of the window.
Platform Settings
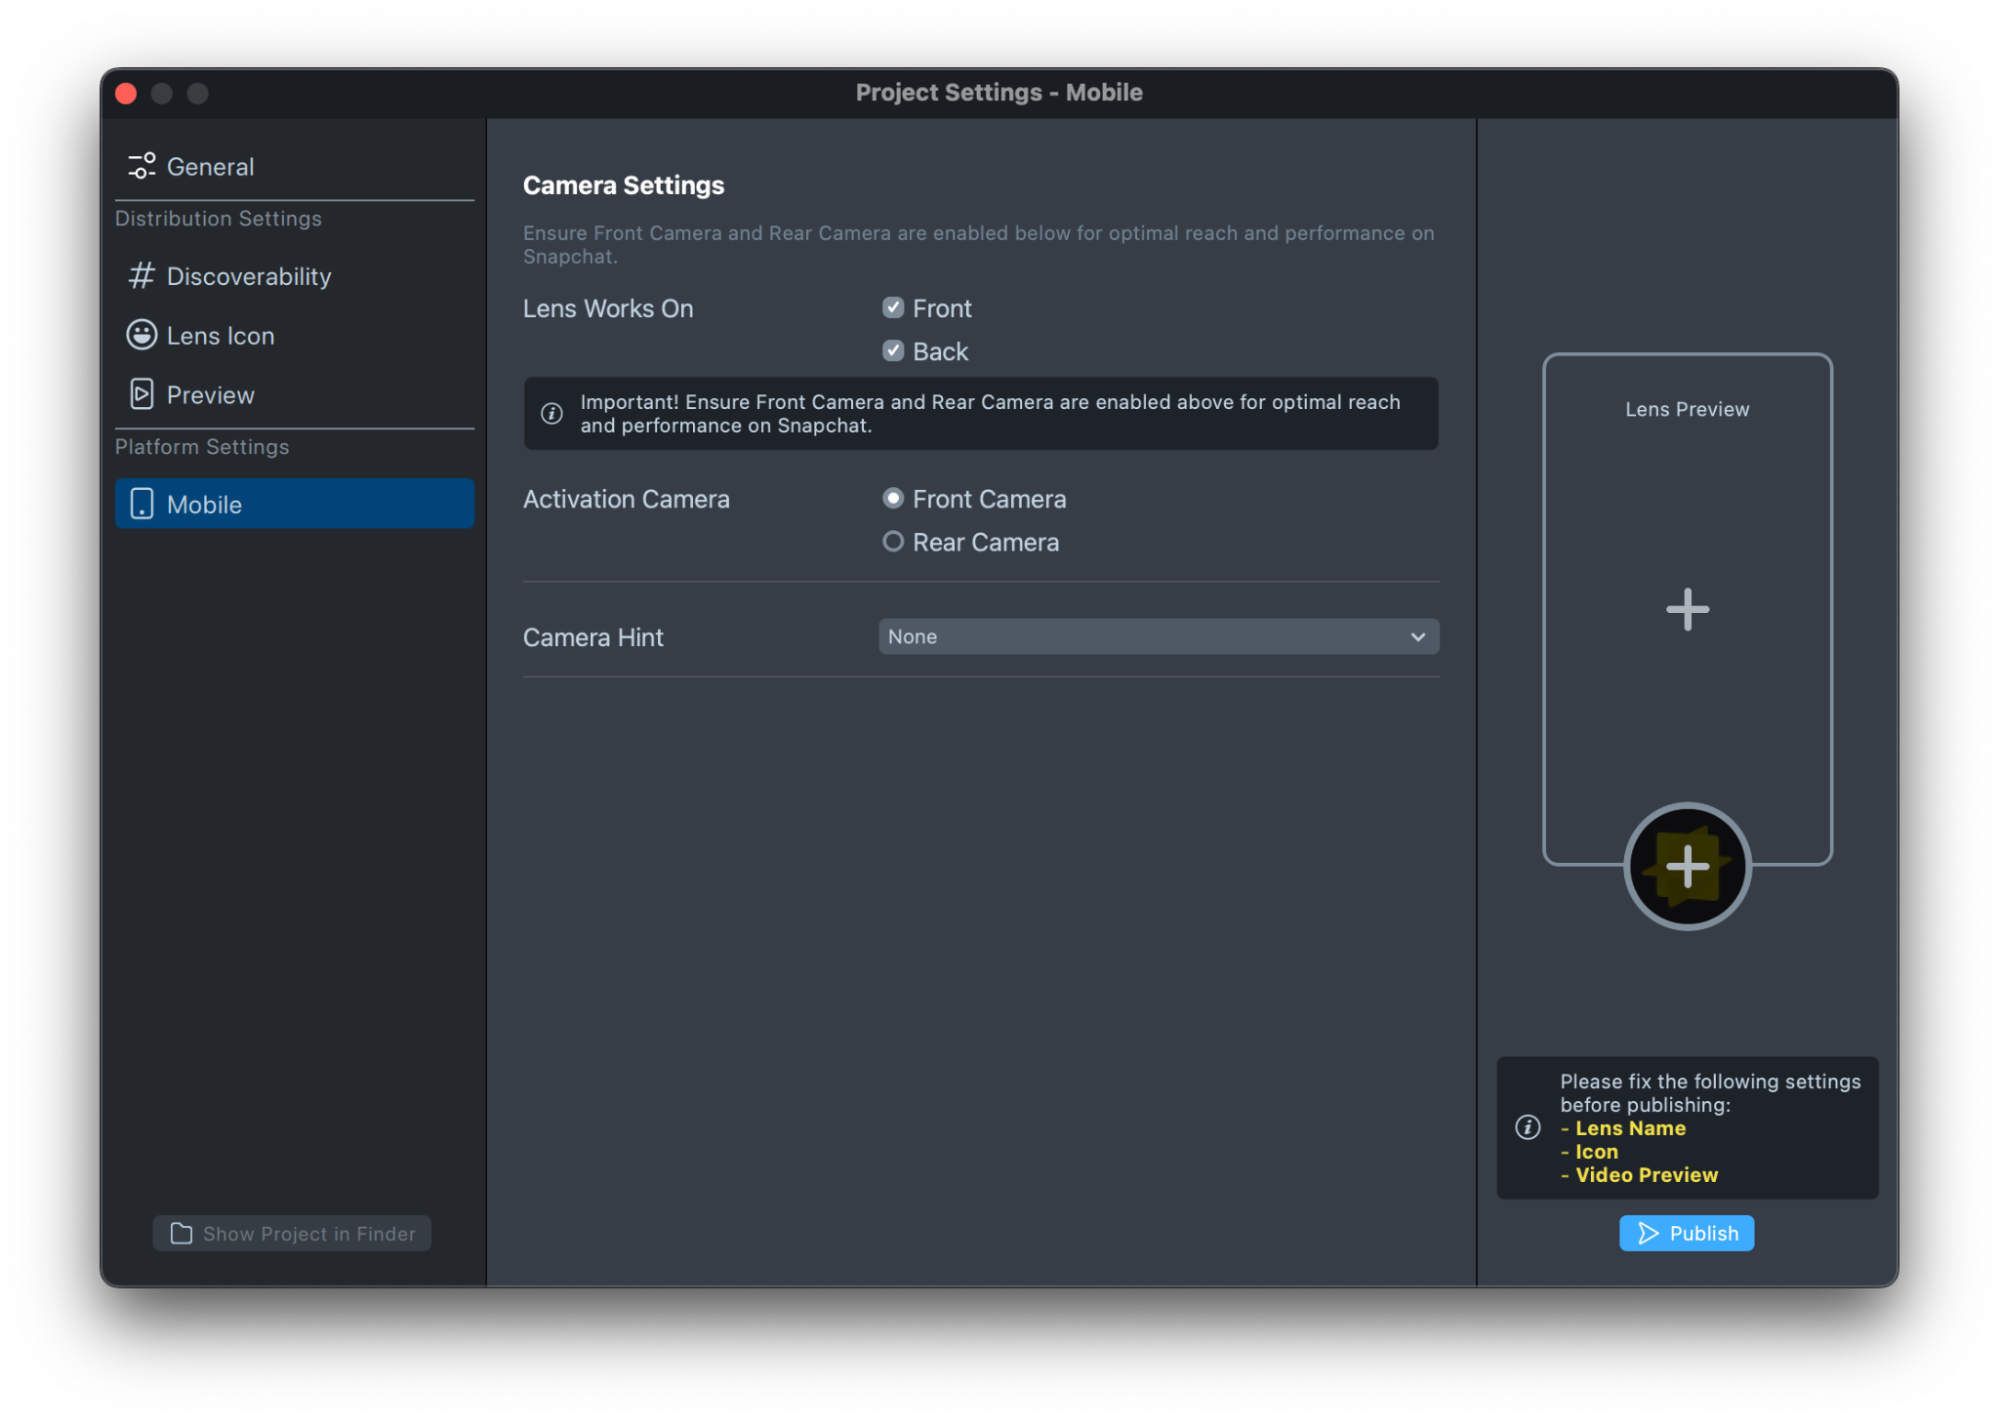
Mobile
When building for mobile devices, Lenses can be configured to work on different platforms and enabled for different cameras.
Lens Works On

This setting indicates which side of the camera your Lens works on. For example, Face Lenses will automatically be enabled on both sides as long as a face is found. However, a Location AR experience may only be built for the rear camera.
If you are working on building Sponsored Lenses, you should make sure that your Lens utilizes Both Cameras. By not having both a world and face camera experience for your Lens, it may receive less distribution in the carousel and may negatively impact any advertising campaigns using this Lens.
Activation Camera

Activation Camera indicates which camera your Lens is optimized for – this impacts which camera your Lens will default to upon start up.
Camera Hint
The hint is a suggestion given to the user to help instruct interaction. The hint appears as soon as the Lens is turned on and fades out after a set number of seconds. For more information, refer to the Lens Hints guide.
The built-in hints are useful as they are localized to the region the user is in.

Spectacles
When developing for Spectacles, you may access additional things in the Lens that require the user’s permission to confirm. This page will list out the various permissions your Lens will request when the Lens is used.
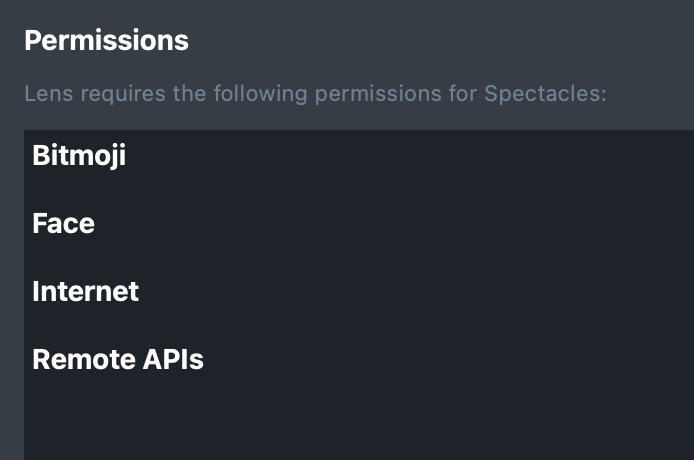
If no permissions are needed, you will not see any item in the text box.