Texture Optimization
Lenses need to be under 8 MB when submitted to Snapchat. Additionally, when loaded on device, they need to consume less than 120 MB of RAM. Often, for creators, the biggest culprit for heavy lenses is unoptimized 2D assets. This guide will elaborate in detail a few approaches to optimize your 2D assets in your Lens. For more information, please refer to the Performance and Optimization guide.
Modifying Images in the Assets Folder
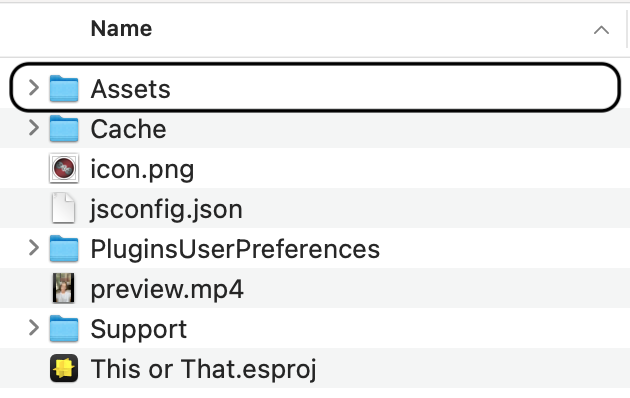
The fastest way to do an optimization pass is to first open your project's Assets folder, where you have direct access to all of the assets in your project. You can find the Assets folder wherever you saved your project (i.e. the location of the .esproj file), and then make changes to the textures directly inside the folder.
Compression
Try to run all your 2D textures through some form of compression. In most cases, you can reduce an image size significantly using compression without noticeable visual degradation. There are a number of compression settings Photoshop offers when exporting images.
Lens Studio comes with a built-in compression tool. Take a look at the available options to optimize your Lens. Additionally, you may also consider using other optimization program or software: tinypng.com is simple to use and offers big savings for a quick compression pass on images.
Be careful with compressing normal maps and environment maps. In some cases auto compression tools might result in bad normals.
Smaller Textures
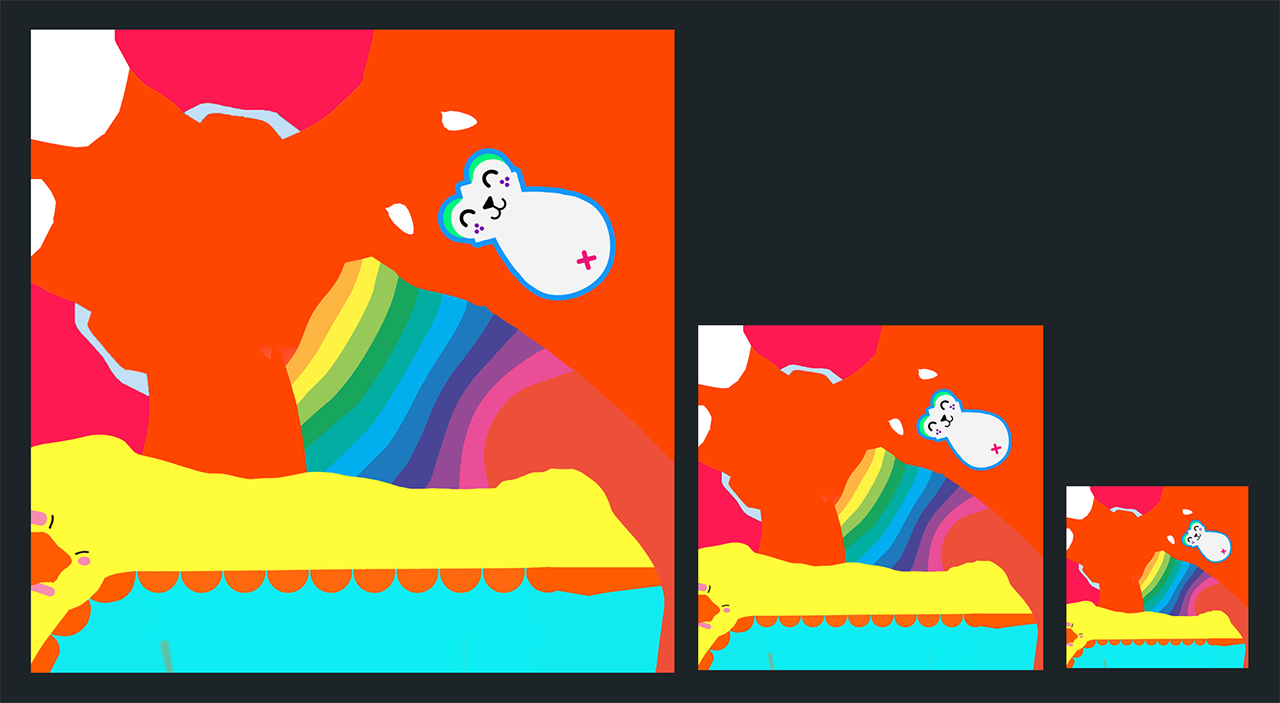
Check every texture in your project and make sure that the resolution of the texture is necessary. Reducing the resolution of your texture will have big savings for both the size of the Lens and the Lens’ RAM consumption. Often, 3D textures are made at 2048 x 2048. In many cases, you can reduce these textures to 1024 x 1024 or even 512 x 512 depending on the complexity of the texture and how big you expect the model to be on screen.
Be on the lookout for single color textures that could be reduce to a single pixel.
A 3D model's textures do not all need to be the same size! For example, if there isn’t much detail in your normal map, try making it smaller than your base color texture.
JPG and PNG
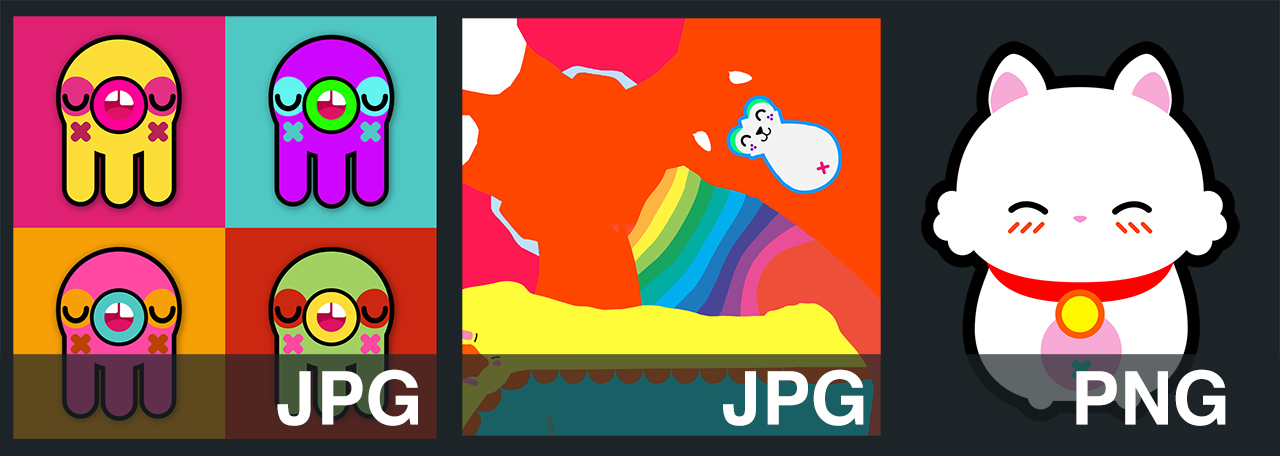
Lens Studio supports two image formats: JPG and PNG. JPG images are often much smaller than PNG, but they don’t support transparency. If your 2D images do not need transparency, try using JPG. Use PNG if you actually need the alpha channel for transparent pixels.
2D Animation
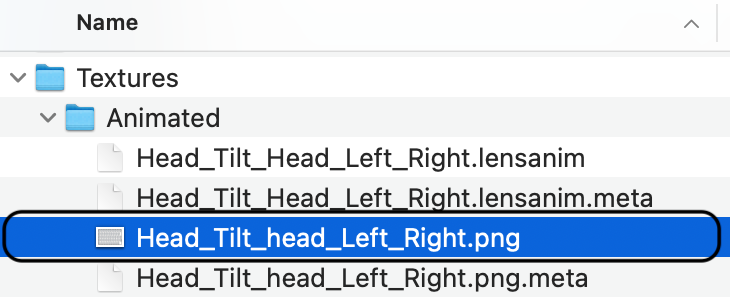
2D animation is often responsible for heavy Lenses. Once you’ve created a 2D animation in Lens Studio, it will save a sprite sheet to your project’s Assets folder. Like any other texture, you can optimize this sprite sheet directly in the Assets folder. Try to reduce the resolution and run compression on this output sprite sheet to reduce the size of your Lens.
Take a look at the Compression page to learn more about other ways animation are compressed.
For more details on importing your 2D Animation and the various settings available, follow the 2D Animation guide.