3D Optimization
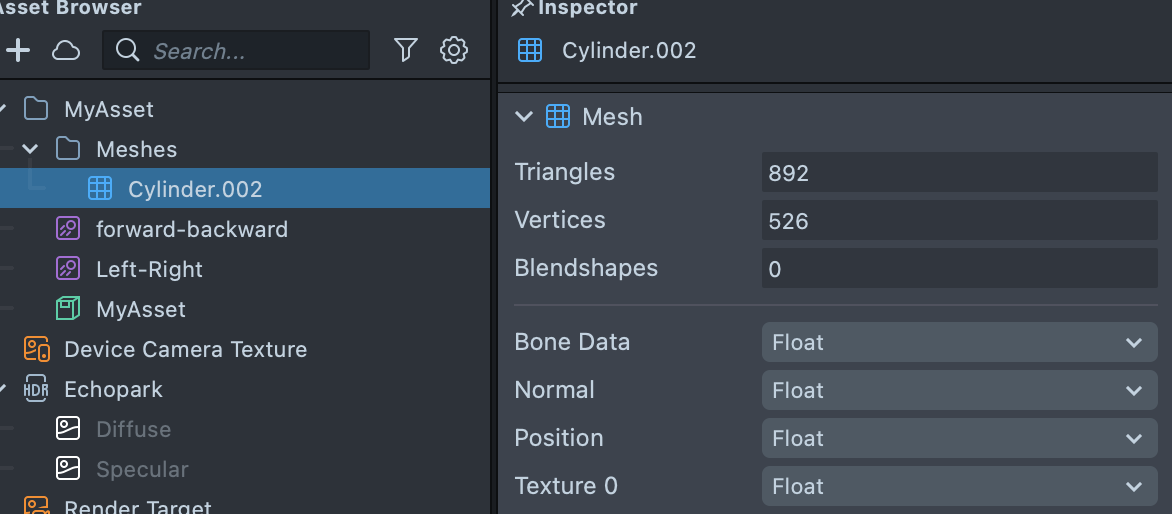
This feature in Lens Studio can be found under the Inspector panel while a mesh is selected under the Resource panel.
Overview
In many cases 3D assets created using photogrammetry tools, or marketing assets are used which were created for offline rendering. Both of these approaches provide high poly meshes which require a lot of memory. If you ever find yourself making a Lens with a heavy mesh which results in a Lens size that is too large, or poorly performing on device, adjusting a mesh vertex attributes help optimize your Lens.

Packed 3D Assets
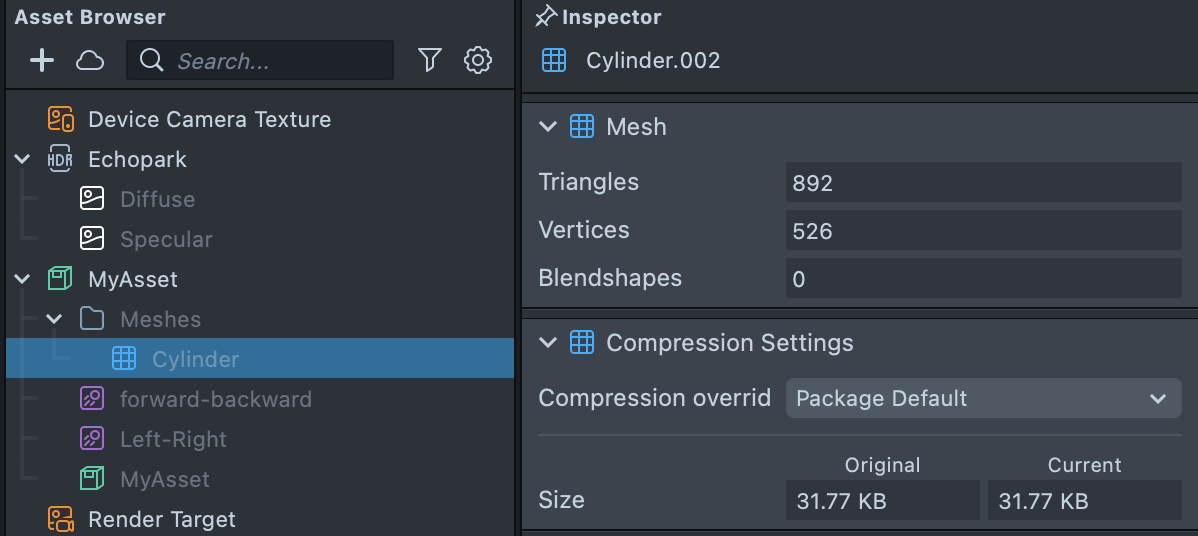
When you import a 3D assets into Lens Studio, the mesh is compressed based on the Package Default settings.
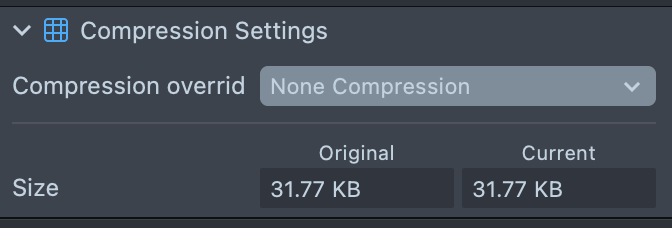
You can turn off this compression by pressing the Compression Override drop down and selecting None.
Unpacking 3D Assets
You can unpack 3D assets to have more compression options.

Once you unpack a 3D Assets, you can not update the assets based on the source as easily, as you'll be unpacking the 3D assets to Lens Studio native assets. Though, you can reimport or relink.
Vertex Attributes
One way comperssion is done is by reducing the size of the information contained in each vertex of the 3D mesh.
Vertex attributes can be packed into fewer or even just in one position attribute in a 3rd party software, later unpack and utilized in Lens Studio. In this case all other attributes can be disabled.
To do this, let's look at the Compression Settings section in the Inspector panel, attributes available here are related to how the mesh was saved in the software used to create the mesh.
There are several component types available.
- Byte: 8 bits.
- Short: 16 bits.
- Unsigned: unsigned integer [0, MAX].
- Signed: signed integer [-MAX, MAX].
- Integer normalization: remaps integer byte or short attributes to fixed point values in the range [0.0, 1.0](unsigned) or [-1.0, 1.0](signed) using the rough math “normalizedValue = unnormalizedValue / MAX”. Values outside this range are clamped to the min/max.
Format Conversions
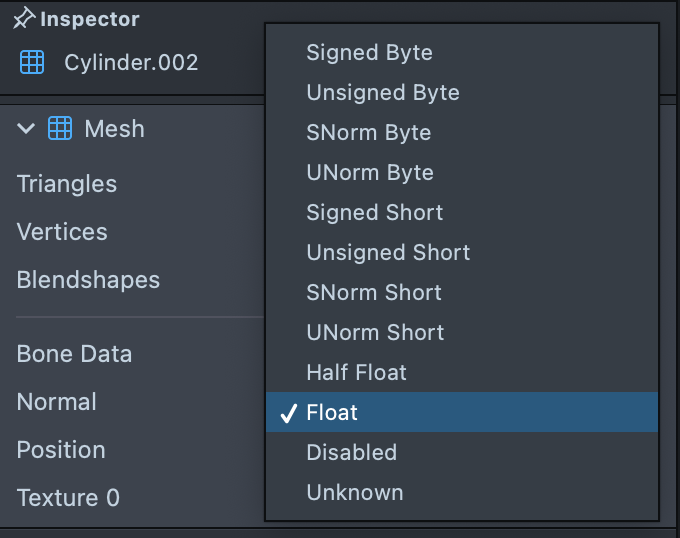
Select the drop down next to the attribute to change how its information is stored.
- Byte - Signed: Signed 8-bit, two's complement integer with a range of -128 to 127.
- Byte - Unsigned: Unsigned 8-bit integer with a range of 0 to 255.
- Byte - SNorm: Signed 8-bit normalized fixed point value with a range of -1.0 to 1.0.
- Byte - UNorm: Unsigned 8-bit normalized fixed point value with a range of 0.0 to 1.0.
- Short - Signed: Signed 16-bit, two's complement integer with a range of -32,768 to 32,767.
- Short - Unsigned: Unsigned 16-bit integer with a range of 0 to 65,535.
- Short - SNorm: Signed 16-bit normalized fixed point value with a range of -1.0 to 1.0.
- Short - UNorm: Unsigned 16-bit normalized fixed point value with a range of 0.0 to 1.0.
- Half Float: 16-bit half precision floating point value, often called “half” or “float16”.
- Float: 32-bit single precision floating point value.
- Disable: Disable vertex attribute. This option is not provided for vertex position.
Attribute Setting Recommendations
In most cases, the smaller the attribute data is the better. Below are some examples for different format users can try:
- Position: Float, Half Float, or try to rearrange your model data so that all positions are within a [-1, 1] range, in that case SNorm can be introduced.
- Normal: Normalized vectors are on the range [-1, 1], SNorm is recommended.
- Tangent: If a normal map is not used, tangent can be disabled.
- Bitangent: If a normal map is not used, bitangent can be disabled.
- Color: In most cases negative colors are not frequently used, 8-bits Byte - UNorm is recommended, if HDR colors are needed, try Half Float.
- Texture0: In most cases, texture coordinates can be stored as SNorm or UNorm, however when using Repeated wrap mode with UV, the texture coordinates are out of range [-1, 1], we recommend using Half Float with cases like that.
In other words, you want to use as little data per vertex while still keeping the accuracy of your mesh. In doing so, you will reduce the size of your entire mesh!
Draco
Although decimation/simplification methods could be applied for hi-res meshes, however all automatic methods can’t reduce polycount to actual low poly values while keeping good details. Draco compression comes in handy when working with relatively limited lens sizes, compression could be 10x smaller compared to the original which allows you putting more meshes into a single lens.
To enable Draco compression, select Draco under the Compression Type.
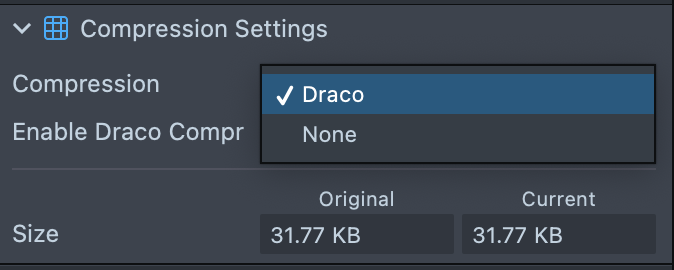
Then, toggle the Enable Draco Compression checkbox.
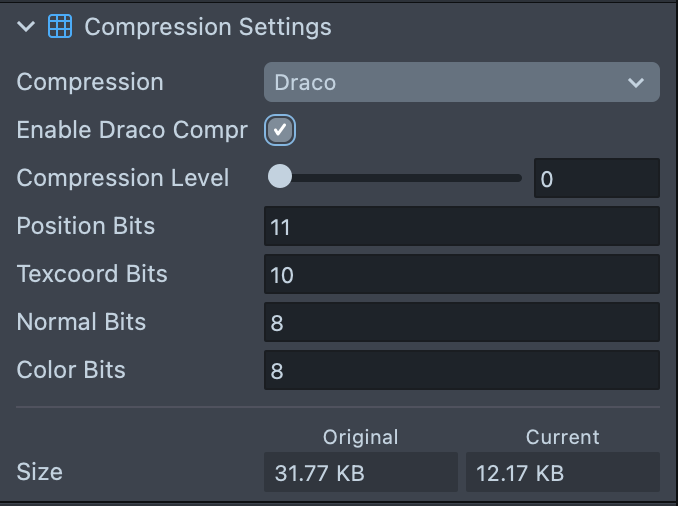
- Compression Level: Range of 0 to 10, the higher level, the higher compression ratio and the lower decompression speed.
- Position, Texcoord, Normal, Color Bits: Range of 1 to 30, the larger bits, the more precise.