glTF, 3D Object Import
Lens Studio supports importing the glTF file format for 3D models. This guide covers how to import a glTF file into a Lens Studio Project.
Please refer to the Performance and Optimization Details guide for 3D model performance requirements, 3D Optimization gide for further compression help.
Supported Extensions
In addition to the base specification, Lens Studio also supports a number of extensions:
- KHR_draco_mesh_compression
- KHR_materials_clearcoat
- KHR_materials_transmission
- KHR_materials_sheen
- KHR_materials_unlit
- KHR_texture_transform
Import glTF into Lens Studio
From the Asset Browser Panel
In the Asset Browser panel, select + -> Import Asset.

Find the glTF file on your computer, and select Open.
Dragging and Dropping
You can drag and drop glTF files from your computer directly into the Asset Browser panel or the Scene Hierarchy panel.
If you drag into the Scene Hierarchy panel, your glTF will automatically be added to your scene. If you drag into the Asset Browser panel, however, your object will only be added as a resource.
To add your model into the scene, open the new folder created by the gLTF import, and drag the prefab from the Asset Browser panel into your scene, or Scene Hierarchy panel.

Import Options
Once you add a glTF file to your project, you'll be presented with a panel of glTF Import Options. You can customize these options to configure the imported glTF resource.
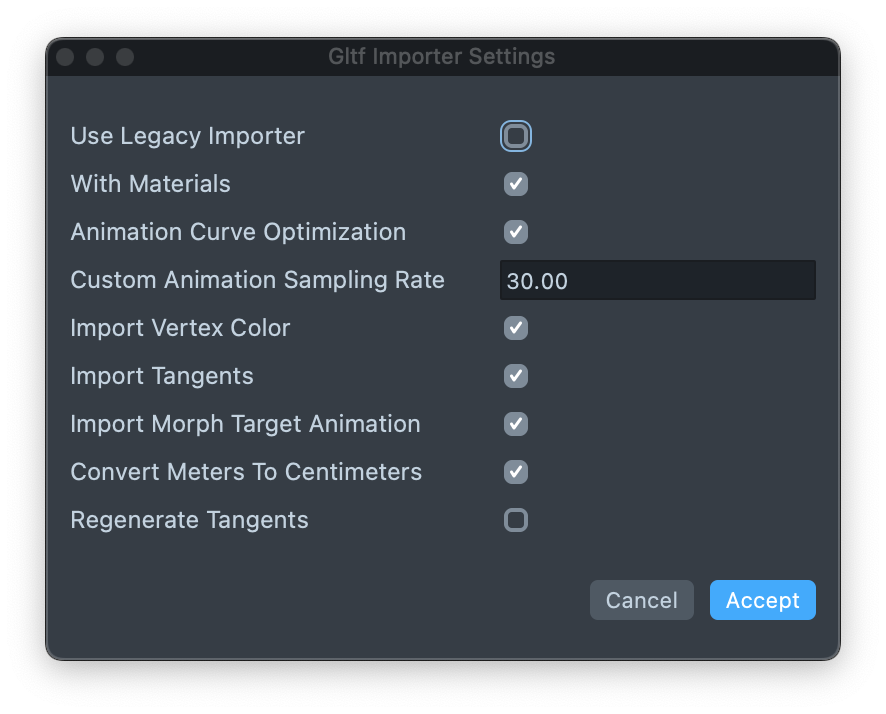
- Use Legacy Importer: If enabled, Lens Studio will use a different importer. Try this option if you're having issues with latest importer.
- With Materials: If enabled, materials will be included.
- Animation Curve Optimization: If enabled, applies a size optimization to the model's animation.
- Custom animation sampling interval: The frame rate of the imported animation (defaults to 30 frames per second).
- Import vertex color: If enabled, includes vertex color information.
- Import tangents: If enabled, includes tangent information.
- Import morph targets animation: If enabled, includes morph target animation. For more information on playing back mesh animations, visit the guide on Playing 3D Animation.
- Convert meters to centimeters: If enabled, converts meters to centimeters to meet glTF specification. The units for linear distances in glTF are meters, whereas in Lens Studio they are centimeters.
- Regenerate Tangents: If enabled, tangents information will be regenerated.
Once the glTF is imported into Lens Studio, you should see it listed in your Scene Hierarchy panel as a new object added to the scene. It will also appear in your Scene panel, where it can be manipulated. Finally, your model resource will now be available in the Asset Browser panel as well.

If your glTF fails to import, check the Logger panel for an import error message.