Animation Curve Editor
The Animation Curve Editor lets you edit animation curves. Use it for two workflows:
- Script-driven curve assets—float/vec3 curves sampled at runtime via script. Useful for VFX, UI, or any property animation.
- Transform animation—add keyframes to position, rotation, and scale on scene objects via an
AnimationPlayercomponent.
For a step-by-step guide to transform animations, see Animating Scene Objects.
For curves in materials and VFX, see Curves in Materials and VFX.
Opening the Editor
- From the Window menu—Window → Animation Curve Editor.
- Double-click an
AnimationAssetin the Assets panel. - Via the Animate action—right-click a scene object and choose Animate. The editor opens with the new curves loaded. See Animating Scene Objects.
Selection-driven loading
Select a scene object with an AnimationPlayer component and the editor loads the first clip's curves. No manual asset selection needed.
Adding a Script-Driven Curve Asset
To create a standalone curve asset:
- In the Assets panel, click the + button.
- Select Animation Curve.
Add curve tracks via the asset's Inspector panel.
Clips Bar
Select a scene object with an AnimationPlayer to show the Clips Bar in the toolbar area. Each animation clip appears as a pill button.
- Click a clip pill to load that clip's
AnimationAsset. - The active clip appears highlighted.
The clips bar and transport controls appear only when your selection includes an AnimationPlayer. They don't appear for standalone curve assets.
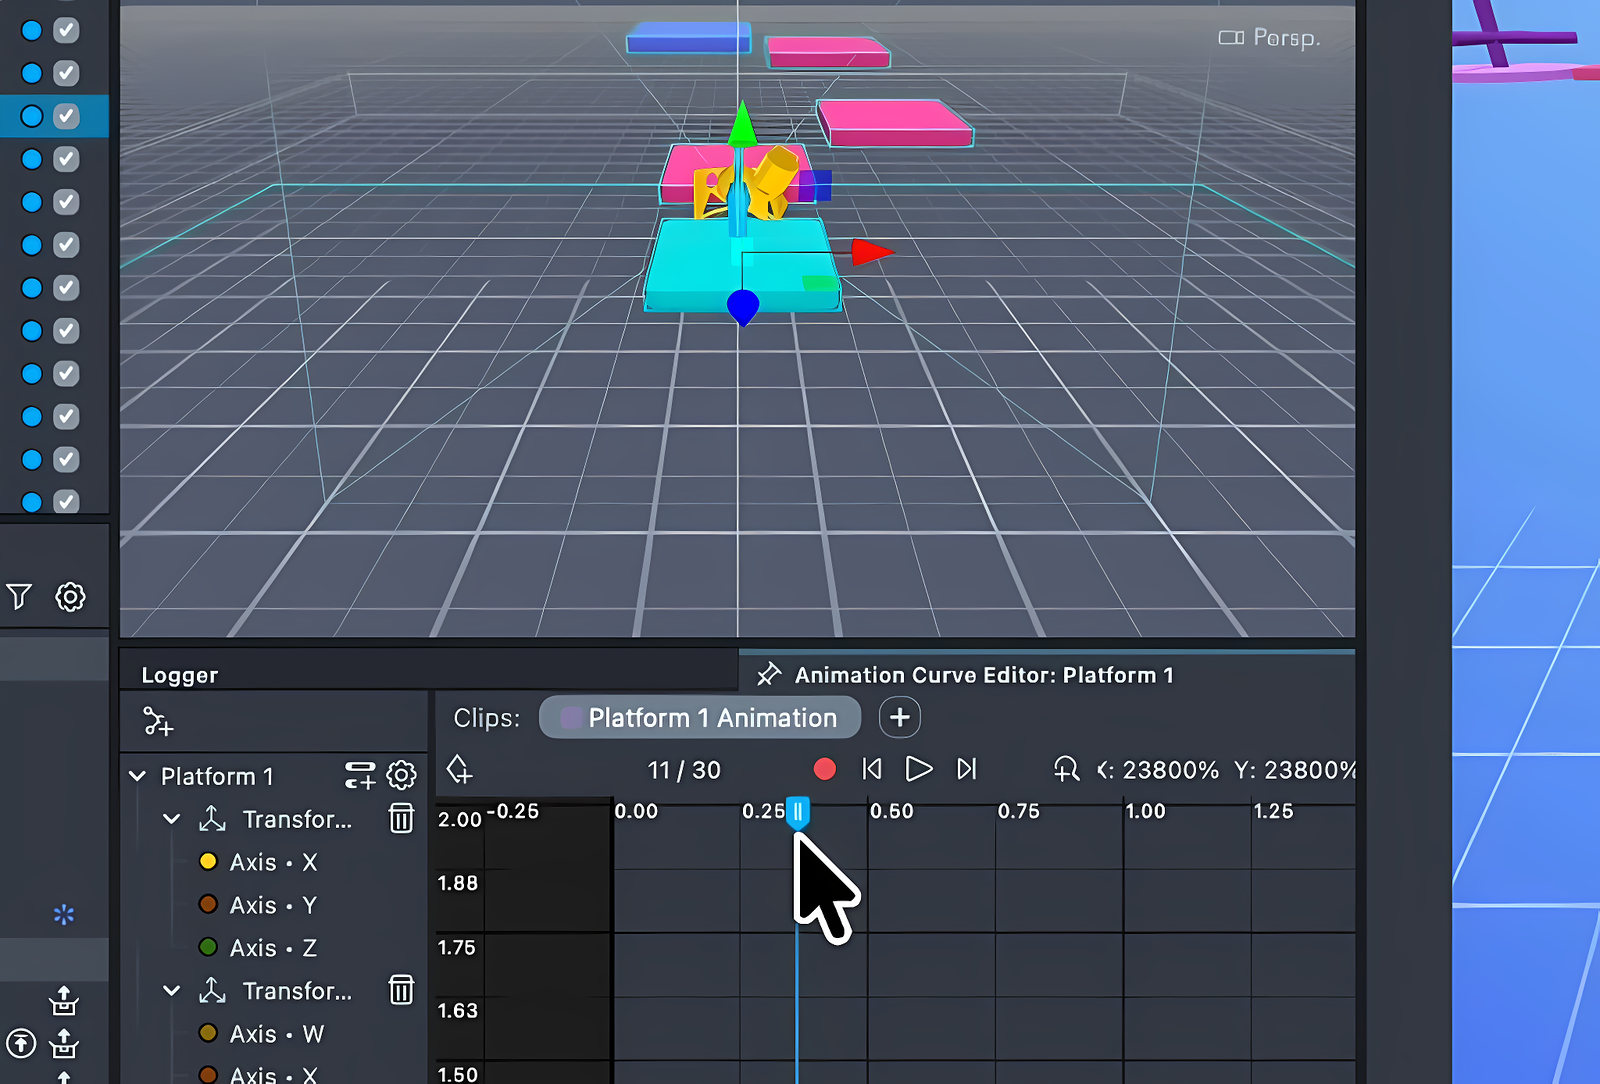
Transport Controls
Use these transport controls in the toolbar to preview animations:
| Control | Action |
|---|---|
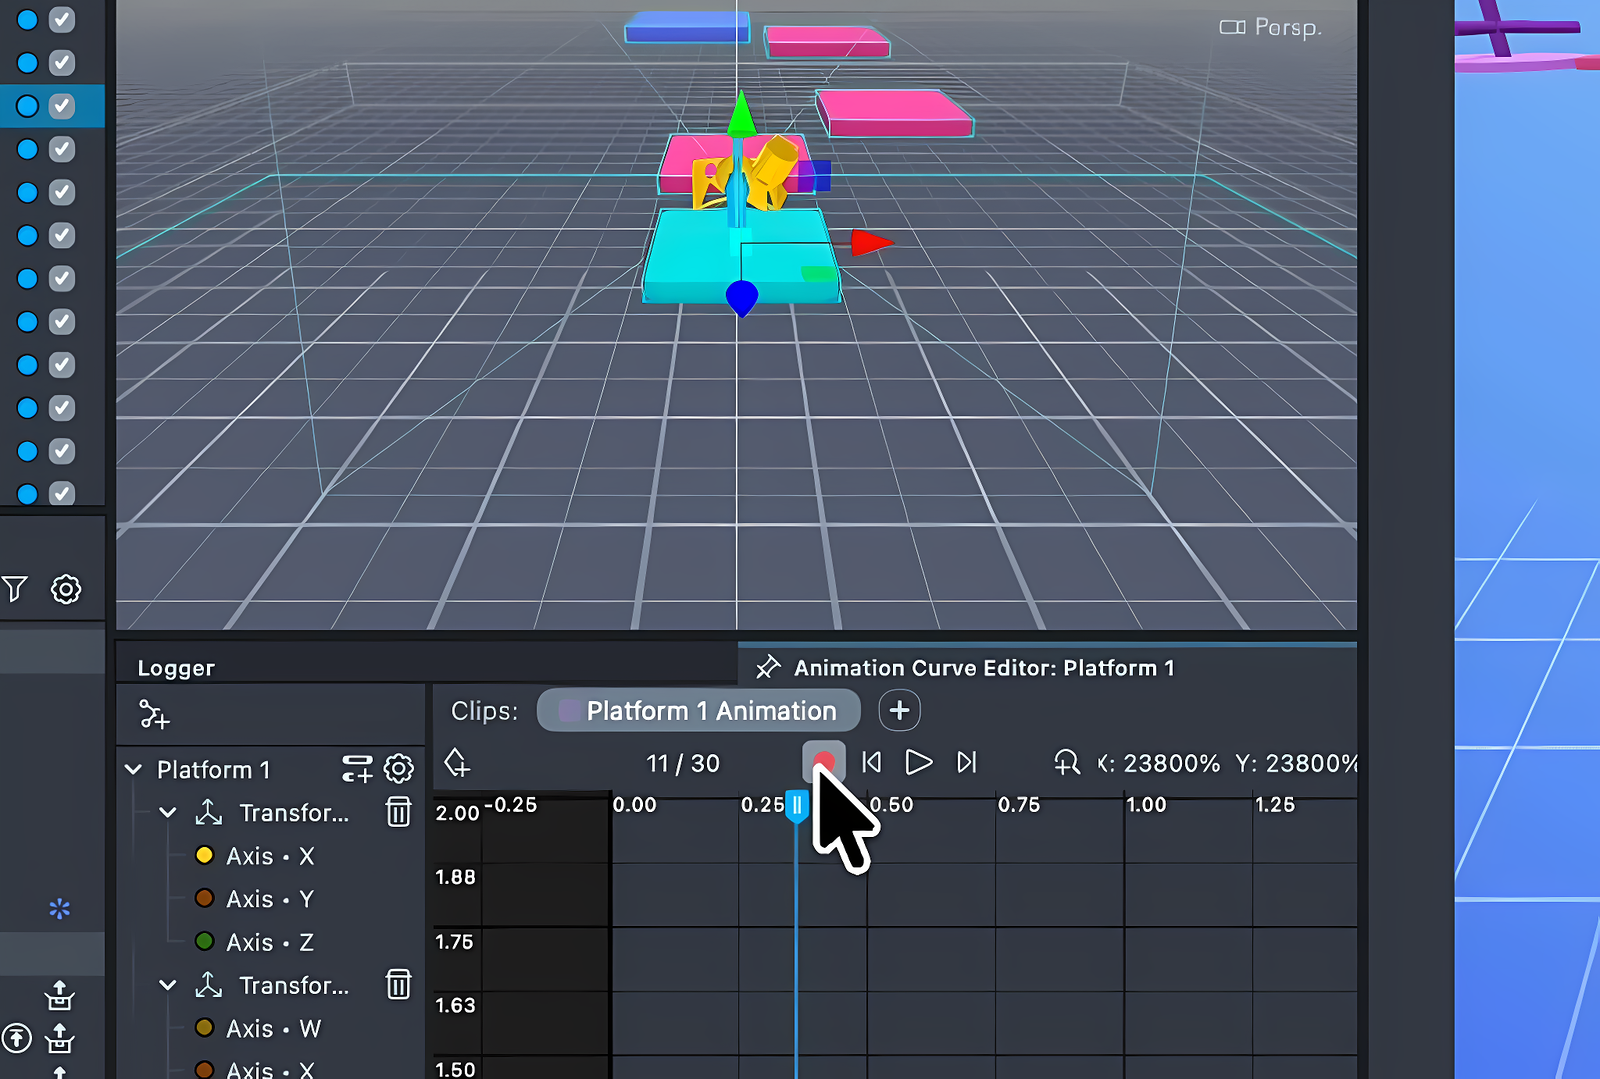
| Record | Starts or stops keyframe recording. The button turns red when on. The editor captures transform changes as keyframes. See Keyframe Recording. |
| Step Back | Moves the playhead back one frame. |
| Play / Stop | Toggles AnimationPlayer autoplay. The icon switches between a triangle for play and a square for stop. |
| Step Forward | Advances the playhead one frame. |
| Frame counter | Shows the current frame and total frames—for example, 12 / 60. |
| Zoom label | Shows the canvas zoom level on both axes. |
Scrubbing
Click and drag the time ruler to scrub through the animation. The playhead and frame counter update as you drag. The scene updates on release, creating one undo entry per scrub.
Playhead
A vertical playhead line—with a triangle handle at the top of the ruler—marks the current time. It moves as you scrub, step, or play.
Keyframe Recording
With the Record button on, moving or scaling an object in the Scene Editor viewport adds keyframes at the scrubber time.
Recording workflow
- Enable the Record button—it turns red when on.
- Move the scrubber to the desired time.
- Drag, rotate, or scale the object in the viewport.
- The editor writes a position, rotation, and scale keyframe on release.
The editor overwrites existing keyframes at the same time. Record state persists when you switch clips or change selection.
For a complete recording walkthrough, see Recording Keyframes.
Navigating the Canvas
| Mac | Windows | |
|---|---|---|
| Pan View | Shift+Left-click+Drag | Shift+Left-click+Drag |
| Zoom | Scroll Wheel | Scroll Wheel |
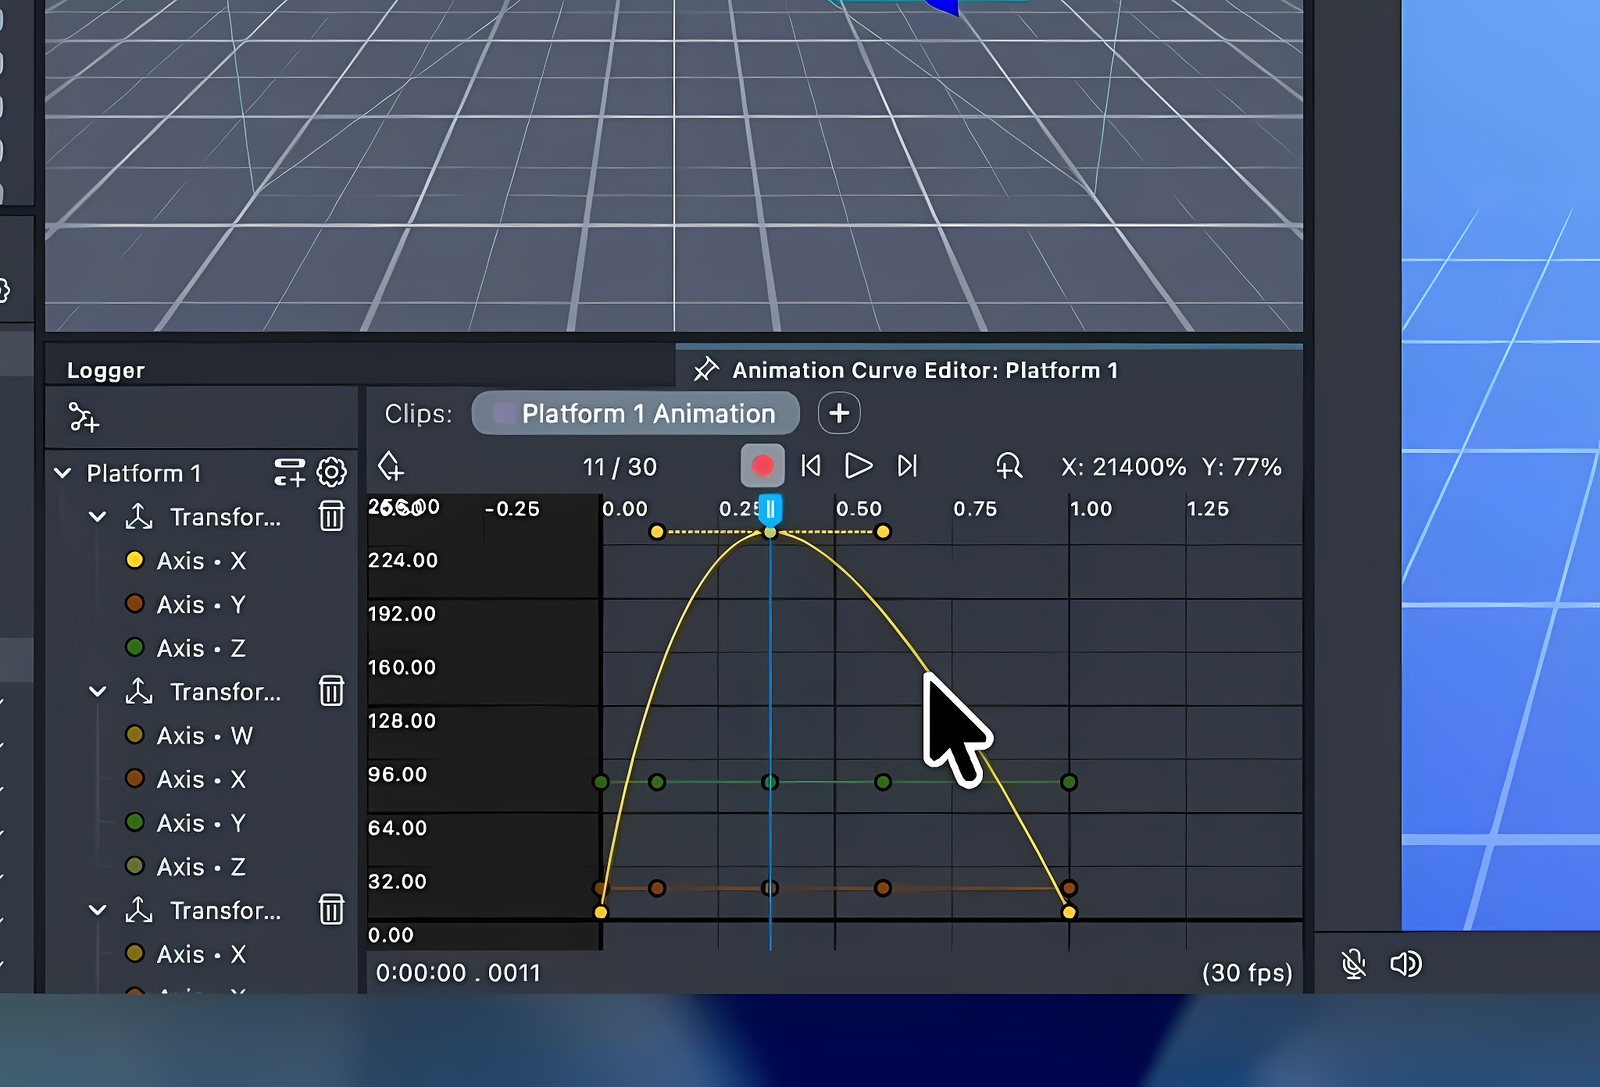
Selecting and Editing Curves
Click a curve in the list on the left, or click a keyframe control point on the canvas, to select it.
| Mac | Windows | |
|---|---|---|
| Drag Control Point | Left-click + Drag | Left-click + Drag |
Adding a keyframe
Right-click an active curve in the canvas to insert a new keyframe at that position.
Mid-curve inserts use Bezier subdivision. The new keyframe lands on the original curve. Neighbors stay unchanged.
Editing a keyframe
Right-click a control point to open the options menu:
| Option | Effect |
|---|---|
| Remove Key | Deletes the keyframe. |
| Right Tangent / Left Tangent | Sets the tangent type for the outgoing or incoming handle. |
| Presets → Linear | Switches the segment to linear. No handle appears. |
| Presets → EaseIn | Bezier ease-in. |
| Presets → EaseOut | Bezier ease-out. |
| Presets → EaseInOut | Smooth ease on both sides. |
Tangent Types and Bezier Handles
Tangent types
Each keyframe segment has one of three tangent types:
| Type | Behavior |
|---|---|
| Free | Drag each Bezier handle to shape the curve. New assets created via Animate default to this type. |
| Linear | Straight line between keyframes. No handles appear. |
| Constant | Holds the value until the next keyframe—a step function. |
Per-segment tangent visibility
Handles appear based on each segment's tangent type. A curve can mix linear and Bezier segments. For example, a position track can snap to a key and then ease out.
- The out-tangent handle on keyframe N shapes the curve leaving that key.
- The in-tangent handle on keyframe N+1 shapes the curve arriving at the next key.
Runtime fidelity
The Lens resamples non-linear Bezier curves at the asset's frame rate during play. The editor curve matches the runtime result. Linear animations skip resampling.
Related Links
- Animating Scene Objects—step-by-step guide to the transform animation workflow
- Animation Player—AnimationPlayer, AnimationClip, and AnimationAsset reference
- Animation Events—trigger callbacks at specific points in an animation timeline
- Playing Animations Programmatically—control playback from script
- Curves in Materials and VFX—using curve assets in the shader and VFX graph
- Animation Player API
- Animation Asset API