Keyword Detection
This template allows to detect certain keywords in the audio input and trigger effects when they are detected. The template generates melspectrogram image and predicts the probability of keywords with Machine Learning model.
Creating a Model
While the template comes with two ML models, each with different keywords available
you can detect any keywords by importing your own machine learning model. We’ll go through an example of what this might look like below.
To learn more about Machine Learning and Lens Studio, take a look at the ML Overview page.
Prerequisites
To create a model, you’ll need a:
- Machine learning training notebook: Download our example notebook here
- Data set: in example we are using
torch.utils.data.Datasetversion of a SPEECHCOMMANDS dataset
This dataset comes with 35 different keywords which you can pick a subset from.
Training Your Model
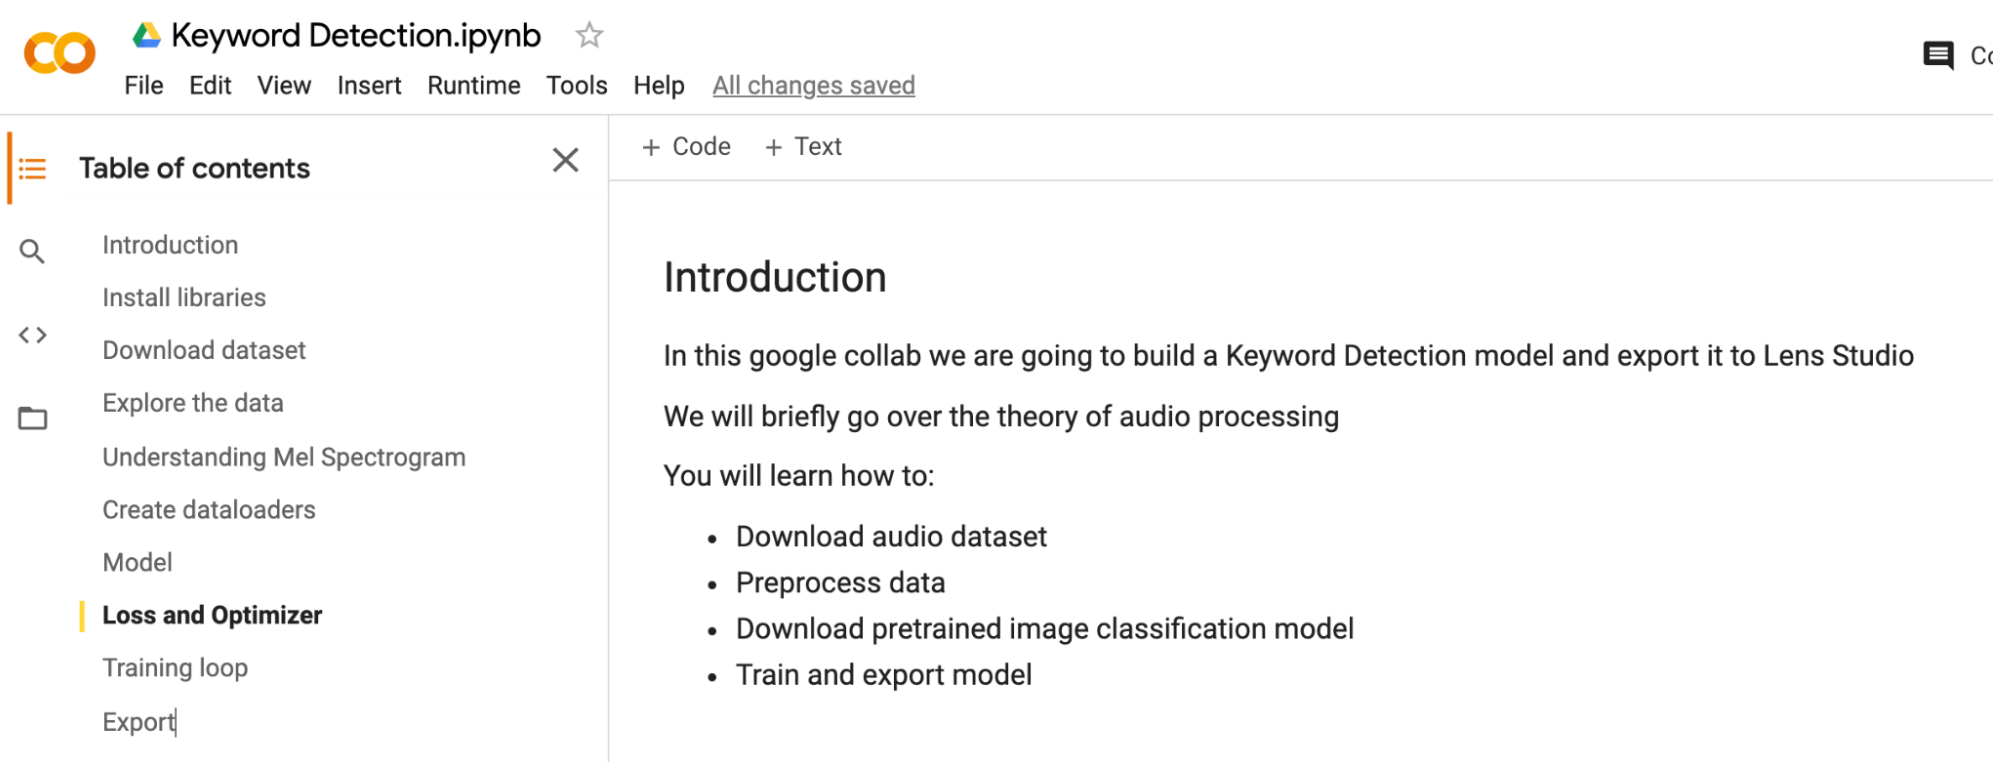
There are many different ways you can train your model. For our example, we will use Google Colaboratory. To see other ways of training, take a look at the ML Frameworks page of the guide section.
Head over to Google Colaboratory, select the Upload tab, and drag the python notebook into the upload area.
The notebook is well documented with information about what each section of the code is doing. Take a look at the notebook to learn more about the training process itself!
Once your notebook has been opened, you can choose which labels you want the model to segment out. Then, you can run the code by choosing Runtime > Run All in the menu bar. This model takes about 2 hours to train.
Downloading your Model
You can scroll to the Train Loop section of the notebook to see how your machine learning model is coming along.
Once you are happy with the result, you can download your .onnx model!
When using a data set to train your model, make sure that you adhere to the usage license of that dataset.
Keyword Detection Controller
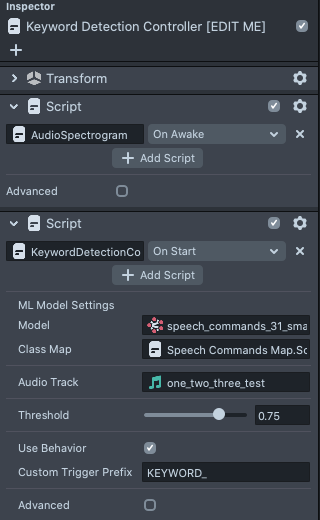
The keyword detection is driven by the Keyword Detection Controller object. This object contains the AudioSpectogram script which provides a function to calculate the MelSpectogram of an audio and generates spectrogram texture.(You can find more information about this terms in the training notebook) The KeywordDetectionController script then takes the generated texture, and passes it into an ML model.
Choosing your Keywords
There are two different ML models provided in the template, depending on which keywords you are looking to use. In the Resources panel, you will find a folder called ML [TRY_SWAPPING] with a Models and Labels folder. Each model has a corresponding label (keywords that you can use).
To find the list of keywords you can detect for each model, double click on one of the scripts in the Labels folder. Once you’ve decided which keywords you want to use, we can set up the KeywordDetectionController to use them.
First we will set the model we want to use by changing the Model field.
Then, we’ll modify the Labels [SWAP LABELS] object and choose the labels corresponding to that model.
Choosing audio to analyze
With the detection set up, we can next choose the Audio Track we want to analyze. By default the template comes with an audio of a person saying “one two three”. You can select the Audio Track field in the KeywordDetectionController script to change what the Lens is listening to.
Select the Audio from Microphone [link] to start processing user voice.
![]()
Then, make sure to enable Microphone input in the bottom left corner of the Preview panel so that your voice will be passed into the Lens

Responding to Detected Keywords
Responding with Behavior
At the bottom of the KeywordDetectionController, you’ll find a checkbox to Use Behavior. This checkbox will tell the KeywordDetectionController to call a Custom Behavior Triggers when a keyword is detected.

With this trigger in mind, let’s see an example of how we can respond to a detected keyword.
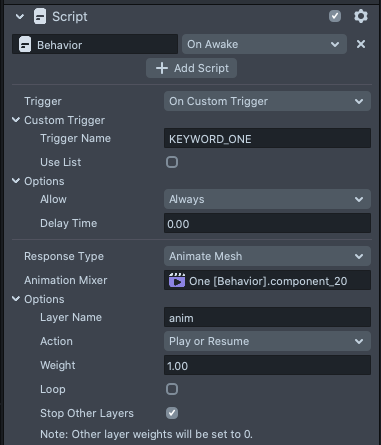
Take a look at the example animation One, Two, and Three under the Example Numbers object to see how the animation is called when the user says the related keyword.

For example, in the One object, you can see that there is an animation that is played in response to the trigger KEYWORD_ONE.
There’s a lot more that Behavior can do, such as play sounds, texture animation, enable objects and more! Take a look at the Behavior guide for more information.
If you want to respond with your own script, you can listen to the behavior keyword:
global.behaviorSystem.addCustomTriggerResponse(triggerName, callback);
Alternatively, if you want to use Visual Script Editor, you can use the provided custom node: AddCustomTriggerResponse under Scripts > Behavior > Behavior Nodes. Simply drag them into your script graph and connect the response you want to do.