Simple World Mesh
The Simple World Mesh Example showcases a way you can take advantage of the World Mesh to understand the world around you and add effects that respond to them.
This example uses the World Mesh, which capabilities can vary across devices. Take a look at the World Mesh guide to learn more.
Guide
Find the Spawn Object at World Mesh on Tap asset in the Asset Library and import it into your project. Click here to learn more about how to use assets from the Asset Library.
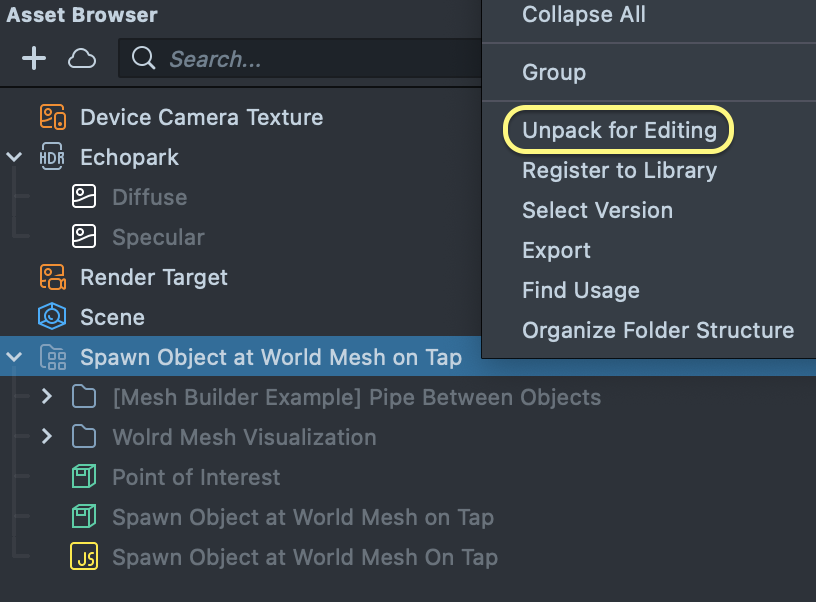
Once you import the asset from Asset Library, you can find the package in the Asset Browser.
You can right-click and select Unpack for Editing from the drop-down menu to unpack all assets stored in the bundle. Click here to learn more about Asset Packages. Once you unpack the package, you can then edit its content.
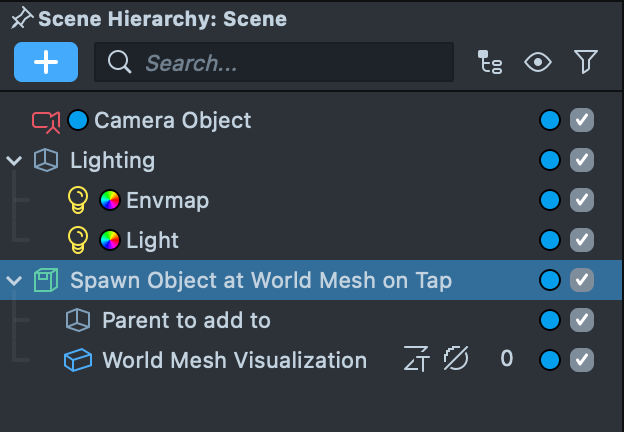
Follow the instructions and drag the prefab Spawn Object at World Mesh on Tap into Scene Hierarchy to create a new Scene Object.
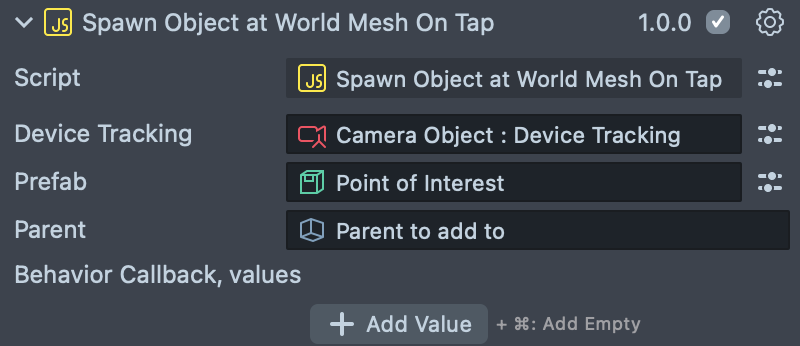
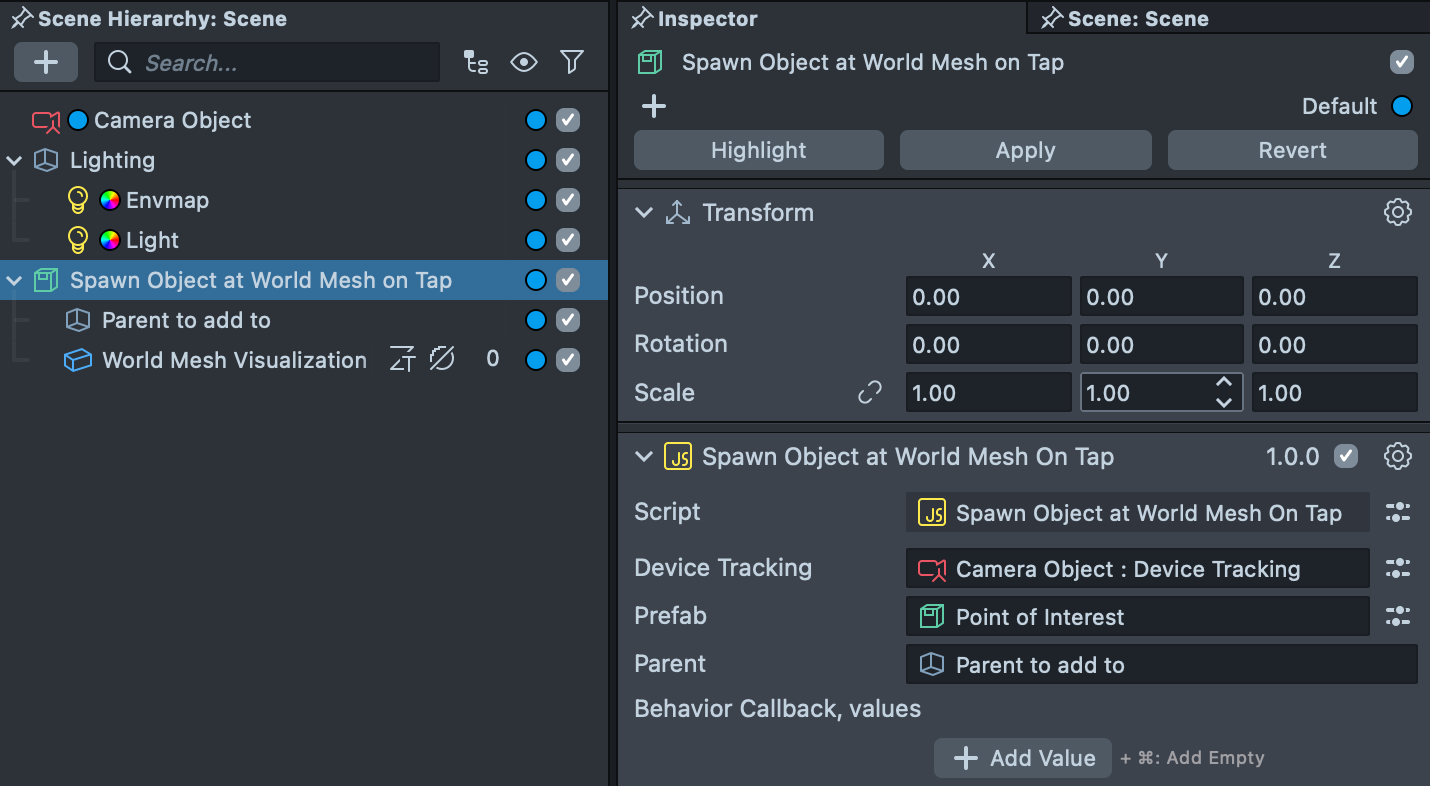
This asset requires a device tracking component. First, select the main Camera Object and add a Device Tracking component. Next, ensure you assign the Device Tracking to the Device Tracking field in the Script Component on the Spawn Object at World Mesh on Tap scene object.
You can push the Lens to your device as you would with any other Lens, but your device must support World Mesh. You can preview how it would look on a supported device in Lens Studio using the Interactive Preview mode in the Preview panel.
Tap To Spawn Example
This example allows you to spawn any prefab in the world. You can simply tap on the screen and see your prefab spawns in the world.
Set up Object Spawning
To change the spawning object, first we need to create a prefab from the object that we want to spawn. The easiest way of making a prefab resource is to right click on your object in the Scene Hierarchy panel and then selecting Save as Prefab. As soon as you click you can see the new prefab added to the Asset Browser panel.
Since we have a backup of our object as a prefab in the Asset Browser panel, you can simply delete the one in the Scene Hierarchy panel. However, make sure to keep the one in the Asset Browser panel.
Now that we have our prefab ready, let’s modify the example so we can spawn our own prefab into the world. To do that first select the Spawn Object at World Mesh on Tap object, then in the Inspector panel, replace the prefab input with the prefab that we just created.
Now we can tap on the screen and see our new object is getting spawned in the world!
Set up Scene Effect
This example also comes with a custom graph material that lets you easily design patterns and attach it to the world.
You can find this material by selecting the World Mesh Visualization object in the Scene Hierarchy panel. Then in the Inspector panel, right click on world_mesh_visualization material and click the Select option.
Now you can change the Pattern input to your own image to create your own pattern and apply it to the world.
Feel free to play around with values to create your own amazing pattern!
Previewing Your Lens
You’re now ready to preview your Lens experience. To preview your Lens in Snapchat, follow the Pairing to Snapchat guide.