Marker
The Marker feature allows you to specify an image that is recognized and tracked by the Snapchat camera. Unlike the other tracking techniques in the Device Tracking component, marker tracking detects and tracks the features in a specific user defined image. The guide shows you how to utilize marker tracking to create 2D and 3D experience tightly tracked to a marker image. It also includes different effects that can be triggered when the marker is recognized, tapped and more.
It is not recommended to utilize the Marker feature for a sponsored experience because it is not guaranteed that the user will have the target marker readily available. For brands, the Marker feature is instead recommended for print campaigns with a Lens that is unlockable via Snapcode.
Add 2D Content with Marker Image asset
Find the Marker Image asset in the Asset Library and import it into your project. Click here to learn more about how to use assets in the Asset Library. Once you import the asset from Asset Library, you can find the package in the Asset Browser. You can right-click and select Unpack for Editing from the drop-down menu to unpack all assets stored in the bundle. Click here to learn more about Asset Packages. Once you unpack the package, you can then edit its content.

Follow the instructions and drag the prefab Marker Image into Scene Hierarchy under Camera Object to create a new Scene Object.
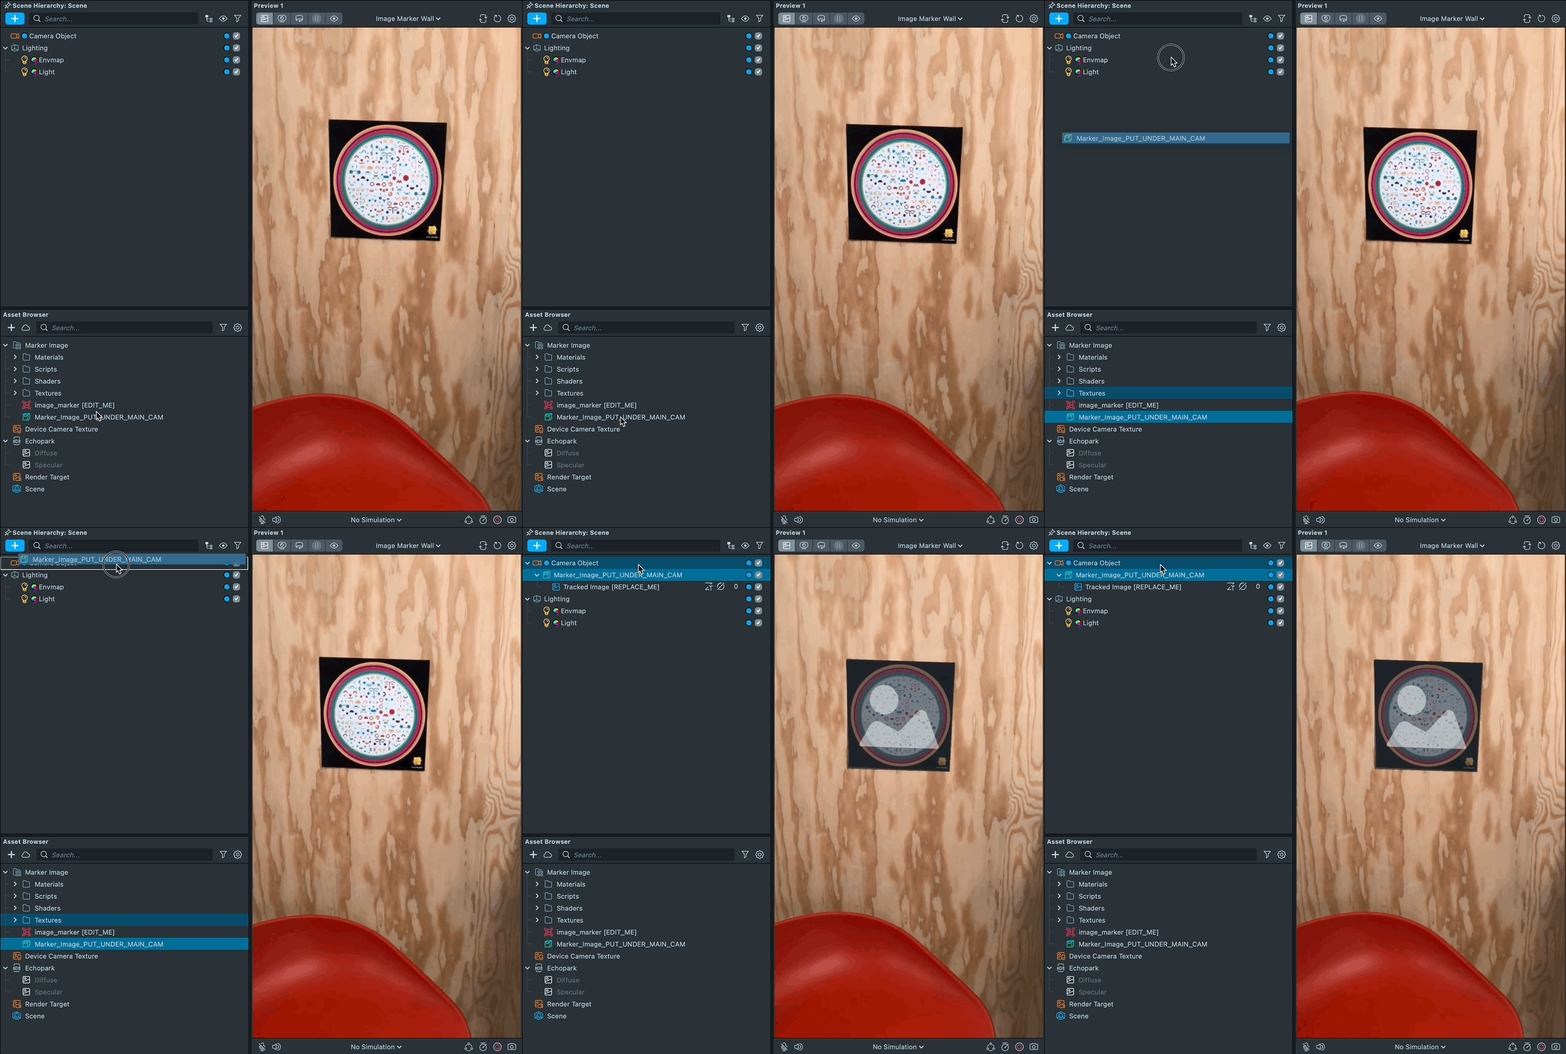
Image Marker Component
Click the Marker Image object. You can attach Image Marker Asset to the Marker Tracking Component in the Inspector Panel. With Image Marker selected in the Asset Brower, you can define Marker Height and attach Marker Texture. Click here to learn more about Marker Tracking.

Image Tracking Controller
Find ImageTrackingController script component in the Marker Image object.
Marker Tracking Component: AttachMarker Tracking Componentto the script.Resize Object Arrary: Resize the objects to match marker size.Send Triggers: Enable to send behavior triggers. Allow you to trigger marker event without coding.On Marker Found: Send behavior triggers when marker is found.On Marker Lost: Send behavior triggers when marker is Lost.
Click here to learn more about behavior script.
Add 3D Content with Marker Cube asset
Find the Marker Cube asset in the Asset Library and import it into your project. Click here to learn more about how to use assets in the Asset Library. Once you import the asset from Asset Library, you can find the package in the Asset Browser. You can right-click and select Unpack for Editing from the drop-down menu to unpack all assets stored in the bundle. Click here to learn more about Asset Packages. Once you unpack the package, you can then edit its content.
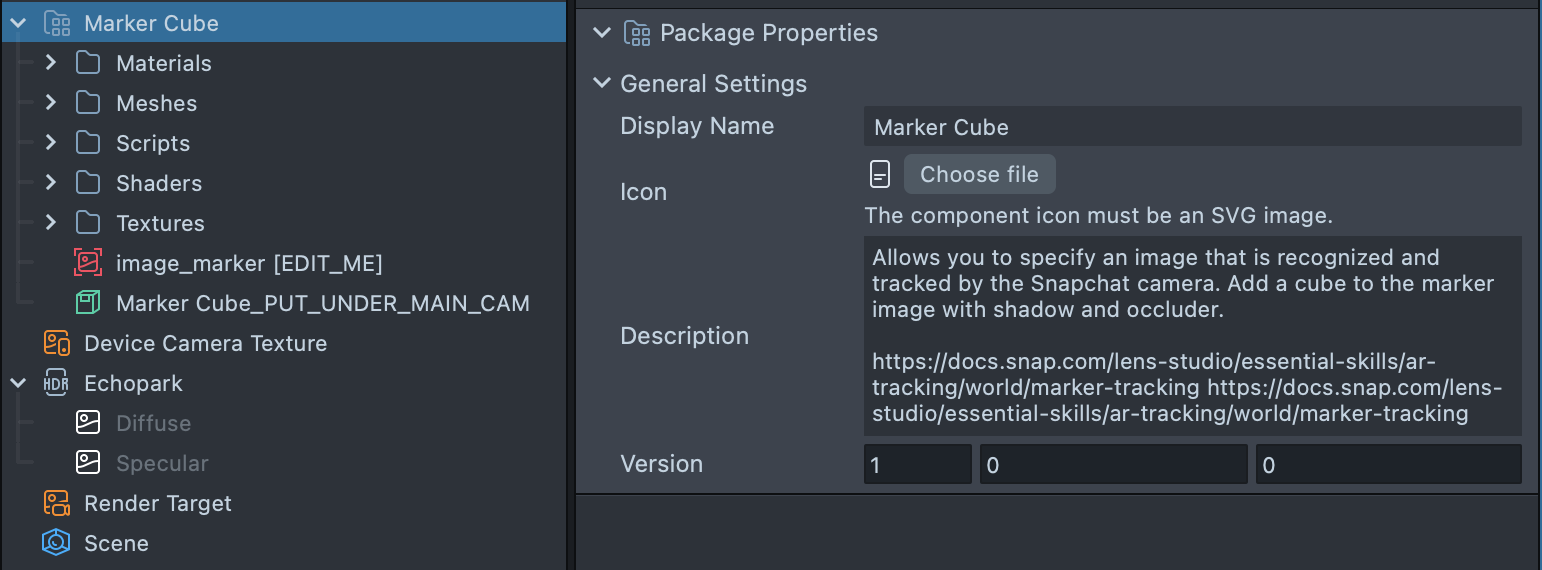
Follow the instructions and drag the prefab Marker Cube into Scene Hierarchy under Camera Object to create a new Scene Object.
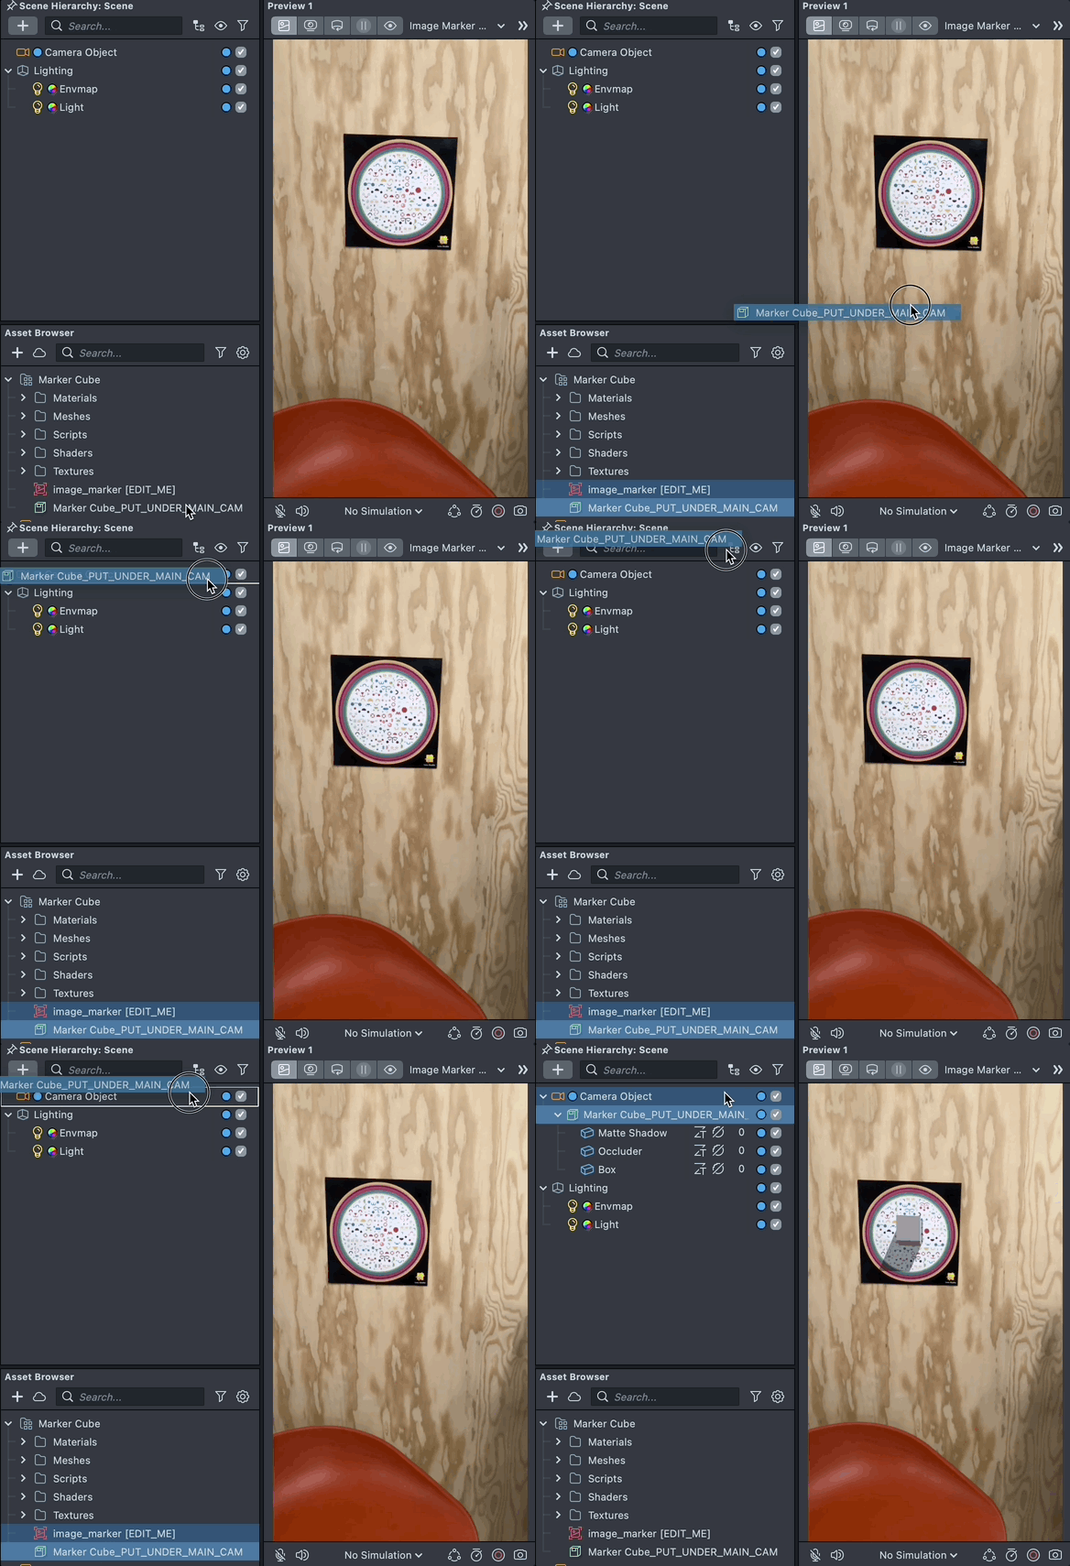
Image Marker Component
Click the Marker Image object. You can attach Image Marker Asset to the Marker Tracking Component in the Inspector Panel. With Image Marker selected in the Asset Brower, you can define Marker Height and attach Marker Texture. Click here to learn more about Marker Tracking.

Enable Light Shadows
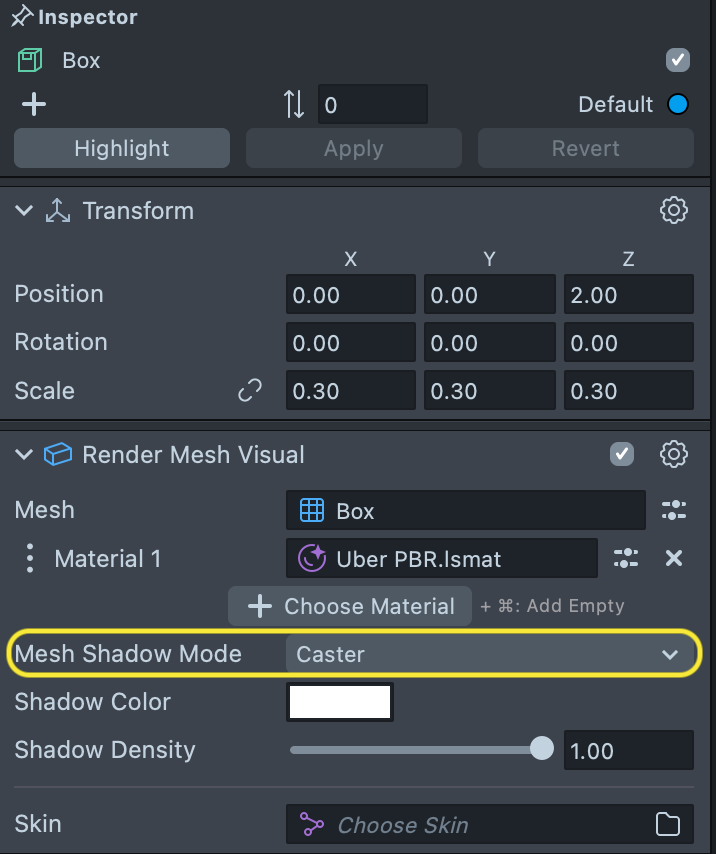
Find EnableLightShadows script component in the Marker Cube object. This script enables shadows in the Light Source automatically. In order to make your own mesh cast shadows on the Matte Shadow Plane. Change Mesh Shadow Mode to Caster in the Render Mesh Visual Component.
Scripting the Marker Found and Lost Events
Follow the below script examples to create your own custom interactions for when a marker is found or lost.
script.onMarkerFound
This function is triggered when the marker is found as long as it is on an object that is a child of the Image Marker [EDIT_ME] object. Example script below:
script.onMarkerFound = function () {
  print('Marker Found');
};
script.onMarkerLost
This function is triggered when the marker is lost as long as it is on an object that is a child of the Image Marker [EDIT_ME] object. Example script below:
script.onMarkerLost = function () {
  print('Marker Lost');
};
Create your own Marker
Designing an Image Marker
When picking an image for your marker, keep the following guidelines in mind to make sure that it will have smooth and accurate tracking. For more information, refer to the Marker Tracking guide.
- Make sure your image has a lot of detail and contrast.
- Avoid repetitive patterns.
- Avoid low resolution images.
- Use a
PNGorJPGwith a resolution of 2048 x 2048 or less,
Adding an Image Marker
After designing an image marker, you need to import the marker into Lens Studio. To do this, in the Asset Browser panel select + -> Image Marker.

Then, select the image file that you want to use as your image marker.
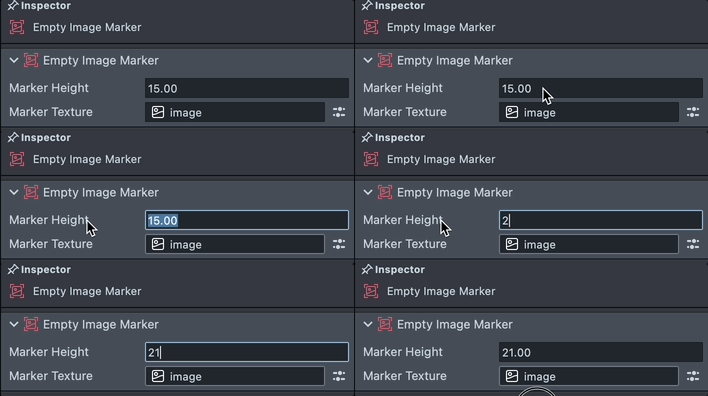
You’ll now have an image marker resource in your Asset Browser panel. Select your marker and in the Inspector panel, tune the height of your image in centimeters if you want the size of your marker in the Scene panel to accurately reflect the size of your marker in physical space.
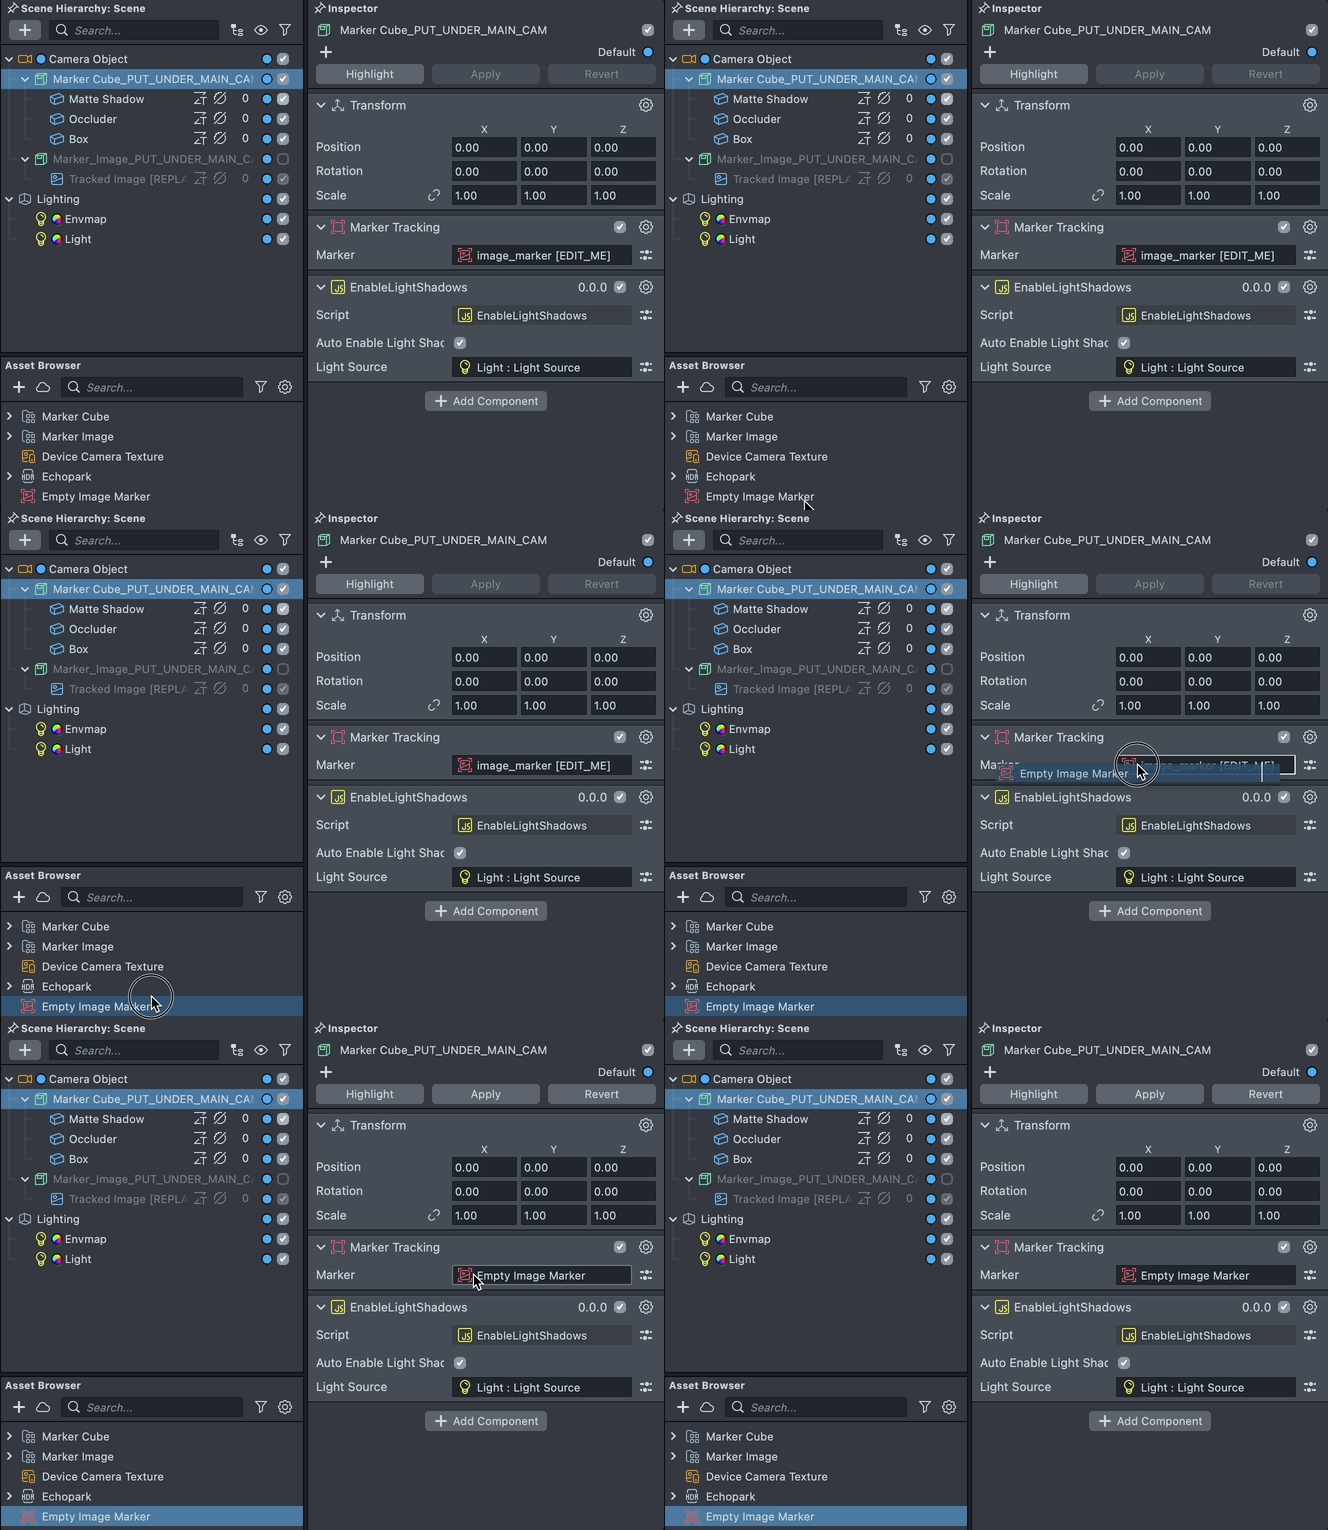
To replace the marker, locate the object named Image Marker [EDIT_ME] in the Scene Hierarchy panel and assign your newly created image marker to the Marker field of the Marker Tracking component.
Adding a Snapcode Marker
With a Snapcode Marker you can detect and track any Snapcode. This allows you to create an experience that works on all Snapcodes. In the Asset Browser panel + -> Snapcode Marker to create a new Snapcode Marker.
In the Scene Hierarchy panel, locate the object named Image Marker and select it. Then, assign the Snapcode Marker resource to the Marker field of the Marker Tracking component.
Attach Content to the Image Marker
Drag and drop your custom content to be a child of the Image Marker [EDIT_ME] object in the Scene panel. Any object (including 2D Images) can be added as a child of the Image Marker [EDIT_ME] object to have them be tightly tracked to the marker image.
Previewing Your Lens
You're now ready to preview your Lens experience. To preview your Lens in Snapchat, follow the Pairing to Snapchat guide.
Submitting Your Lens
For information on submitting your Lens, follow the below guides: