Cloth Simulation Try-On
The Try On Pack - Dress, Cloth Simulation Coat and Cloth Simulation Hoodie assets demonstrate how you can use various technologies together, such as 3D Body Tracking, Cloth Simulation, Body Mesh, and Physics Collider, on different types of clothing to create a realistic try-on experience. Each asset shows different techniques to create the best experience.
Guide
Find the Try On Pack - Dress, Cloth Simulation Coat and Cloth Simulation Hoodie assets in the Asset Library and import them into your project. Click here to learn more about how to use assets in the Asset Library.
Each of these assets contain 3D meshes of clothes imported from another software. Take a look at the importing 3D guide, external body mesh and cloth simulation to learn more.
Common Elements
While each clothes and technique vary, a common set up is used to allow the clothes to interact with the body.
In short: The person is tracked with an Object Tracking 3D component for the body. A Body Mesh is used to conform the clothes to the body, and Cloth Simulation is used to deform the clothes based on the movement of the body. A Physics Collider is then used to guide the cloth simulation based on the body. Finally, a Body Mesh is used to occlude the part of the garment covered by the person.
3D Body Tracking
At the root object of each asset, you will find an Object Tracking 3D component. This component is responsible for tracking different 3d objects to our body.
![]()
Notice in this component, under Attachment Points, you will have a list of body parts, and a corresponding guide object. These objects guide the clothes so that they do not overlap the body.
![]()
Right click on a field and click Select to see what it is a reference to.
Body Guides
When you expand the asset, you will notice that there is a Collider Guides object, with guides underneath. These are the objects that the Object Tracking 3D component is aligning to the body.
While the cloth simulation interacts with the Physics Collider, not everything in the Physics system applies to it (such as gravity and wind settings).
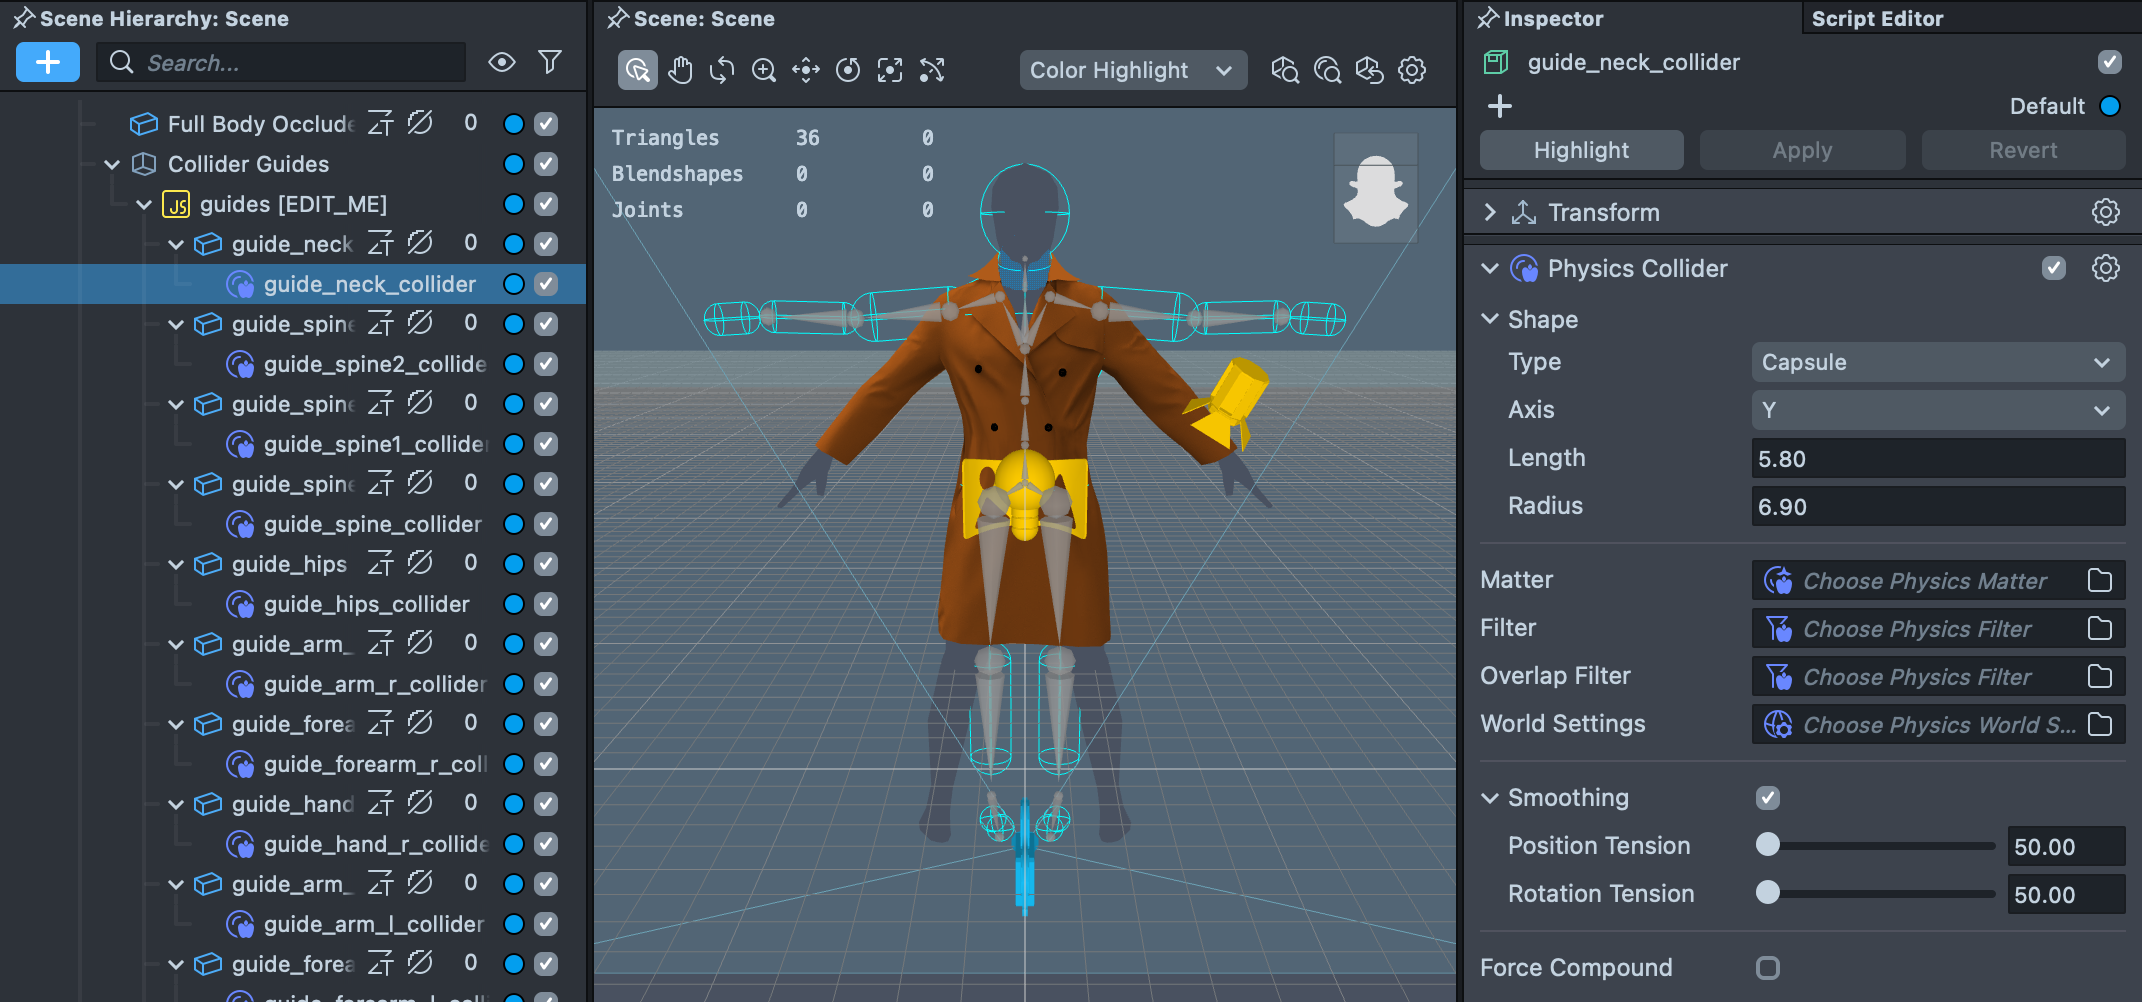
Each guide is a very simple mesh that aligns to the joints of the body. More importantly, each guide has a child object which contains a Physics Collider component. Each Physics Collider can be used for cloth repulsion, and in this case we use it to repel the clothes from the body.
The guides [EDIT_ME] object contains a script that can modify the settings of a collider. This script will automatically apply these settings to every child Cloth Simulation component. In this asset translation and rotation smoothing is applied on all the colliders.
Full Body Occluder
Each asset will have a Full Body Occluder that will hide the parts of the clothes that are covered by the person in the camera. This uses the Body Mesh so the occluder can automatically conform to the user body. Like with the guides, this uses Object Tracking 3D to attach the mesh to the user's body.
Reset Cloth on Tap
Lastly, each asset contains a script that allows the user to reset the cloth simulation by tapping on the screen.

When working with your own clothes, make sure that the Cloth Simulation you are displaying is linked to the Cloth Visual field.
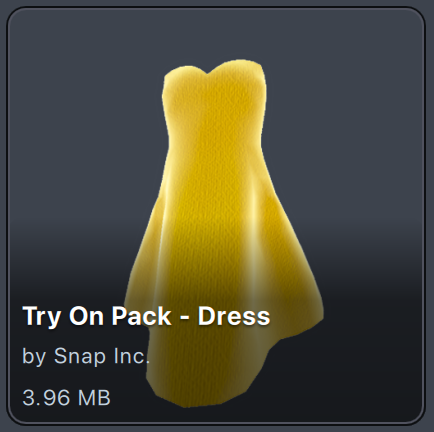
Try On Pack - Dress
In this asset, you will find three examples under the Dresses [TRY_ALL_CHILDREN] scene object. You can enable one at a time to test them individually.
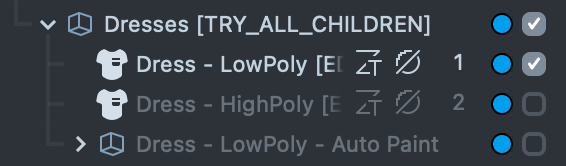
Dress - LowPoly [EDIT ME]
In this example, a External Body Mesh is created from a 3D model of a dress so that the dress conforms to the body. By using Body Mesh, the cloth will change its size based on the user’s body.
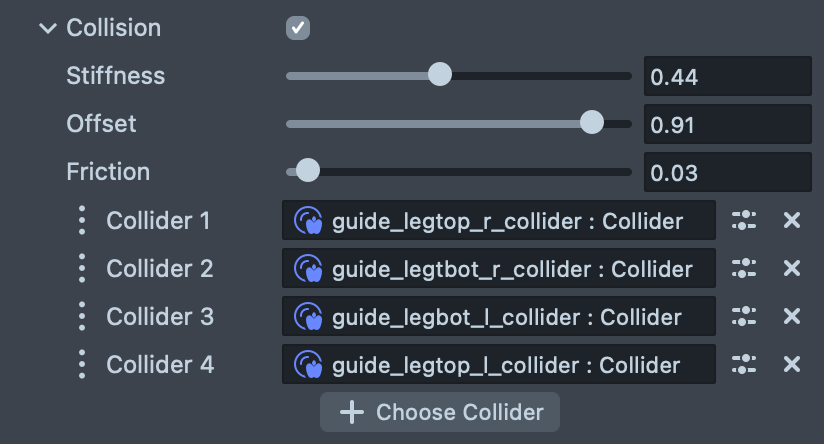
In the Cloth Simulation settings, some of the body guides are added to the Cloth Simulation so that the dress can collide with the user. Only colliders that we expect to interact with our cloth are added to improve the performance of the simulation.
Importantly, the dress is not entirely cloth simulated. The part that hugs the body is pinned to the body mesh. To do this, we use vertex colors to describe which parts of the dress are binded, and which are simulated.
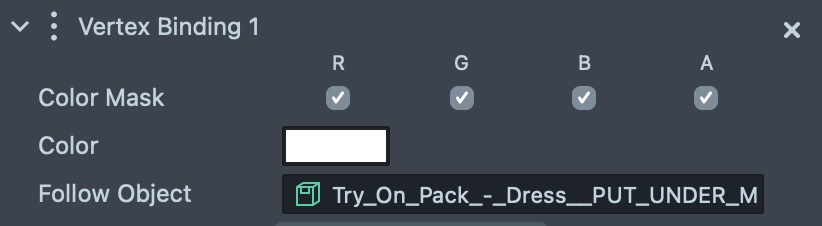
In this case, we bind the vertices of the object painted in white to the 3D body Tracking object. Take a look at the Cloth Simulation template to learn more about using vertex colors to bind clothes.
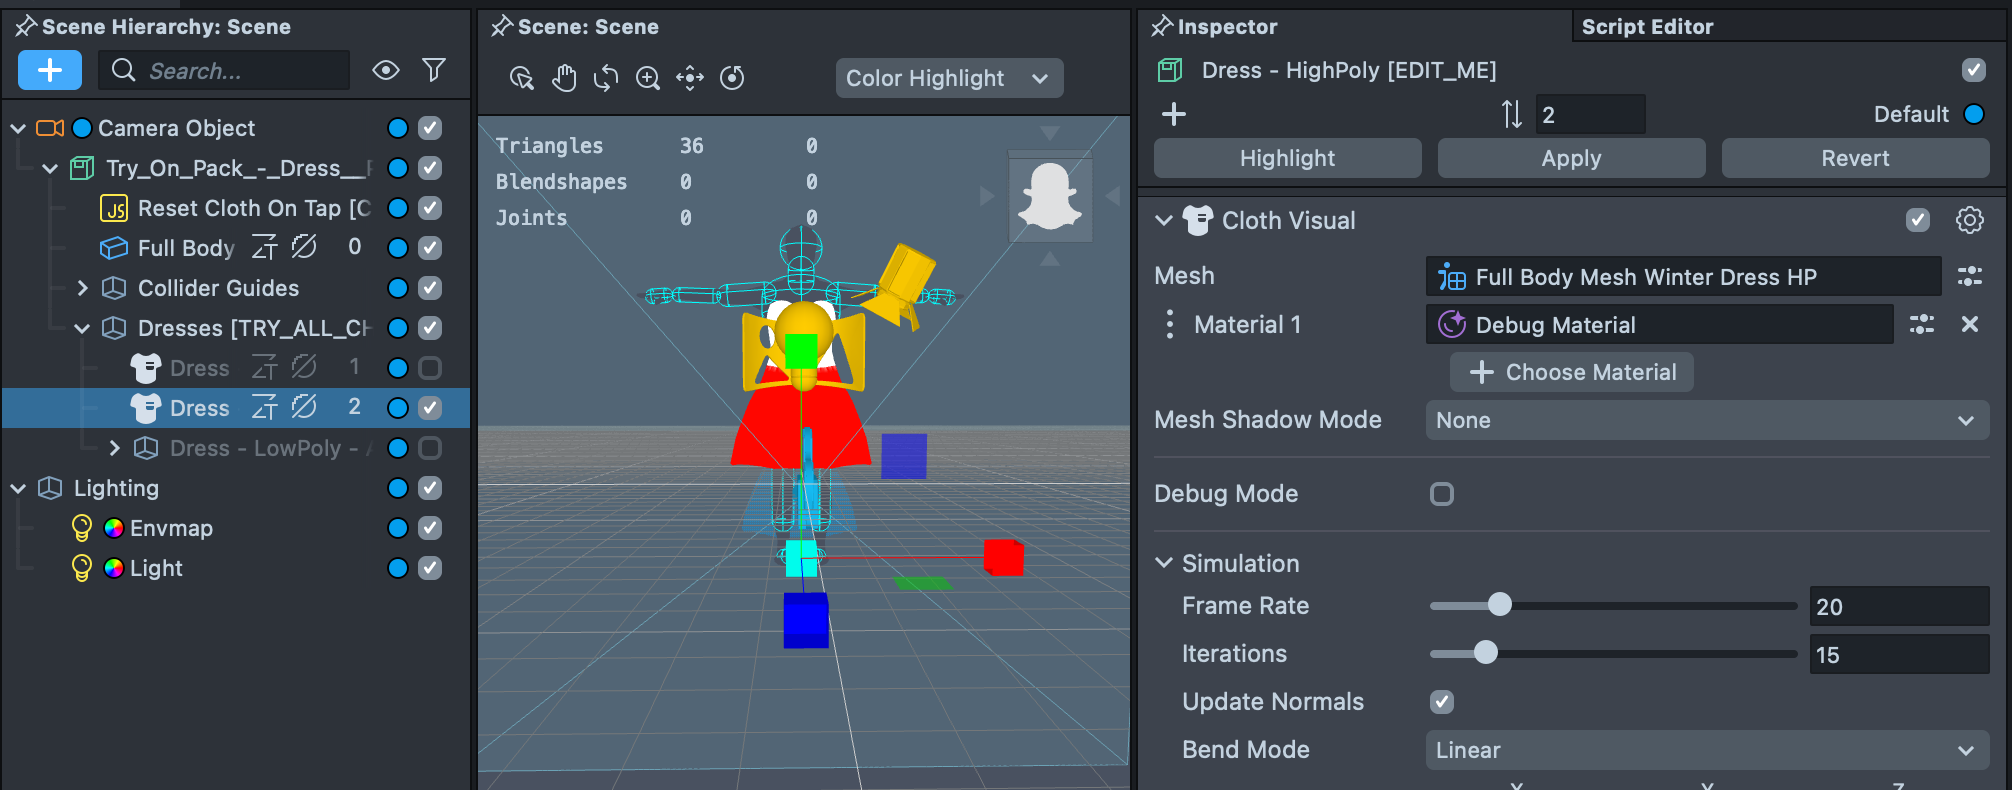
Dress - HighPoly [EDIT ME]
In this example there is a high polygon version of this dress for comparison. In the high poly version we use a debug material that visualizes the different vertex colors! In this example, the white part of the mesh is binded to the body, as set up in the Vertex Bindings section above, whereas the red part of the mesh is driven by cloth simulation. Try using this debug material on the other clothing examples.
Keep in mind that the higher the poly count, the less performant the cloth simulation will be. In most cases you will want to use the low poly version of the dress as it will work better across all devices.
You can create a simple graph material to visualize the vertex colors of your mesh like so:

Dress - LowPoly - Auto Paint
In this example, rather than manually binding some vertex colors to parts of the body like above, we use a script to automatically bind each Body Mesh vertices to the Cloth Simulation vertices closest to them.
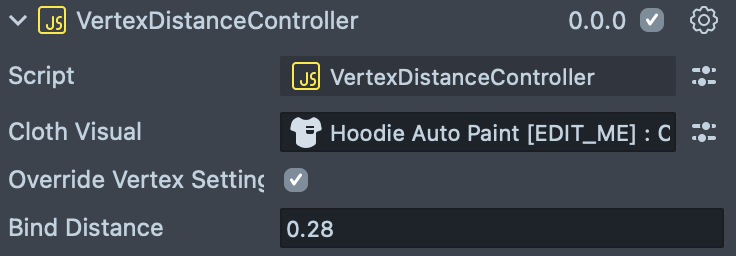
This binding is done by the Vertex Distance Controller object, or, more specifically: the VertexDistanceController script it contains.

- Cloth Visual: The Cloth Simulation which contains the Body Mesh that you will bind together.
- Override Vertex Settings: Whether or not you want this script to Auto paint.
- Bind Distance Field: Represents the threshold for binding the Body Mesh to the Cloth Simulation.
Note: The Bind Distance field in the VertexDistanceController script operates with values between 0 and 1, and is influenced by the maximum distance set on the External Body Mesh asset. Therefore, when using this script, it's recommended to first configure the optimal parameters on the External Body Mesh, and then adjust the cloth simulation bind distance accordingly.
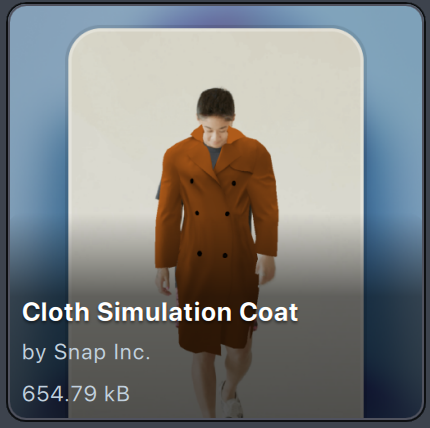
Cloth Simulation Coat
In the Cloth Simulation Coat asset, we use largely the same techniques as the Dress asset. Notice how like the dress, the bottom part of the coat is moving with the cloth simulation, while the chest part conforms to the body.
We add a secondary body mesh to add additional details to our clothes. In this case, we added buttons. These buttons will conform to the body (since it is using Body Mesh), but will NOT interact with the body, since it does not have a Cloth Simulation component.
Ensuring that your Lens is performant by only using simulations when needed will improve your overall Lens.
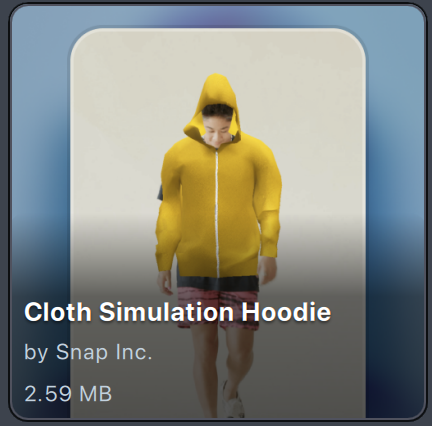
Cloth Simulation Hoodie
This asset uses the same auto paint technique and VertexDistanceController script as the Dress - LowPoly - Auto Paint example from the Try On Pack - Dress asset, where the script automatically binds each Body Mesh vertex to the closest Cloth Simulation vertex.
- Cloth Visual: The Cloth Simulation which contains the Body Mesh that you will bind together.
- Override Vertex Settings: Whether or not you want this script to Auto paint.
- Bind Distance Field: Represents the threshold for binding the Body Mesh to the Cloth Simulation.
Previewing Your Lens
You're now ready to preview your Lens experience in Snapchat! To do so follow the Pairing to Snapchat guide.