Wristwear Try-On
With the Wrist Tracking Custom Component, Lens Developers can create unique AR Try-On experiences that can be tracked onto the user's wrist. The Wristwear Try-On Sample Project offers a quick way for you to get started building wrist-based Try-On experiences.
This sample project is available on Lens Studio Home Page.
Sample Project Walkthrough
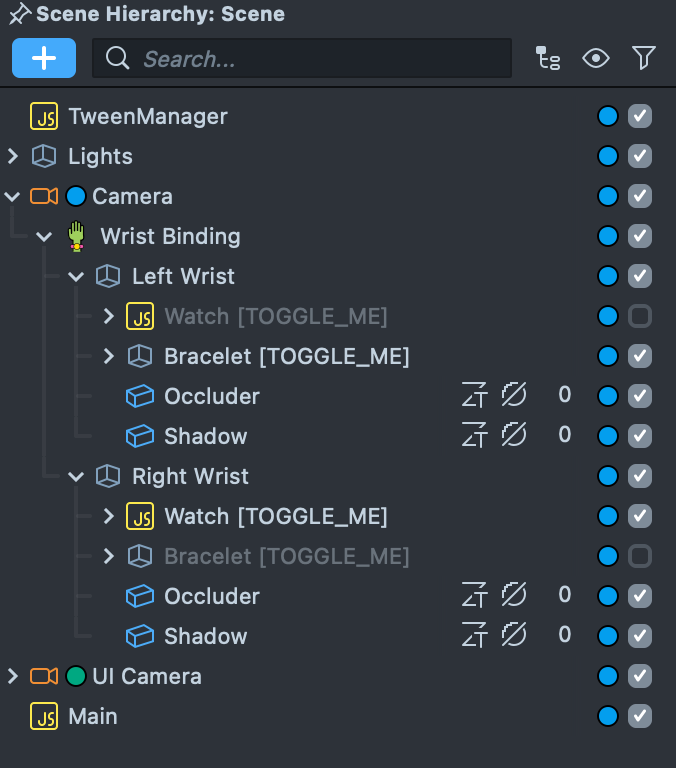
Once you open the Wristwear Try-On Sample Project, you will see the Wrist Binding SceneObject where all of the content for this sample project is located. The important Scene Objects in this project are:
Wrist BindingScene Object handles the wrist tracking.- The
Left WristandRight WristScene Objects contain all the content related to the left and right wrists, respectively. - The
Watch [TOGGLE_ME]andBracelet [TOGGLE_ME]Scene Objects are examples that demonstrate how to create your own Try-On AR experiences.
One thing to keep in mind when making your own Wristwear Try-On Lenses is to make sure that custom meshes are oriented the same way as they are in the examples.
If you would like to use your own 3D models in this project, you will need to remove the existing bracelet models and replace them with the custom mesh:
- Right-click on the
Watch [TOGGLE_ME]Scene Object in theScene Hierarchypanel, and select Delete. - After the Scene Objects have been removed, you will need to import the custom 3D model.
- Once the new mesh has been imported into the project, drag and drop the mesh from the
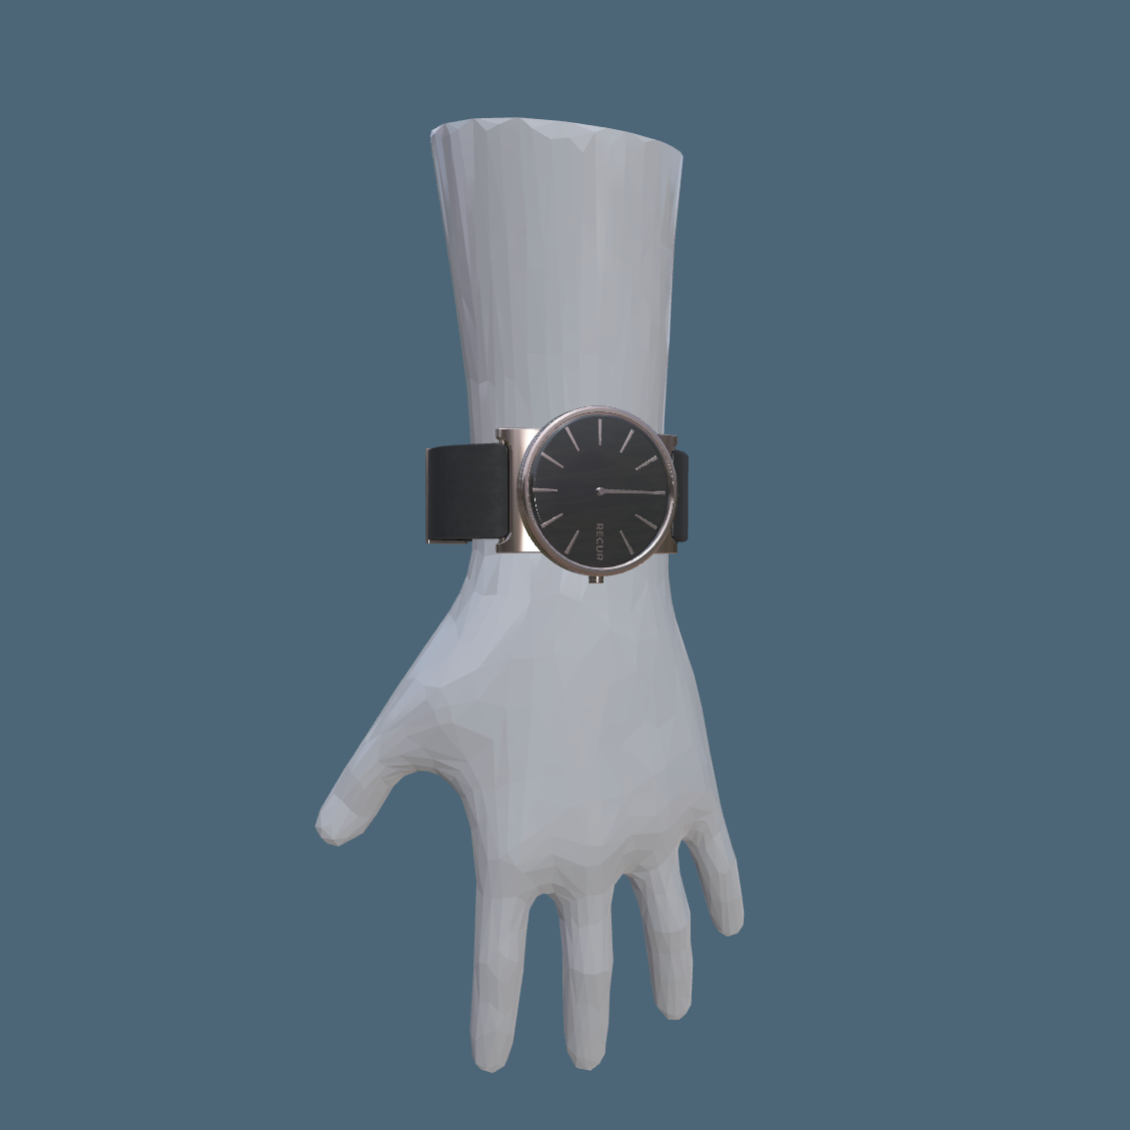
Asset Browserpanel into theScene Hierarchypanel such that the new mesh is a child of either theLeft WristorRight WristScene Objects. - With the new mesh selected, go to the
Inspector Panelto adjust the object’s Transform so that it is positioned similar to the following image:
You can learn more about how to import 3d models into Lens Studio to see how you can bring in your own 3D models to use.
Adding Interactivity
The Wristwear Try-On Sample Project contains some added functionality to enhance the user's experience in AR.
The WatchHandController.js Script brings the AR watch to life by simulating a traditional watch face. You can click on the Watch [TOGGLE_ME] Scene Object in the Scene Hierarchy panel to find the WatchHandController.js.
The script utilizes two Scene Objects as an input, one named Hour Hand and the other named Minute Hand. Each Scene Object placed in the script will rotate and act based on the hour or minute of a twelve hour analog clock."
Adding Wrist Tracking to Existing Projects
Now that you have a solid grasp of the Wristwear Try-On sample project, you can also add Wrist Tracking to your existing Lens Studio Projects. In this next section, you will learn how to set up Wrist Tracking from scratch in a similar structure to the Wrist Try-On Template.
Collecting Assets
In order to get started, you will need to have the following Assets for Wrist Tracking;
- The Wrist Binding Custom Component.
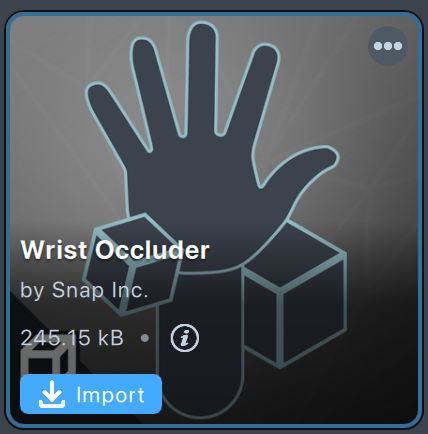
- A Wrist Occluder asset.
- A 3D model that will be used as wristwear.
The first two assets can be found in the Asset Library.
-
Open a new or existing project in Lens Studio.
-
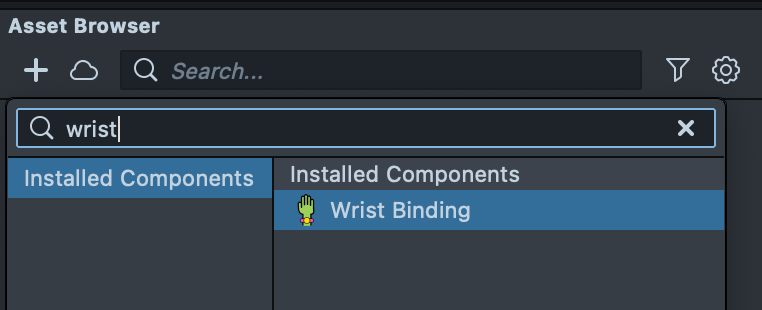
Once you get the most relevant version of
Wrist Bindingfrom Asset Library, it could be added to the Asset Browser panel by clicking on the + button. Then simply drag it to the Scene Object to create a new Scene Object with theWrist BindingComponent.
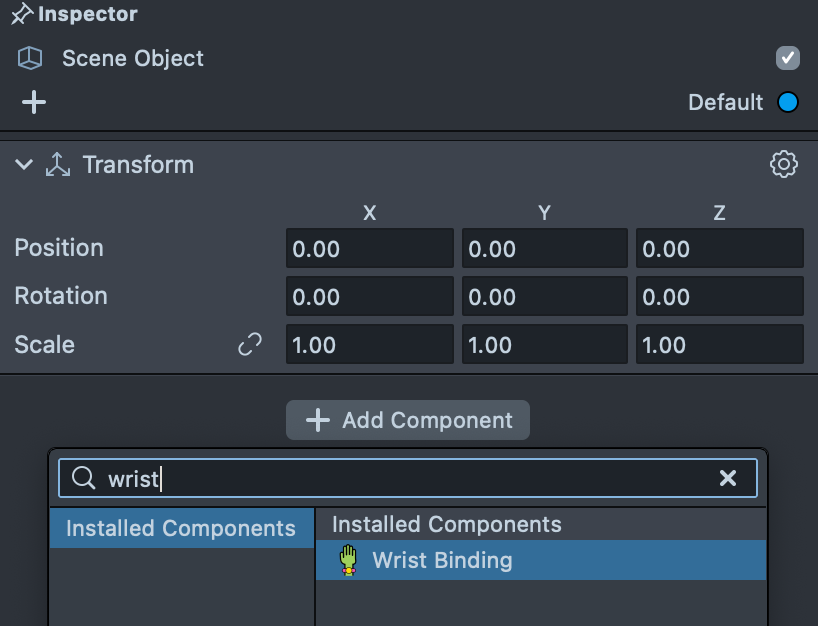
Or directly in Scene Object inspector by clicking on Add Component Button.
- Find the
Wrist Occluderasset in the Asset Library and import it into your project. Click here to learn more about how to use assets in the Asset Library.
With the Wrist Binding Custom Component and Wrist Occlusion asset added, you will need a 3D model that will be tracked on the user’s wrist. For the purposes of this guide, We will use the "Aqua Terrestrials Pack" by WRLD SPACE to showcase how to add existing 3D Content into wrist tracking.
- In the Asset Library, type in "Aqua Terrestrials Pack" in the search bar.
- Left-Click on the Import button.
Setting up the Wrist Tracking Custom Component
With all the necessary assets imported into your Lens Studio project, you can start setting up the Wrist Tracking Components. The first step is to create the scene hierarchy in the Scene Hierarchy panel, the second is populating the hierarchy with scripts and assets.
-
Right click on the
Cameraobject and select Create Scene Object. -
Rename this Scene Object
Wrist Binding.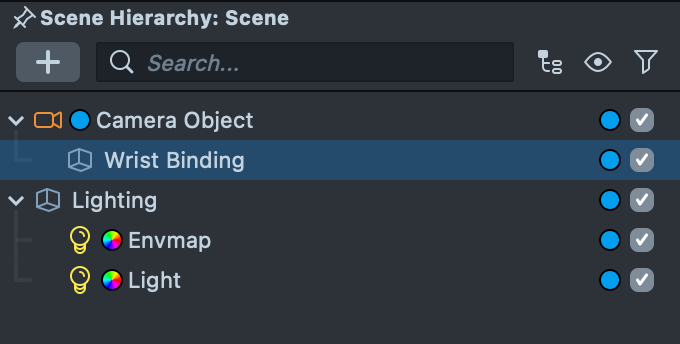
-
Right-click on the
Wrist Bindingobject and create two new Scene Objects by left-clicking on the Create Scene Object button. -
Rename one Scene Object
Left Wristand the other toRight Wrist.

With the hierarchy set up in the Scene Hierarchy panel, you can now start adding scripts and assets.
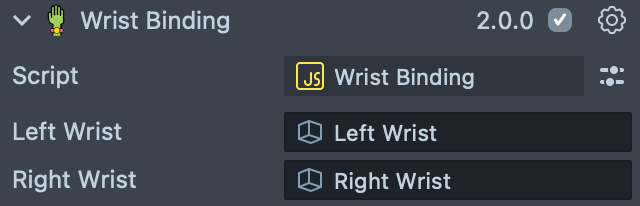
- Click on the
Wrist BindingScene Object. - In the Inspector panel click on + Add Component.
- Search for
Wrist Bindingand add it to your Scene Object. - Click and drag the
Left WristandRight WristScene Objects in theScene Hierarchypanel into their respective slots in the Inspector Panel.
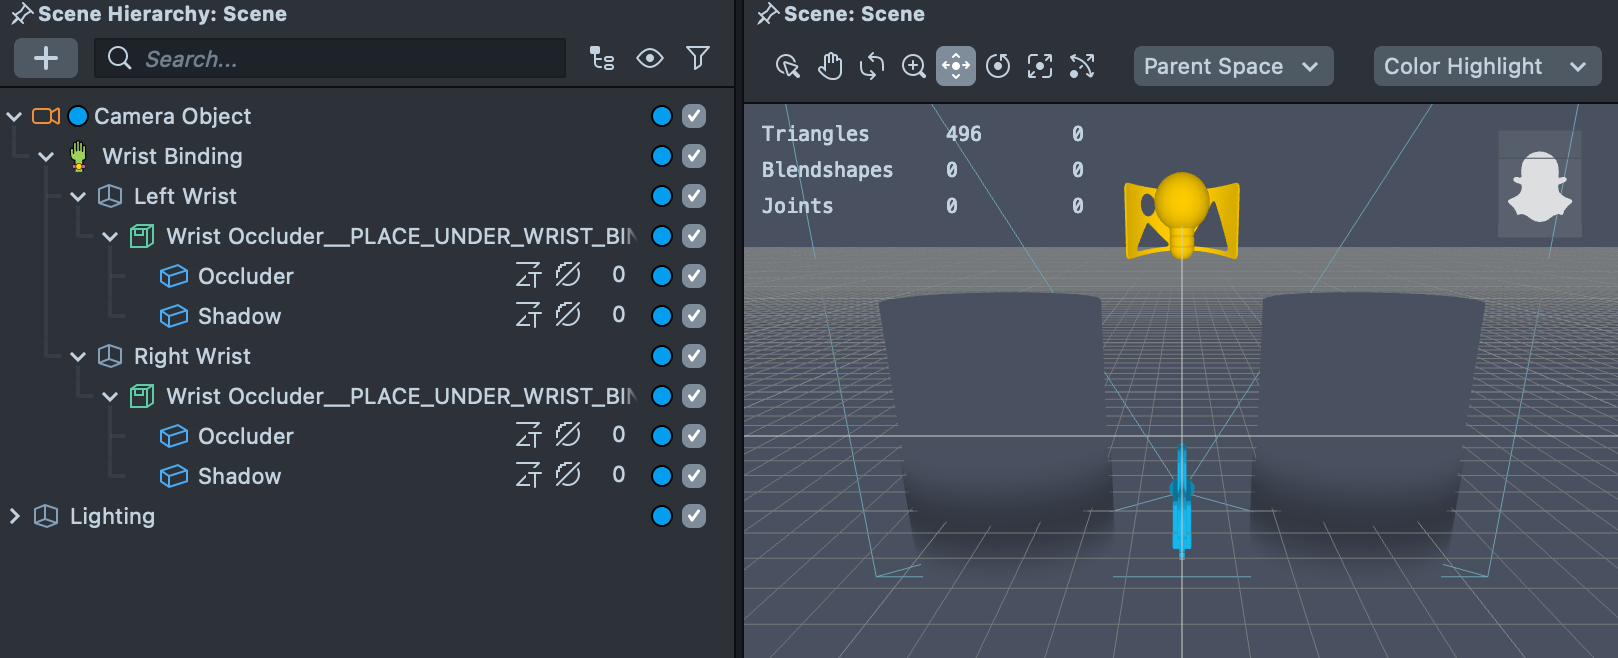
- Click on the
Wrist Occluder__PLACE_UNDER_WRIST_BINDINGasset from theAsset Browserpanel and drag it once underLeft Wristand another under theRight WristScene Objects. - In the Inspector Panel, double-check that the Position of the
Wrist Occluder__PLACE_UNDER_WRIST_BINDINGScene Object is set to0, 0, 0. - Change the
Left WristandRight WristScene Objects x positions to be able to see both occluders in theScenepanel.
Now with the Wrist Binding Custom Component and Wrist Occlusion set up, you can now add the 3D content:
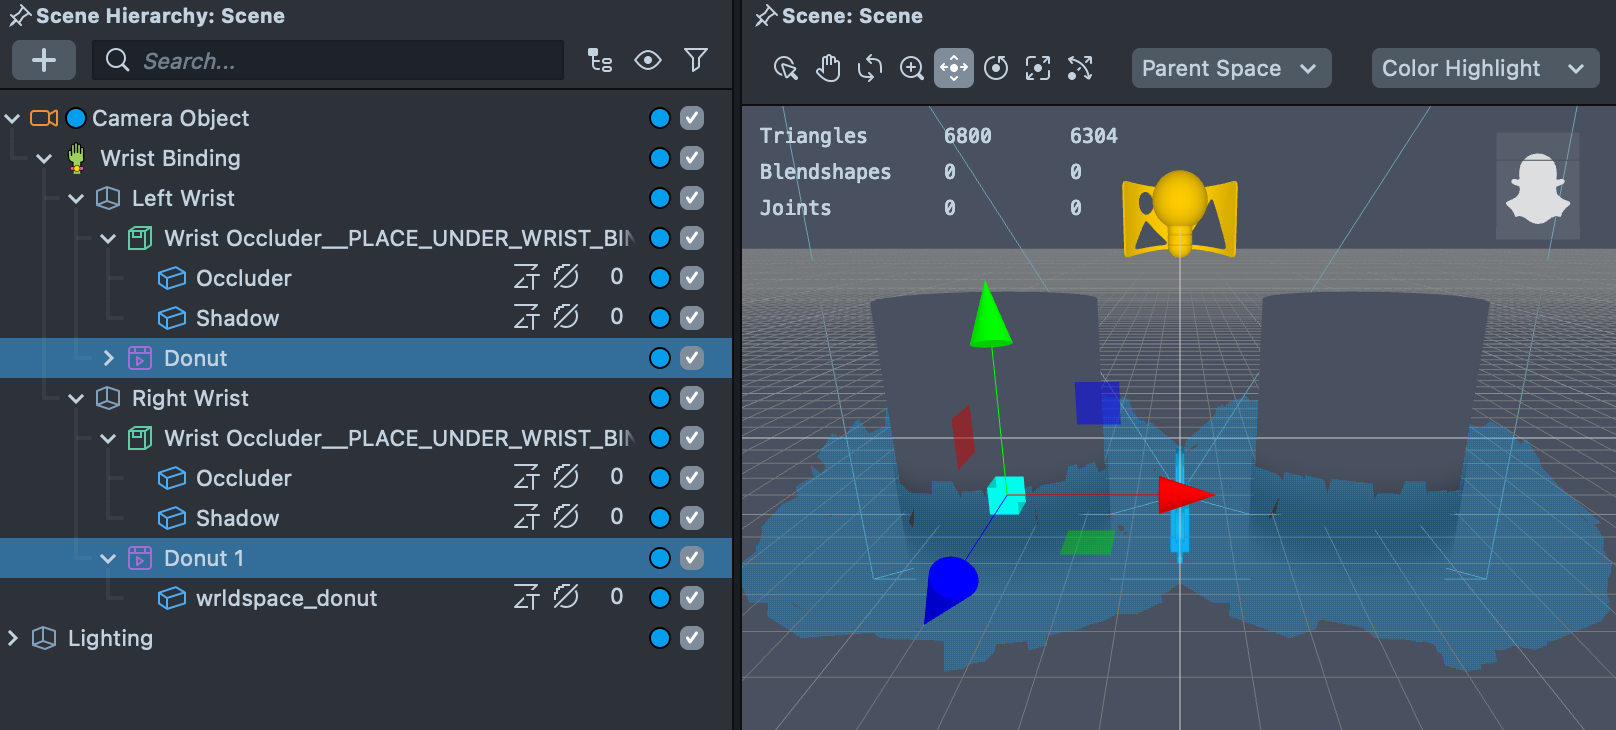
- Drag and drop the
AquaTerrestrials__PLACE_IN_OBJECTS_PANELasset from theAsset Browserpanel into theScene Hierarchypanel. A few animated 3D objects should appear. - In the
Scene Hierarchypanel, delete every animated 3D object except for theDonutobject. - Drag and drop the
DonutScene Object under theLeft WristScene Object. - With the
DonutScene Object selected, in the Inspector Panel adjust theDonut’s position, rotation, and scale so that it fits around the left wrist occluder. - Duplicate the
DonutScene Object by right-clicking on theDonutScene Object and then left-clicking on "Duplicate". - Drag and drop the duplicated
DonutScene Object under theRight WristScene Object.
You have completed your first Wrist Tracking Lens. Now that you have learned how the Wristwear sample project works and how to add Wrist Tracking to your projects, you can now create your own Wristwear AR Try-On Lenses.
Best Practices
The most common error encountered when working with Wrist Tracking is when 3D models are not properly centered on the wrist. In practice, this issue appears as if the AR wristwear is orbiting around a wrist, rather than sitting nicely on the wrist. See below for an example of a improperly centered 3D object:
Thankfully, this is easily fixed. Make sure that any child of the Left Wrist or Right Wrist Scene Objects has its position set to 0, 0, 0. Of course, if your 3D model’s origin is not at the center of the geometry this may need to be adjusted.
The Left Wrist or Right Wrist can have any transform. For the purposes of demonstration and visual clarity, the Wristwear Try On Sample Project has the Left Wrist and Right Wrist Scene Objects adjusted by +/- 10 units on the X axis.
Wristwear Tracking
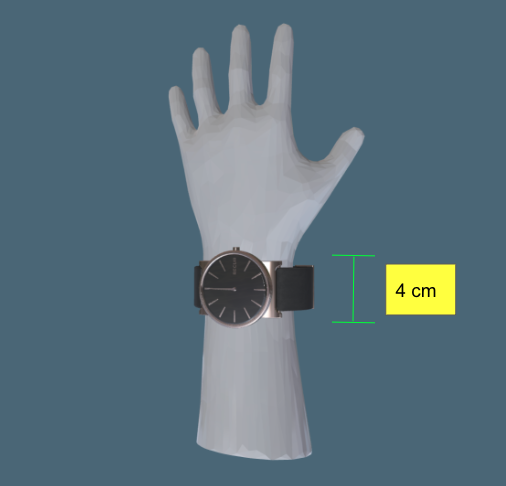
For optimal wristwear tracking and detection, it is recommended to place 3D models along the wrist up to 4 centimeters (cm). Detection and tracking will degrade as you move further down the wrist into the forearm. See below for optimal tracking and detection areas:
Wrist Occluder Fit
The Wrist Occluder Asset consists of two separate elements that help in creating a realistic Wristwear Try-On effect. These components are:
- The Wrist Occluder, which is a 3D mesh that hides the underside of the wrist-attached 3D objects through the use of an Occluder material.
- The Wrist Occluder Shadow, which is an optional addition to the Wrist Occluder that applies a subtle shadow to a user’s wrist in order to further ground the AR object in its environment.
The thickness of both of these meshes can be altered by selecting the “Left Wrist Occluder Parent” or the “Right Wrist Occluder Parent” and adjusting the “Thickness” slider in the Inspector Panel. Adjusting the thickness of the Wrist Occluder can help in creating a better fit for your AR wristwear Lens.
What's Next?
Now that you have learned about how to create your own Wristwear Try-On Lenses, take a look at some of the other AR Try-On examples.
- Check out the Developing Fashion Lenses for Virtual Try-On using Lens Studio course on how to make your own Fashion Lens.
- Footwear Try-On
- Cloth Simulation Try-On
- Earring Try-On
- Garment Transfer