Upper Garment Segmentation
The Upper Garment Segmentation allows you to replace a portion of upper garment with an image, 3D object, text or even a post effect. This asset comes with a helper script to allow you to design your content as well as track the content to the body.
Guide
Find the Upper Garment Segmentation asset in the Asset Library and import it into your project. Click here to learn more about how to use assets from the Asset Library.
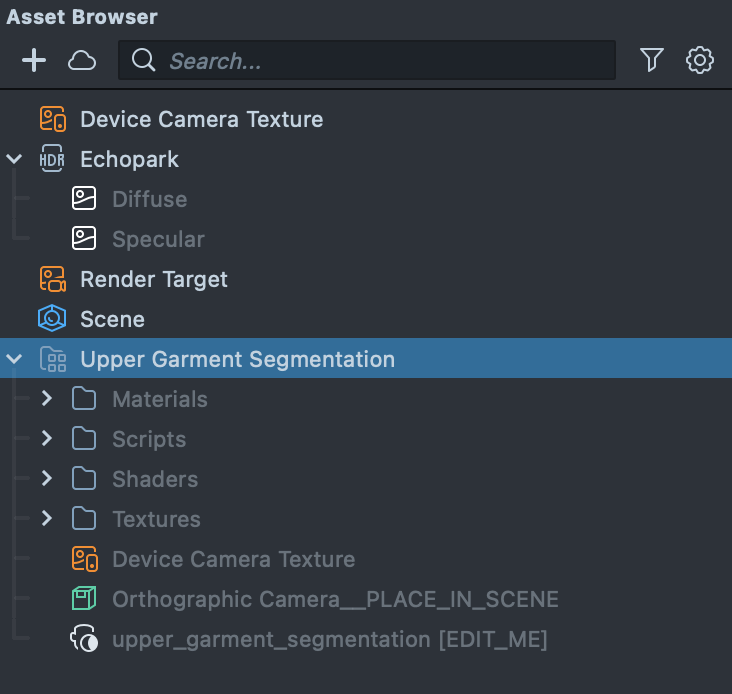
Once you import the asset from Asset Library, you can find the package in the Asset Browser.
Follow the instructions and drag the prefab Orthographic Camera into Scene Hierarchy to create a new Scene Object.
You can right-click and select Unpack for Editing from the drop-down menu to unpack all assets stored in the bundle. Click here to learn more about Asset Packages. Once you unpack the package, you can then edit its content.

Designing Upper Garment
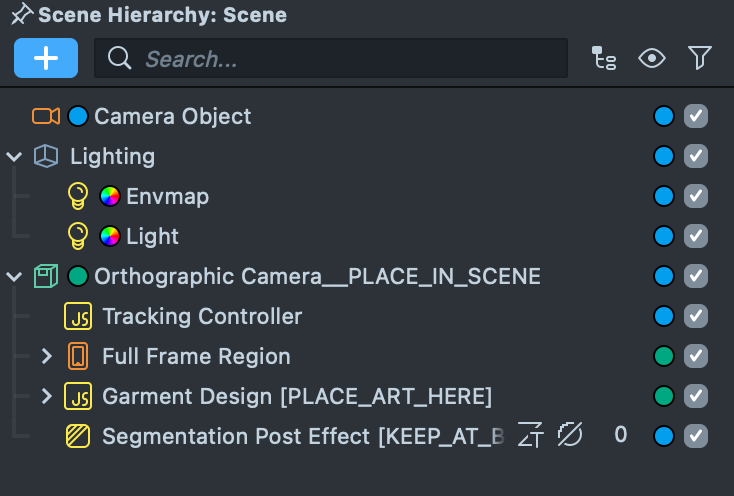
To make your objects appear on the garment, just place any content as a child of the Garment Design [PLACE_ART_HERE] under the Orthographic Camera in the Scene Hierarchy panel.
Take a look at the Screen Image and Screen Text guide to see some of the different types of content you can bring into your Lens.
Once you place an object as a child of Garment Design [PLACE_ART_HERE], it will appear on the upper garment section of the body.
If the object is too big or too small, you can use the Scene panel to modify the transform of the object.
To display content on the garment, ensure the object’s alpha is enabled and that all child elements share the same layer as the Orthographic Camera. This asset includes a DesignAttributeSetter script—attached to the Garment Design [PLACE_ART_HERE] object—that automatically configures each child’s alpha and render layer. If you’d rather set layers manually, simply disable the script.
This asset comes with a helper script to help you design patterns for the upper garment segmentation, in the next section we will explain on how to use the helper script.
Pattern Designer
PatternDesigner script lets you easily design patterns and attach it to the body.
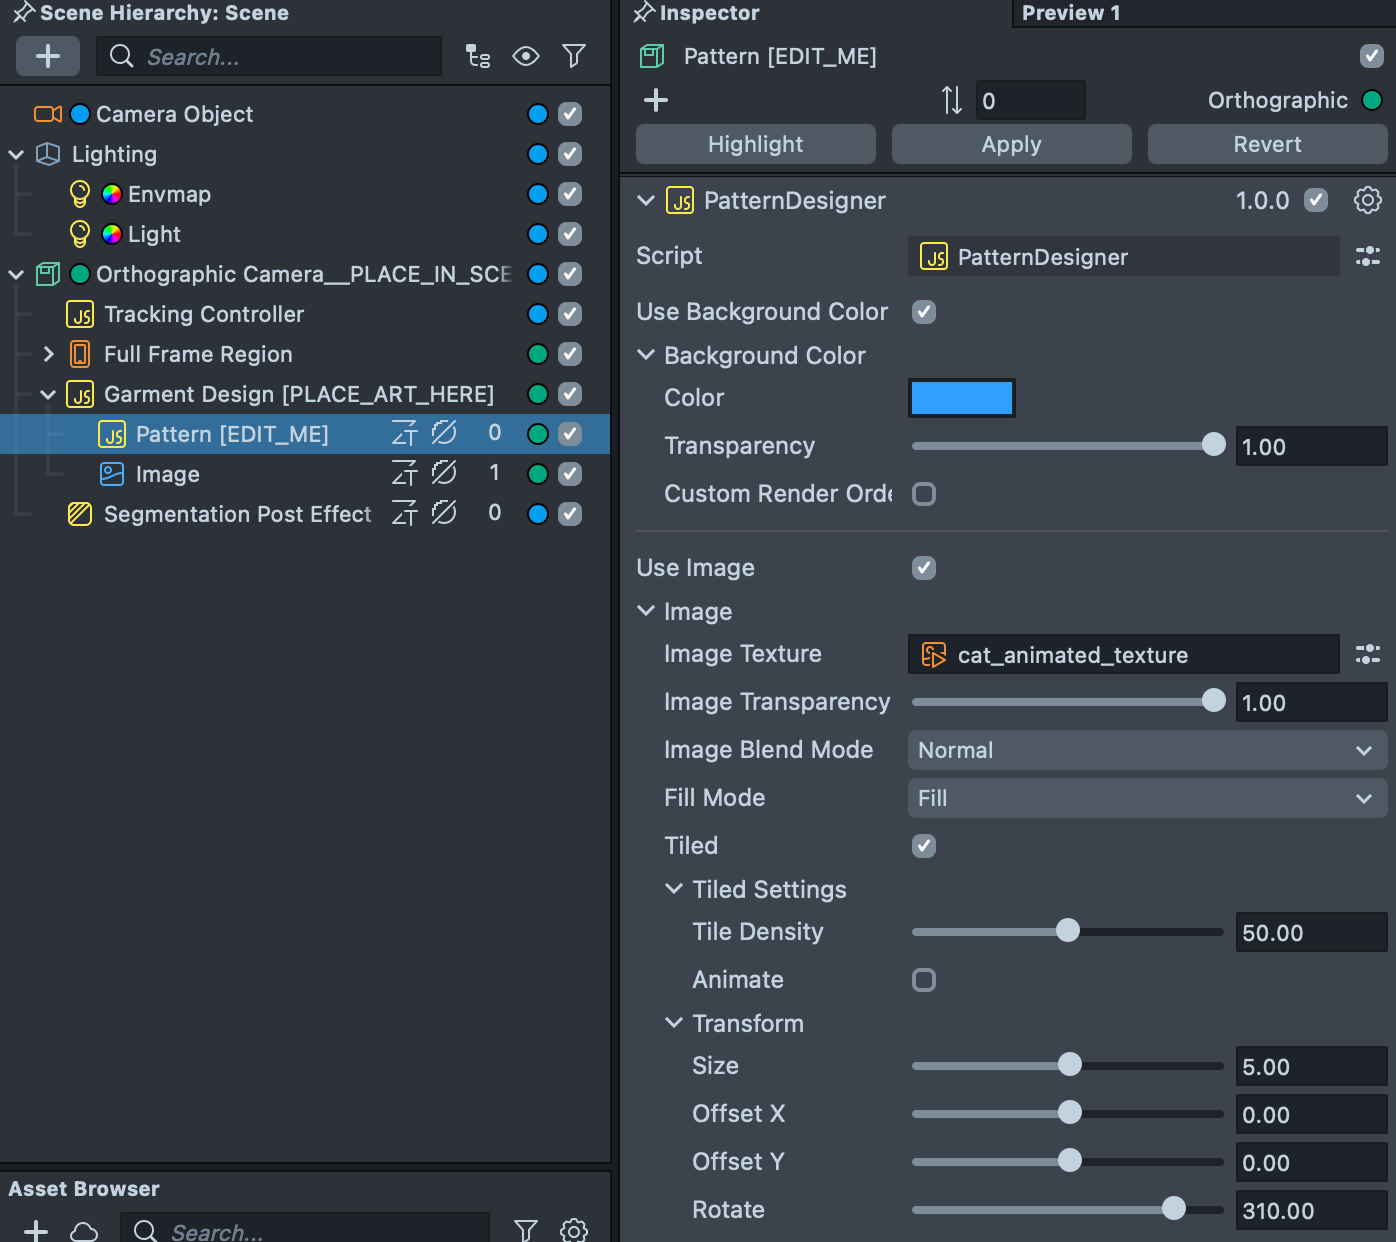
You can find this script attached to the Pattern [EDIT_ME] object under the Garment Design scene object. To modify the pattern first select the Pattern [EDIT_ME] scene object and modify the values in the Inspector panel.
Background
To enable a solid background color, make sure the Use Background Color checkbox is checked. Once enabled, you’re able to tune the color and transparency.
Image
To place an image on top of the background, make sure the Use Image checkbox is checked.
Image Texture
Once Use Image is checked, you’ll want to assign the image texture. To add a texture to Lens Studio, drag and drop a PNG or JPG to the Asset Browser panel. Alternatively, select + -> Import Files from the Asset Browser panel. Then, click the Image Texture field and assign it to your newly imported texture.
Image Transparency
You have control for how transparent your image will be via the Image Transparency slider.
Image Blend Mode
You can set your image blend mode using the Image Blend Mode drop down. Available blend modes are Normal, Screen & Multiply.
Fill Mode
You can set your image fill mode using the Fill Mode drop down.
Tiled
When the Tiled checkbox is selected, your image is tiled and you can easily design your pattern.
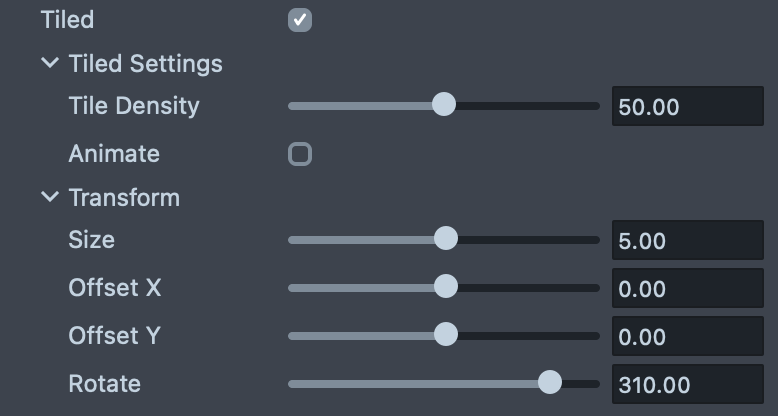
The following options in the Inspector panel allow you to configure the tiling.
- Tile Density: How dense the tiled pattern is. Smaller number = Bigger tiles. Bigger number = Smaller tiles
- Animate: If enabled, the tile pattern will play a scrolling animation
- Animate Speed X: How fast the tile pattern scrolls in the horizontal direction
- Animate Speed Y: How fast the tile pattern scrolls in the vertical direction
Transform
You can use the slider to configure the pattern’s transform.
You can also duplicate the script to create multiple patterns.
Modify Segmentation Texture
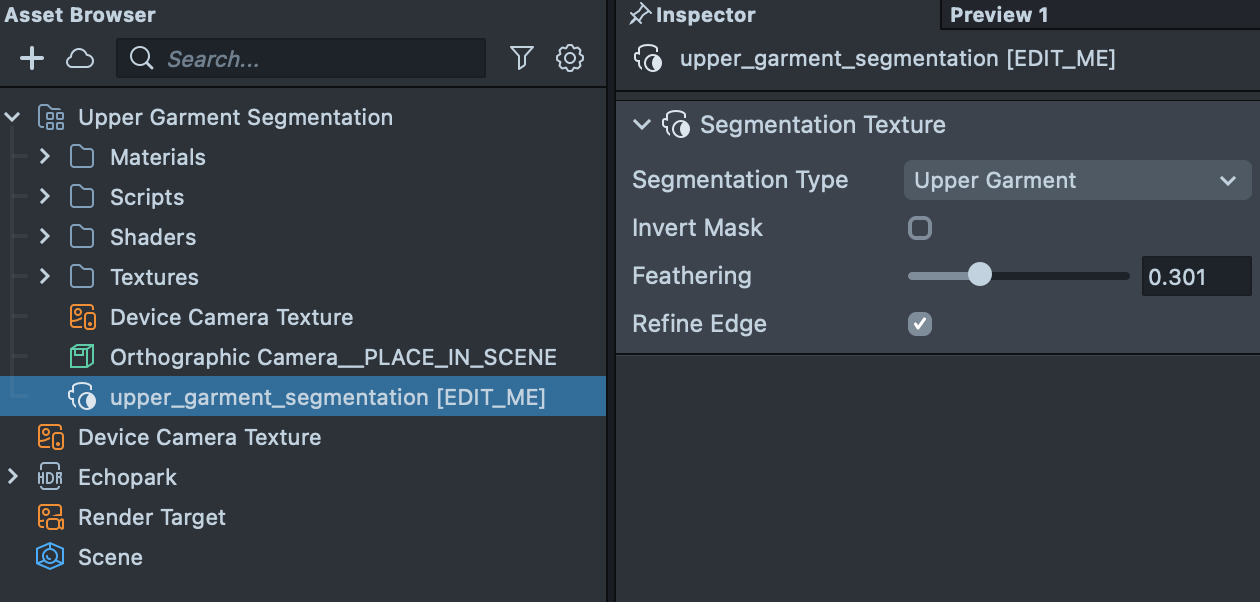
To modify what part of the image is segmented, modify the segmentation texture resource found in the Asset Browser panel. To do this, select the upper_garment_segmentation [EDIT_ME] object, and in the Inspector panel, modify its settings.
All of the segmentation textures can be inverted by enabling the Invert checkbox.
You can change how the borders of the segmentation looks by modifying the Feathering and Refine Edge option.
Modify Segmentation Post Effect Material
This asset includes a custom material and helper script that extract the garment’s details—shadows, highlights, and wrinkles—and overlay them on your content for a more realistic look. To tweak the effect, select the upper_garment_material [EDIT_ME] available in the Materials folder in the Asset Browser, then adjust its settings in the Inspector panel.
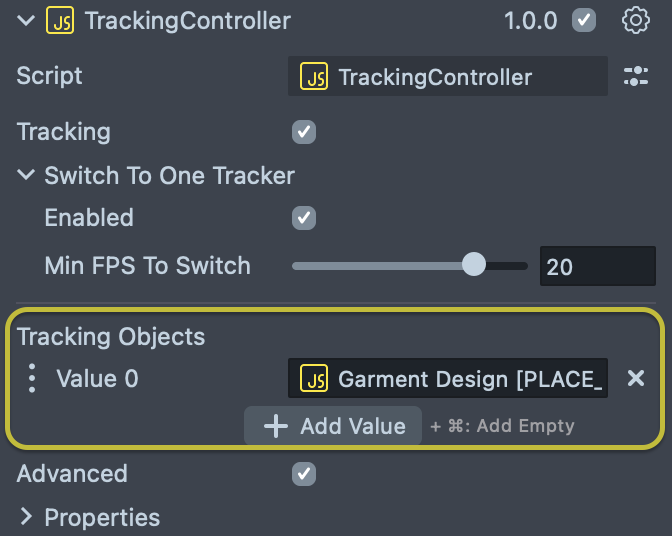
Tracking Controller
This script helps you to track all your objects on the garment. To modify it settings first select the Tracking Controller under the Orthographic Camera in the Scene Hierarchy panel and modify the values in the Inspector panel.
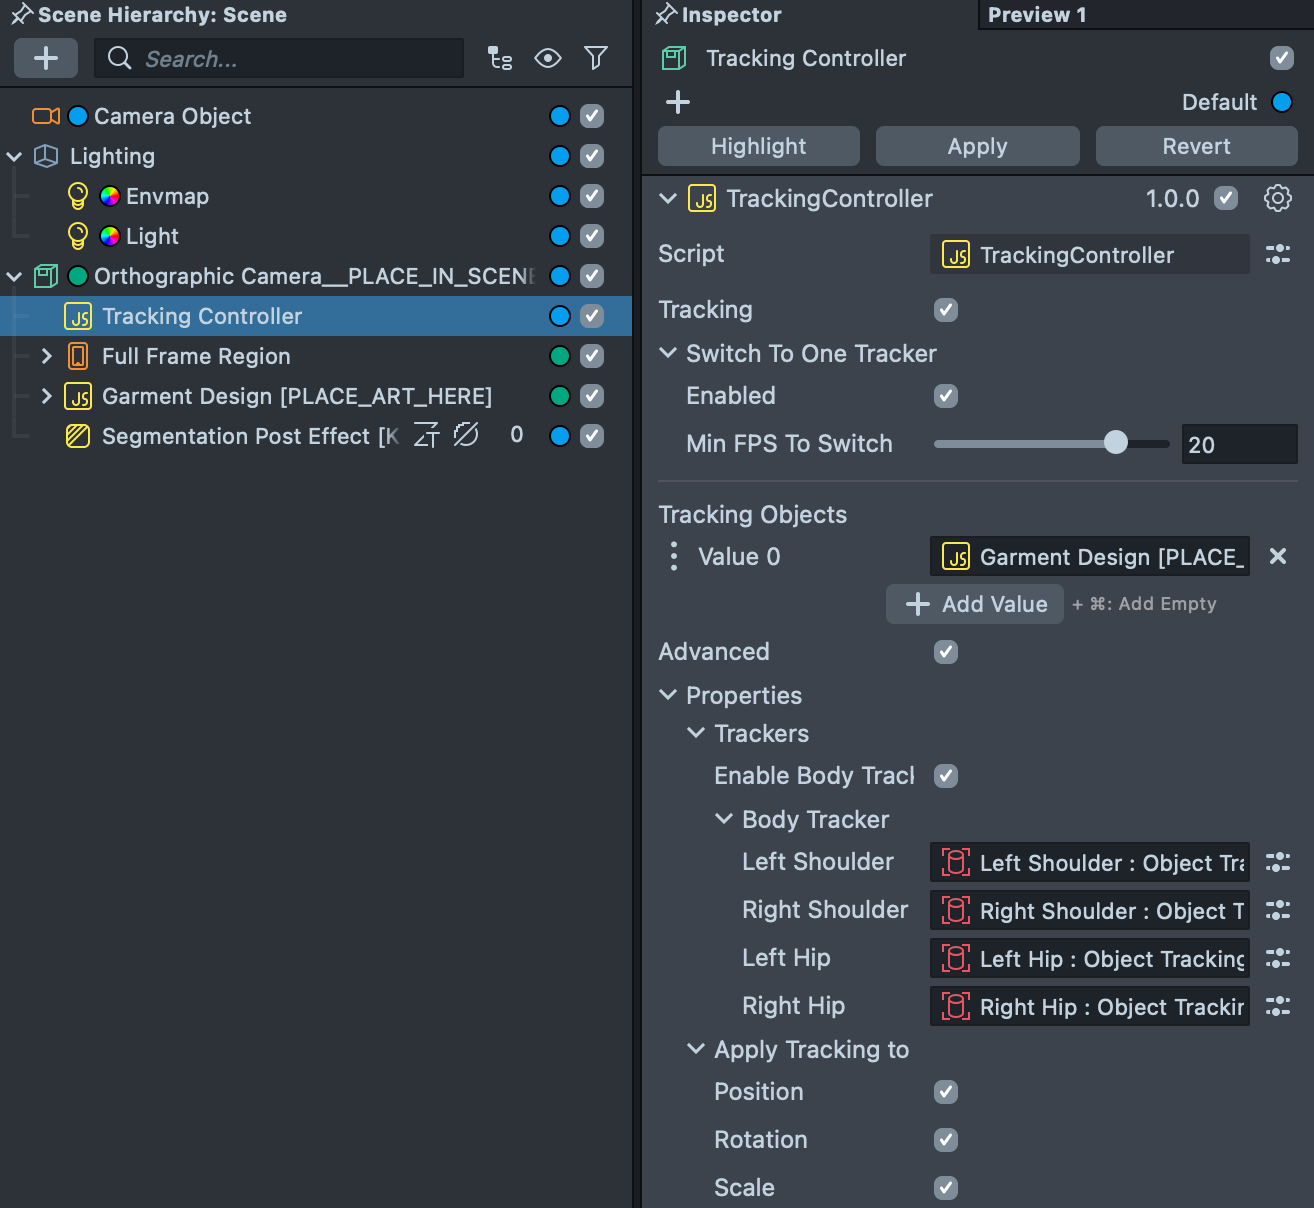
Tracking
This option allows you to track selected objects on the body. The script uses body tracking as well as shoulder tracking to attach any object to the body. You can disable the tracking by unchecking the checkbox.
When Tracking is disable all the objects are not moving with the person anymore and it stays in world space.
Auto Optimize
Tracking content to the body can be process heavy on older phones. This script provides an option to track how smooth Lens running on the phone and optimize the tracking based on the frame rate.
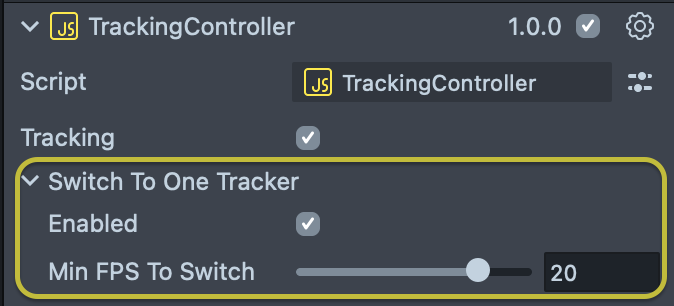
If the frame rate is lower than Min FPS To Switch slider, it will automatically switch to less process heavy tracking (Only shoulder tracking) and if the frame rate is above the number it uses body tracking.
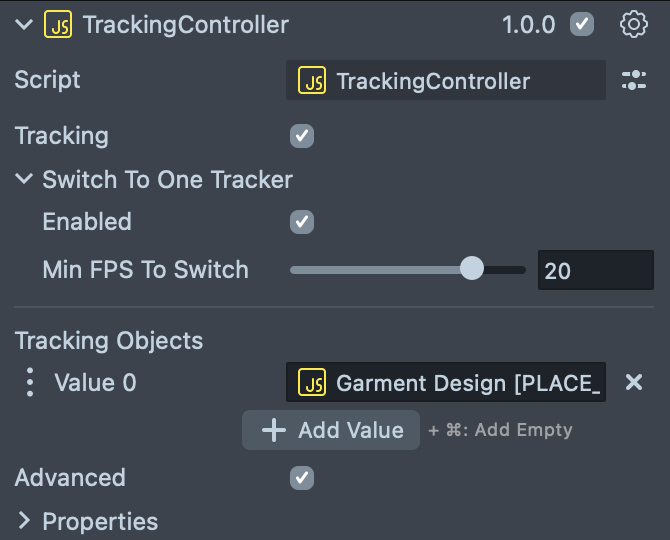
Tracking Objects
You can select and specify what objects are tracked to the body using the Tracking Objects. The Garment Design [PLACE_ART_HERE] object is already set as a tracking object to make the process easier.
Previewing Your Lens
You’re now ready to preview your Lens experience. To preview your Lens in Snapchat, follow the Pairing to Snapchat guide.