Order-Independent Transparency (OIT)
In general within computer graphics, whenever transparent materials are used (that is, materials that have their blend mode set to Normal), for the material to render correctly, we must ensure that transparent objects are rendered “back to front” with objects in the back rendered before the objects in front of them.
Our renderer does not automatically calculate which transparent objects are in front, in part because doing this calculation for every pixel is an expensive process. Creators must manually sort the transparent objects in the Objects or Inspector panel in Lens Studio to have them render correctly. For transparent objects that are embedded within each other, or if the camera is moving around to go behind the objects, it may be impossible for creators to determine a perfect order that works from every angle.
Order Independent Transparency, or OIT, removes the requirement for creators to manually sort their transparent objects, at the expense of a higher rendering cost.
Overview
OIT can be turned on by using the OIT Layers option on a Camera. It can be used while having multiple layers of transparency that can't be manually sorted and the automatic object sorting transparency is not adequate. This feature is also useful when working with intersecting polygons. The dropdown options specify how many layers of transparency you plan to use.
When we say “layers” with respect to OIT, we mean the number of overlapping transparent pixels, not Render Layers which are used for selecting which objects are rendered into a camera’s Render Target.
In other words, how many objects with its Material's Blend Mode set to Normal are on top of each other from the perspective of the camera.
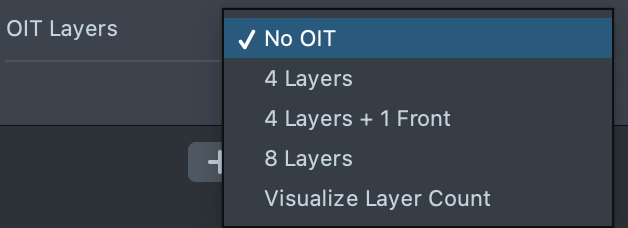
OIT is expensive, all transparent objects (i.e. all objects with Normal blend mode) in this camera will go through the OIT algorithm, which has a significant cost. It’s important to only use as many transparency layers as you need by selecting the appropriate mode. Only objects that require OIT (overlapping transparent objects) should be visible in this camera. Keep in mind, if the material is set to Two-sided, it will use more layers.
OIT Layers Modes
No OIT
OIT has no cost if the No OIT option is selected.
4 Layers
The fastest cost-effective mode, with up to 4 layers of transparency correctly sorted.
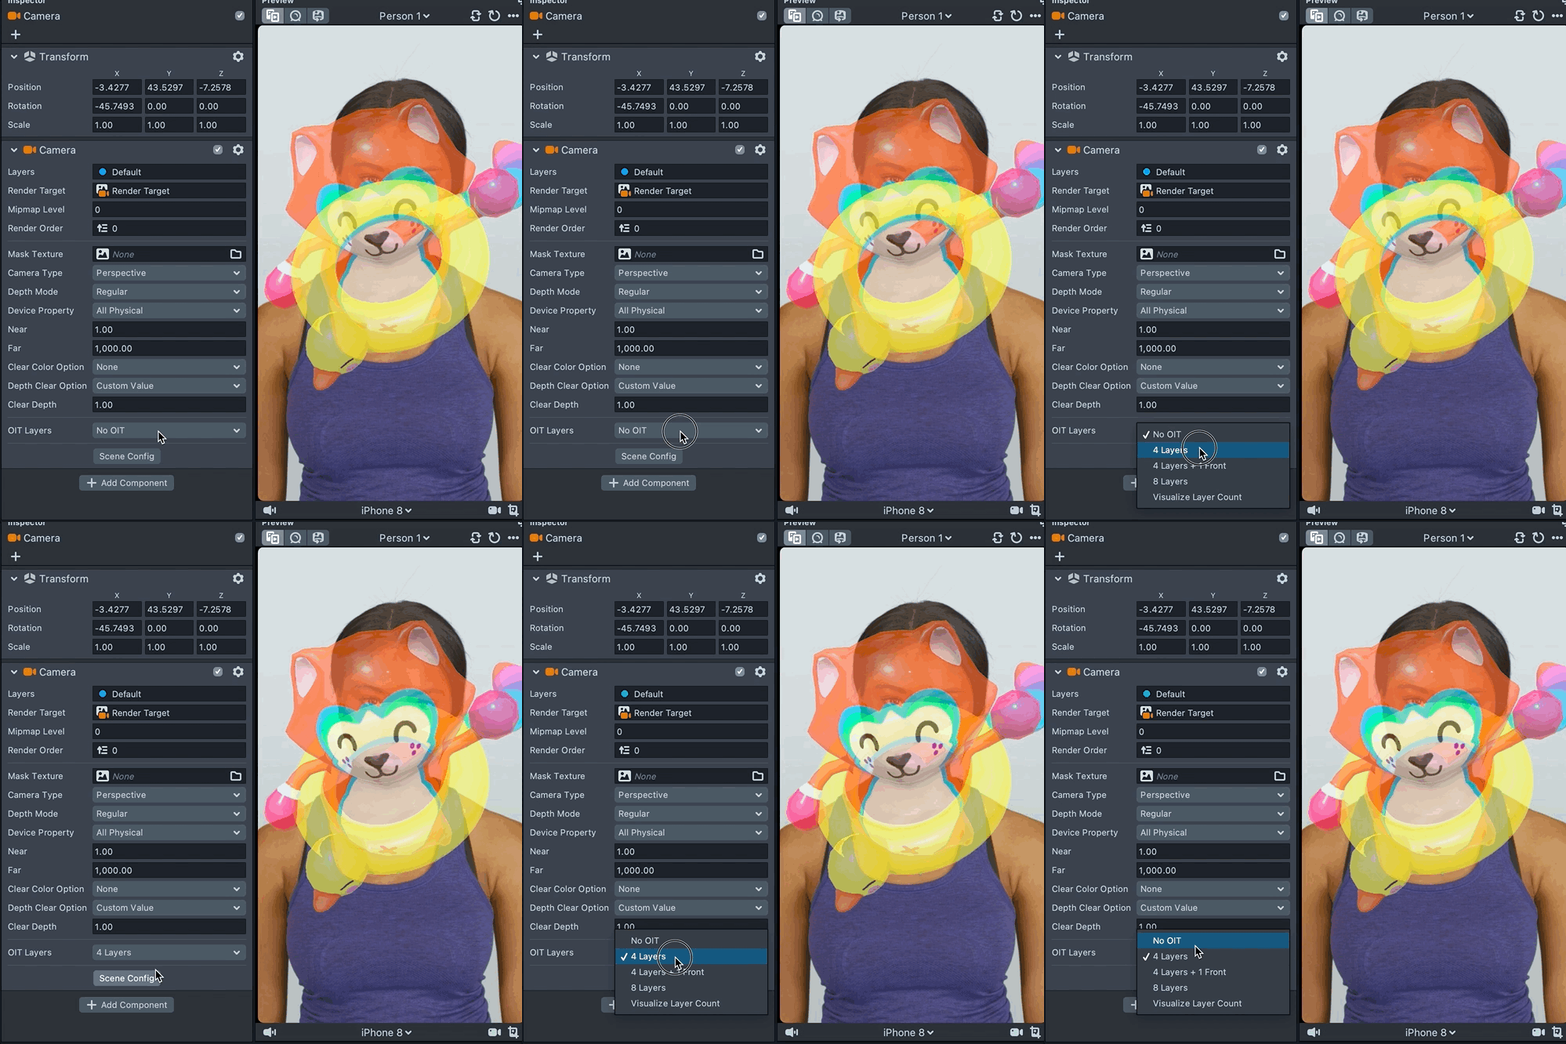
If you select 4 layers, but you have more than 4 layers in your scene, OIT will pick any random 4 layers in your scene and will sort them with each other, and the other layers will be unsorted. This may or may not produce good enough results.
8 Layers
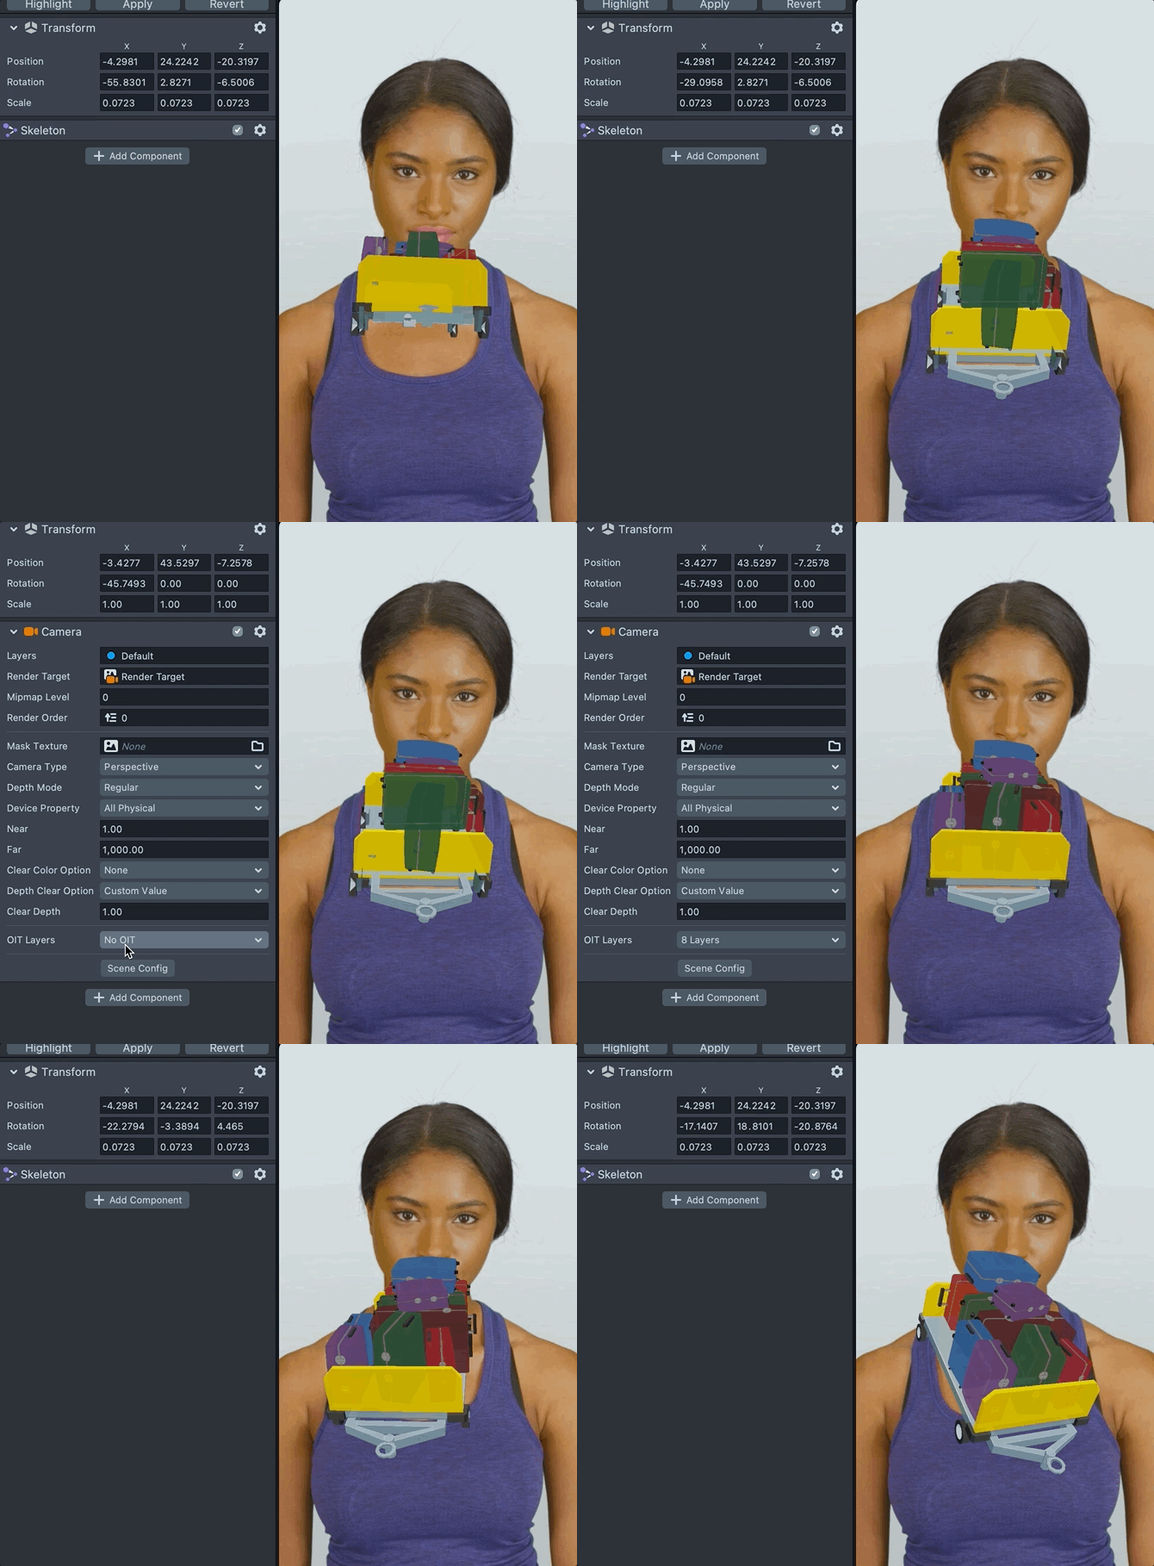
The slowest, with 8 layers of transparency correctly sorted.
If more layers are present in the scene than the mode supports, then 8 layers will be randomly selected and sorted between each other.
4 Layers +1 Front
It’s in between 4 and 8 layers mode in terms of cost and can sort 5 layers.
It will keep the front most object in the Render Order (i.e. by default the bottom most object in the Scene Hierarchy panel) in the front, and sort the 4 as in 4 Layers mode.
If there are more than 5 layers in the scene, 4 Layers +1 Front will pick 5 layers but will guarantee that the front most one will be ahead of the others, plus 4 other randomly selected layers in the scene, and sorts these 5 layers properly with respect to each other.
If you have more than 4 layers, but your layers are relatively opaque, 4+1 mode may look good enough, even with more than 5 layers, because in that scenario the front layer dominates the other layers behind it.
Troubleshoot
If OIT doesn’t seem to be working as expected, here are some steps you can take:
-
Check that your materials are set to
Normalblend mode. OIT only operates on materials withBlend Modeset toNormal. It has no effect on the other blend modes, or if all your objects are completely opaque (or completely transparent!).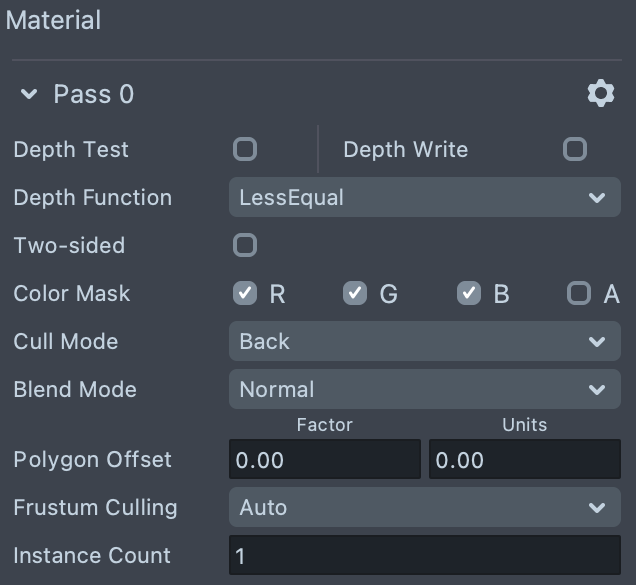
-
Make sure
Depth Writeis disabled on your transparent materials or they might completely occlude the objects behind them. Artifacts arising from leaving Depth Write enable tend to be more noticeable on less transparent/more opaque objects. -
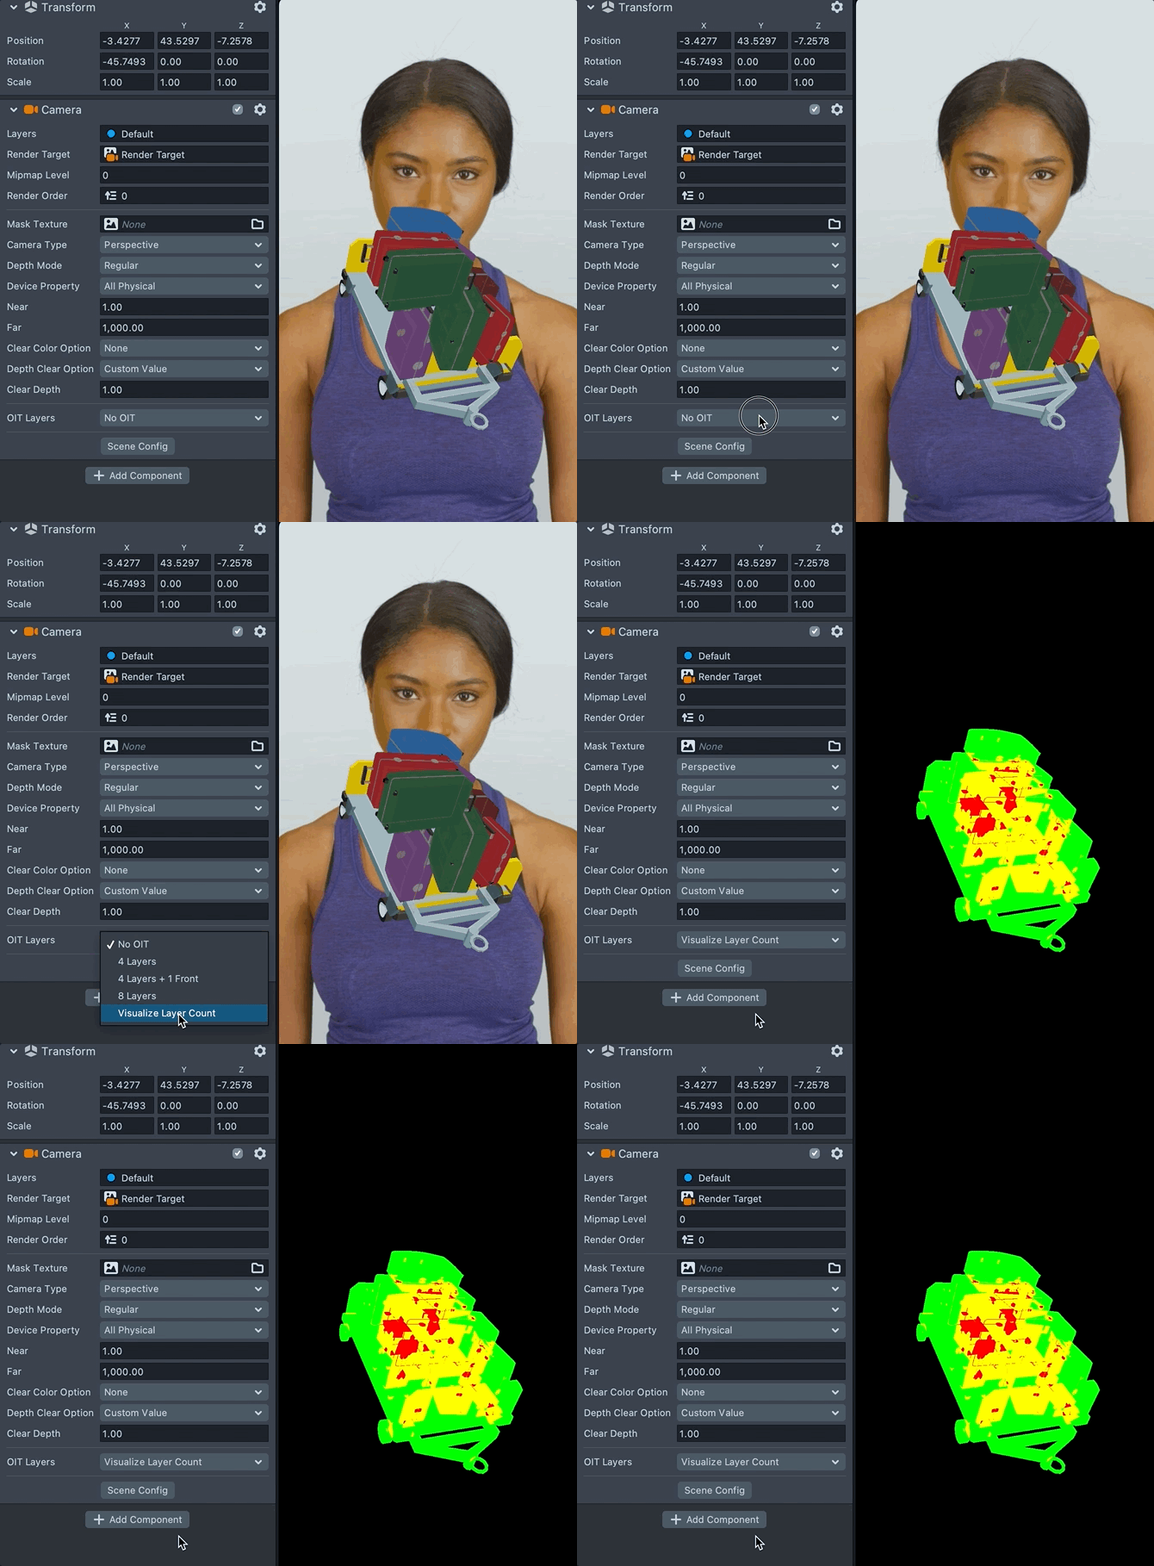
Make sure you are not going over the layer limit for your selected mode, which you can get a visual help by selecting
Visualize Layer Countmode under theOIT Layersoption on the camera:
Green means <= 4 layers
Yellow means 4 to 8 layers
Red means >8 layers
