3D Asset Generation
3D Asset Generation is a tool for generating and customizing 3D assets for creating Lenses. This guide will walk you through all the features and provide tips and hacks for getting the most out of your 3D assets creations.
Getting Started
Launching 3D Asset Generation
-
Navigate to the
GenAI Home Pageusing theLens Studio AIoption in the top right corner of the Lens Studio.
-
On the GenAI Home Page, you may need to scroll down to find the menu of GenAI tools. In the panel, select 3D Asset.
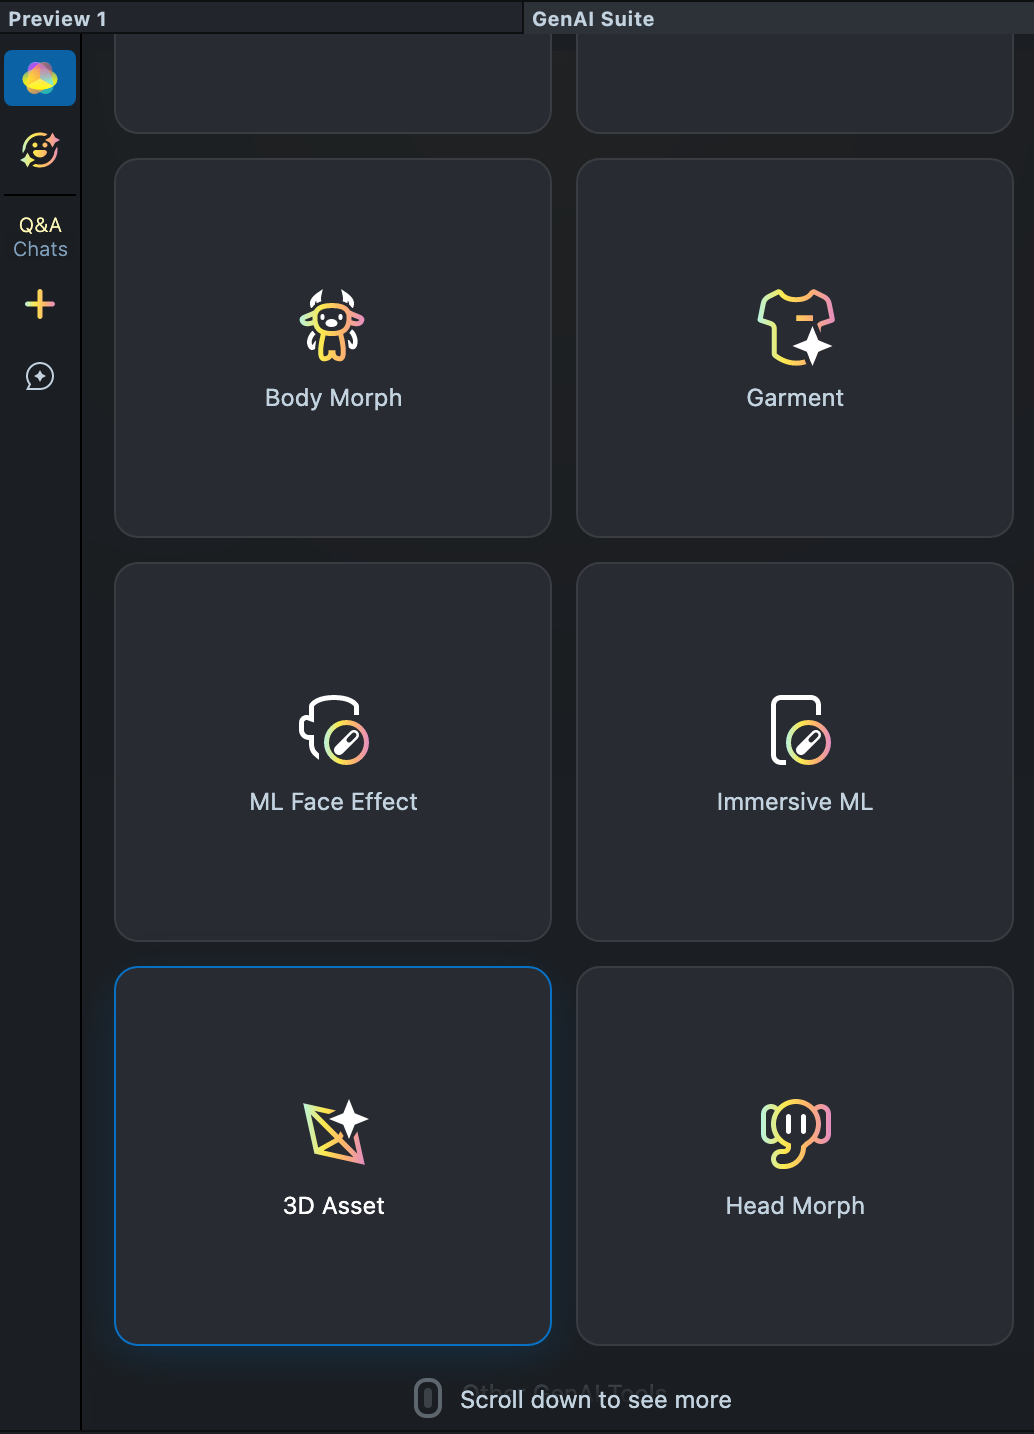
User Interface Overview
-
Create new Asset Toolbar: Contains tools for creating and editing Models:
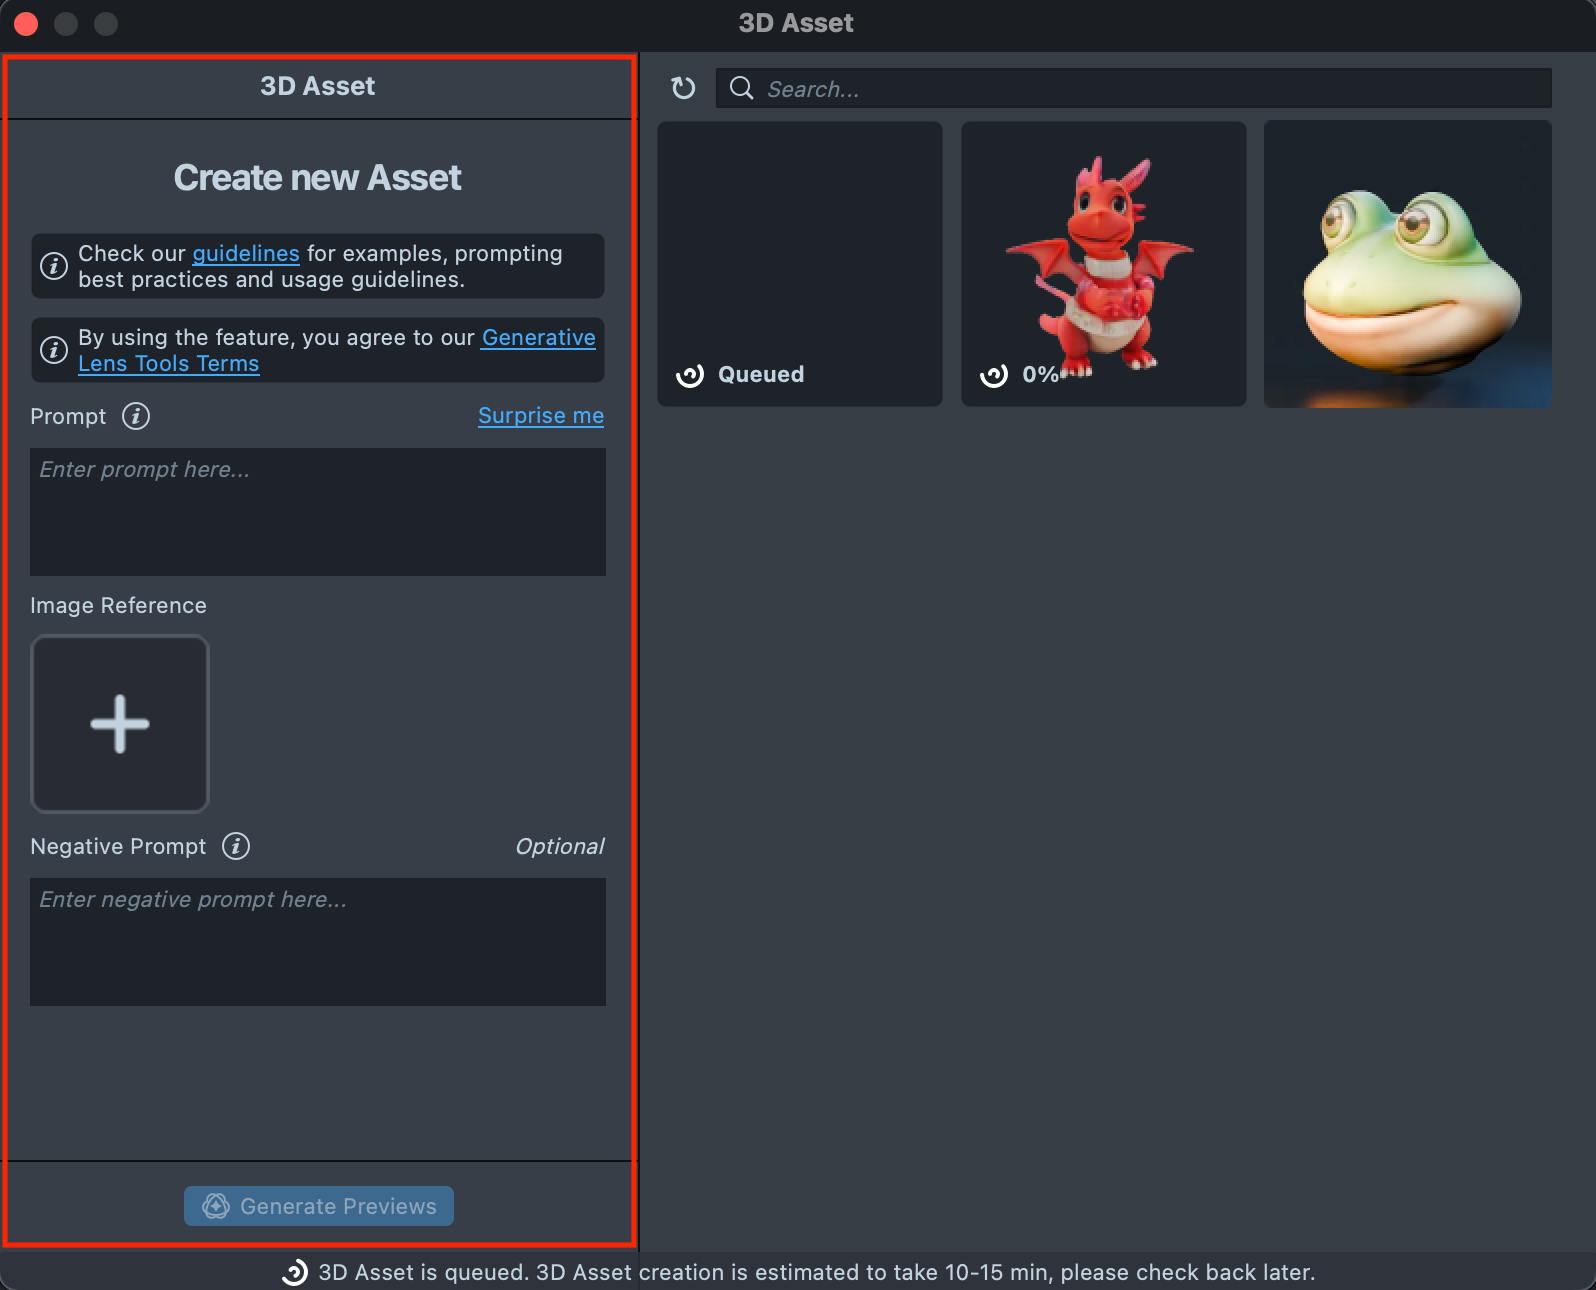
-
Gallery: Displays all Assets you created and their Statuses.
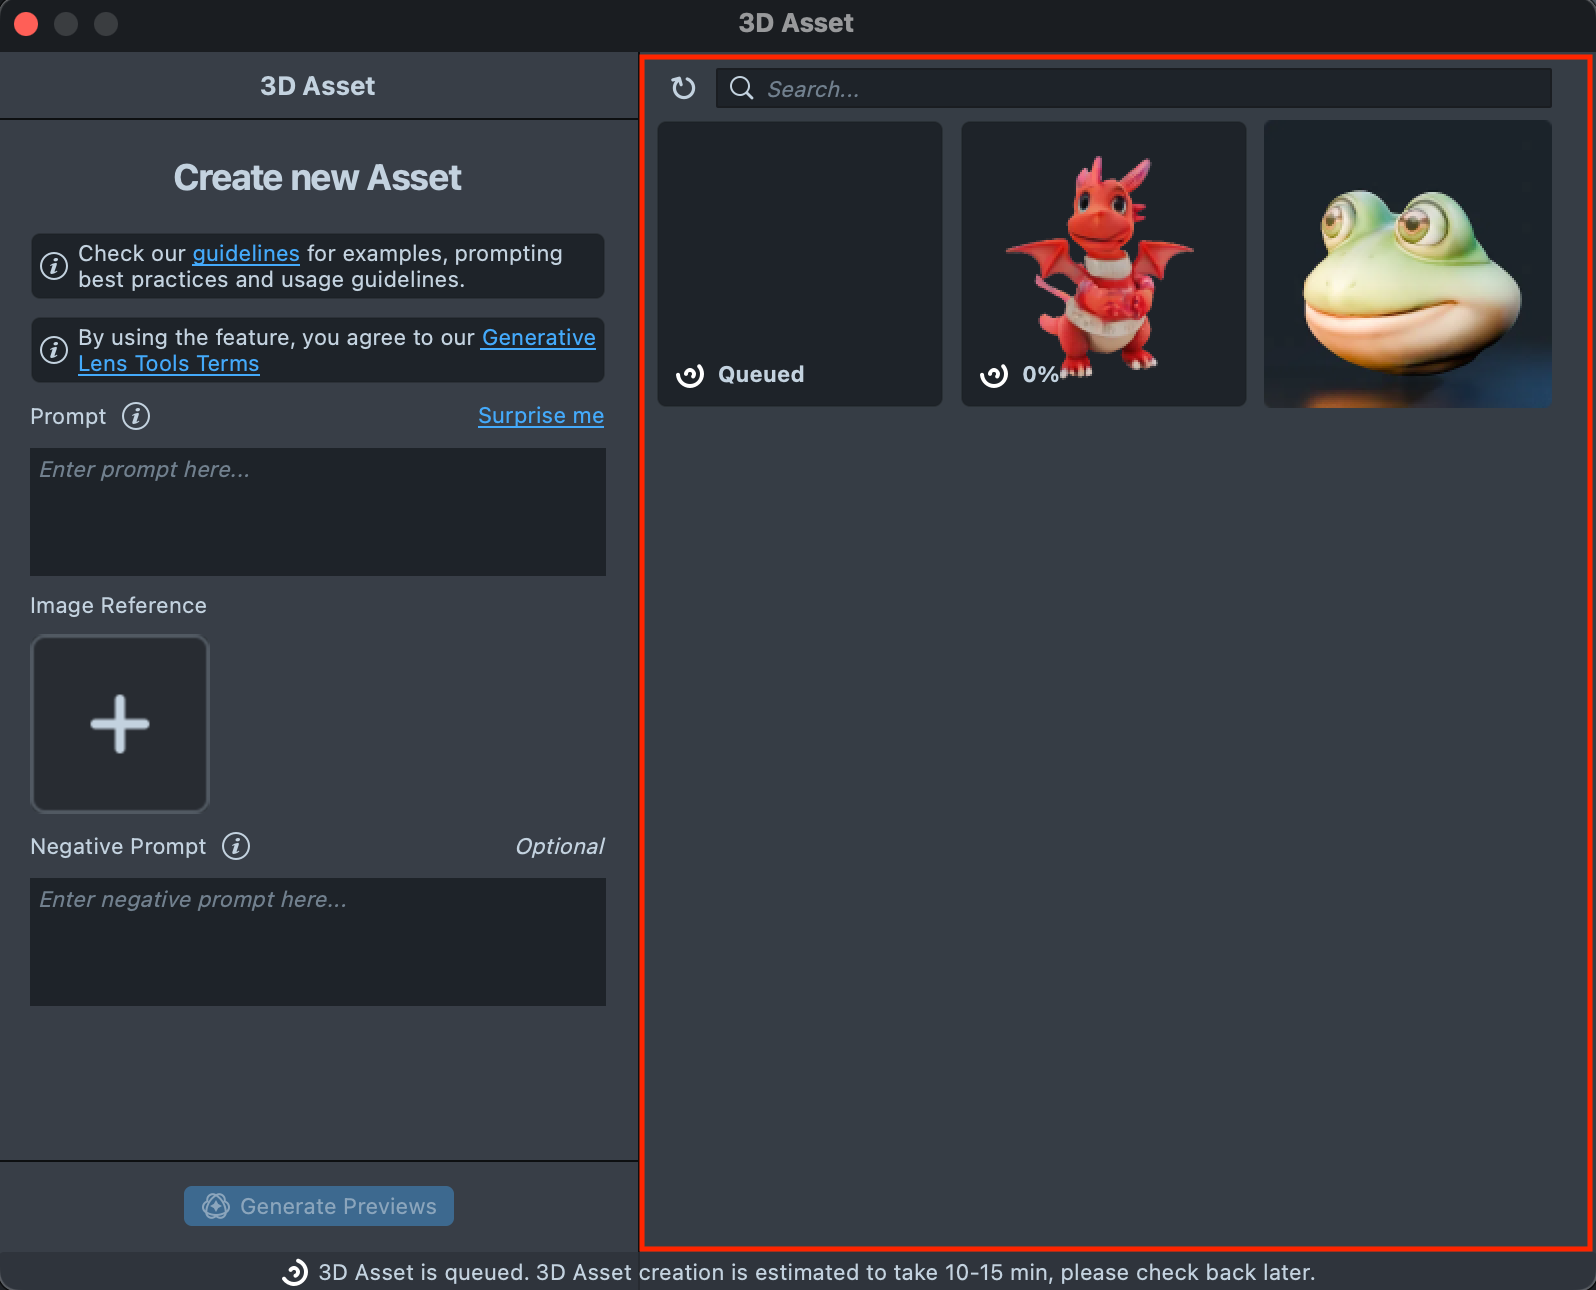
-
Search: Search through the created assets.

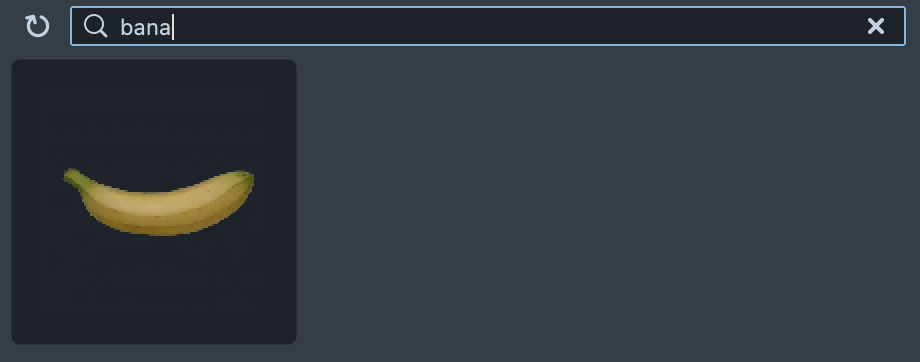
Creating a 3D Asset
Text Prompt
-
Input your own text prompt: Provide a text description of the asset that you're looking to create.
-
Use the
Surprise mefeature: TapSurprise meto use a random prompt.
Image Prompt
-
Input your own image: Upload the image from your computer. Please note that the prompt is still necessary even if the image is added.
Other settings Prompt
-
Negative prompt: Describe what you want to exclude from generation.

Preview of the Asset
-
You will be presented with four previews of the future asset. Select the one that best fits your needs and click
Generate Assetwhen you are ready.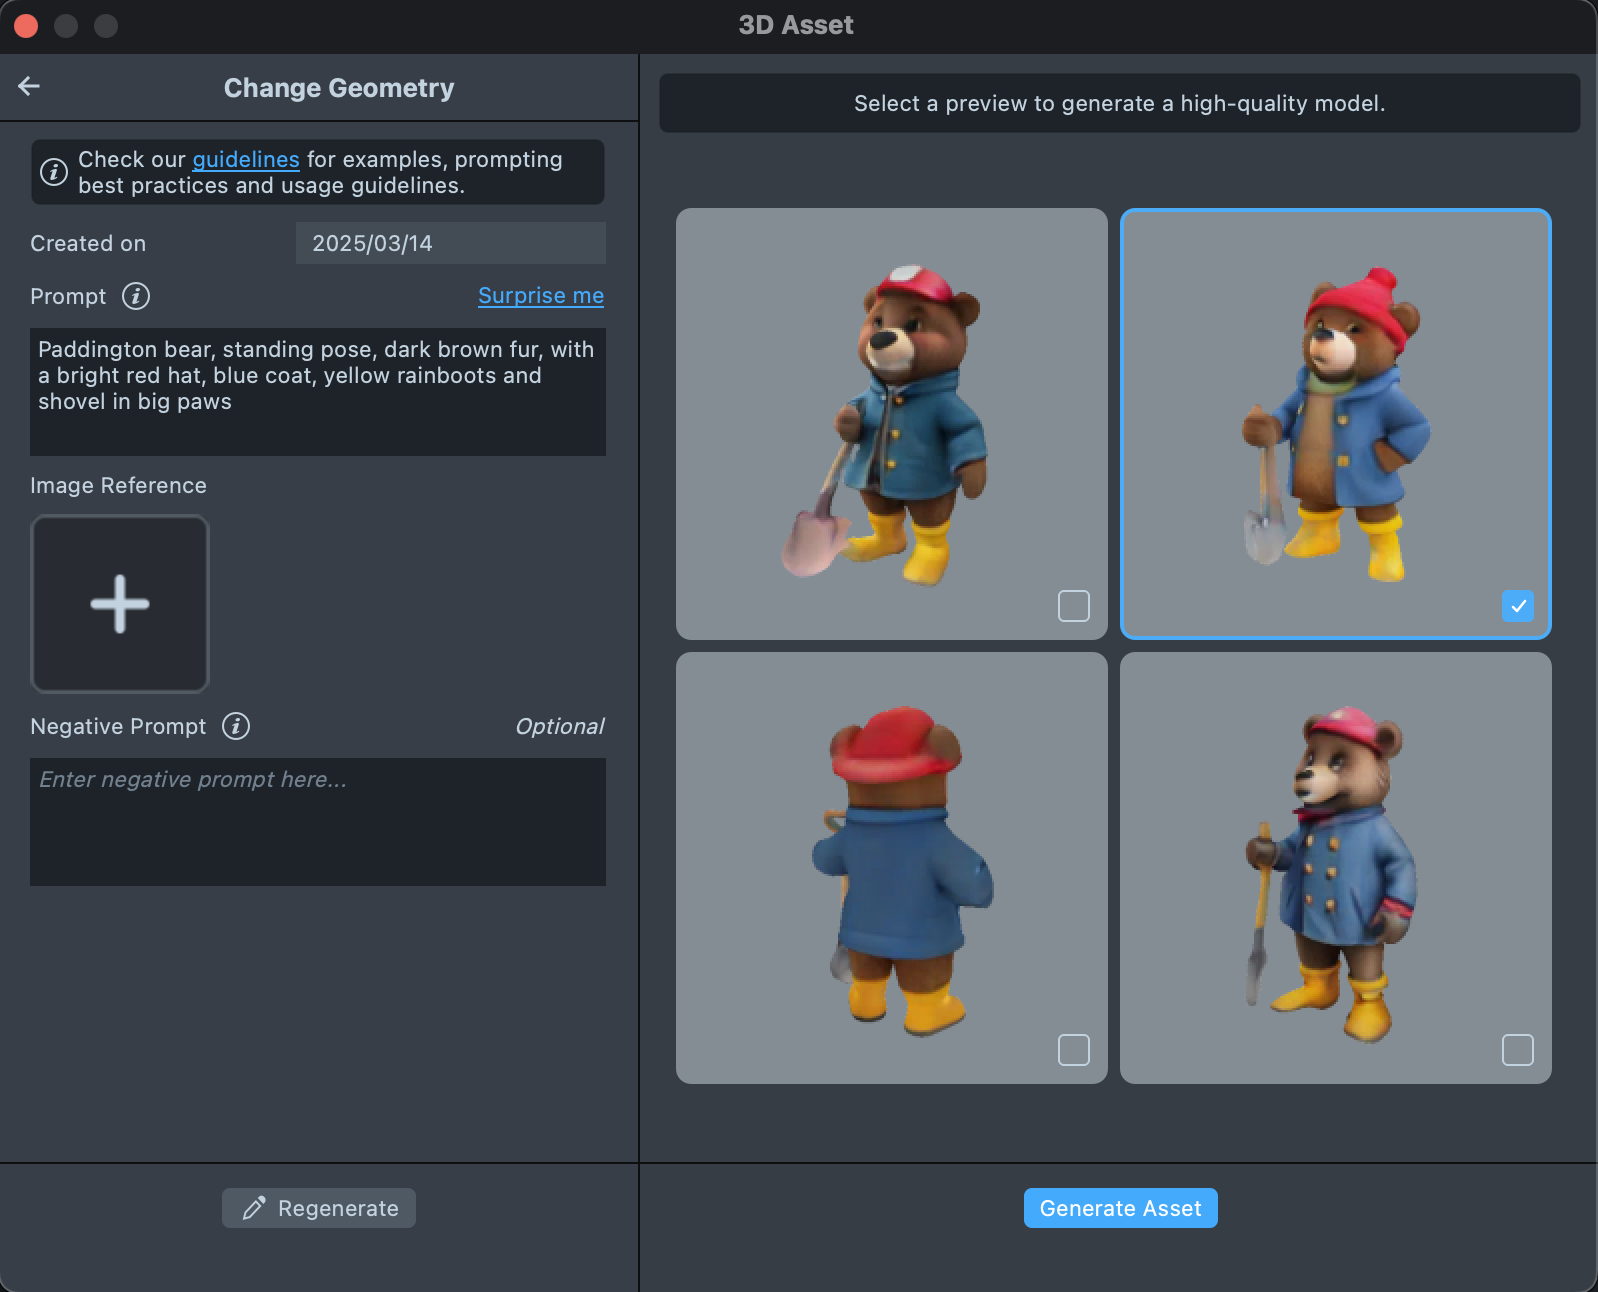
-
Regenerate: You can edit and regenerate the previews.

Generation
-
Press
Generate Assetwhen you are ready.
-
Check upon the Status bar for info.

3D Asset Generation Preview and Editing
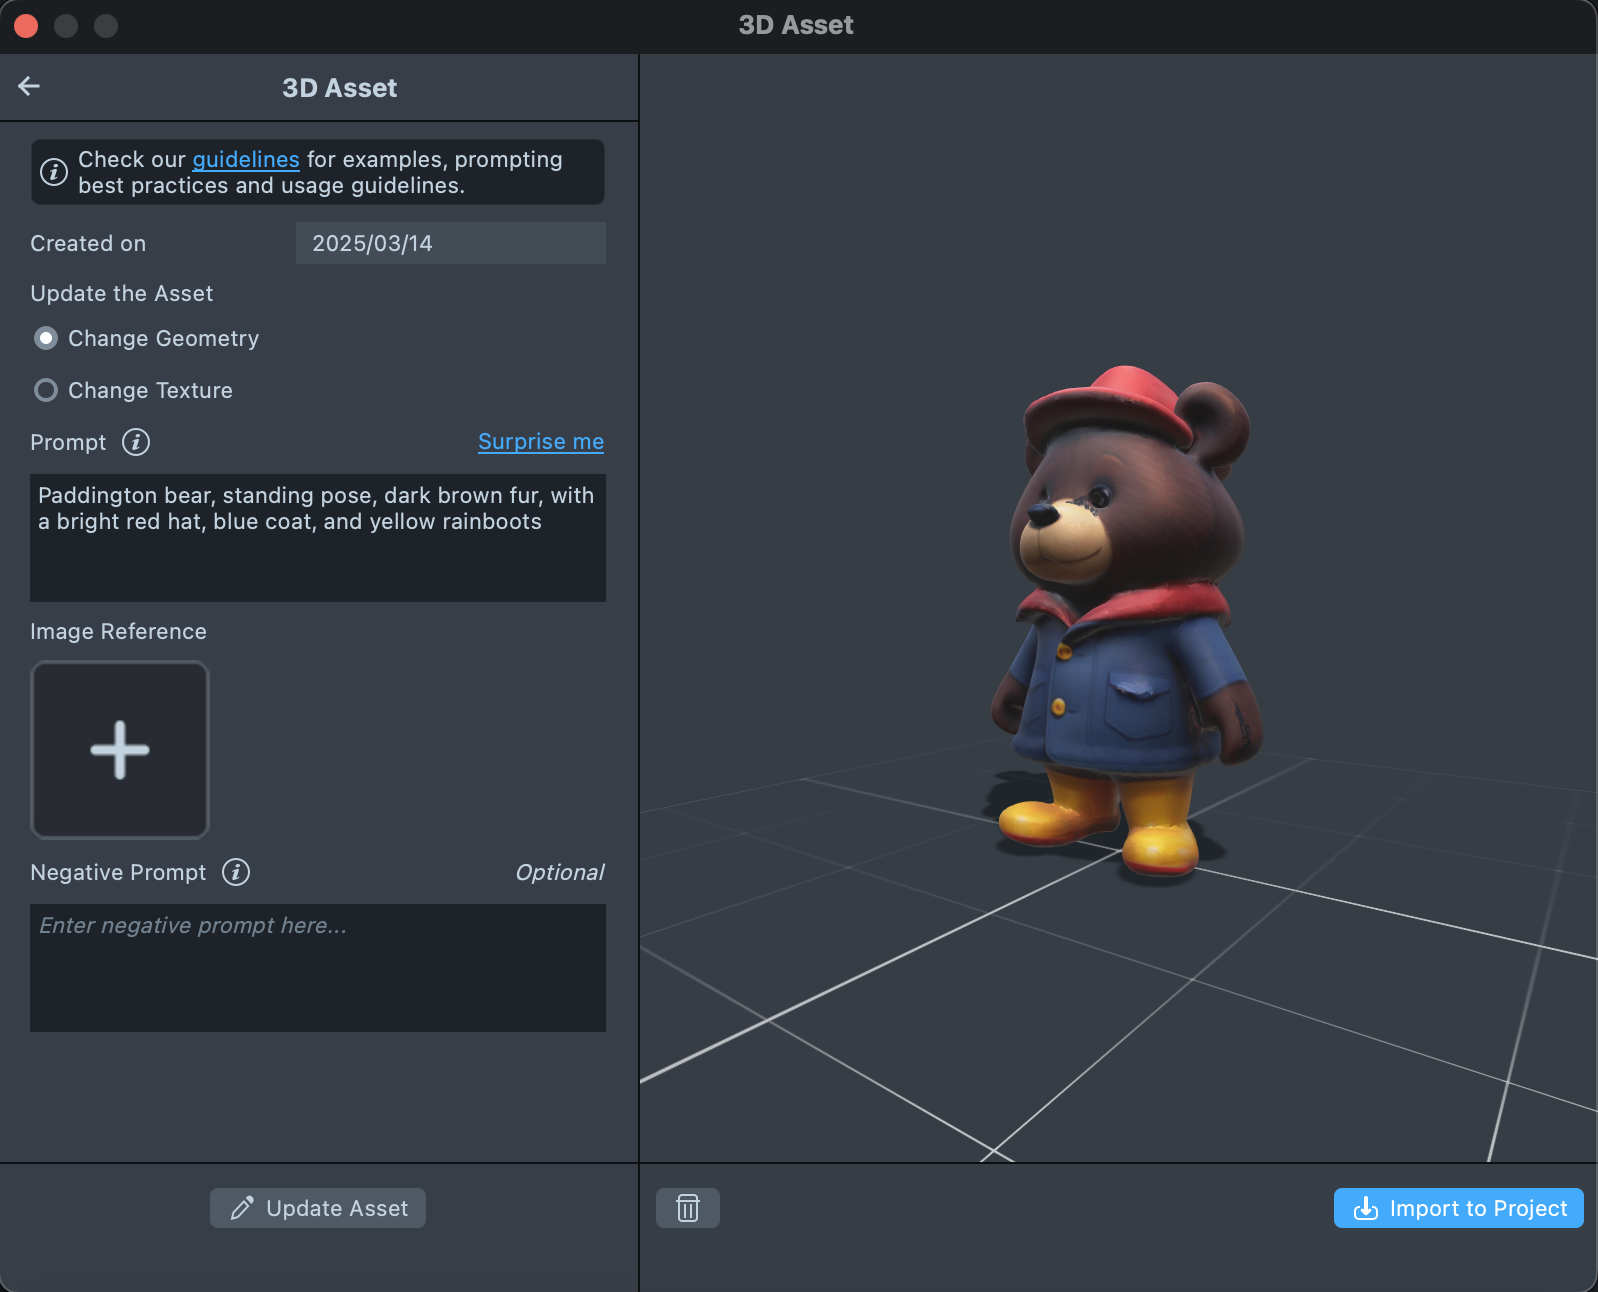
Change Geometry and Texture
- You can adjust the asset by changing Geometry or Texture. Add more details to the prompt field, add images or adjust other settings.
- Press
Update Assetand wait for the result. The new effect will be created and displayed in the Gallery view.
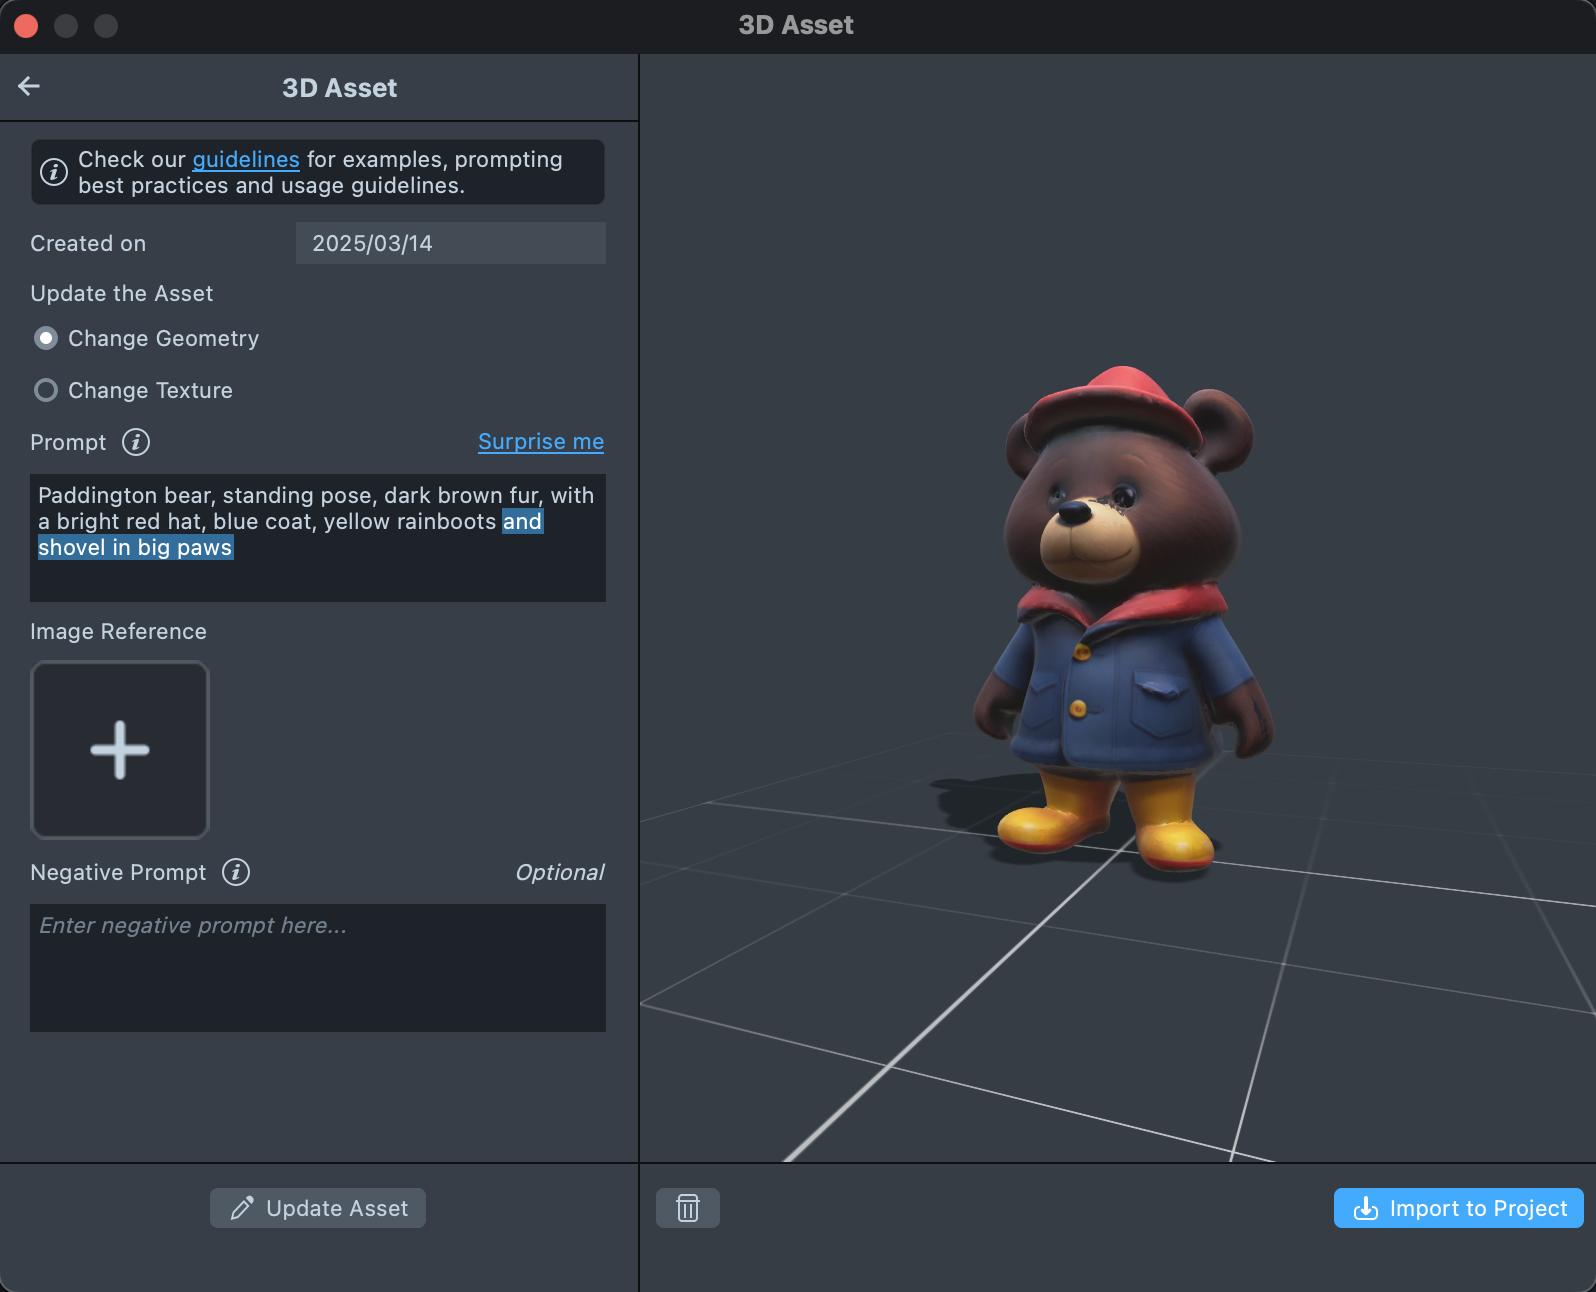
Delete 3D Asset
- You can also delete the asset

Create a Lens
Import to Project
-
Press
Import to Projectbutton to start creating a Lens with your 3D asset.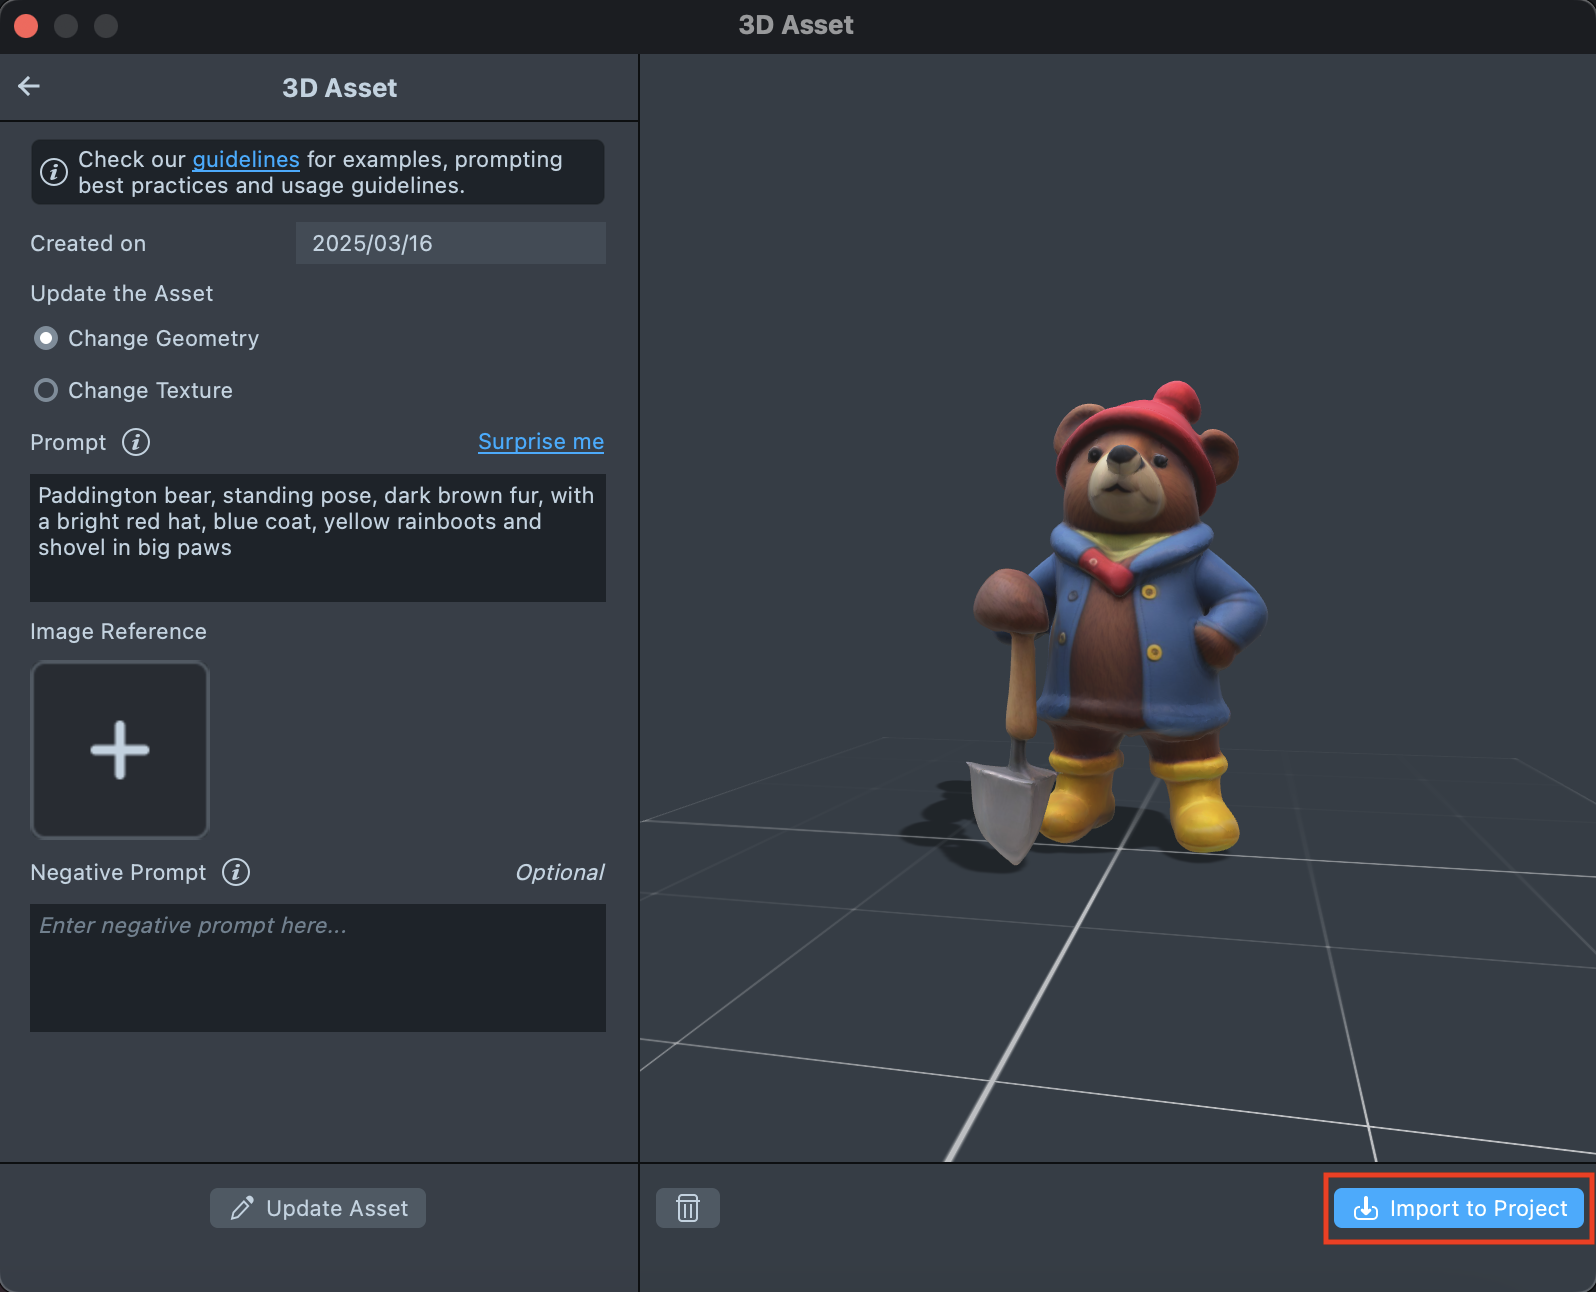
-
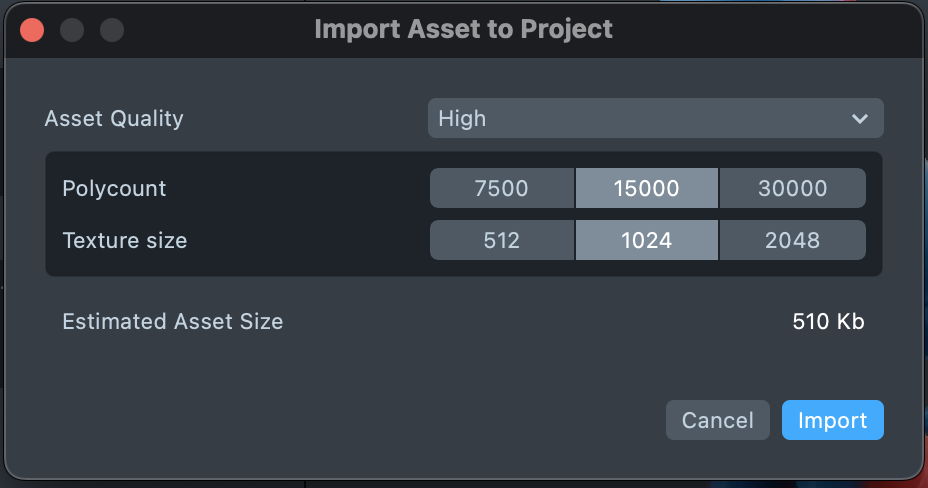
Select the quality of your 3D asset, keeping the asset size in mind. Higher quality downloads have higher polycounts and texture sizes, but also larger asset sizes.
Result
Save and Export Your Lens:
- Once satisfied with the result, save your project and export the Lens for testing on Snapchat.
Prompt Tips and Hacks
Text Prompt
-
Avoid too many details
Be descriptive about your asset's main properties (main color or attributes you wish your asset to have). However, try to keep it simple.- ✅Good: dragon with emerald green scales, large wings, fiery eyes
- 👎Bad: dragon, deep emerald green scales with subtle blue undertones, massive wings spanning twenty feet with intricate vein patterns, fiery eyes glowing with a detailed fiery texture, sharp claws detailed with worn edges
-
Use comma-separated phrases, not sentences
It is best to divide long sentence descriptions into context phrases of 2-3 words separated by a comma symbol.- ✅Good: unicorn, white fur, spiraled horn, golden hooves, highres
- 👎Bad: Create a unicorn with white fur, a spiraled horn, and golden hooves; ensure it's a high-quality, high-resolution, high-polygon model
-
Don't use “a 3d model of…” or alternatives
Don't specify the wording mentioning explicitly that you want a 3d model - this might result in less detailed generations.- ✅Good: a playful corgi dog
- 👎Bad: a playful corgi dog as a 3d model
-
Describe the object, not the scene
Current version of the tool does not support 3D scene reconstruction - it will only generate a single 3D model.- ✅Good: an american eagle statue, high quality
- 👎Bad: an american eagle flying in an empty forest, high quality statue
-
The words at the start of your prompt have the most influence and should fully reflect the concept.
- ✅Good: big sunglasses, green good quality, highres,
- 👎Bad: highres, hi-poly, good quality, 3d model, sunglasses
Image Prompt
-
Use mostly squared image
Expect your image to be center-cropped, so it's best to use almost-squared images not to lose important context.
-
Make sure there is a single, easily distinguishable object on your image
Our tool will reconstruct a single 3D asset. Therefore for the best result make sure that the following requirements are satisfied:- There is a single object present on an image (no multi-objects/environments)
- The object is clearly separable from the background
- No people are present in the shot
- The object is position in full body (e.g. not truncated)
✅Good:


👎Bad:


-
Use prompts “Best Practices” to write a matching prompt
Currently, the prompt is also used when the image is present. Make sure that you write a good matching prompt using the recommendations above.