Head Generator
Head Generator is a powerful tool for generating and customizing 3D heads for creating Lenses. It uses AI to generate a 3D head, which can then be driven by facial expressions, similar to Face Morph.
This guide will walk you through all the features and provide tips and hacks for getting the most out of your 3D head creations.
Getting Started
Launching Head Generator
-
Navigate to the
Lens Studio AIoption in the top right corner of the Lens Studio. Then, click on theGenAI Home Pagetab in the sidebar.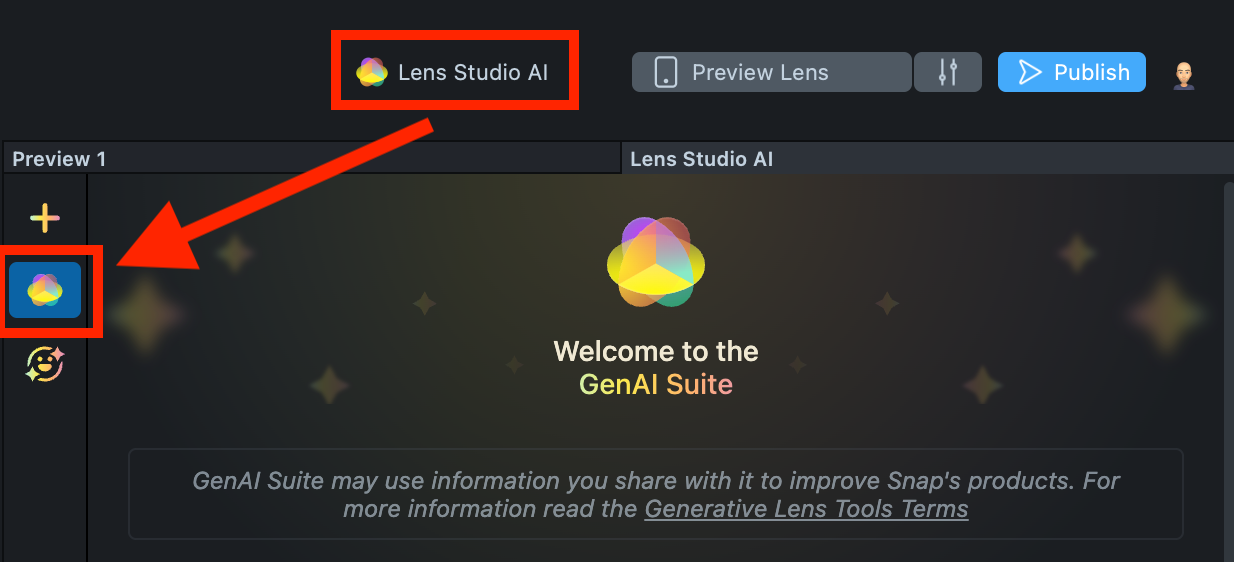
-
On the
GenAI Home Pagetab, you may need to scroll down to find Head Generator.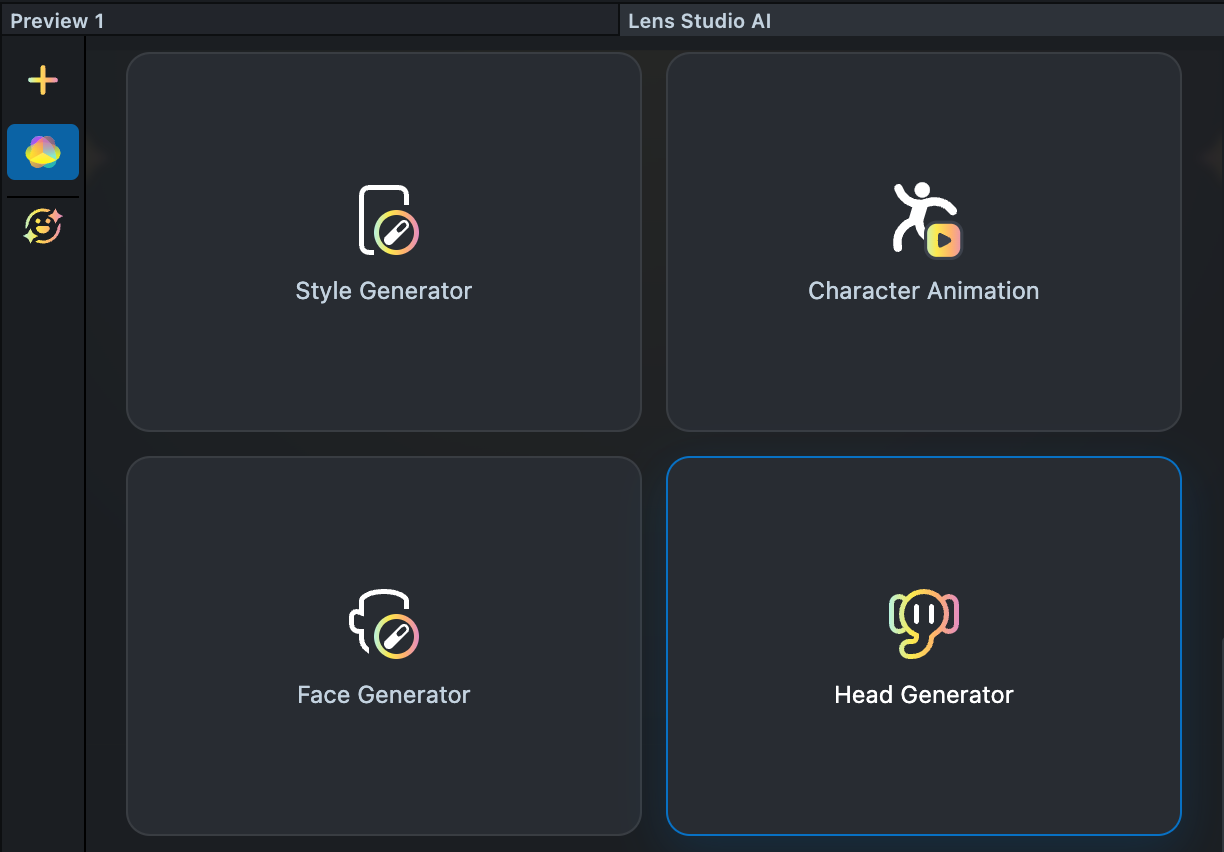
User Interface Overview
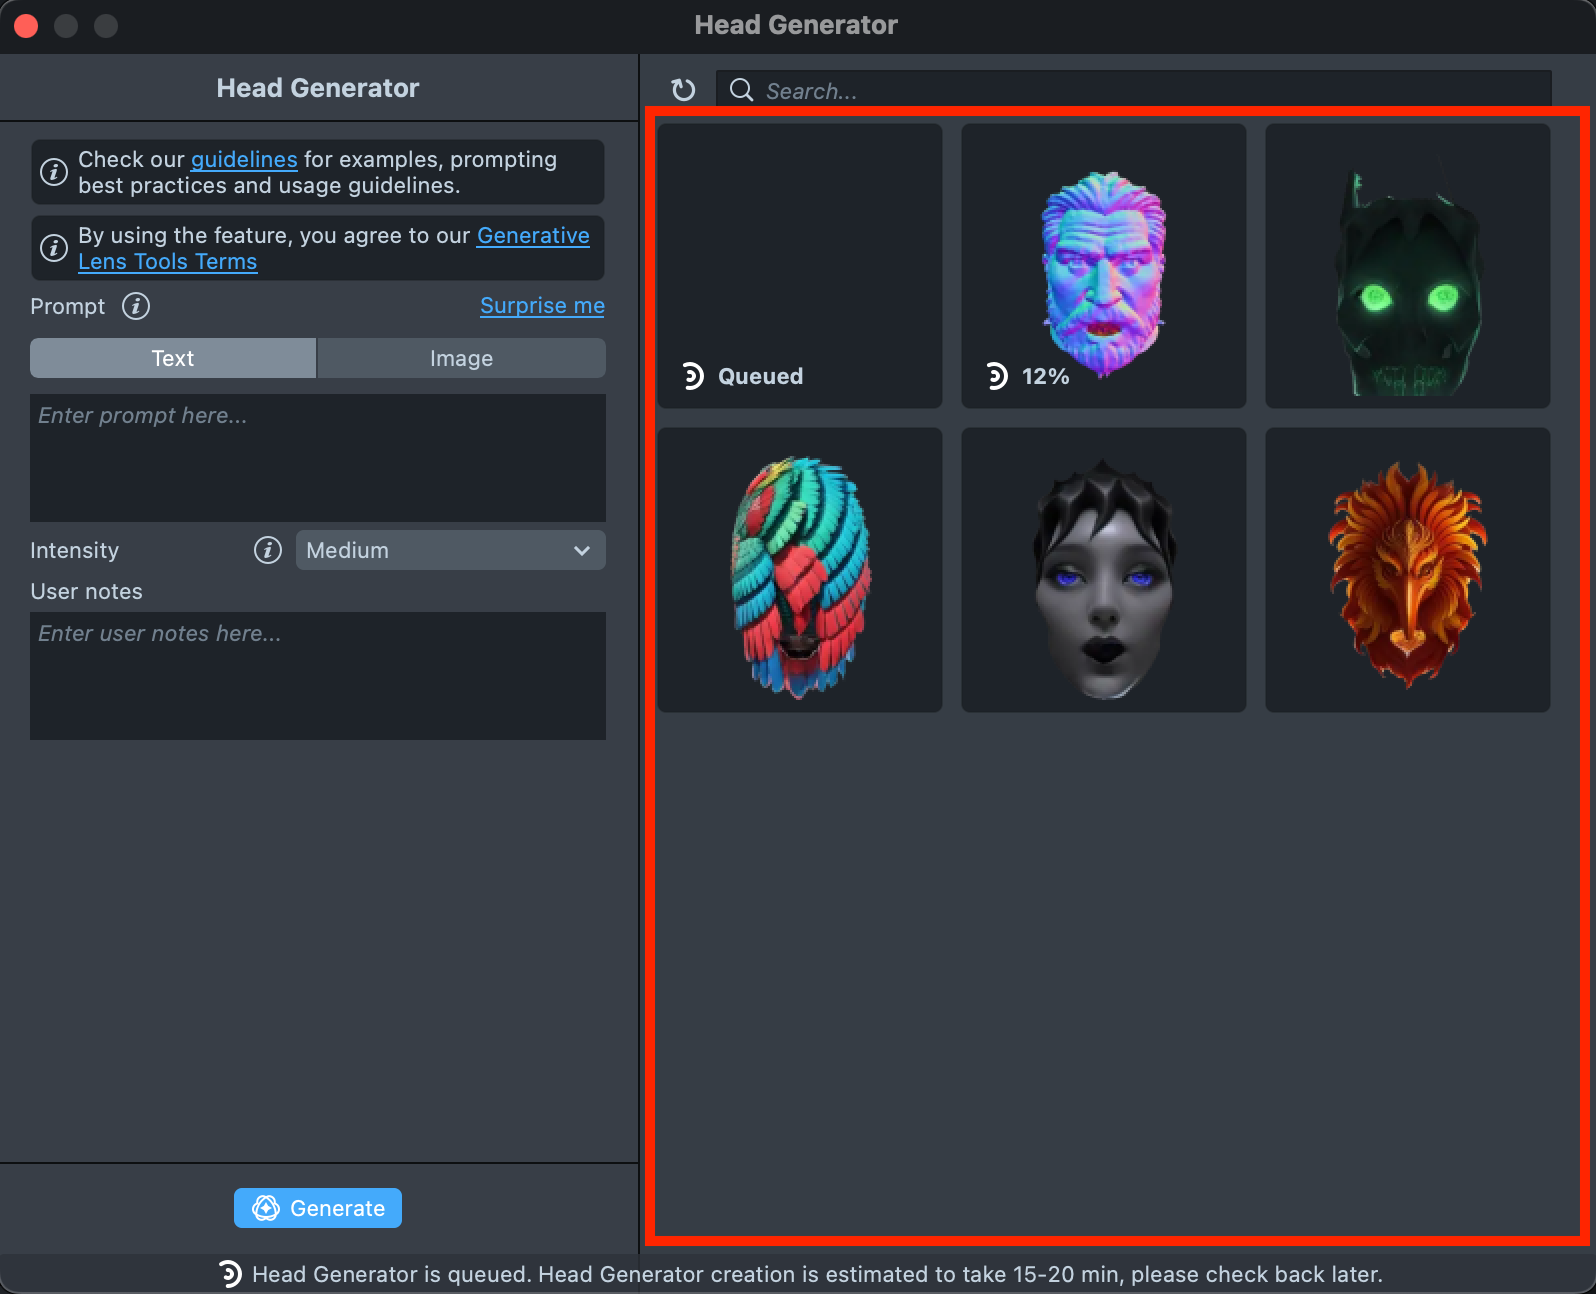
-
Creation Panel: Provides tools for creating and editing 3D Heads.

-
Gallery: Shows all the assets you’ve created along with their statuses.
-
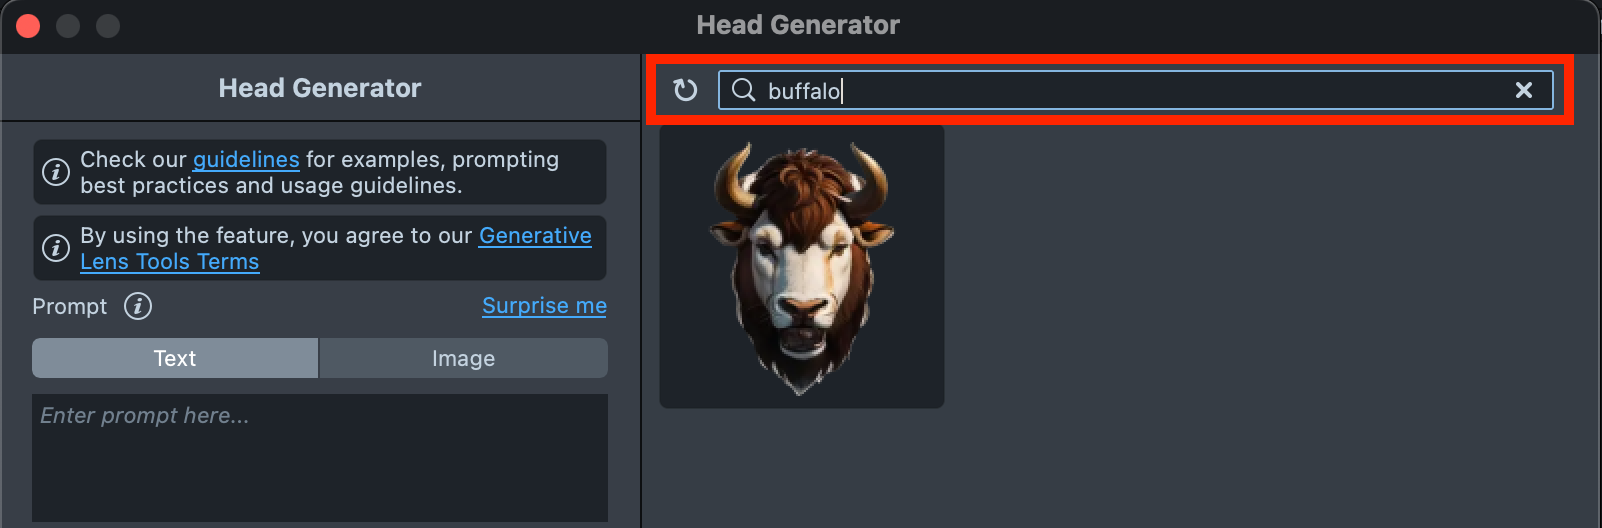
Search: Allows you to search through the 3D Heads you’ve created.
Asset Creation flow
-
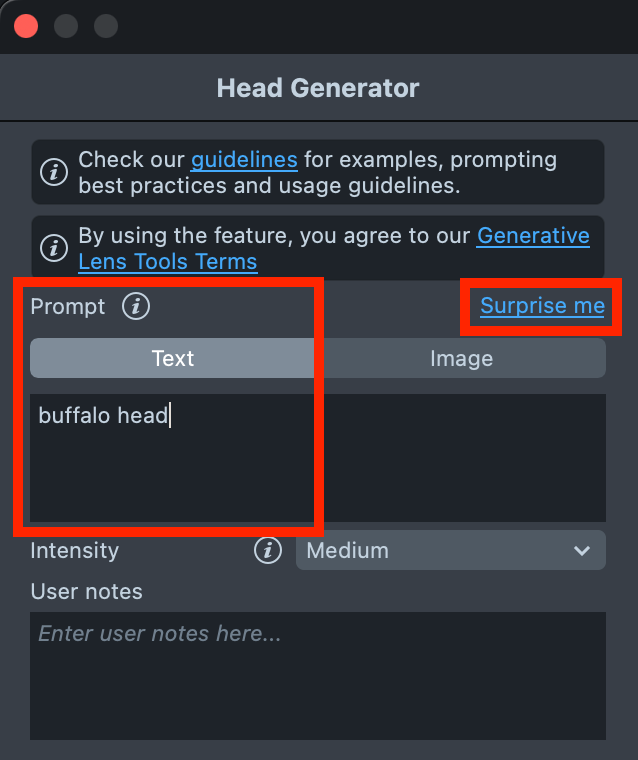
Enter a text description of the 3D Head you want to generate. You can use the
Surprise Mebutton to insert one of the default prompts and get familiar with the creation flow.The plugin currently does not support using text and image prompts at the same time.
-
If you have an image of the desired 3D head, switch to the
Image Referencetab to upload your image prompt.At this stage,
Image Referenceproduces the highest-quality assets. We recommend using an image reference to achieve results that match your desired look as closely as possible.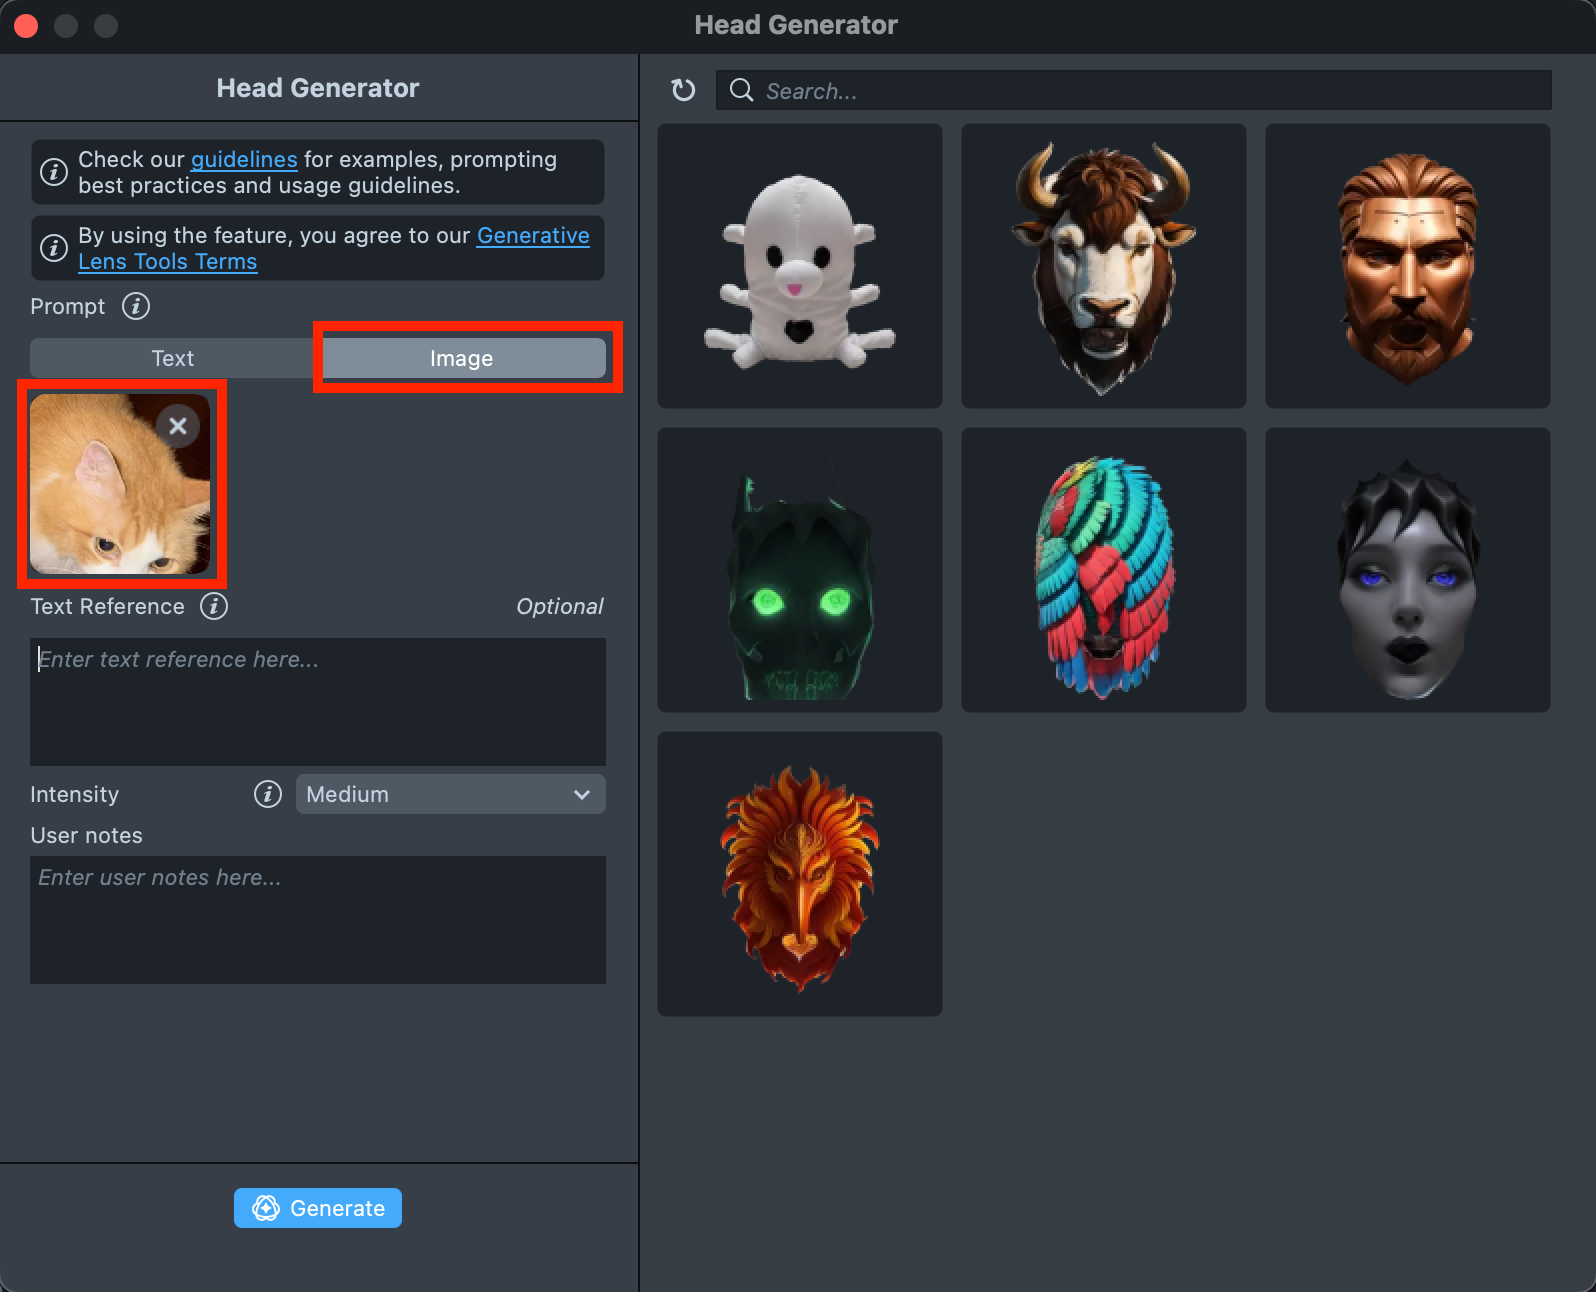
-
When your prompt is ready, press the
Generate previewsbutton to generate the previews.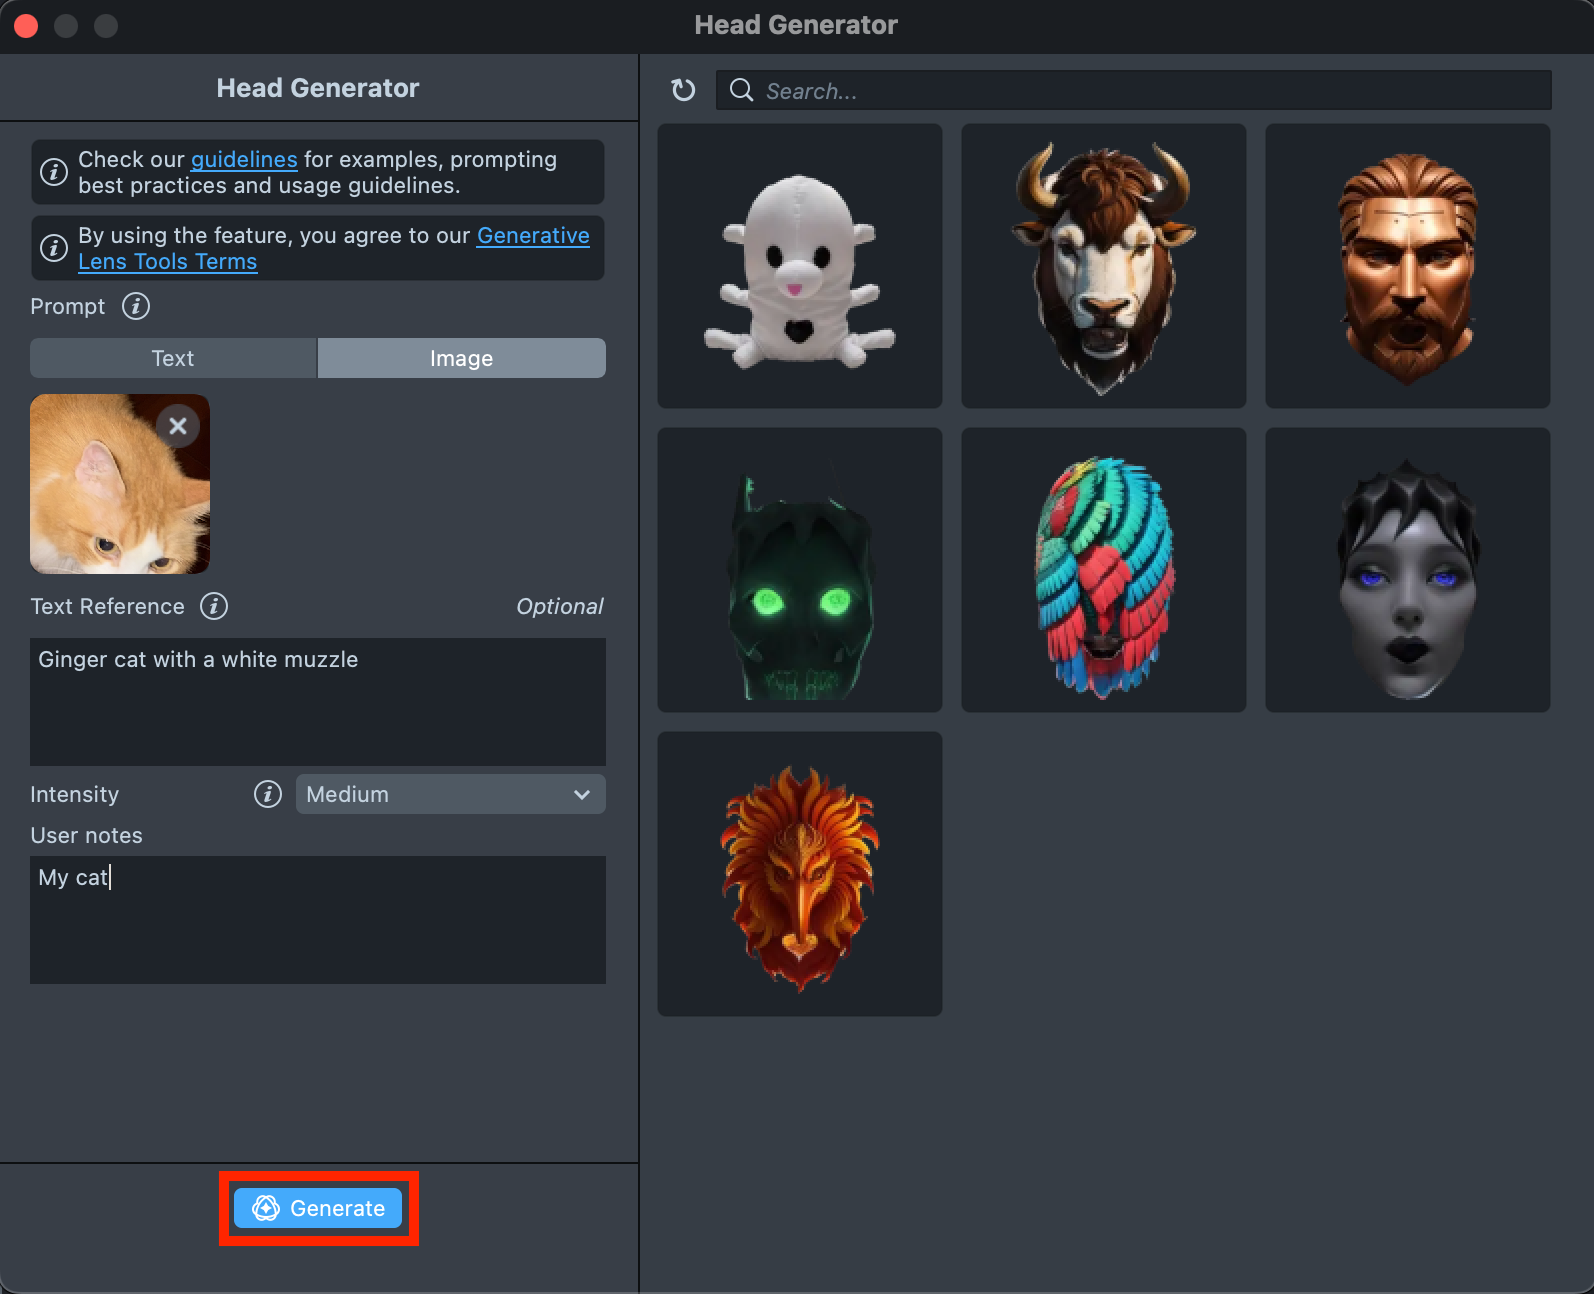
-
You will be presented with four previews of the future 3D head. If the previews don’t match your expectations, click
Regenerateto get four new options.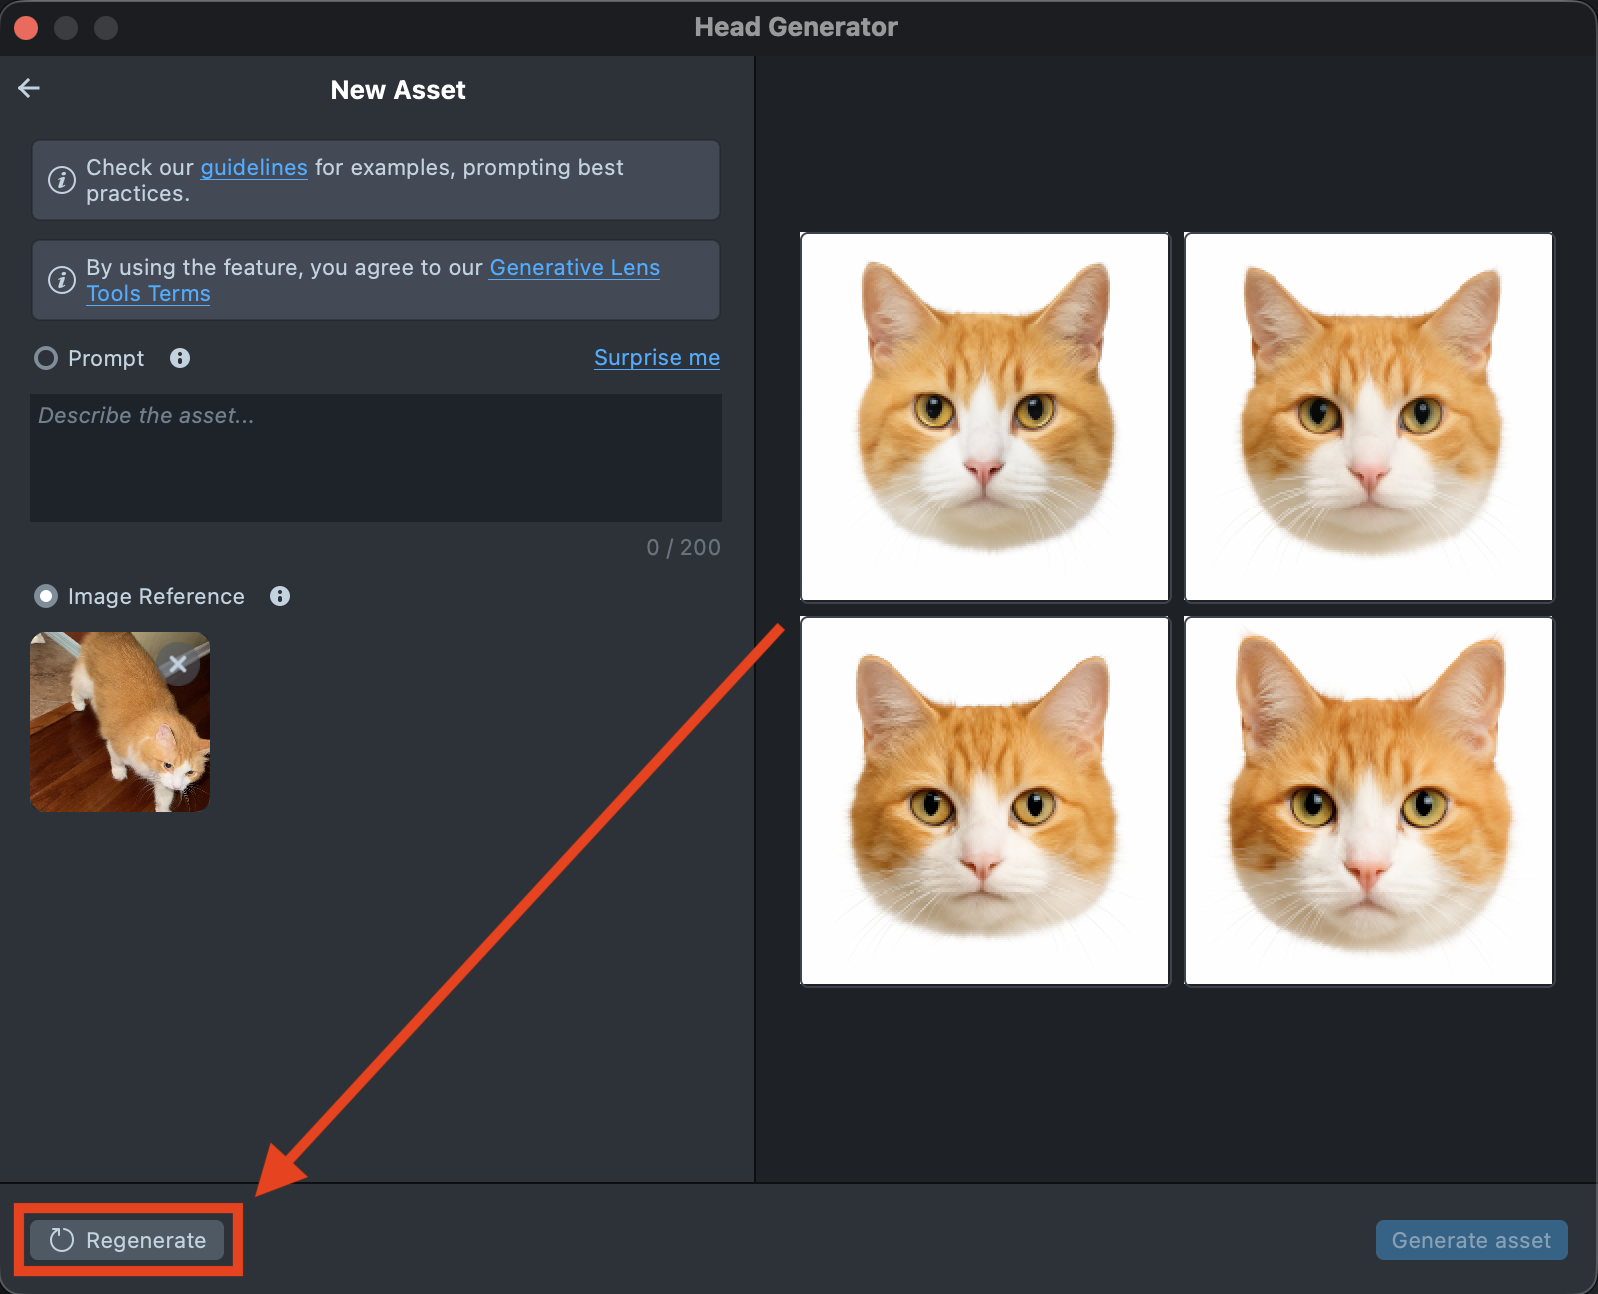
-
When you’re satisfied with the preview, select one and click
Generate asset.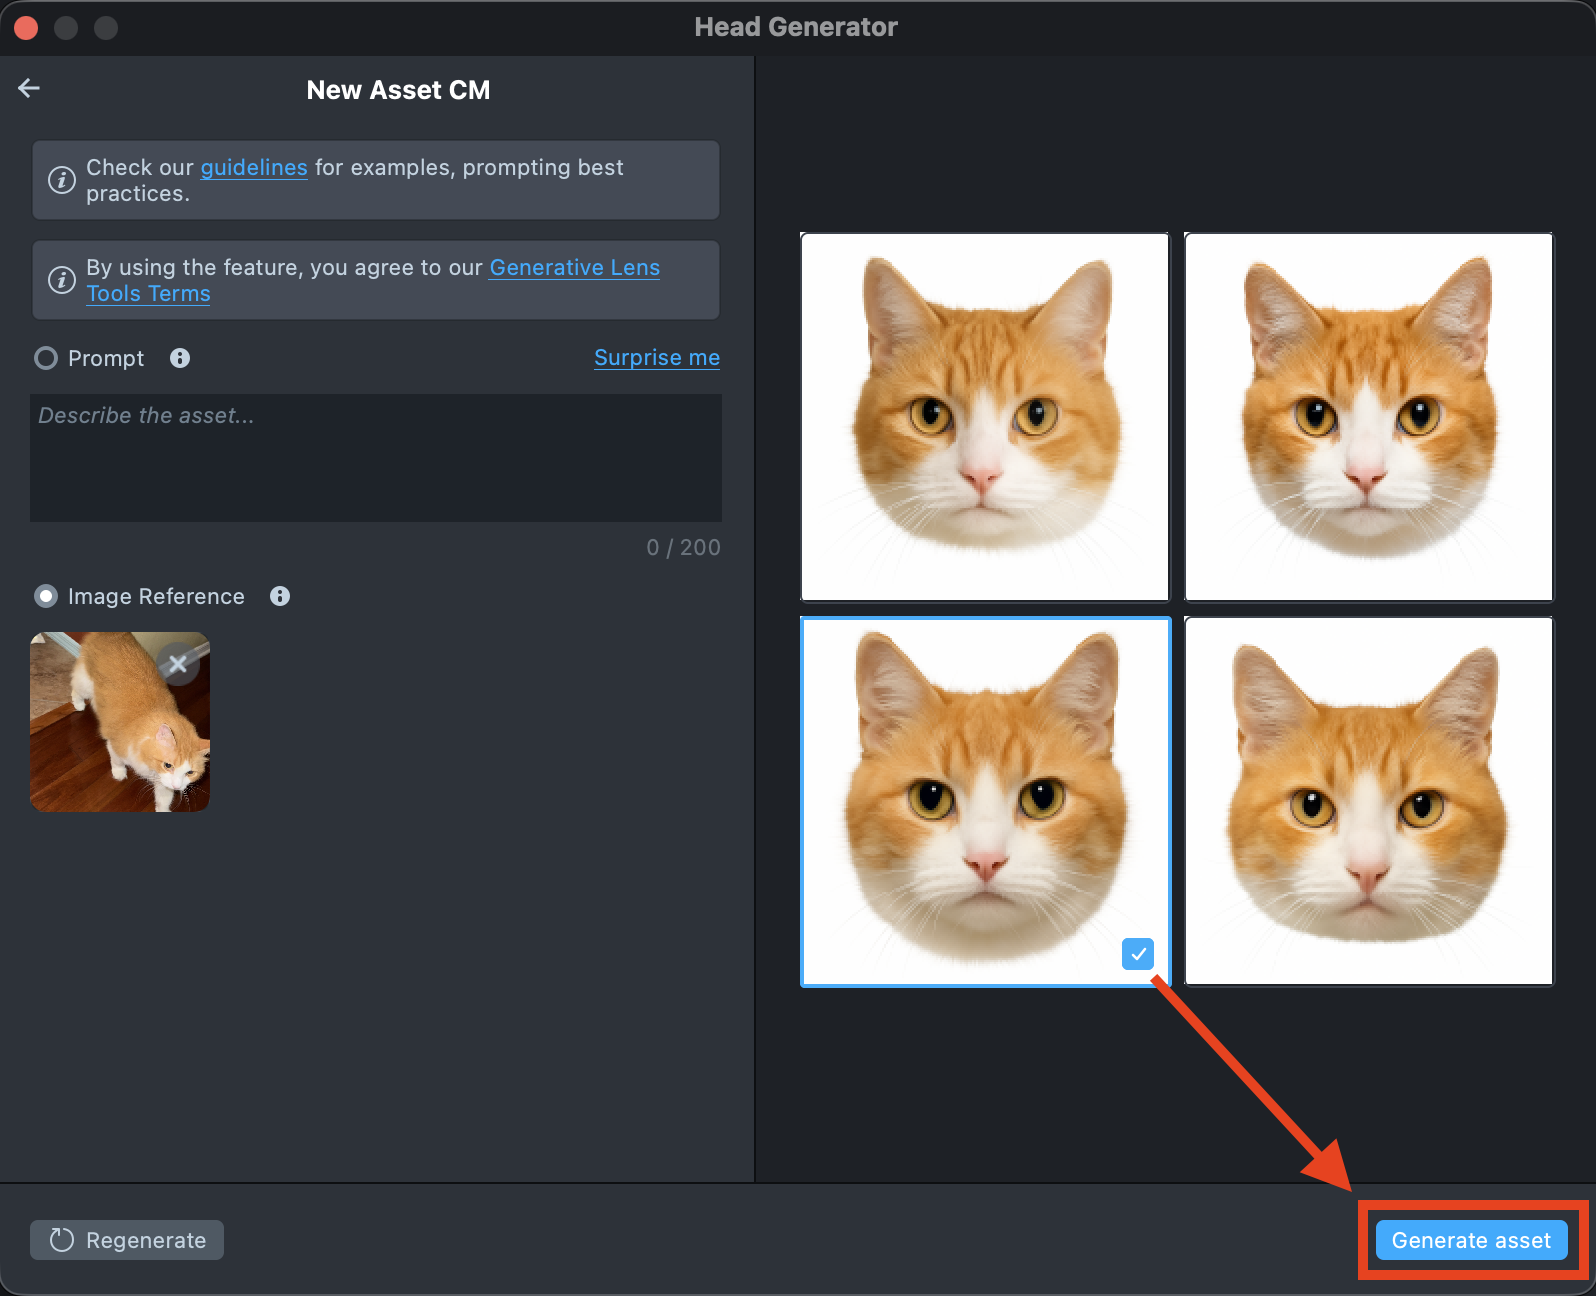
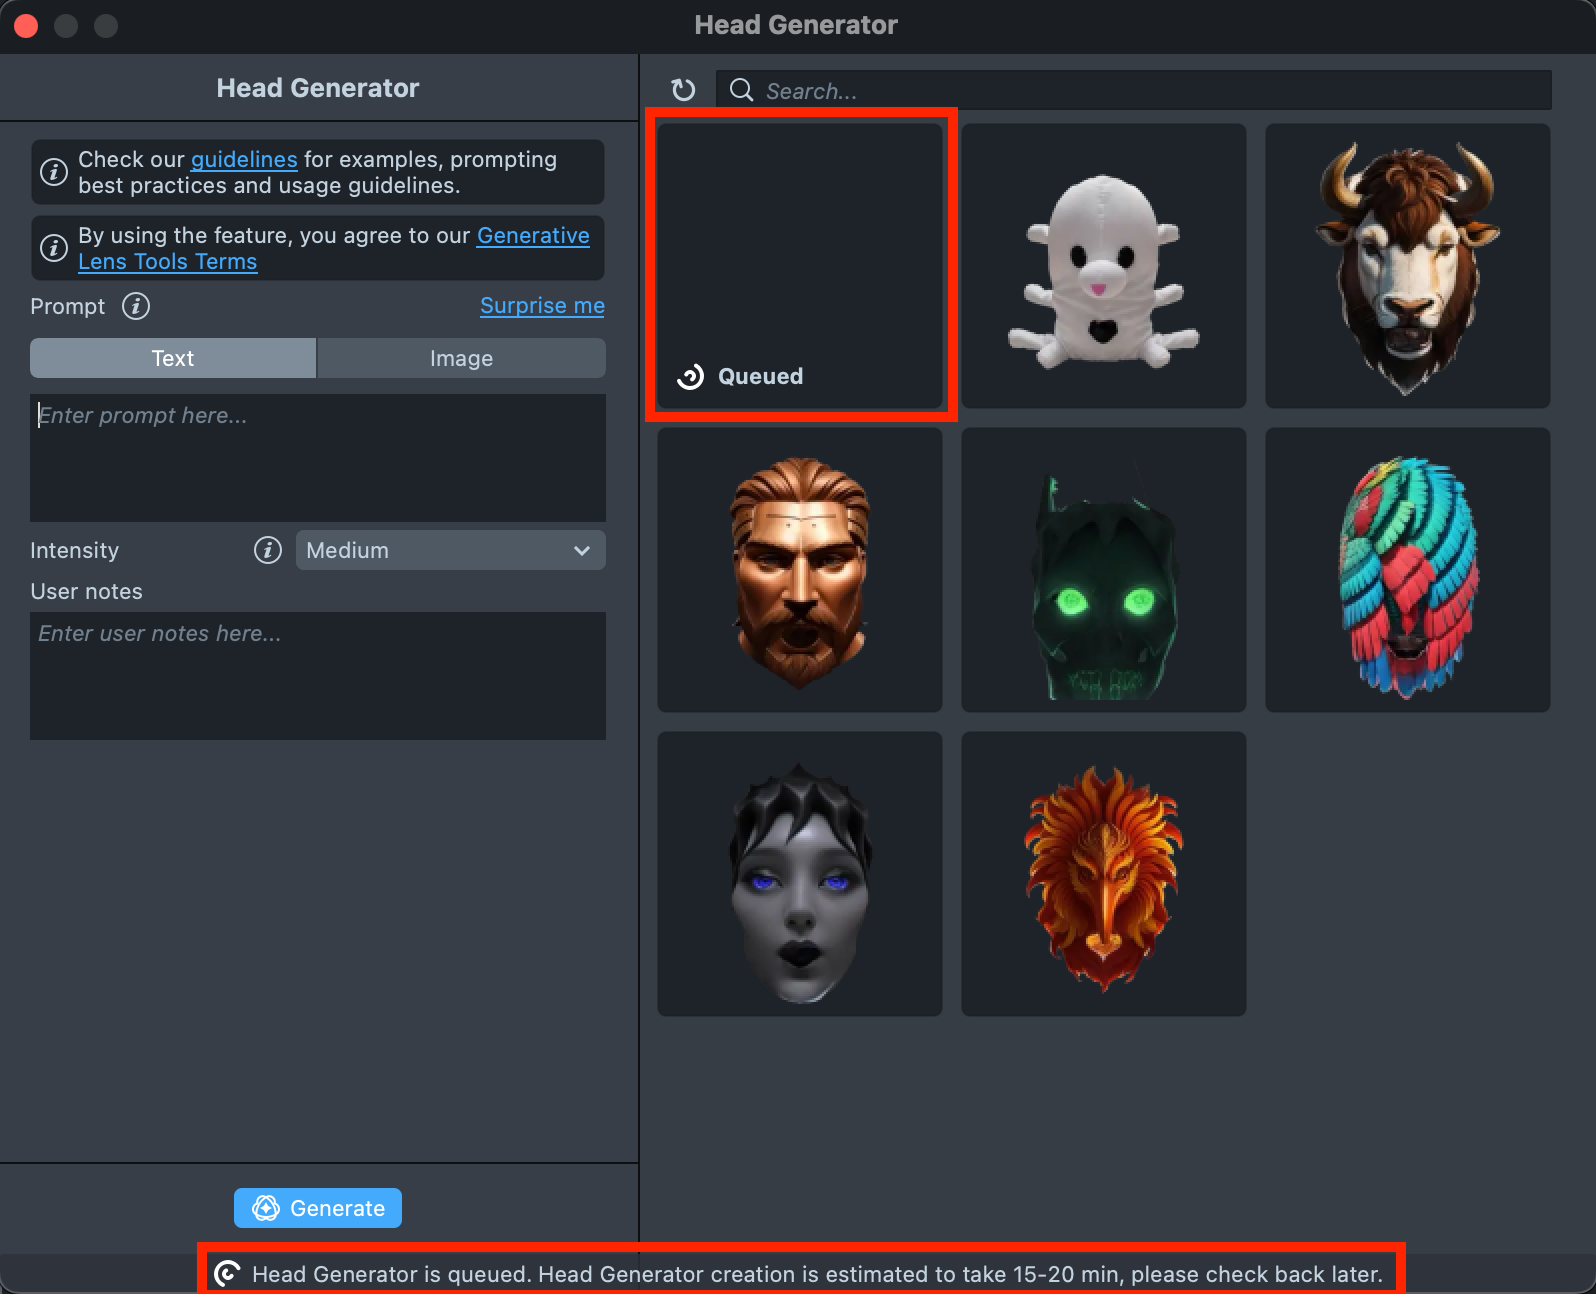
-
A new tile will appear in the Gallery with a loading indicator in the corner, showing the progress.
Generating the asset may take up to 1 hour, but you can close the plugin and return later.
-
Once the 3D Head has been generated, you will see the completed preview in the Gallery. Click on it to open the asset in detail view. If the asset doesn’t match your expectations, click
Copy settingsto adjust your prompt. Your original asset will remain in the Gallery, and a new entity will be created.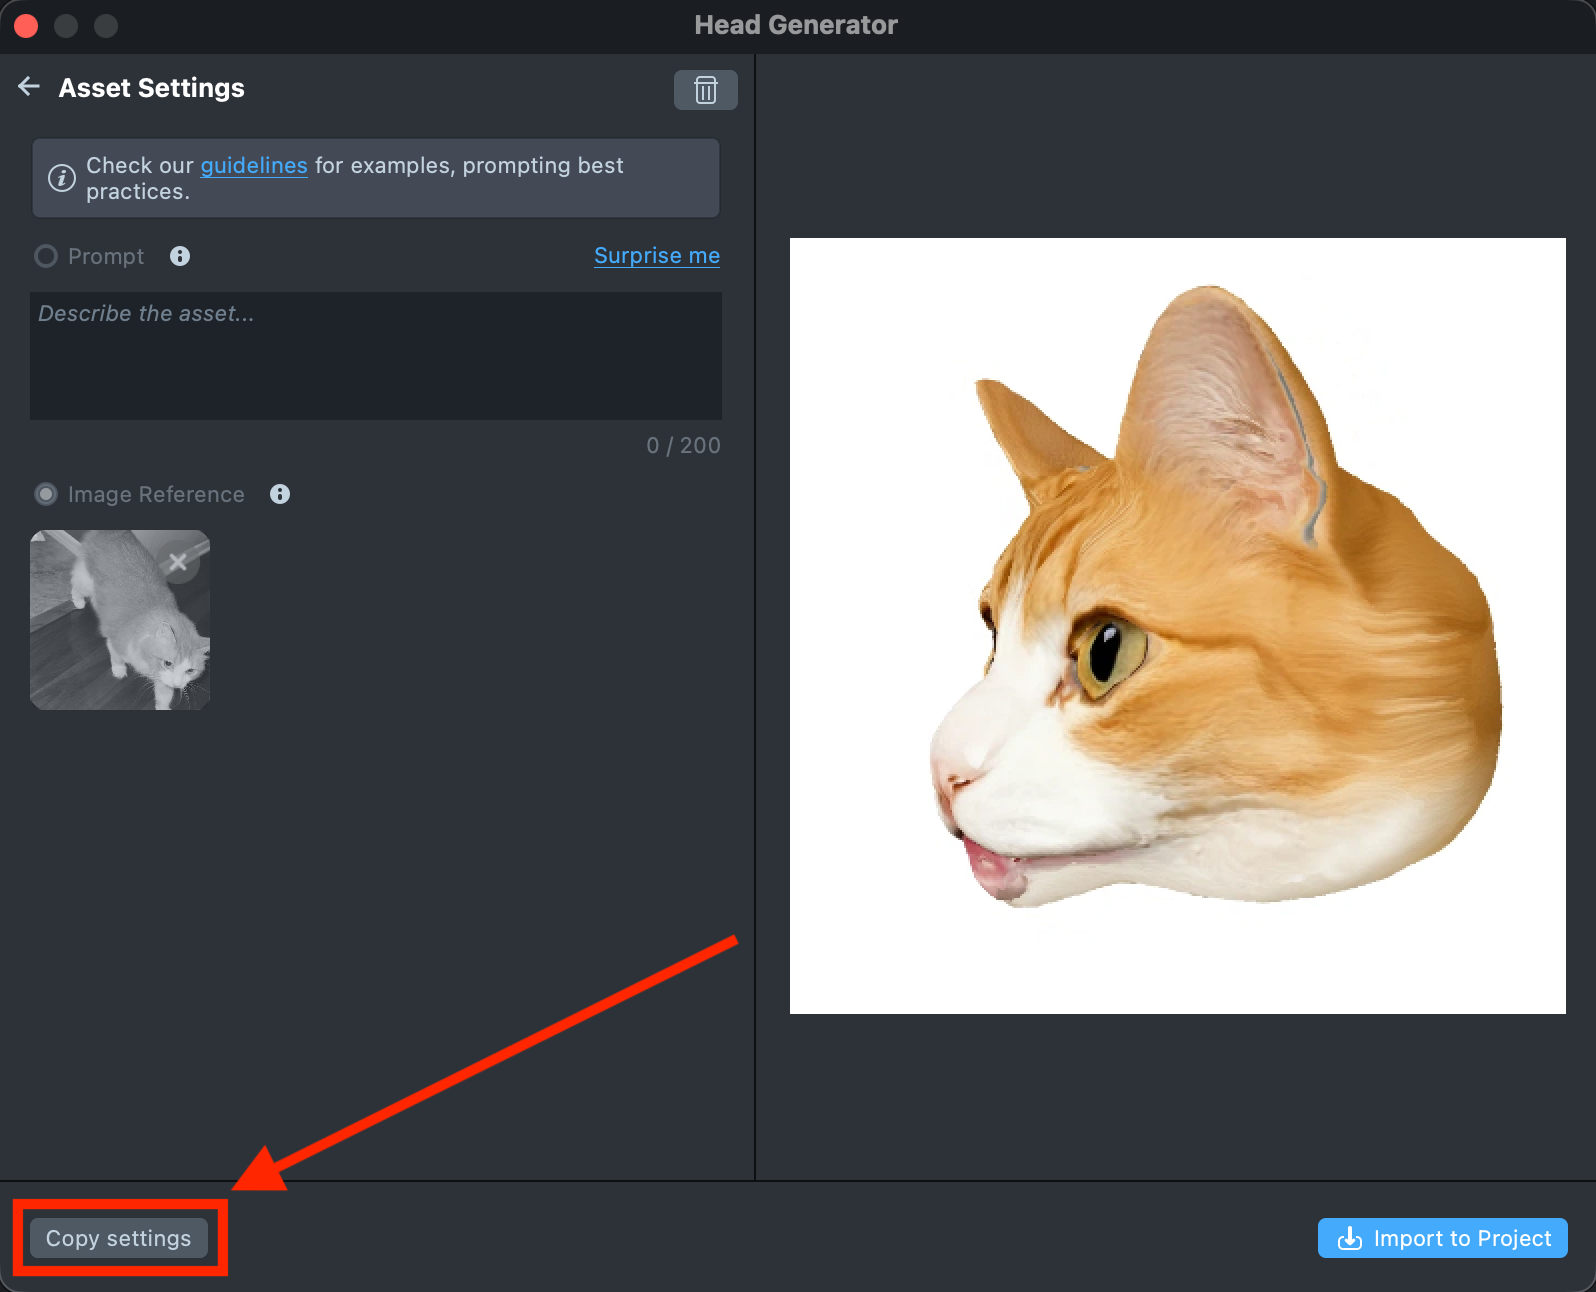
-
If the result matches your expectations, click
Import to Projectto bring the 3D Head into your project and continue building your Lens.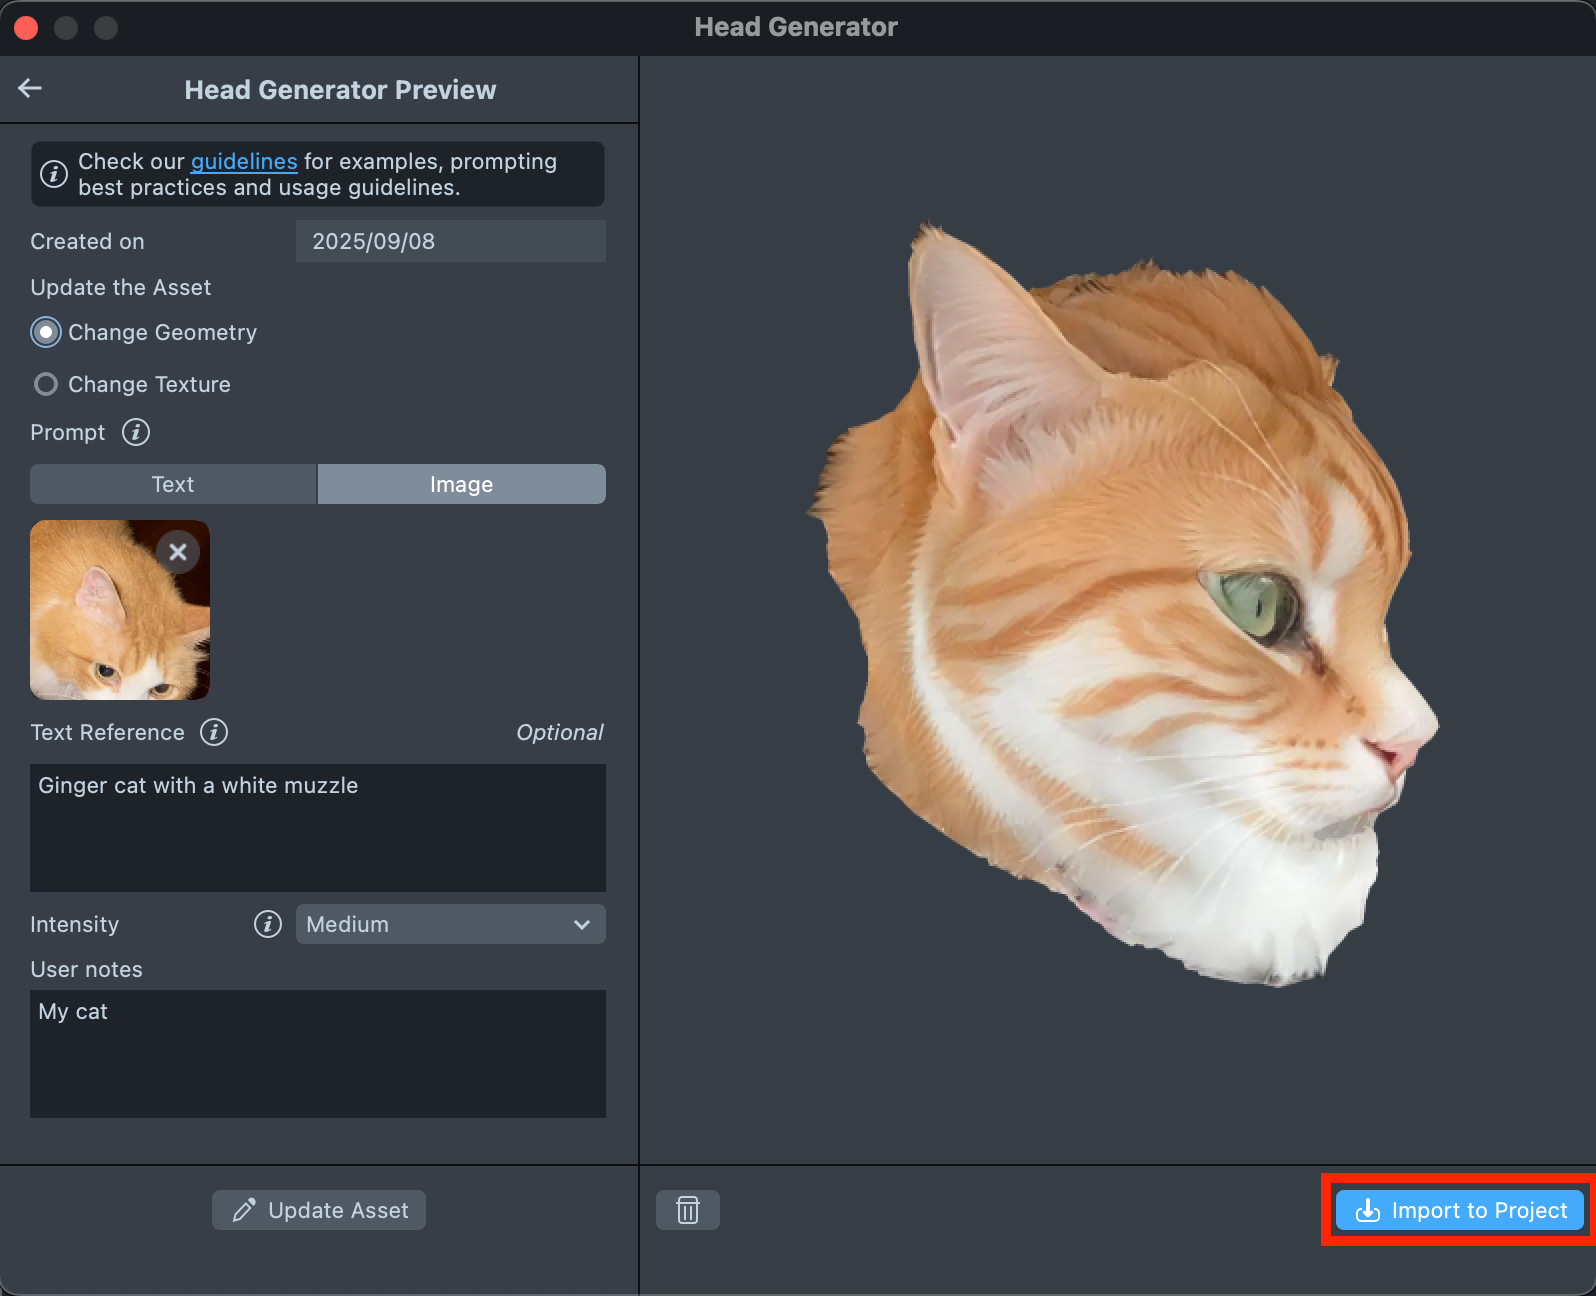
-
The component will be added to the Scene Hierarchy, and you will see a preview of the 3D head applied to the model.
If the asset appears misaligned with the person’s head, you can adjust its position by modifying the transform coordinates to ensure a proper fit.
-
Take a look at the Pairing to Snapchat guide to test your Lens on device, and the Publishing guide to learn more about sharing your creation.
-
Follow this guide to learn how to combine Head Generator with Style Generator, Selfie Attachments and Zoom Component.
Prompt Tips and Hacks
This plugin generates high quality human and non-human subjects, such as animals, creatures, objects, or stylized characters.
Words and Phrases
- Context Words and Phrases: It is best to divide long sentence descriptions into context phrases of 2-3 words separated by a comma symbol.
- Works best: 1 human head, big sunglasses, red curly hair, realistic portrait, green lizard skin, good quality, highres, hipoly model, snake teeth, opened mouth
- Works worse: Human that have green lizard skin and red curly hair wears big sunglasses he also has white snake teeth his mouth is opened also make it high quality 3D hipoly model
Descriptors
- Character: Mention the character you want to create.
- Example: rhino, medieval king, clown, alien, samurai, robot, baby penguin
- Features: Mention face and head features that you want to emphasize.
- Example: horn, fur, spiky hair, huge nose, big eyes, elf ears, facial tattoo, snake teeth, opened mouth
- Details: Add descriptors for accessories and special details.
- Example: wig, crown, plague mask, wizard hat, pilot helmet, glasses
- Emotions: Mention emotions if needed.
- Example: smiling, angry, cute, excited, sad, scared
- Style: Mention style if needed.
- Example: realistic, cartoon, steampunk, anime, retro, minimalistic
- Color: While using color words can provide more control, too many color phrases can cause visual dismiss issues.
Special words
- High-poly: To increase the level of detail.
- 3D printed: For geometric models with minimal overhangs.
- Anatomy: For detailed human or animal models.
- Hyper-realistic: To increase the realistic natural effect.
- Biomorphic: To create smooth abstract shapes.
Order of Words
- Weight of words: The words at the start of your prompt have the most influence and should fully reflect the concept.
- Works best: 1 human head, big sunglasses, red curly hair, realistic portrait, green lizard skin, good quality, highres, hi poly model, snake teeth, opened mouth
- Doesn’t work as well: highres, hi-poly, good quality 3D model, snake teeth, green lizard skin, curls, red hair, human head