Face Animator
Face Animator plugin in GenAI Suite allows you to upload a music video or a movie scene to Lens Studio, and your Lens will animate the Snapchatter’s mouth, face, head movements to mimic the uploaded footage.
| Source Video | Final Lens - preview 1 | Final Lens - preview 2 | Final Lens - preview 3 |
|---|---|---|---|
Launching Face Animator
-
Navigate to the
GenAI Home Pageusing theLens Studio AIoption in the top right corner of the Lens Studio.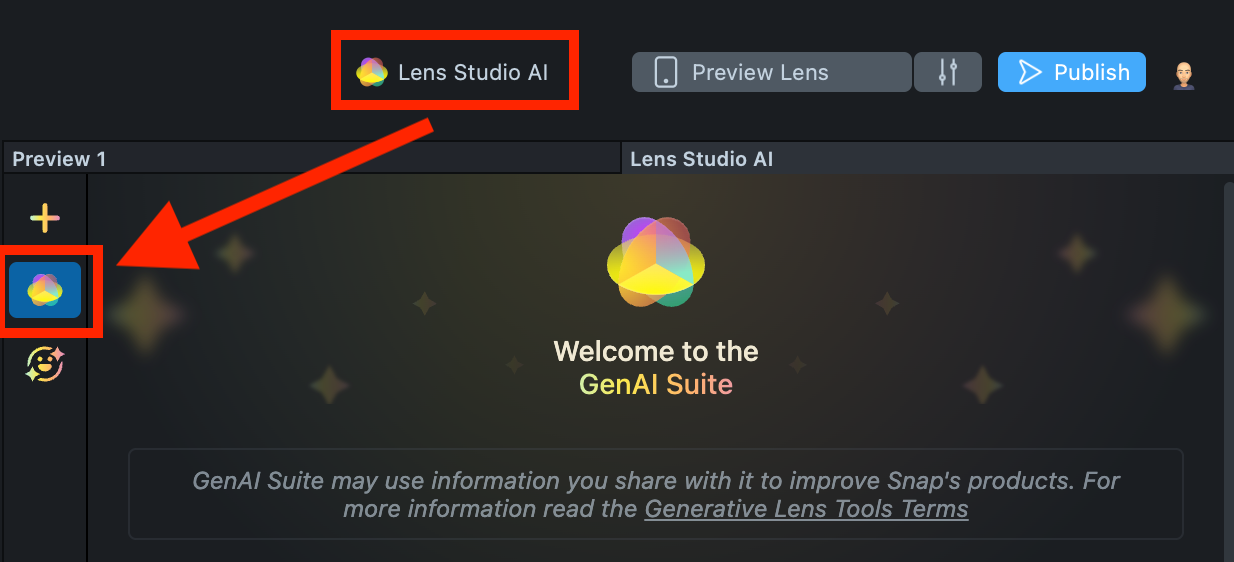
-
On the
GenAI Home Page, you may need to scroll down to find the menu of GenAI tools. In the panel, select Face Animator.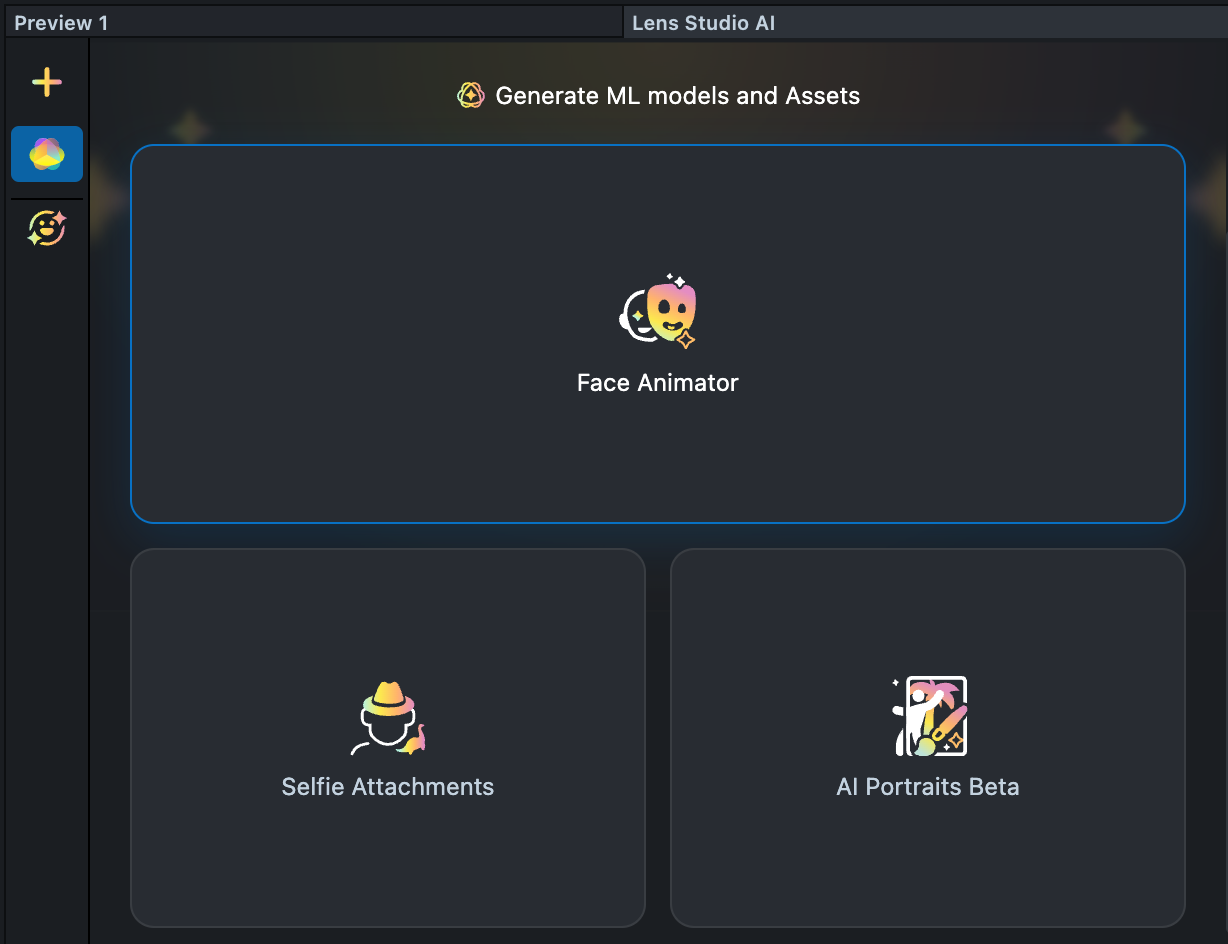
Effect Creation flow
-
Prepare a video with a visible face showing the expressions you’d like to capture. For example, it could be someone making funny faces or singing.
The video must be in
.mp4or.movformat and under 20 MB. -
Launch Face Animator plugin. In the window that opens, you’ll see an option to upload your video file. Click the large placeholder labeled
Upload Videoand select your video from your file system.
-
Once you select the video, reviewing will begin. If no face is detected, you’ll see an error message and can try again with a different video. If a face is successfully recognized, a thumbnail of your video will appear.
Click the
Process Videobutton to start processing your video and generating a preview.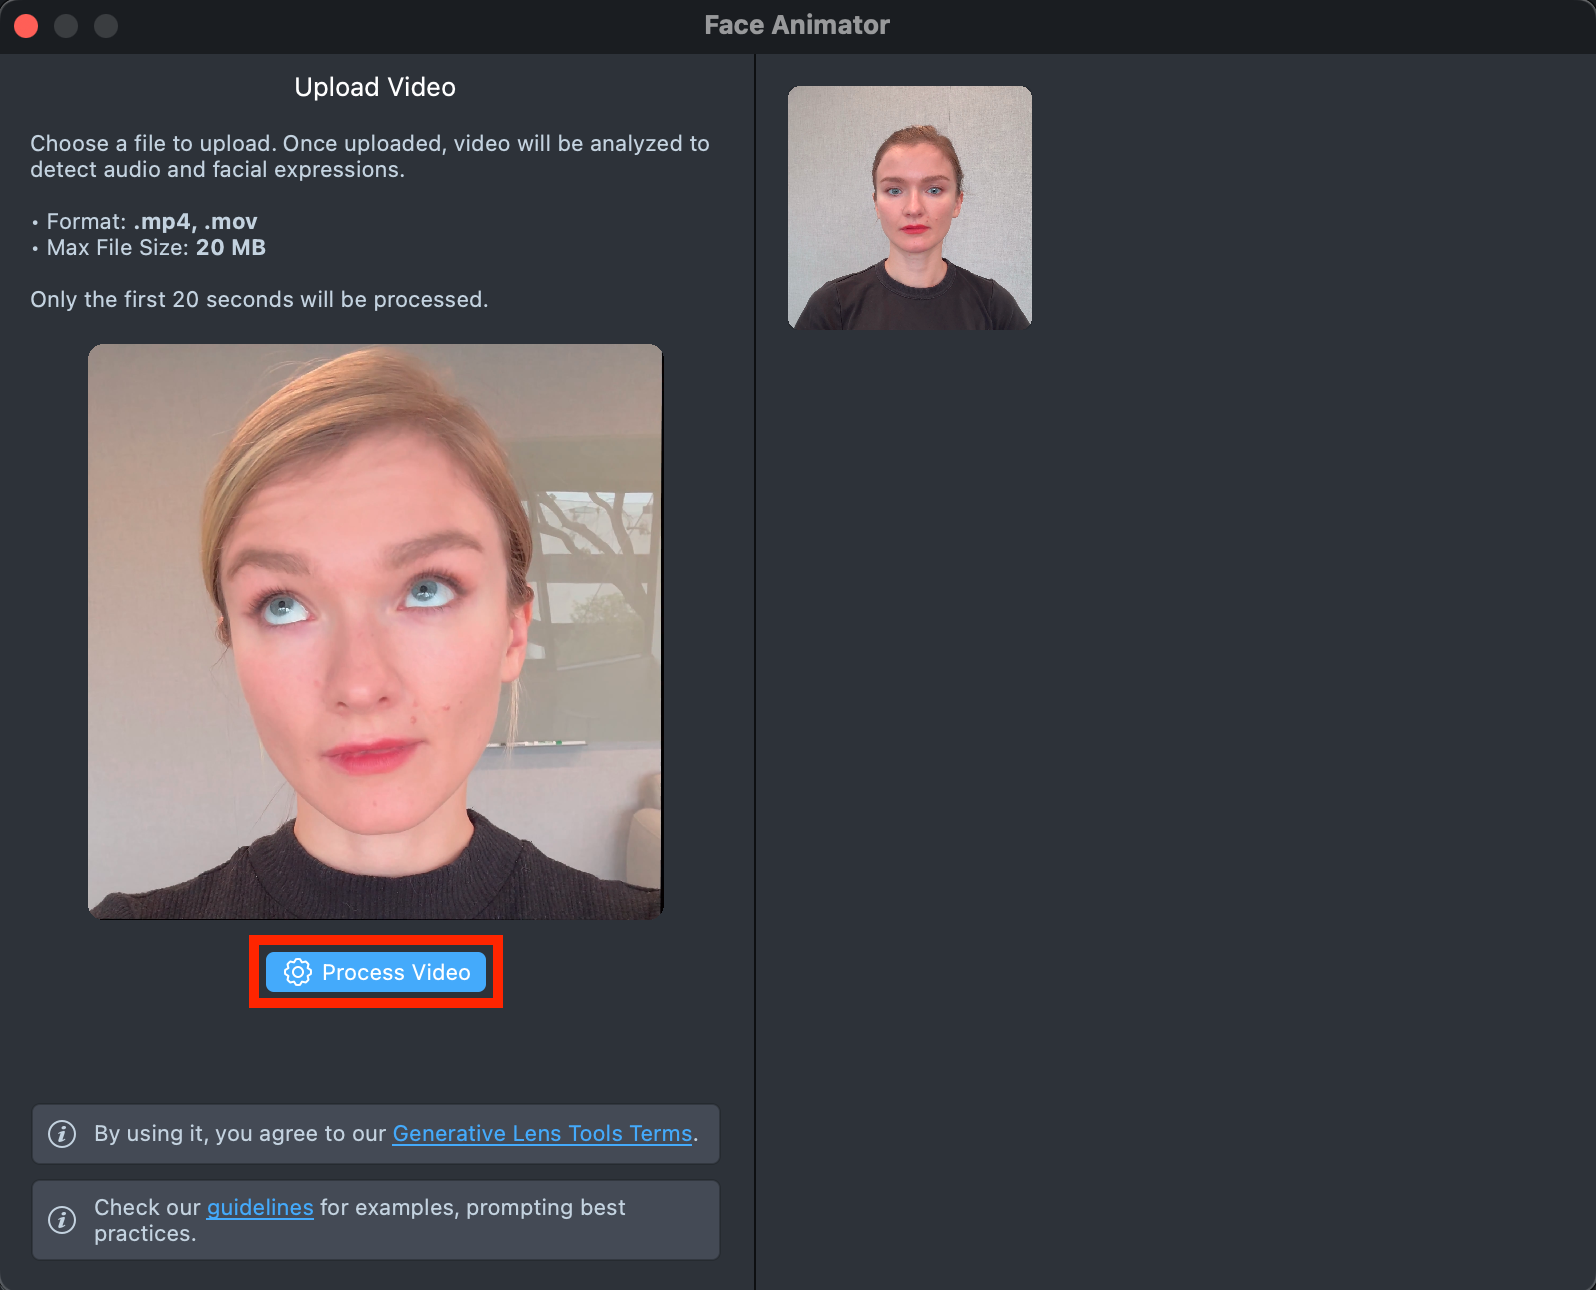
-
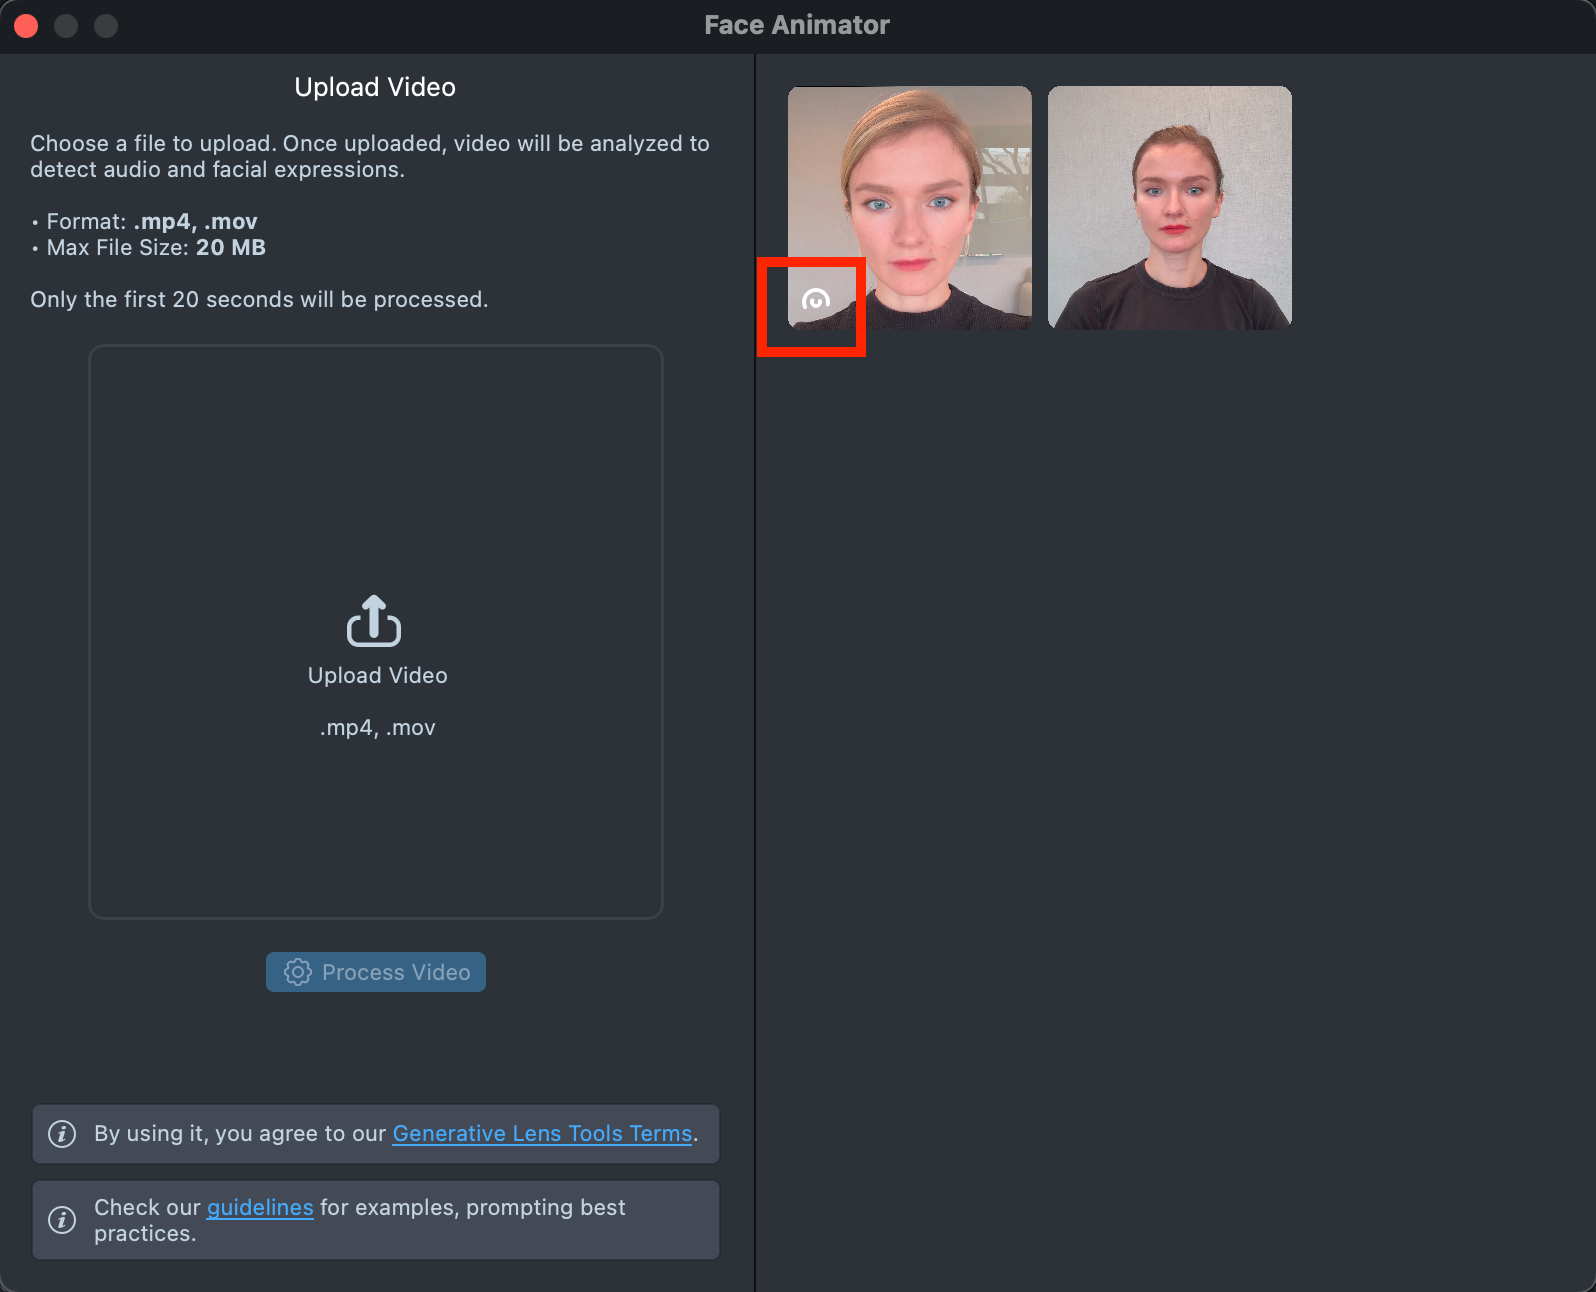
A new tile will appear in the Gallery with a loading indicator in the corner, showing the progress.
Generating preview may take up to 3 minutes but you can close the plugin and return later.
A maximum of 5 previews can be trained at once.
-
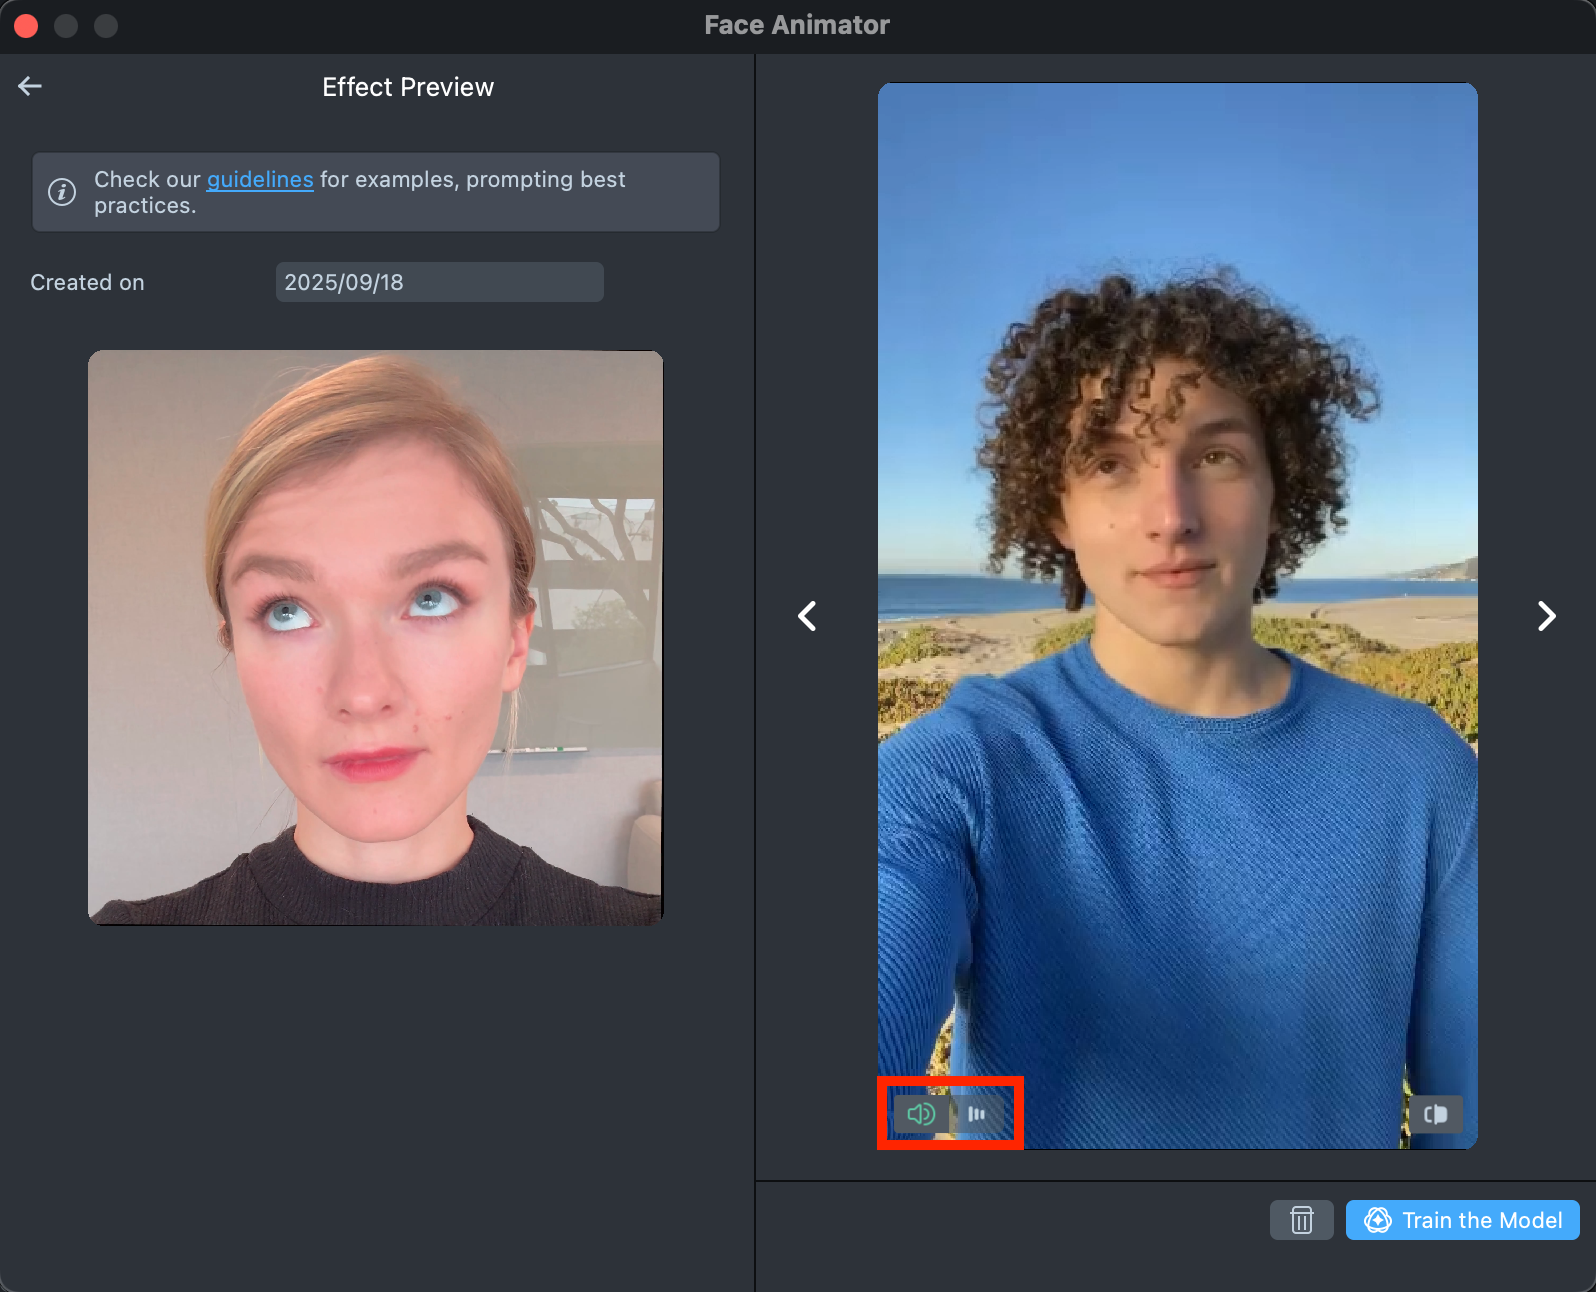
Once the preview has been generated, you can click its tile in the Gallery to view it. You will hear the original audio from your uploaded video, but you can mute it by clicking the button in the bottom-left corner.
-
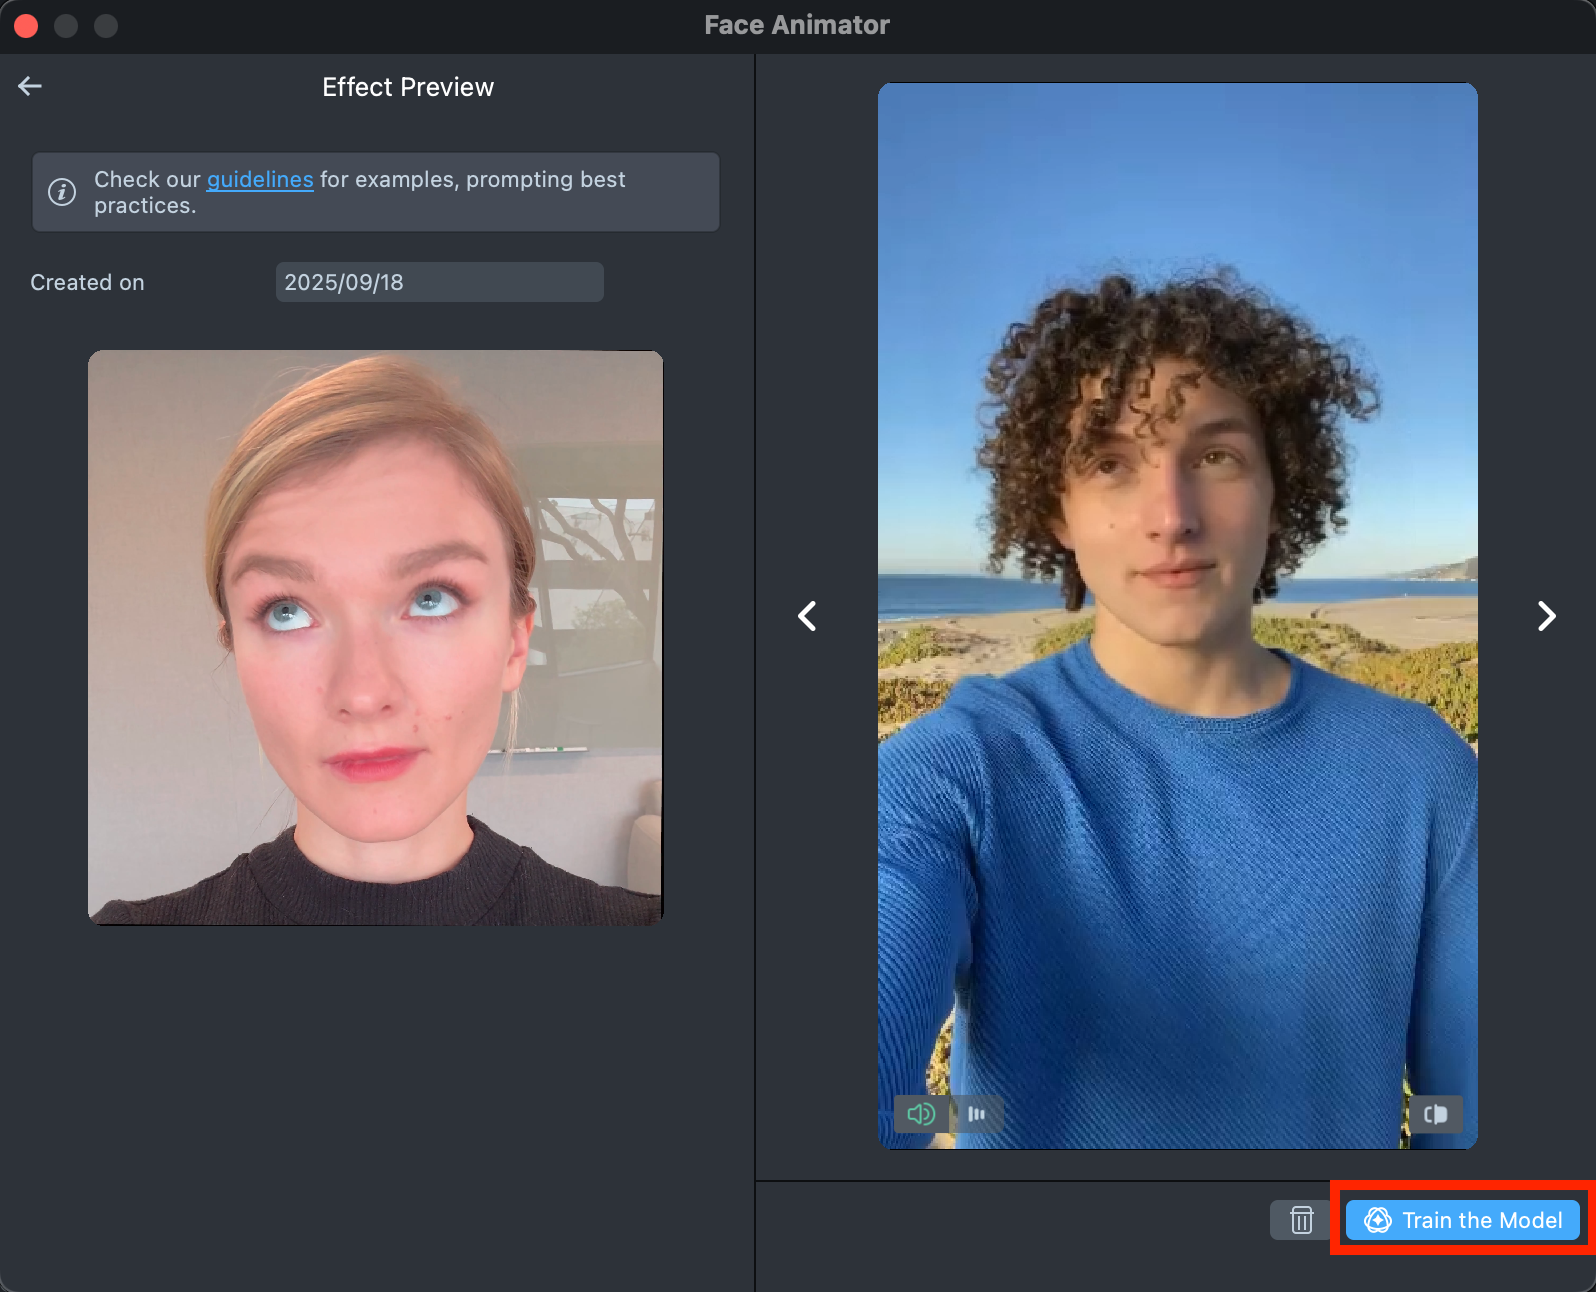
If the preview meets your expectations, click the
Train the Modelbutton.The model training may take up to 7 hours but you can close the plugin and return later.
A maximum of 2 models can be trained at once.
-
Once the model has been trained, click the
Import to projectbutton to bring it into your project and continue creating your Lens.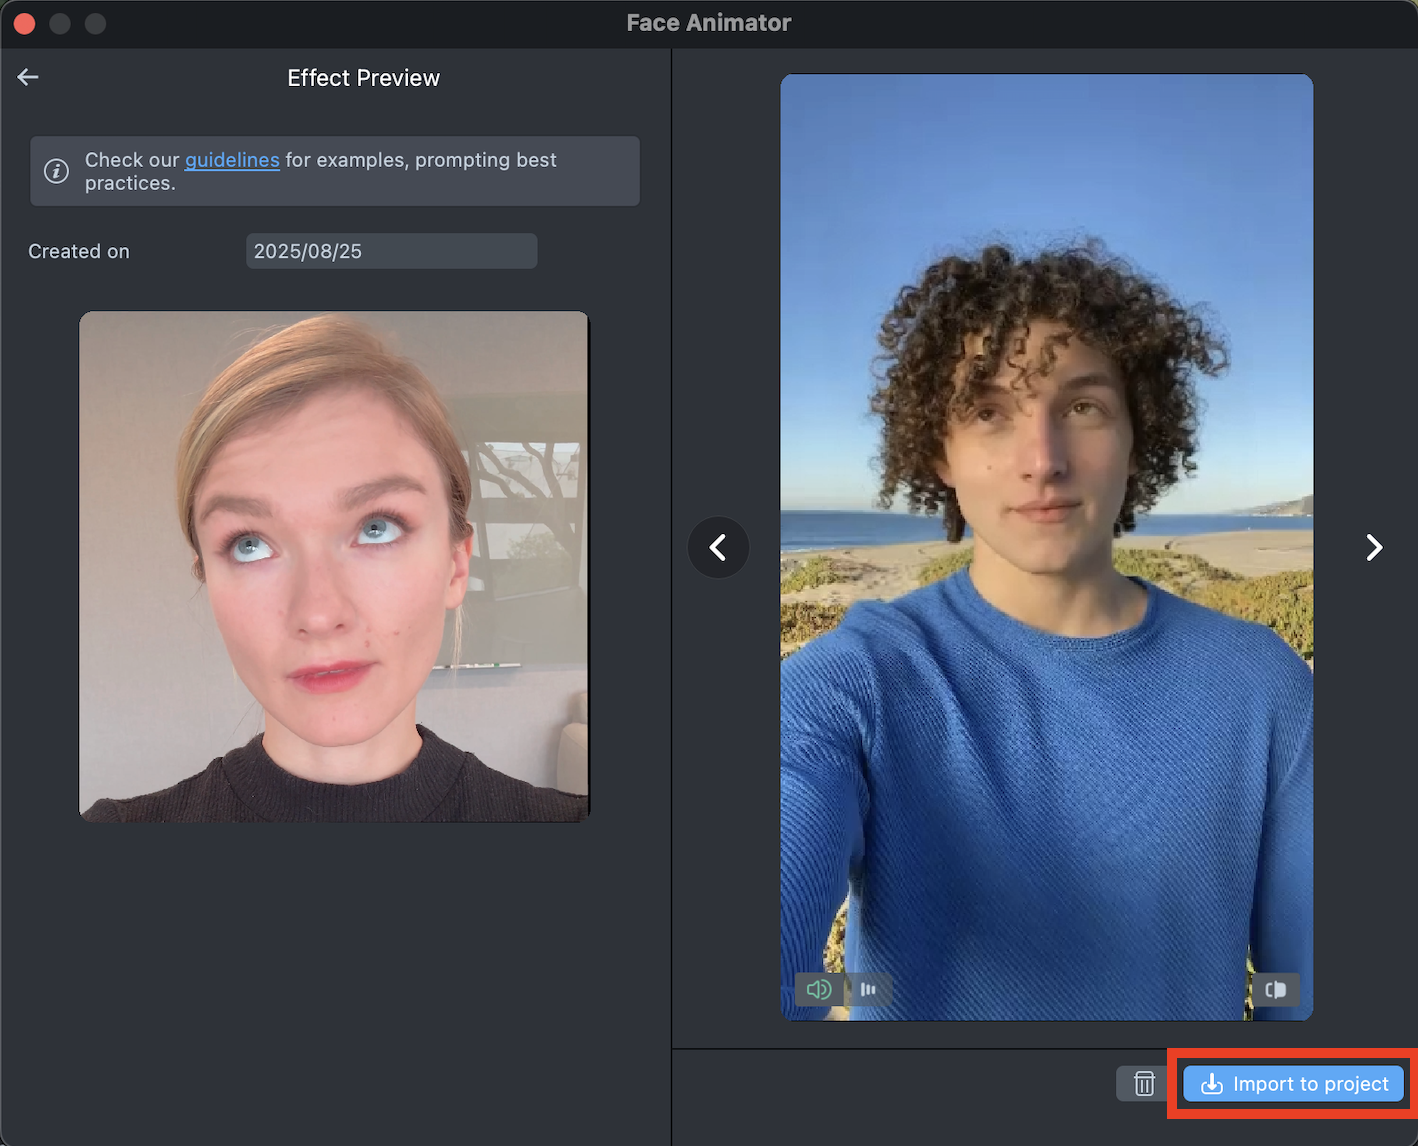
-
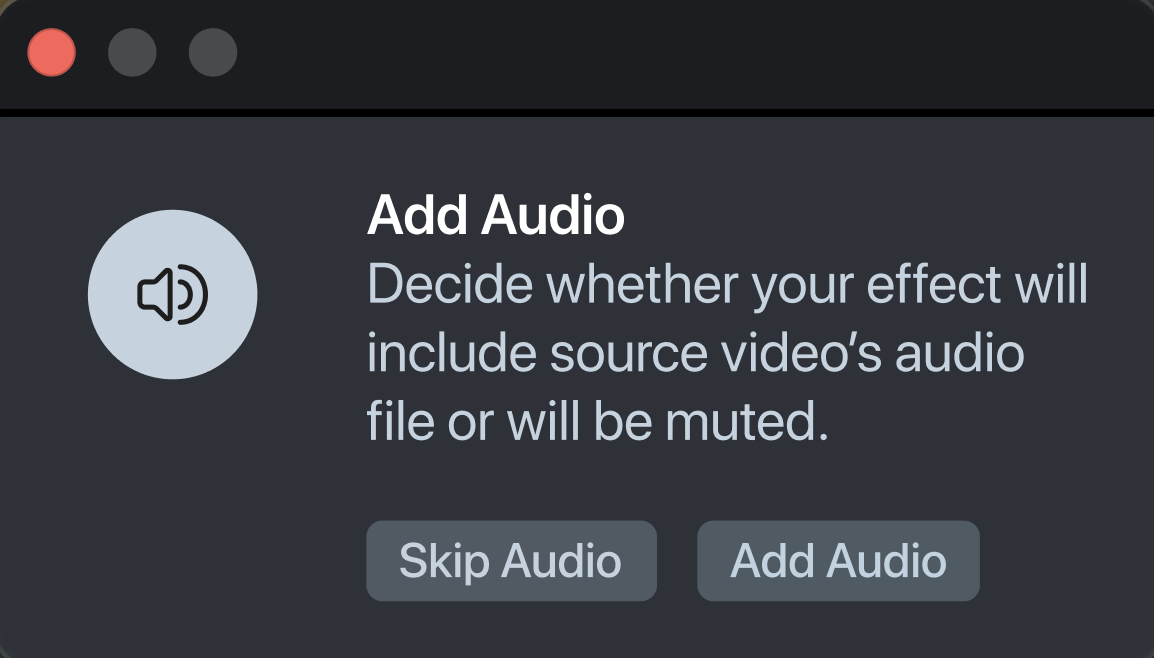
In the pop-up window, you can choose to import the effect with the original audio from your uploaded video or skip it.
-
Follow this guide to learn how to combine Face Animator with Style Generator, Face Generator, and Garment.
Component settings
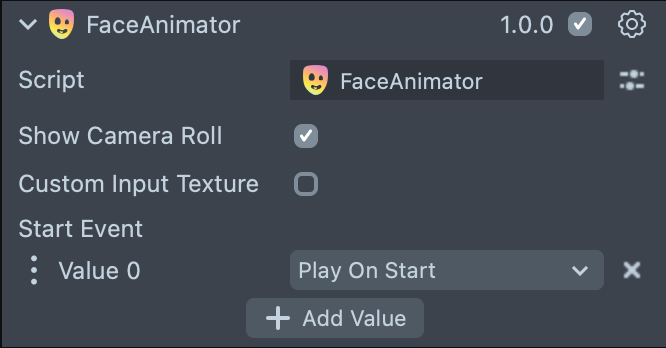
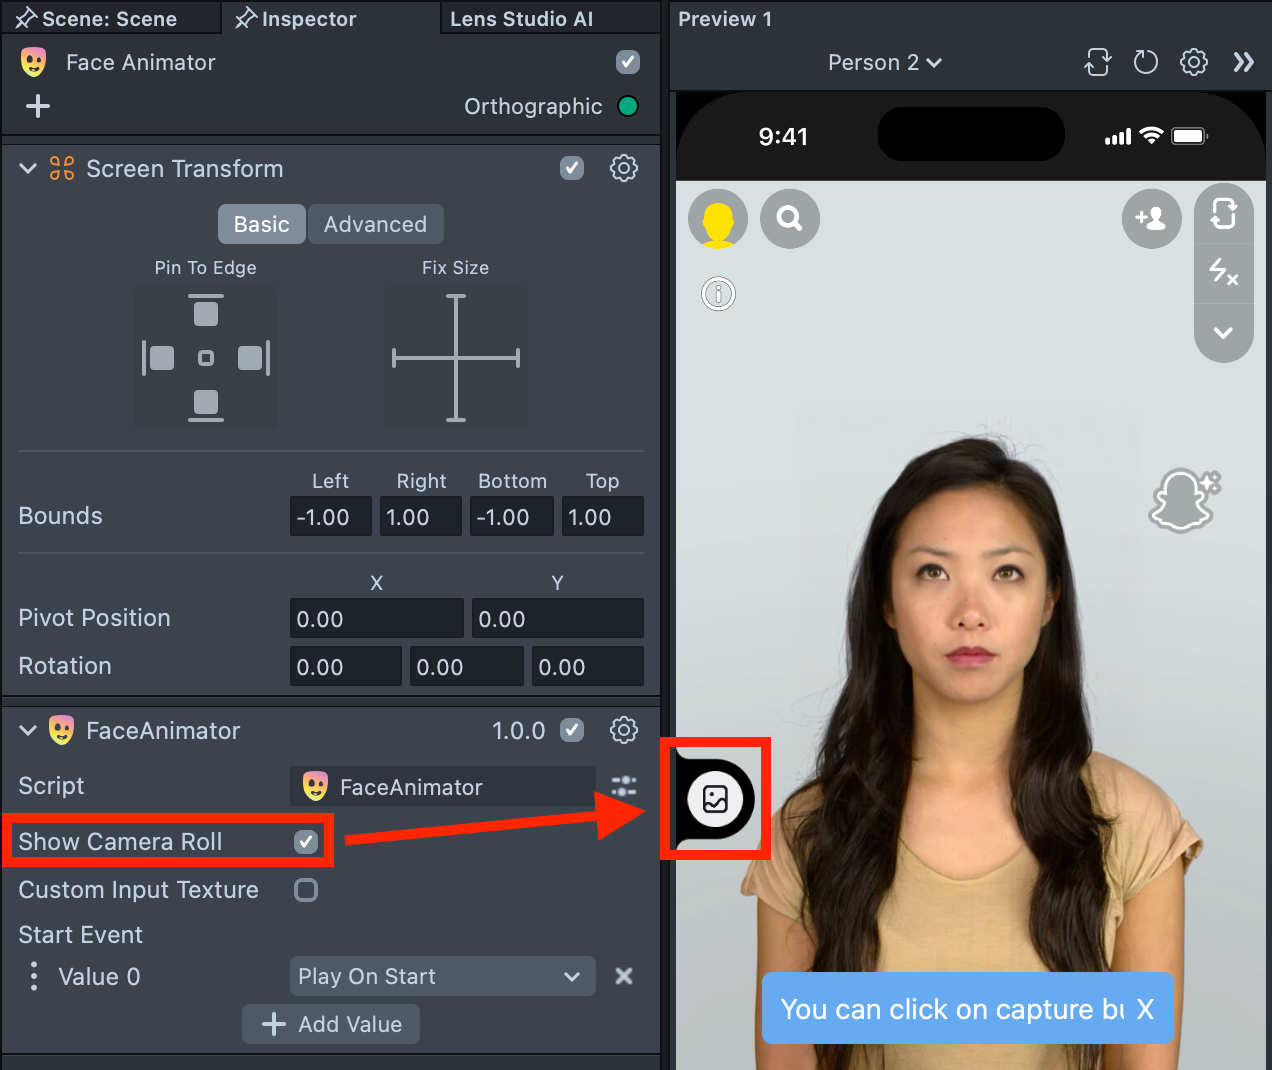
After importing the effect into your project, you can find the corresponding Face Animator component in the Inspector.
-
Show Camera Roll option is enabled by default and allows users of the Lens to select a photo from their device Gallery.
-
Custom Input Texture option allows creators to set a custom texture with a face onto which the Face Animator effect will be applied.
-
Start Event option, by default, triggers your Face Animator effect as soon as the Lens starts, but you can change this to any other event.
Best Practices
You can upload any video you like into the plugin. This section explains what types of video input deliver the best results, along with recommendations in case you want to record your own video input.
General Guidelines
The input video should contain a single person whose face remains visible and does not leave the frame for the duration of the video.
For best results, the video should not contain extreme head movement (for example, turning to the side so face is no longer visible) or camera motion, and the video should be focused on the face (the video should not be zoomed out so the face is small).
Tips for recording your own video input
Stand about two arms’ length away from the camera and make sure the entire head fits in the frame.
It is advised to tie your hair back so that your hair doesn’t move during recording and avoid covering your eyebrows, eyes, and mouth for best results.
Minimize shoulder movement for better results. A good way to enforce this is to pin your elbows to the backrest of a chair or to a wall.
Try to get even lighting across the face (no hard shadows, no strong glares). It is also helpful to choose a video with a plain background behind the face.
Current limitations
This technology is quite demanding in terms of device performance. As a result, users with low-end Android or iOS devices won’t be able to access the experience. Instead, they will see a fallback screen with a gray background and a message indicating that the technology is not supported on their device.