3D Capture
The 3D Capture Plugin enables Lens Studio creators to transform real-world objects into high-quality 3D assets through a video-to-3D conversion process. By capturing a 30-second video, users can reconstruct an object, generating a .PLY file that can be imported directly into Lens Studio for use in augmented reality (AR) experiences. This tool opens new creative opportunities for Lens creators by allowing them to integrate real-world objects into their lenses.
Getting Started
Launching 3D Capture Plugin
-
Navigate to the
GenAI Home Pageusing theLens Studio AIoption in the top right corner of the Lens Studio.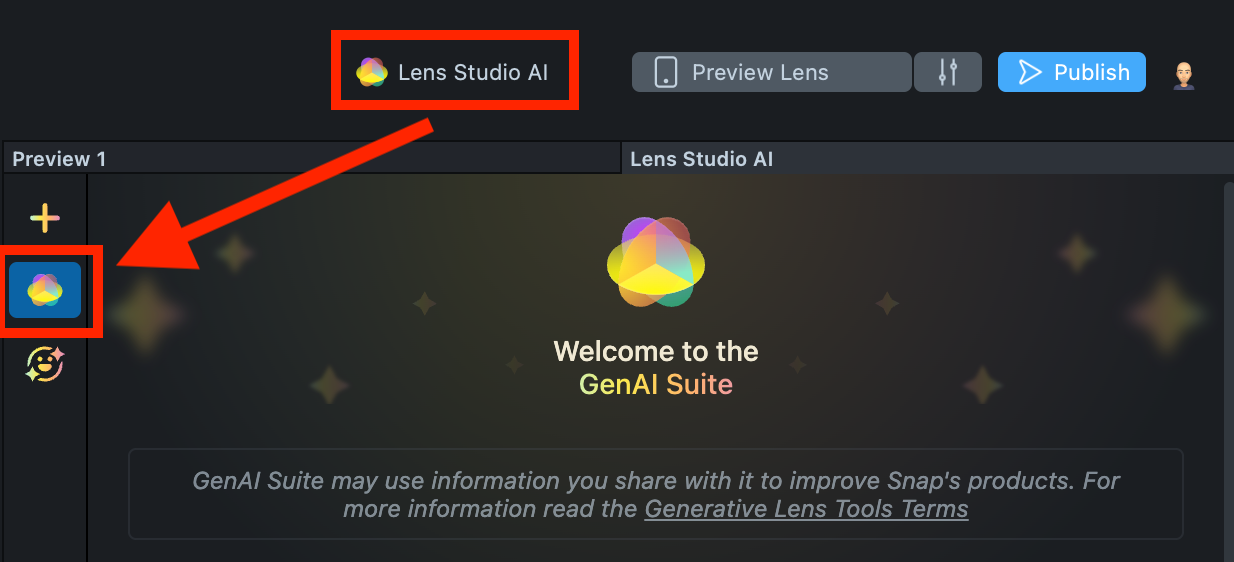
-
On the
GenAI Home Page, you may need to scroll down to find the menu of GenAI tools. In the panel, select 3D Capture.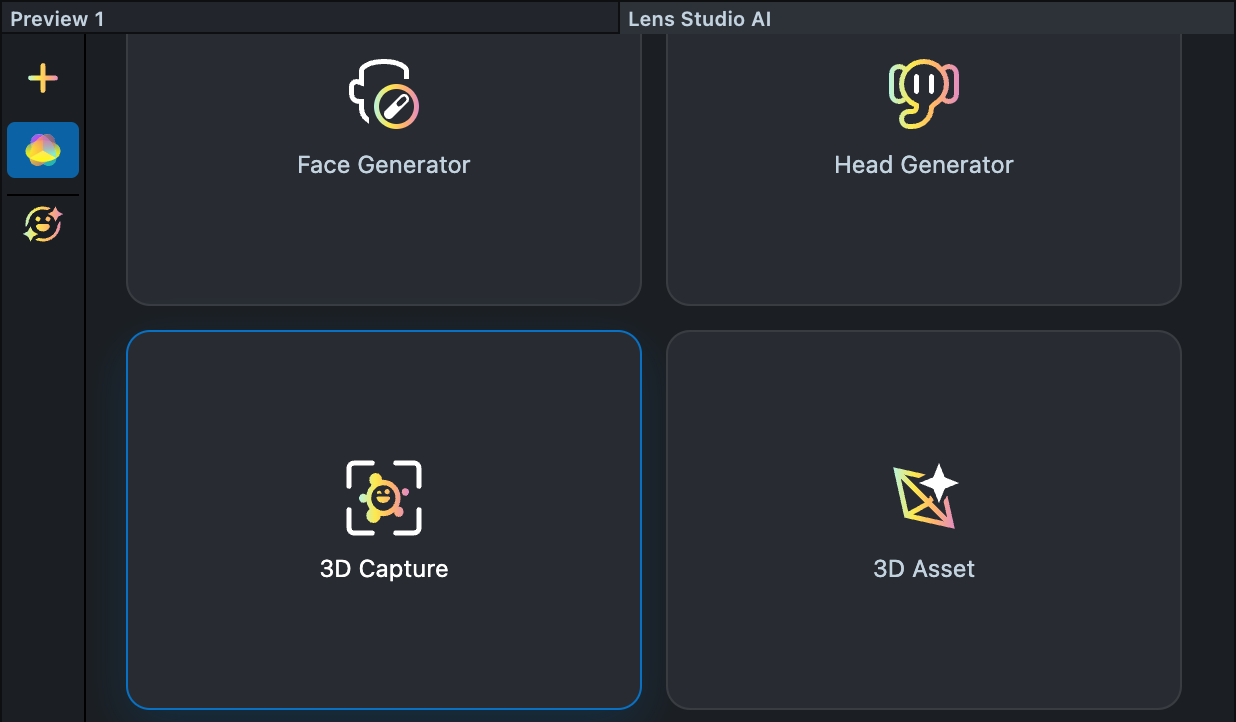
User Interface Overview
-
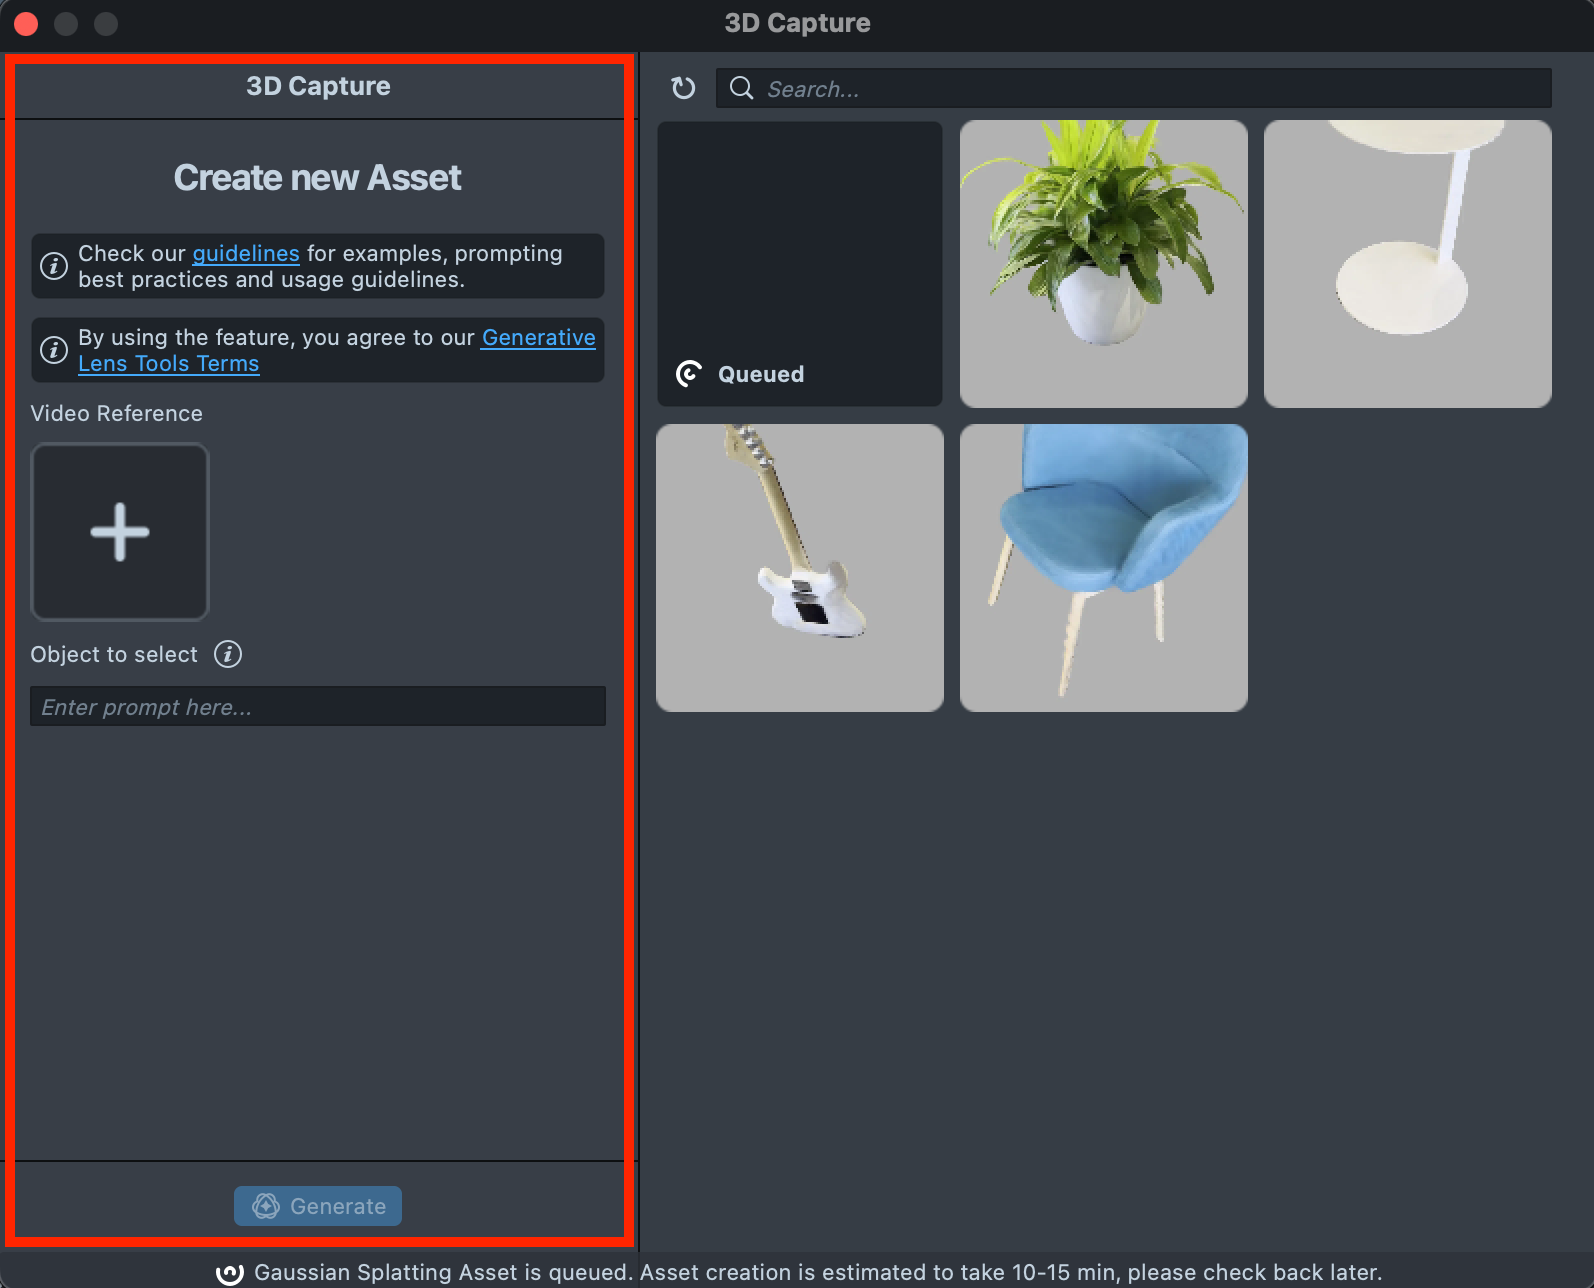
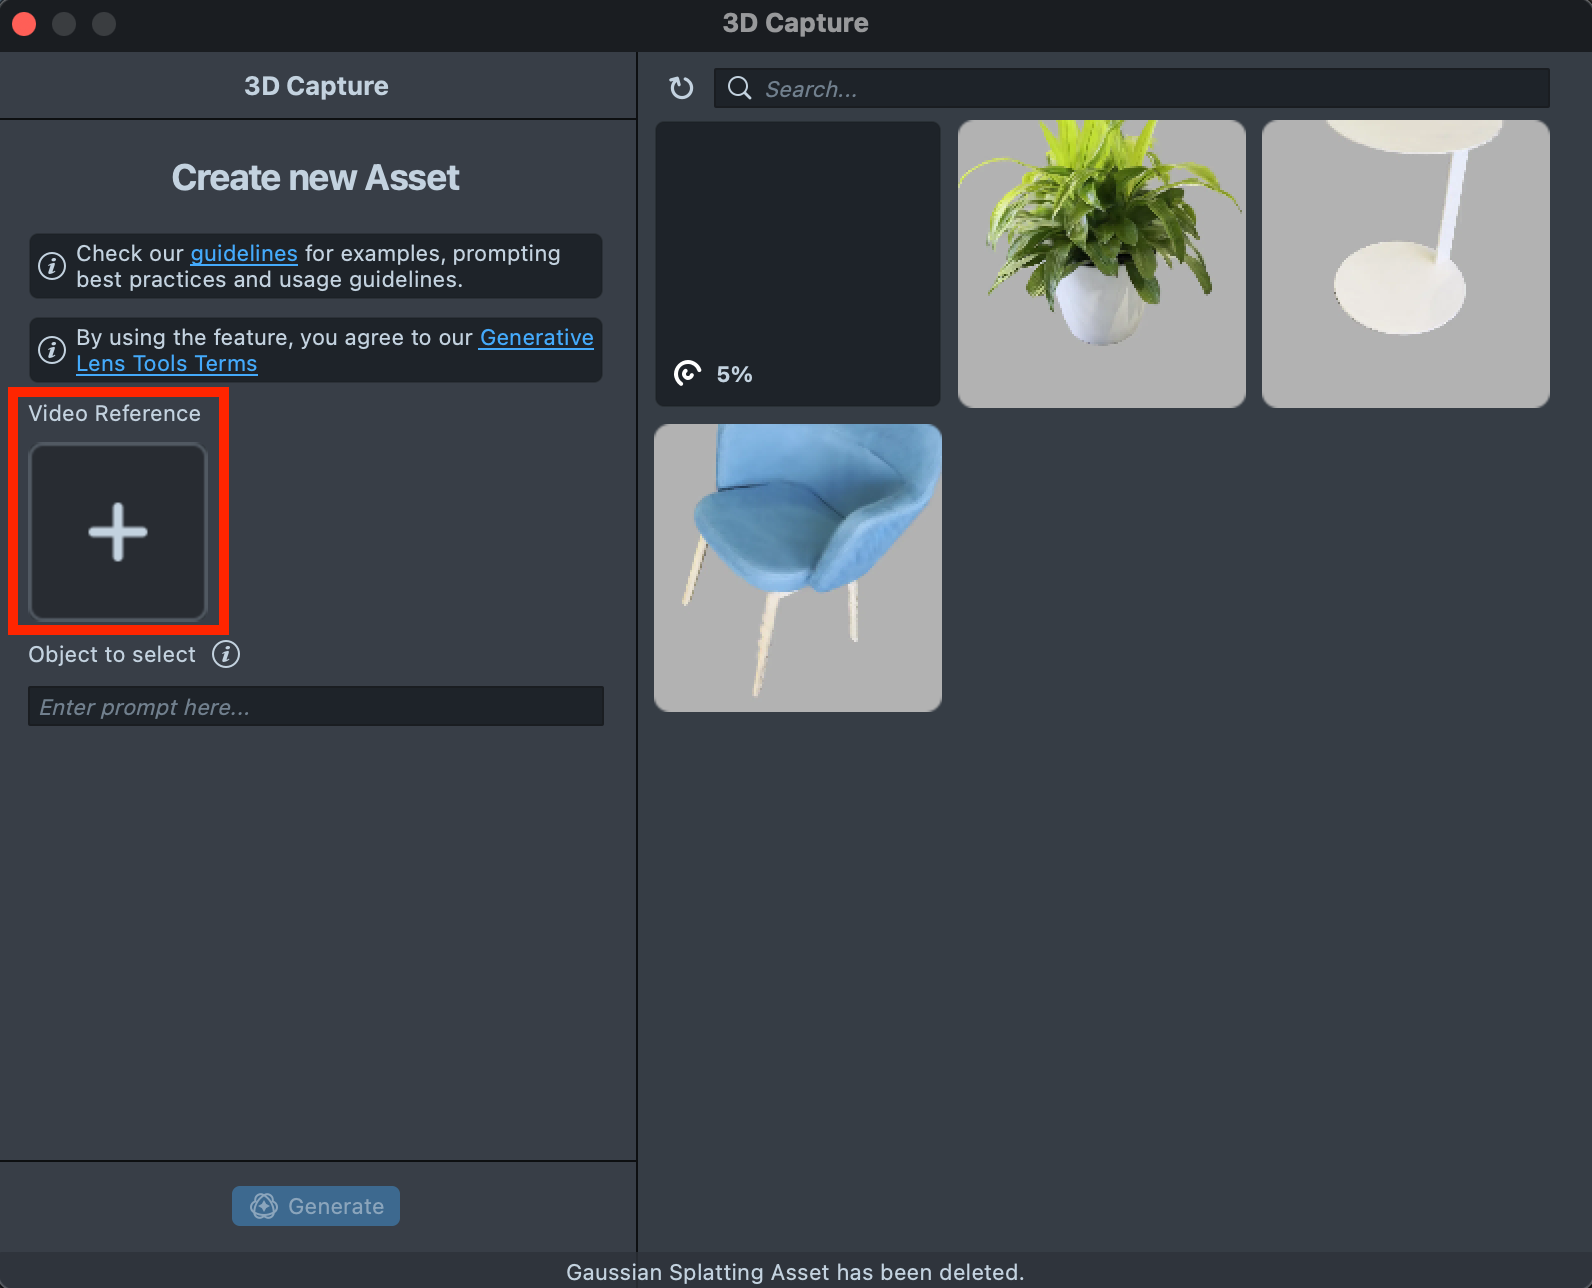
Create new Asset Toolbar: Contains tools for creating 3D models:
-
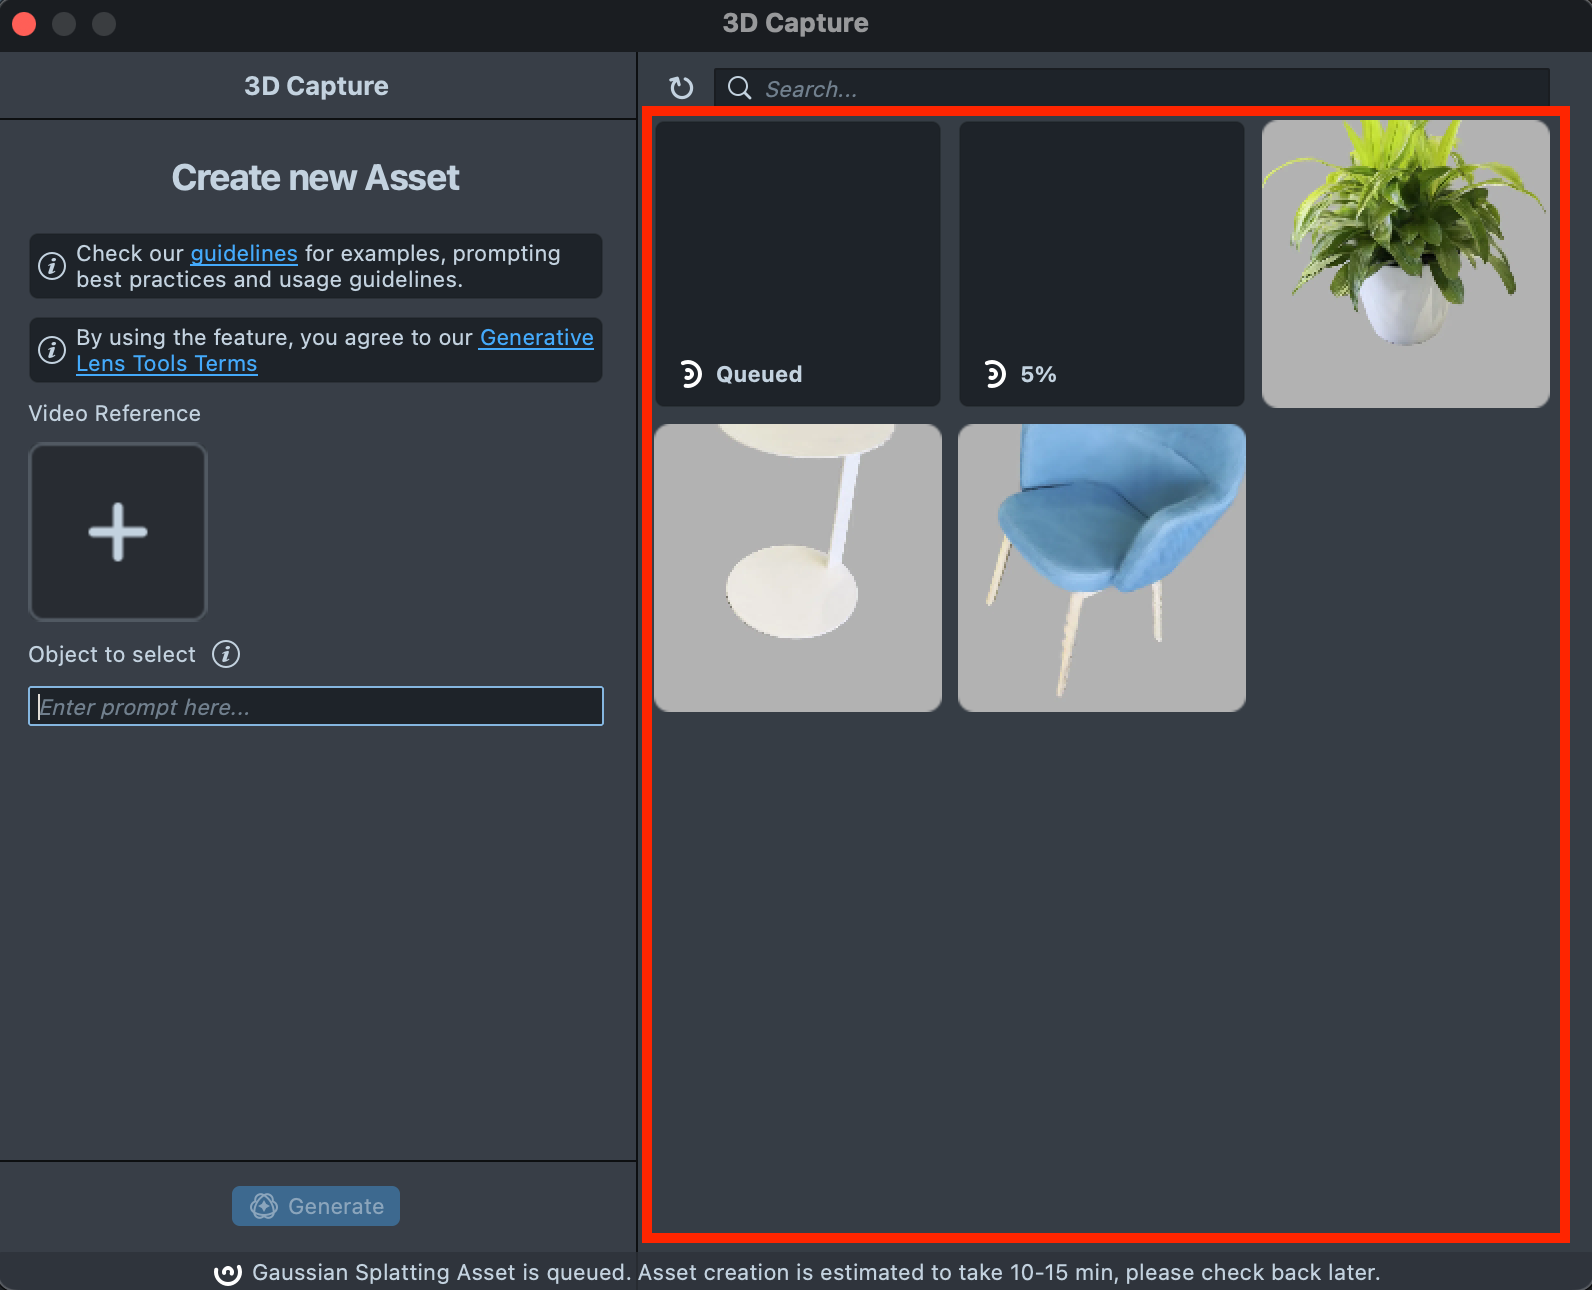
Gallery: Displays all assets you created and their statuses.
-
Search: Allows to search through the created assets.

Creating a 3D Asset with 3D Capture Plugin
Upload your video
-
Pre-record a video: Capture an object you want to reconstruct on a video (30 seconds recommended).
-
Upload a video: Upload the pre-recorded video reference into the plugin.
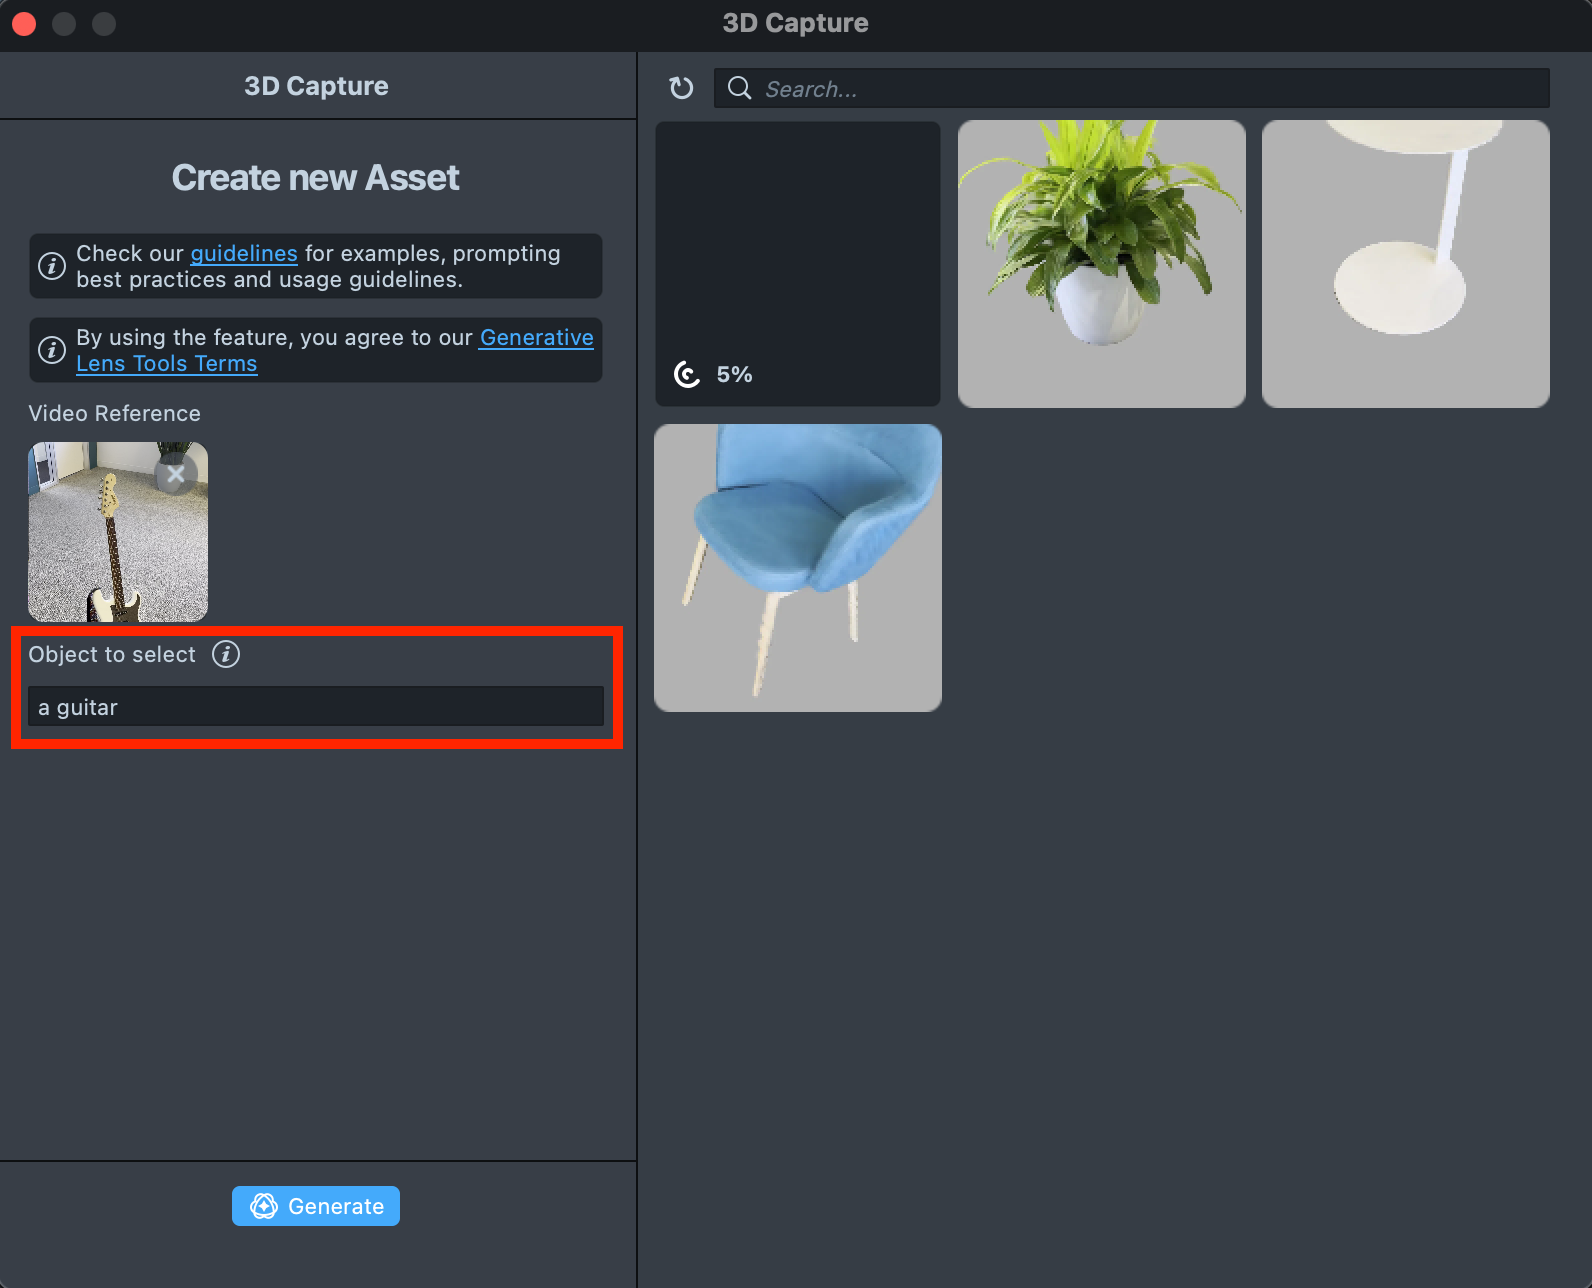
Object selection
-
Input a text prompt: Upon uploading, specify the object you wish to reconstruct with a text prompt to improve identification accuracy.
-
Confirm the object selection: Review the video preview. A yellow bounding box highlights the object based on your entered text prompt. You can adjust it at this step by modifying the text prompt and pressing the
Regeneratebutton.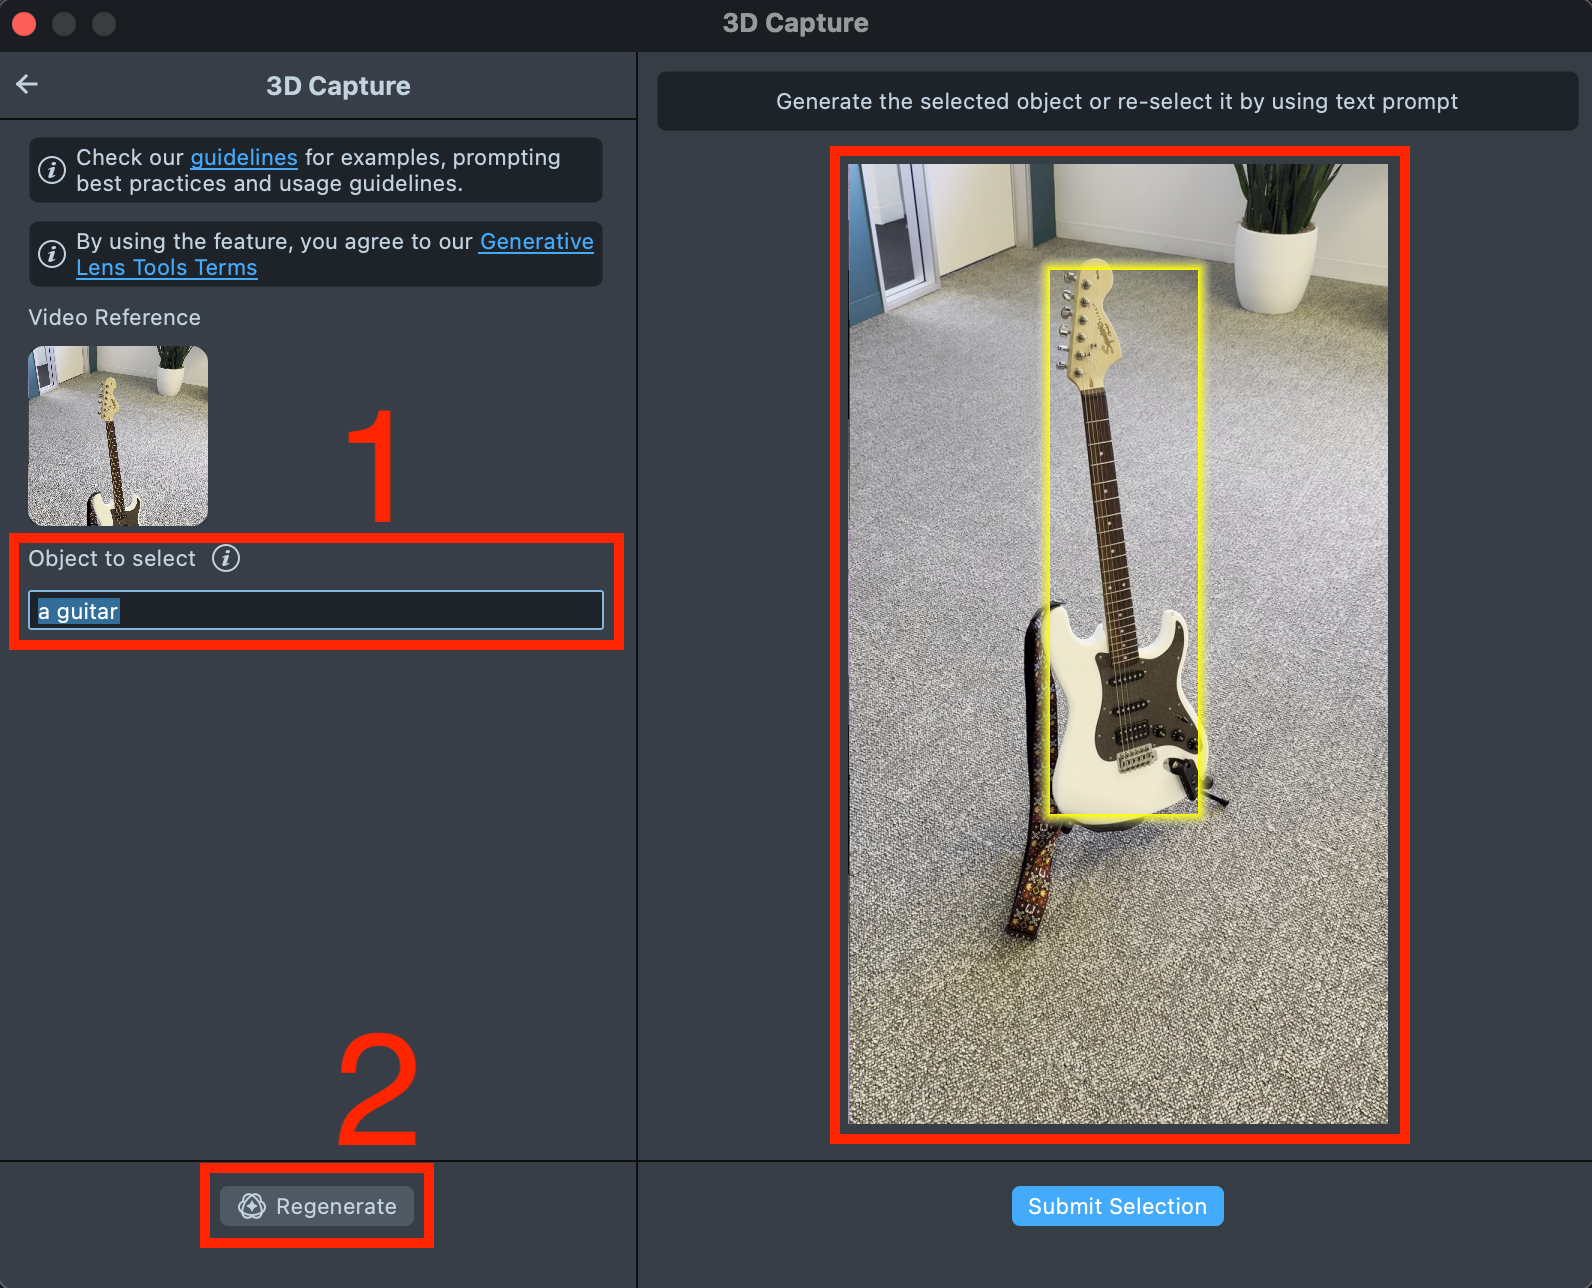
Generation
-
Press
Submit Selectionwhen you are ready.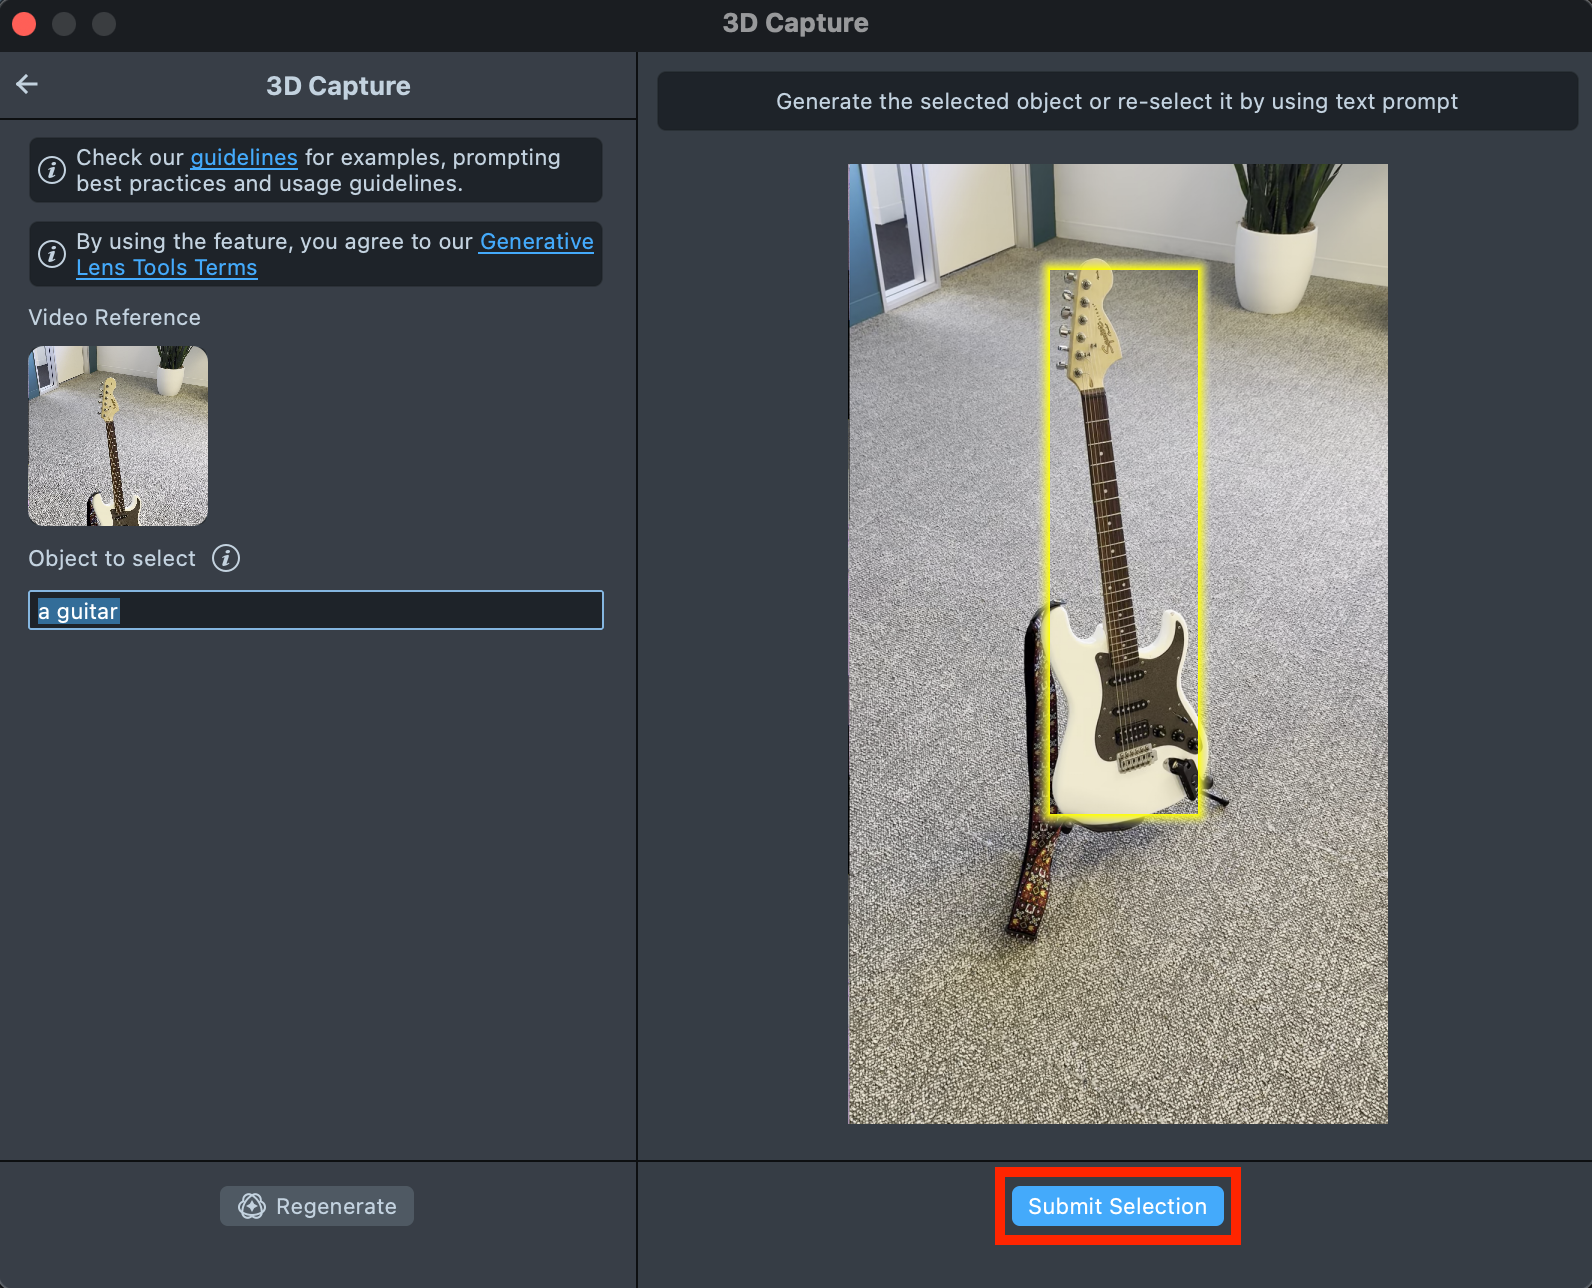
-
Check upon the Status bar for info.

-
Once the generation is complete and the asset is ready you can preview your asset.

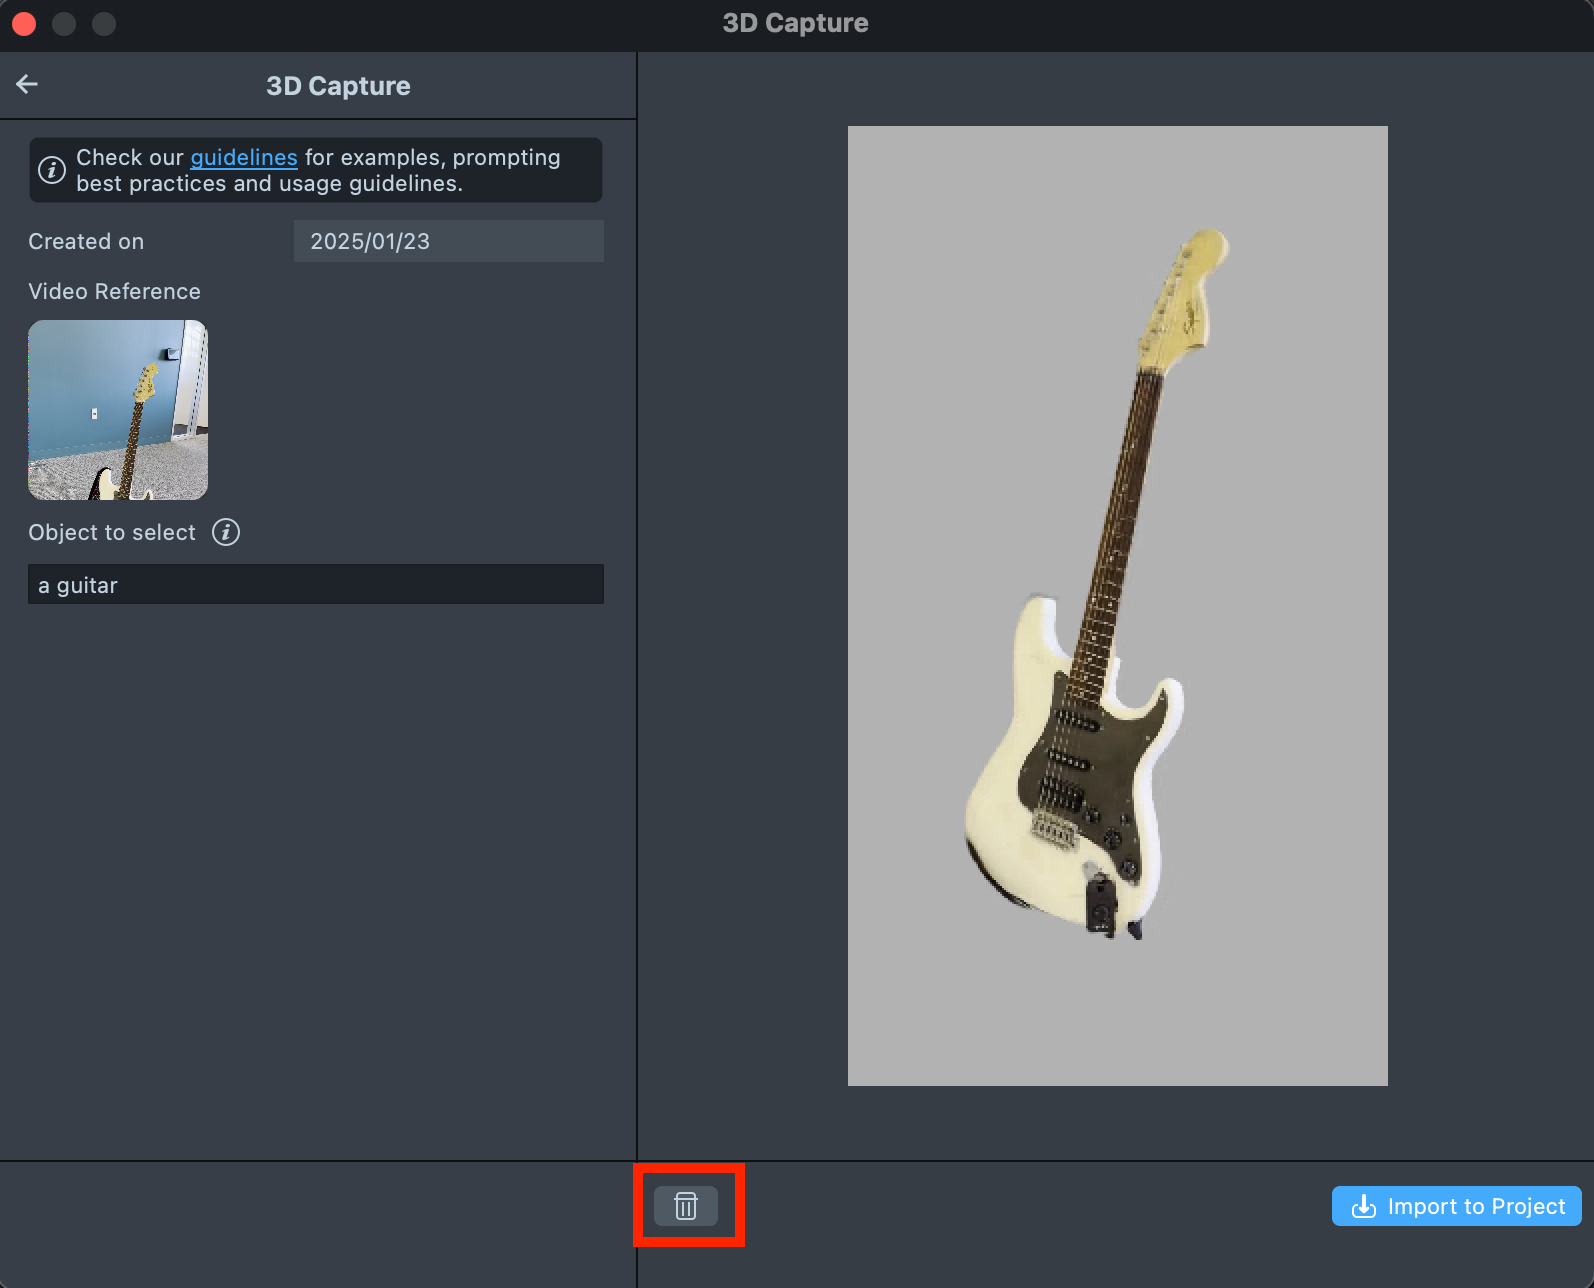
Delete 3D Asset
-
You can also delete the asset
Create a Lens
Import to Project
-
Press
Import to Projectbutton to start creating a Lens with your 3D asset.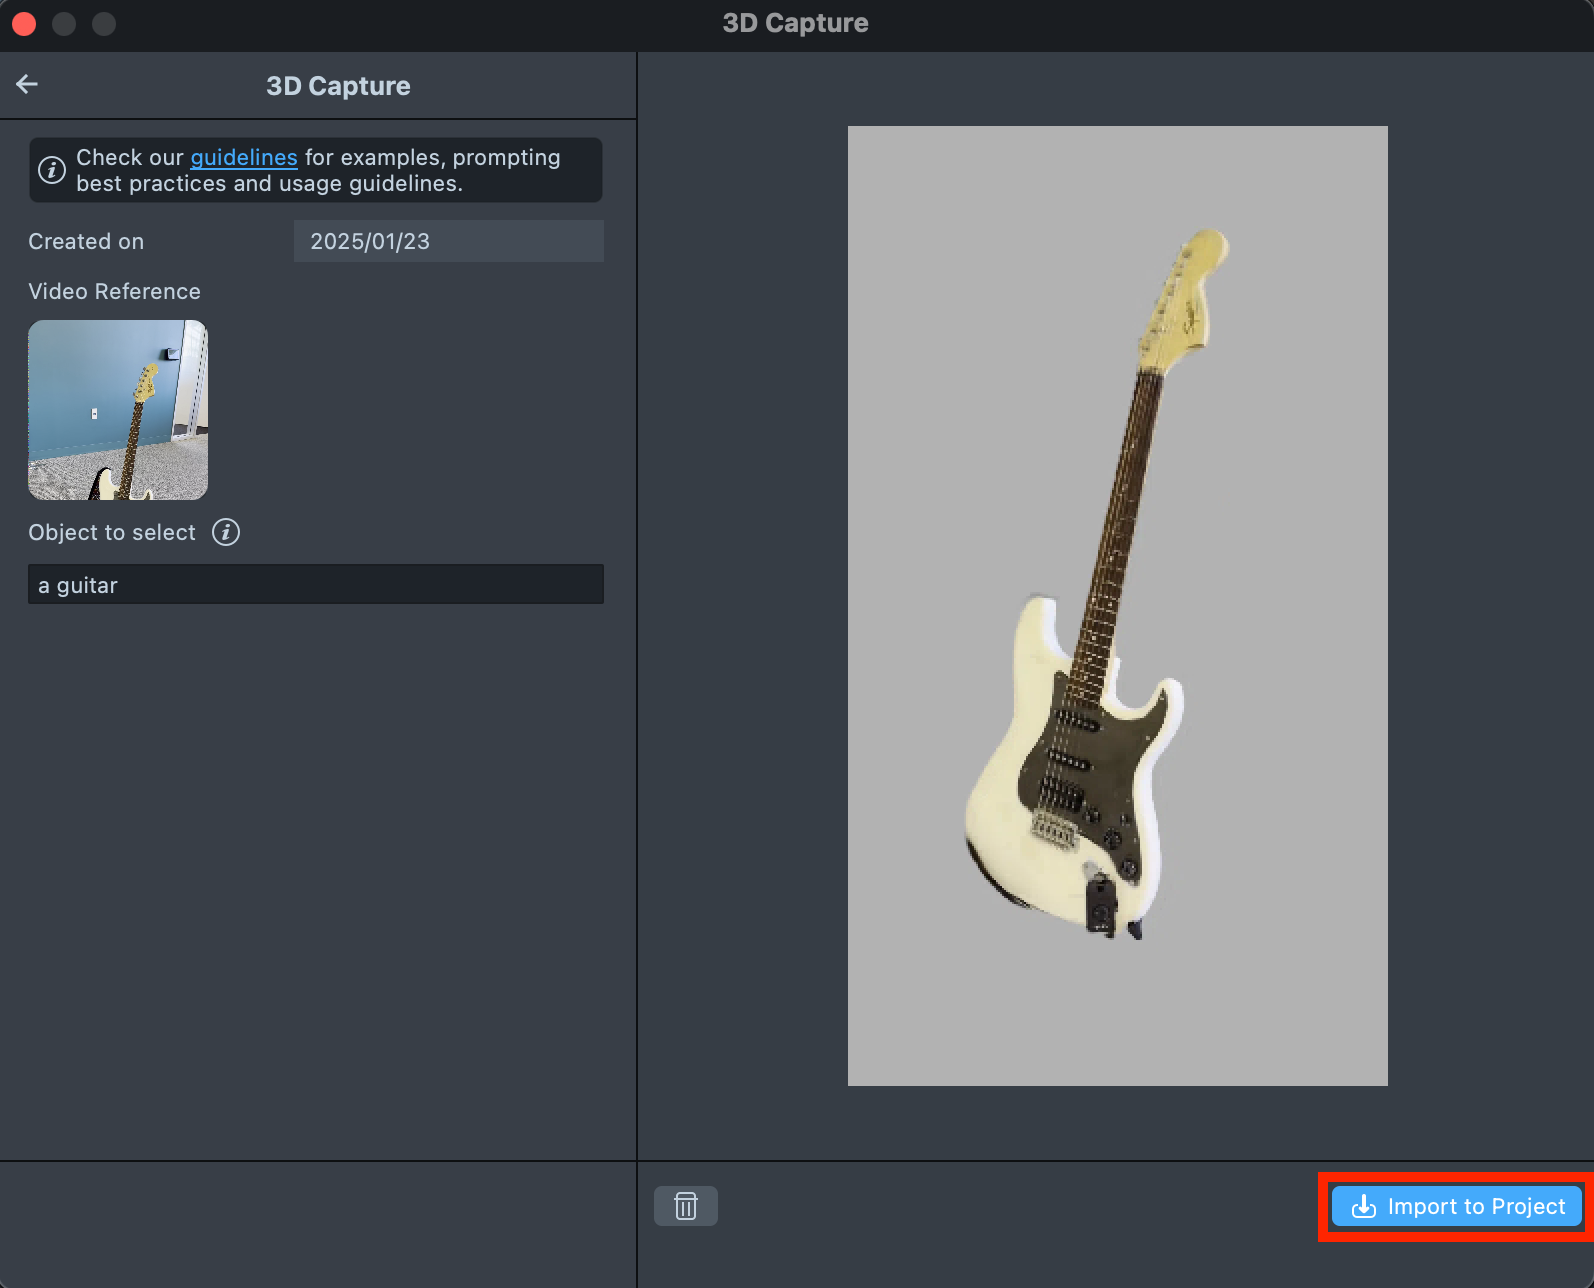
Best Practices for Capturing a Video
Do ✅
- Capture the object of interest from all possible angles.
- Maintain a reasonable distance from the object to include some background.
- Make sure the surroundings are well lit.
- Avoid using plain and non-textured backgrounds such as plain white walls.
- A typical video length is around 20-50 sec.
- A typical video size is around 40 MB.
Do Not ❌
- Shake camera. This can lead to poor quality of overall reconstruction.
- Move too close to the object. This might result in failure to get a splat representation of the object.
- Move the camera such that object is not visible in the frame.
Examples of Good Captures
Examples of Bad Captures
Capture is textureless: This can result in failure to estimate cameras causing failure of splat training.
Camera is too close to the object: This might result in failure to get a splat representation of the object or the representation might be poor.
Camera is shaking: This can lead to poor quality of overall reconstruction.
Object captured only partially: This can result in poor performance from back view.