VFX Collision
The VFX Template showcases different ways to use VFX Graph to implement particle collision in VFX Editor. Collision is implemented by introducing new collision subgraphs in VFX editor. You can find their description in VFX Collision Subgraphs guide.
If it’s the first time that you are using a VFX graph or node based particle system, we recommend first to look at the VFX Editor Overview and a VFX Template first.
Guide
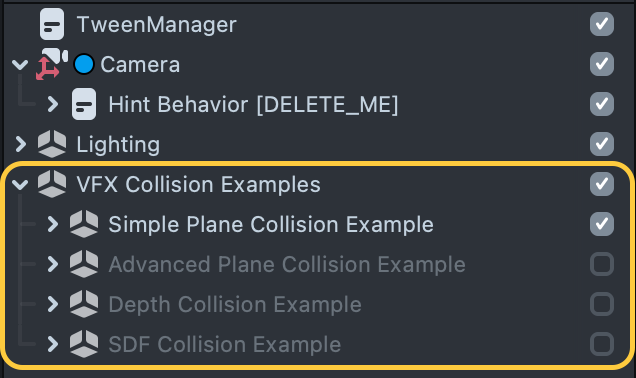
The Template comes with 4 examples of Collision. These examples can be found in the Objects Panel under their names. Feel free to try them out by enabling the example scene object. All examples are featuring the world objects and are intended to be used with Back Camera.
Simple Plane Collision Example
This example uses Plane Collision subgraph to detect when particles collide with the plane and change their color on the third collision.
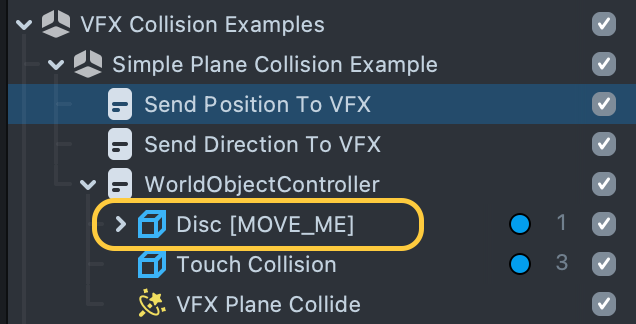
Expand the hierarchy of the first example, select the Disc [MOVE ME] scene object, try to move and rotate it in the Scene panel and see how particles behave.
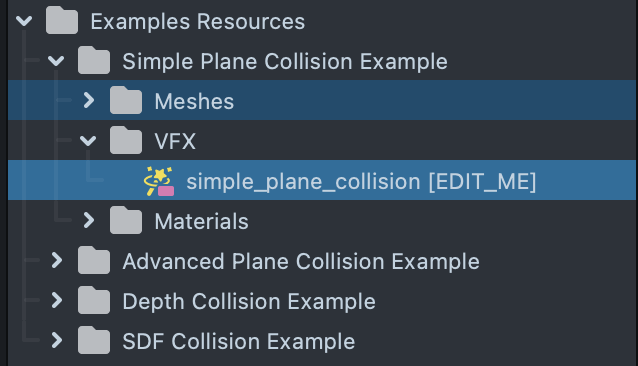
To dive deeper into the implementation select the simple_plane_collision [EDIT_ME] asset in the Resources panel and double click on it to open VFX Editor.
This graph provides an example of how to use Plane Collision subgraph and how the particle color logic is implemented. Position and Direction of the plane are used by this subgraph and are sent to the VFX editor using SendDataToVFX script, first introduced in the VFX Template. To replace a plane scene object, change the Target input of the SendDataToVFX scripts.
Advanced Plane Collision Example
This example is using Plane Array Collision subgraph that takes positions and normals of an Array of 5 planes. Positions and directions of planes are sent to the VFX graph asset using ArrayTransformToScript helper script.
You can add or remove planes by selecting Array Transform to VFX SceneObject in the Objects panel and editing values of the Planes array input of the ArrayTransformToScript in the Inspector panel.

Also select Planes scene object and edit Tween Transform script settings to change planes movement.
Double click on advanced_plane_collision [EDIT_ME] asset in the Resources panel to open VFX Editor and see details of implementation.
Depth Collision Example
Provides more sophisticated example of collision using Depth Buffer Collision subgraph. Double click on depth_collision [EDIT_ME] asset in the Resources panel to open VFX Editor and see details of implementation.
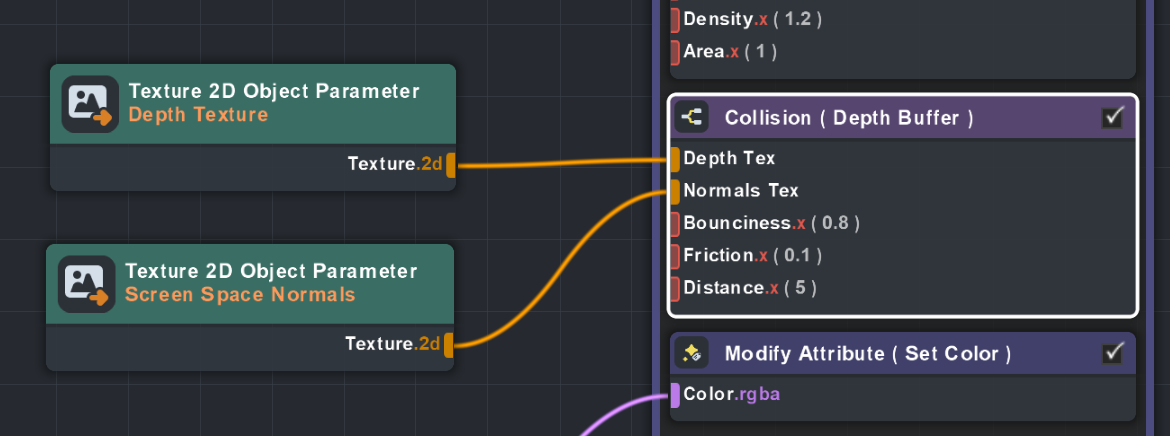
You can learn more about how to generate Screen Space Normals and Depth textures in the Screen Space Normals Guide.
And also enable Debug Camera [ENABLE_ME] scene object to peek into mentioned textures.
To change the scene objects to collide with select Screen Space Normals scene object and add or remove elements in the Objects For Normal Gen array input of the Screen Space Normals script.
SDF Collision Example
Provides an example of how to implement collision based on the Signed Distance Fields texture.
We have SDF texture prepared for the Trophy 3D model (trophy_sdf). To replace 3D model - first import it to the Lens Studio and follow the this guide to generate such texture.
Double click on sdf_collision [EDIT_ME] asset in the Resources panel to open VFX Editor and see details of implementation.

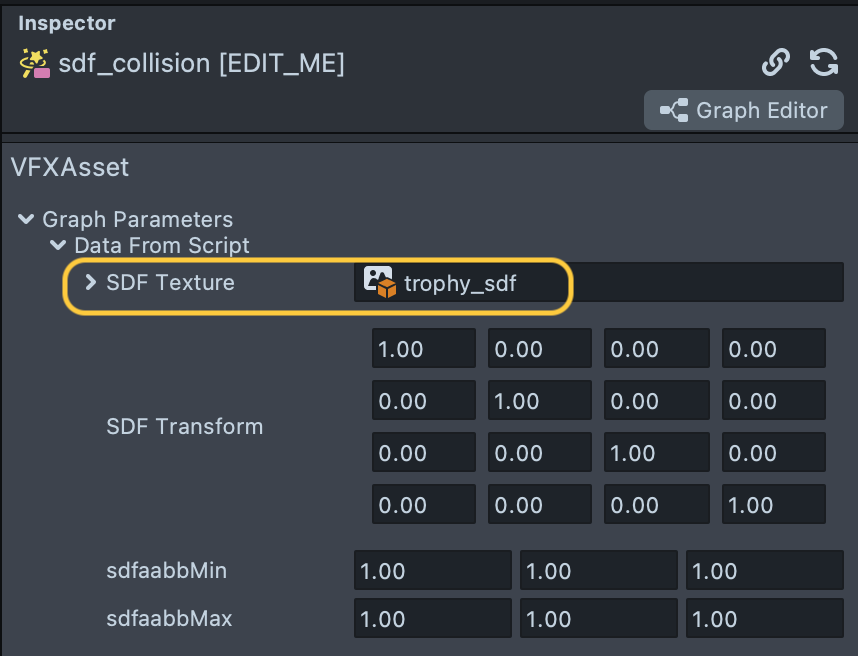
To modify the collision, first we need to set our generated texture to the SDF Texture input of this asset:
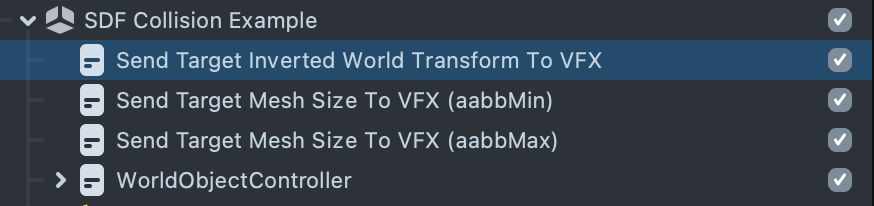
You can see that there are more data sent to the VFX editor, in order to make newly imported model work. Next, swap Target input in the SendDataToVFX script on each of the scene objects below with your mesh:
Check out the Asset Library for much more examples
Previewing Your Lens
You’re now ready to preview your Lens! To preview your Lens in Snapchat, follow the Pairing to Snapchat guide.
Related Guides
Please refer to the guides below for additional information: