Panels
Lens Studio is made up of a series of modular panels. The following guide walks through each panel's function in Lens Studio and the associated interface elements.
If you ever get lost in Lens Studio, you can also click Window > Default Layout in the Lens Studio menu bar to reset your Project window.
You can set up your window to use a specific panel layout for your needs using Workspaces.
Scene
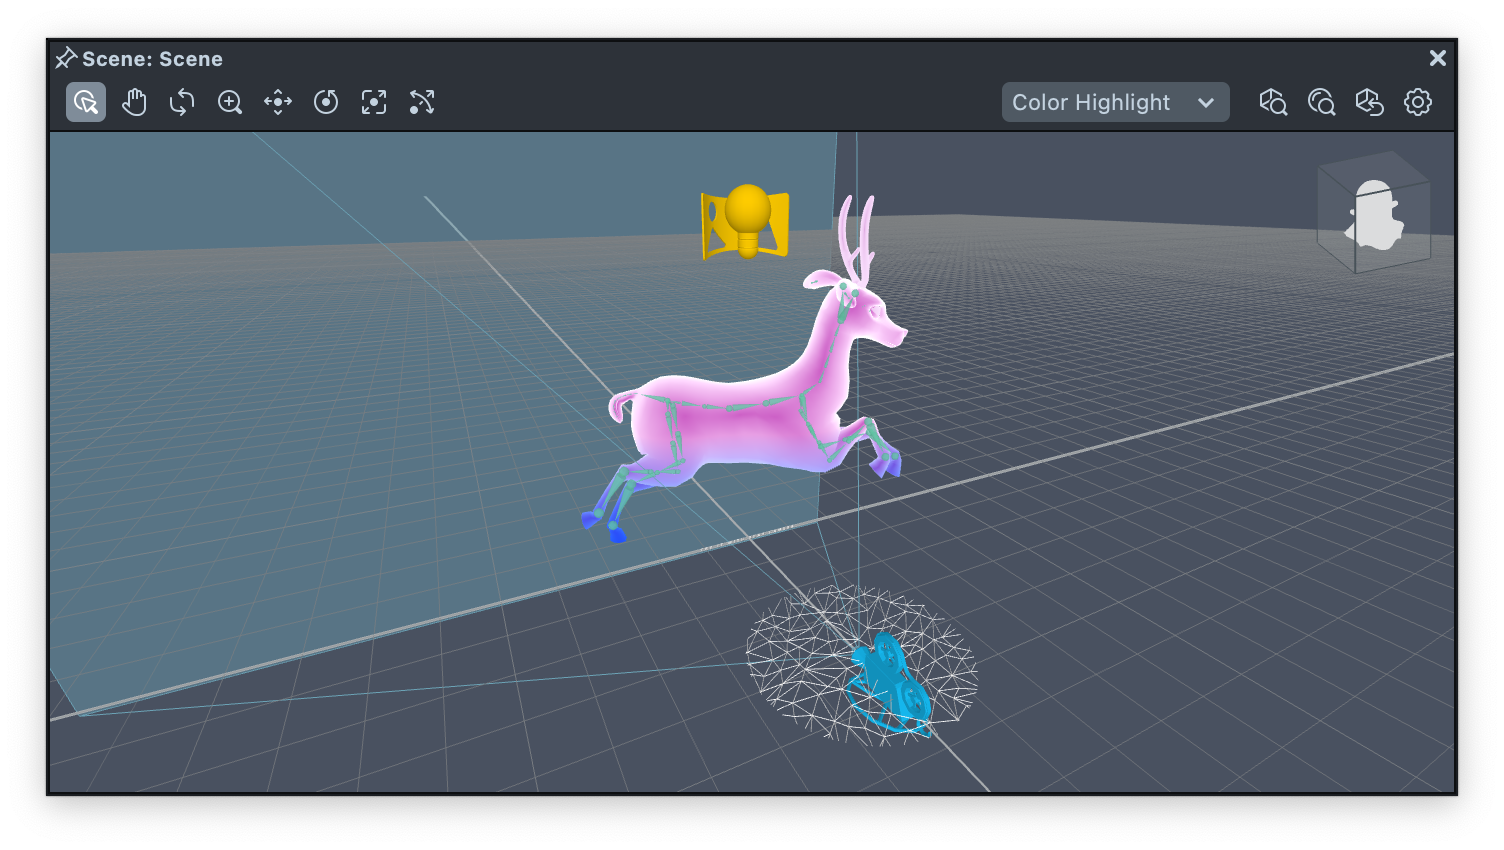
The Scene panel is where you can interact with the 3D objects in your scene. In the Scene panel, you'll be able to visually move, rotate and scale objects. The Scene panel's toolbar gives you access to various controls for the camera.
Multiple Scene panels are supported. Multiple Scene panels are primarily useful for editing prefabs. To open a second Scene panel, pin the current one, then add a new one through the Windows > Scene panel menu item. See Editing Prefabs and Scene Management to learn more.
Scene Object Selection
Objects in the Scene can be selected by clicking the object in the Scene Hierarchy panel.
Scene Camera Orientation
Clicking on a face of the camera orientation cube allows you to set the scene camera to a specified orientation. The available orientations are Front, Left, Right, Back, Top and Bottom.
Additionally, you can use the mouse and keyboard to navigate the Scene panel.
| Mac Short Cut | Windows Short Cut | |
|---|---|---|
| Camera Pan | ⌥ + Middle Click | Alt + Middle Click |
| Camera Rotate | ⌥ + Middle Click | Alt + Left Click |
| Camera Zoom | ⌥ + Middle Click + Drag or Scroll Wheel | Alt + Right Click + Drag or Scroll Wheel |
See keyboard shortcuts to speed up your workflow.
Toolbar
Scene Manipulation

-
Selection Tool (Q)
The selection tool allows you to select any object in the scene. Selecting an object will highlight it in the
Scenepanel and list out the components of the object in theInspectorpanel. -
Pan Tool
This tool allows you to pan around your scene, when you left-click and drag the mouse.
-
Orbit Tool
This tool allows you to orbit (aka rotate) around your scene, when you left-click and drag the mouse.
-
Dolly Tool
This tool allows you to zoom in and out of your scene, when you left-click and drag the mouse.
Object Manipulation

-
Move Tool (W)
The move tool allows you to select an object in the scene and move it. Selecting an object will highlight it in the
Scenepanel with a movement widget. Dragging the arrows will move the object along the X, Y or Z axis. Dragging the center blue cube will move the object freely along all axes. The coordinate space of movement can be selected using theCoordinate Spacedropdown. -
Rotate Tool (R)
The rotate tool allows you to select an object in the scene and rotate it. Selecting an object will highlight it in the
Scenepanel with a rotate widget. Dragging the inner rings will rotate the object along the X, Y or Z axis. Dragging the outer blue ring will rotate the object freely along all axes. The coordinate space of rotation can be selected using theCoordinate Spacedropdown. -
Scale Tool (E)
The scale tool allows you to select an object in the scene and scale it. Selecting an object will highlight it in the
Scenepanel with a scale widget. Dragging the outer boxes will scale the object along the X, Y or Z axis. Dragging the inner blue box will scale the object freely along all axes. -
Unified Tool (Y)
The unified tool gives you move, rotate and scale controls all in one widget in the 3D Scene panel. The controls work in the same way as the above Move Tool, Rotate Tool and Scale Tool but are unified together.
Coordinate Space

This dropdown allows you to select which coordinate space you are moving or rotating objects in. The widgets for the move and rotate tool will update when the coordinate space is changed (World, Parent and Local).
The selectable Coordinate Space dropdown only applies to the Move and Rotate tool.
Selection Highlight Setting

This dropdown allows you to select how an object looks when it's selected.
Zoom Shortcuts

-
Camera Zoom to All (A)
Repositions the camera to include all objects in the scene.
-
Camera Zoom to Selected (F)
Zooms the camera in or out on the selected object.
-
Reset View (H)
Repositions the camera to include all objects in the scene.
Summary of Keyboard Shortcuts
You can press the following on your keyboard to switch through the different tools.
| Mac Short Cut | Windows Short Cut | |
|---|---|---|
| Selection Tool | Q | Q |
| Move Tool | W | W |
| Rotation Tool | E | E |
| Scale Tool | R | R |
| Unified Tool | Y | Y |
| See everything in the scene | A | A |
| Frame the selected object | F | F |
| Got to the default scene view | H | H |
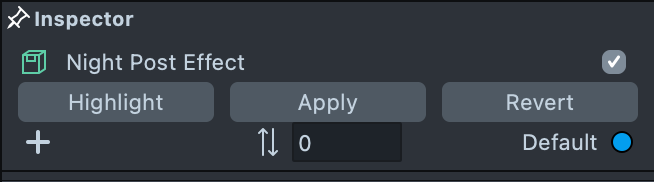
Component Specific Panels
Some components will have key properties that need to be edited beyond the Transform component. These components will have panels designed to edit these properties specifically.
For example: if you're editing a Screen Image (i.e. an object containing an Image and Screen Transform component), double clicking on the object will open the 2D Editor panel. This panel will allow you to edit the position of the image relative to the screen in 2D.
Some of these specialty editor panels include those for editing the Screen Image, Post Effect and Face Effects.
Scene Hierarchy
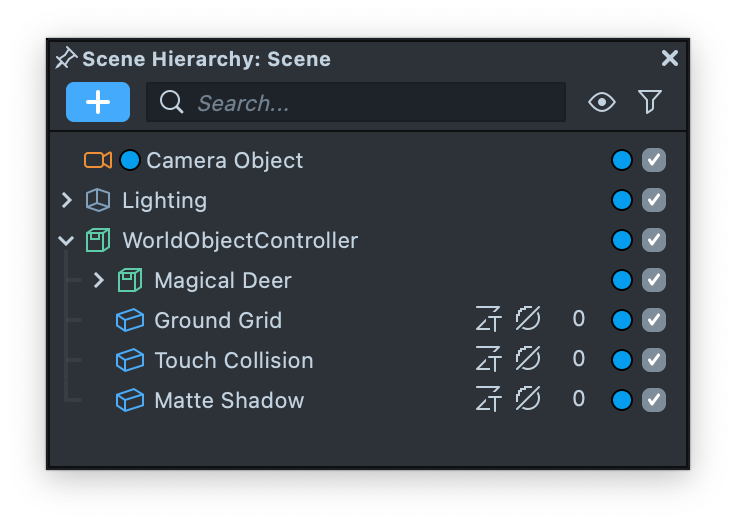
The Scene Hierarchy panel shows you the hierarchy of all objects in your scene. Objects can be parented and un-parented in the Scene Hierarchy panel by dragging them up and down the hierarchy while holding the Left Mouse button down.
For 2D effects like Screen Image and Post Effect, in many cases, the Scene Hierarchy panel also controls the render order. The bottommost objects are rendered last making them appear in front of the topmost objects. Take a look at the Render Order section to learn more.
By default, 3D objects respect depth in relation to other 3D objects to determine render order. However, in relation to 2D objects, a 3D object's render order is determined by its order in the Scene Hierarchy panel.
You can press ⌘D or Ctrl + D on your keyboard to duplicate any object!
A scene supports up to 100,000 Scene Objects and 200,000 Components globally. There is no limit on the number of children a single object can have, but the hierarchy can be at most 256 levels deep.
Add New Object

The + button allows you to add new objects to your scene. The Scene Object adds an empty object. When an object is selected, the Scene Object will be added as a child, and when nothing is selected (e.g. click on any empty space in the Scene Hierarchy panel), it will be added to the root of the scene.
Additionally, with the Add New Object button, you're able to add objects that come with preset components including the Camera, Light, Image, Liquify, Mesh Visuals, Screen Image and Post Effect objects.
Search

You can also find a search field which will filter the Scene Hierarchy by the inputted keyword.
Display Mode
You can change the display mode of the Scene Hierarchy panel to show various additional information about the objects in the hierarchy.
Filter
You can also filter the types of objects you see in the panel.
Enabled / Disabled Objects

Objects can be enabled and disabled by clicking the checkbox icon to the right of the object name. Disabled objects will not be visible and will not execute script.
Inspector
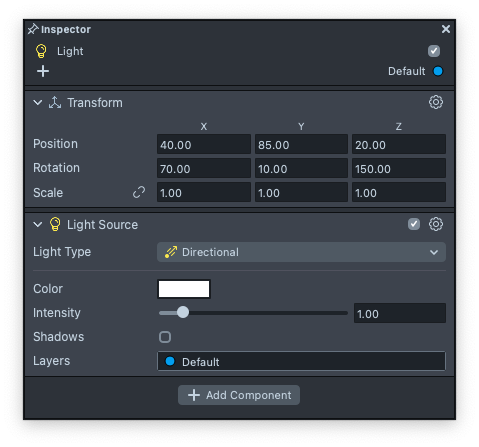
The Inspector panel allows you to add and edit components on the selected object. Components are the building blocks of objects. They define what an object does and how an object is visualized. In addition to adding components, the Inspector panel allows you to edit parameters of existing components. Note, all objects are required to have a Transform component. The Transform component gives you the ability to tune the object's Position, Rotation and Scale.
Multiple Inspector panels
You can open multiple Inspectors and pin an Inspector panel. A pinned Inspector does not update while other scene objects are selected in the Scene Hierarchy or Scene, allowing you to inspect multiple objects at once.
You can open an additional Inspector panel via Window > Inspector.
Look for the pin icon to the left of the panel name to pin a panel.
In-Place Inspector
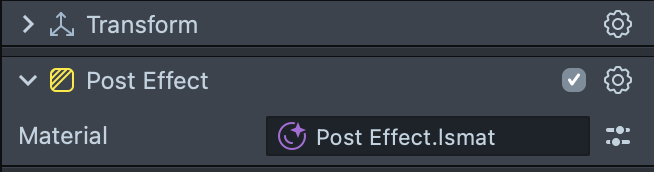
If an item in the inspector is a reference to another object or asset, you can press the settings icon besides the field to quickly view and edit its properties inline.
For example, left click the icon to the right of the material input on a component. Left click Open Full Inspector to open the asset’s entire Inspector in place.
Render Order
The Render Order option becomes active for any object that has a visualization (e.g. MeshVisual). By default, all visual objects will have a render order of 0.
For 3D objects, the objects are rendered by depth.
For 2D objects, by default, objects are rendered as determined by their order within the Scene Hierarchy panel. Youc an manually change the render order of an object to have it appear above or below other objects. low numbers are rendered first (below) while high numbers are rendered last (on top).
For the most part, you can ignore Render Order. Only when you are having render ordering problems that can't be solved by ordering objects in the Scene Hierarchy panel will you have to manually configure the Render Order text field.
On 2D objects, you can use the Canvas component to use a different Sort Order. Take a look at the Canvas guide to learn more.
Render Layers
![]()
The Layers box allows you to configure which render layer the object should be part of. Each Camera object in your scene allows you to configure which render layers the camera can see.
For the most part, you can ignore Layers and keep it set to the Default Layer. You only need to worry about Layers when working with multiple cameras in the scene.
This most commonly happens when you add a screen element like Screen Image. This will automatically create an Orthographic camera which will render on the Orthographic layer, as to have the images under it appear on top of the elements rendered by the default camera and `Default Layer.
Collapse Component
Clicking the component name will collapse the component for a cleaner Inspector panel.
Enable / Disable Component
![]()
Clicking the check box will toggle the component to be enabled or disabled.
Configure Component
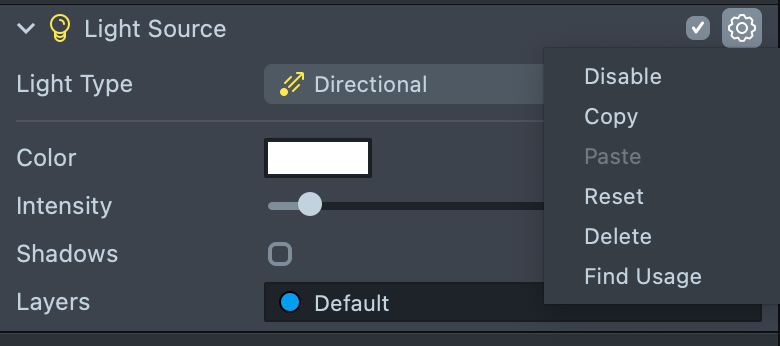
Clicking this icon will allow you to configure a component. You can use this menu to remove, disable, duplicate, copy, and paste the component.
If a component has a special editor for it, this menu will also show an Edit button to open the editor. For example, you can open the Screen Transform Editor by clicking on Edit in the cog menu of a Screen Transform component.
Add Component
![]()
The Add Component button allows you to add desired components to the selected object. Clicking Add Component will give you a list of all available components that can be added. Selecting from the list will then add it to the object.
Asset Preview
When you select certain assets, you will see a dynamic preview of the asset.
For example, if you select a material, you can click and drag to see the materials from various viewpoints.
Asset Browser
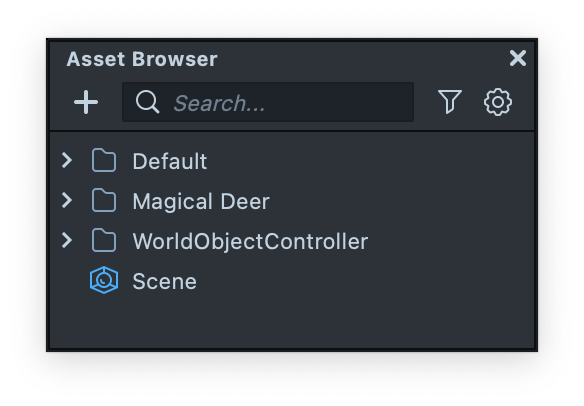
The Asset Browser panel lists out all resources currently available in the project. Resources include Meshes, Materials, Textures, Scripts, Sounds and more. Resources can be added to the project by dragging and dropping a valid resource into the Asset Browser panel.
For more information about managing resources, follow the Importing and Updating Resources guide.
Add New Resources
![]()
The + button allows you to add new resources to your Lens Studio project. Once selected, select the Import Files option to add in your own custom resources. Some resource types, like Mesh and Material, have built-in resources that you can add to your project. The Mesh resource type will allow you to add some basic primitive meshes. The Material resource type will allow you to add some basic materials like Unlit, Diffuse, PBR and more. On top of that, the + button allows you to create folders to keep your resources organized.
Filter Resources
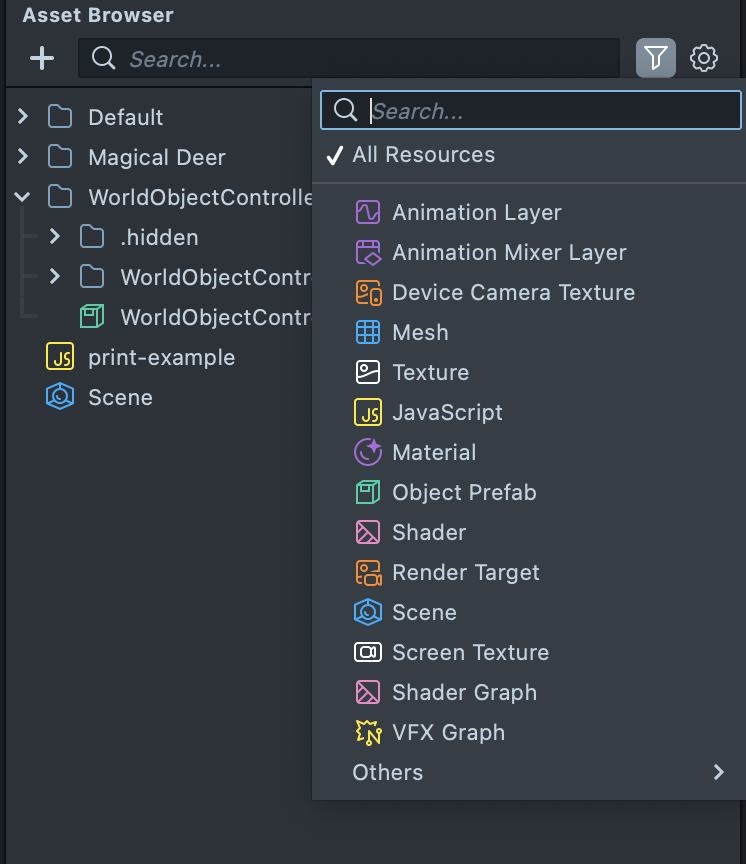
Use this drop down to filter the Asset Browser panel by type of resource.
Search Resources

The Asset Browser panel can be filtered by keywords by typing in the search textfield.
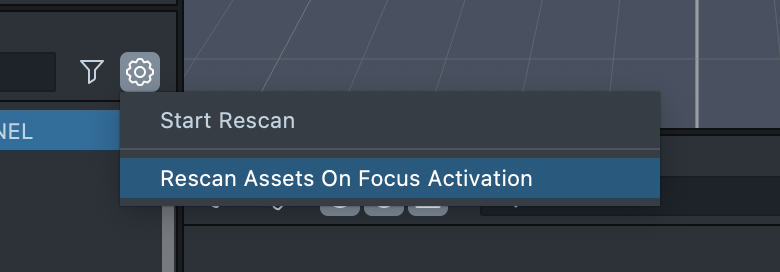
If you have a large project, you can disable automatic rescanning of assets by clicking on the Cog in the top right of the Asset Browser panel, and select Rescan Assets on Focus Activation.
Preview
The Preview panel allows you to see what your Lens would look like within Snapchat without having to open your device. The Preview panel updates in real time as you make changes to your scene. For more information on the Preview panel and its features, see the Previewing Your Lens guide.
Multiple Preview Panel
You can also open multiple previews at once. This is especially useful for testing some of the following scenarios:
- Connected Lenses
- 3D experiences from multiple perspectives
- The front and back cameras simultaneously
- UI on multiple devices with different screen sizes
You can open an additional Preview panel via left clicking on Window > Preview, in the top menu.

Preview Lens
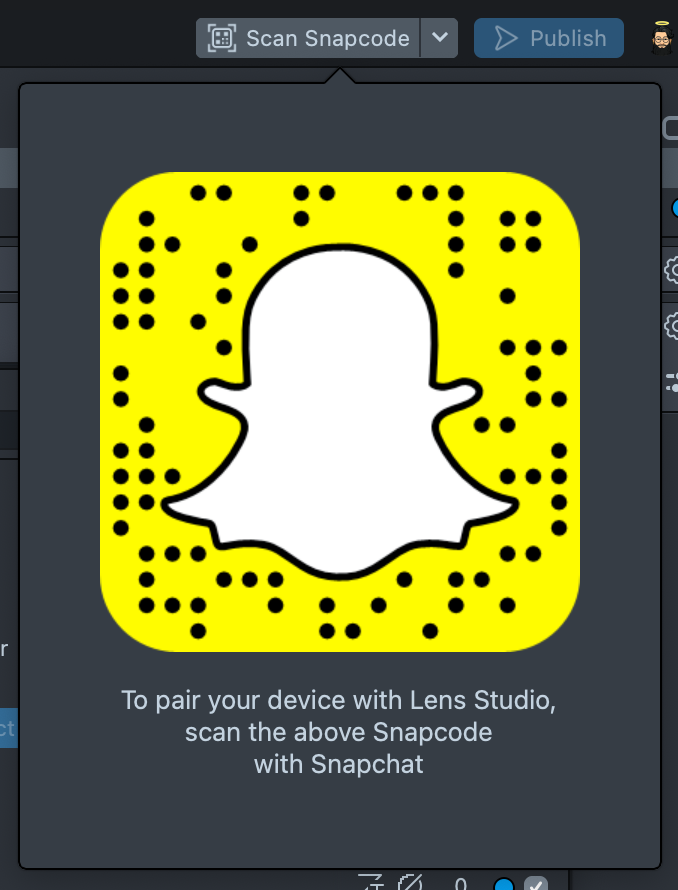
The Preview Lens button allows you to pair Lens Studio with your Snapchat application. When paired, changes made in Lens Studio can be sent to your mobile device for testing. For more information on pairing, see the Pairing to Snapchat guide.
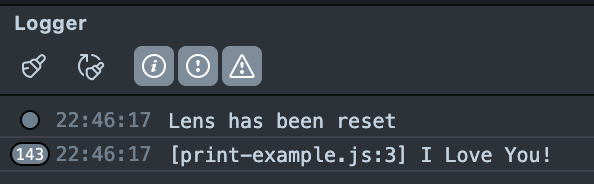
Logger
The Logger panel provides insights into the state of your Lens as well as Lens Studio itself.
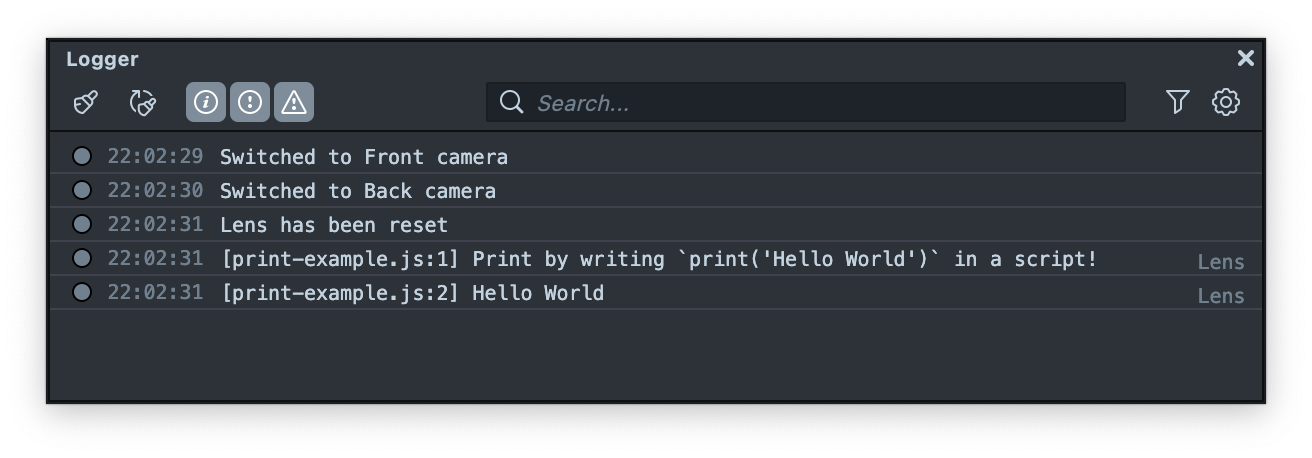
You can use the print() function in a script in order to print to the debugger. Check out the Debugging guide for more information.
You can also dive deeper into what's happening in your Lens using the Mobile Monitor.
Option Bar
At the top of the Logger panel, there are several options which you can use to help you find the log lines you are looking for.

Clears the current logs.
![]()
Clears the logs every time the Lens is refreshed.

You can filter the type of logs you want to see.
In order of the buttons:
- Informational Logs
- Warning Logs
- Error logs
When surrounded by a light gray box, informational logs will be visible.
When a log is hidden, the number of logs hidden is shown next to the type icon:

You can create an error message using the JavaScript throw function. For example, throw("This is an error!");would result in:
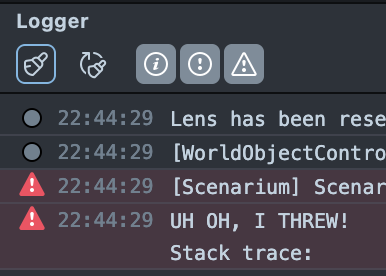
![]()
Filters the log based on the text inputted.
Additional Options
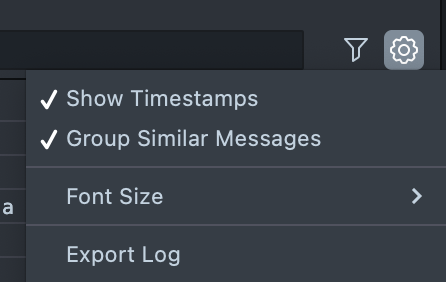
The Settings button provides additional options for modifying what is visible in your logs, such as whether time is shown or logs with the same messages are grouped. Additionally, you can change the size of the messages printed, or export the logs as a text file.
When a log is grouped you will see a number next to the log line.
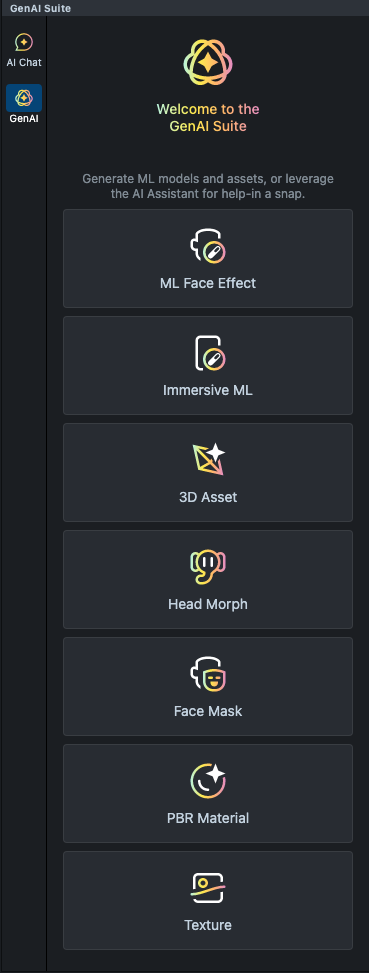
GenAI Suite
Lens Studio contains a suite of feature that helps you develop Lenses faster: from an assistant that can answer your question, to asset creation that helps you bring your imagination to life.
Accessing GenAI Tools
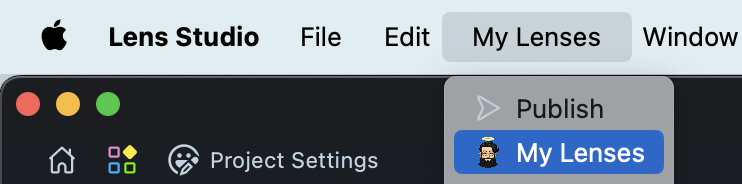
Before you can use any of the GenAI tools, you will need to be logged in with your Snapchat account.
To login, click My Lenses > Login in the top menu bar.
Best Practices
- You will need to be signed into My Lenses to access these features.
- To login, click My Lenses > Login in the top menu bar.
- All prompts are routed through our moderation pipeline.
- Modifying Negative Prompts or Seed are optional but:
- Negative prompts allow you to specify what you do not want to see
- Specify a seed value for reproducible outputs, -1 will randomize it (default).
- Append “high quality” to the prompt as needed.
Assistant
AI assistant is a quick way to get answers about the various capabilities Lens Studio has to offer, as well as how you can build different Lenses. It brings the knowledge of our documentation and other learning resources directly into the Editor.
Accessing the Assistant
The AI Assistant panel can be found and enabled by pressing the GenAI Suite button (![]() ) in the top right of Lens Studio.
) in the top right of Lens Studio.
You will need to login to “My Lenses” and an internet connection is required.
Examples
You can ask a variety of questions: from scene set-up, to Lens Features, to some scripting guides.
For example:
- Explain Face Masks to Me
- How can I make a Pixelize Lens?
- Tell me about the Friends and Bitmoiji API
- What is Ortho Cam?
- write a script that fluctuates color of the input(//@input) mesh
- write a script that rotates mesh around Y axis continuously
Asset Generation
Lens Studio offers a collection of new generative AI-powered tools to accelerate asset creation. These tools allow you to type prompts to quickly generate textures, face masks, and materials to use in your project.
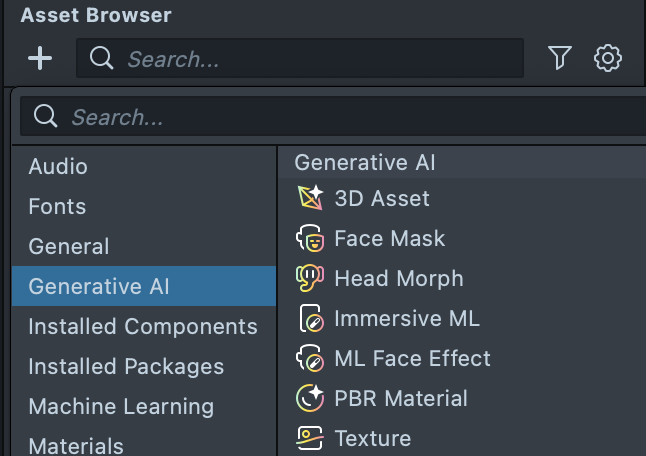
You can access these tools in the GenAI Suite Panel.
You can also access these tools, by clicking on the + button in the Asset Browser panel, and navigate to the Generative AI section.
Available Asset Generators
Take a look at the individual asset section to learn more:
- ML Face Effects
- ImmersiveML
- 3D Asset Generation
- Head Morph
- Character Animation
- Body Morph
- PBR Materials
- Texture and Face Masks
PBR Materials
If you have an existing 3D model, you can use the PBR Material generator to create a custom material for it.
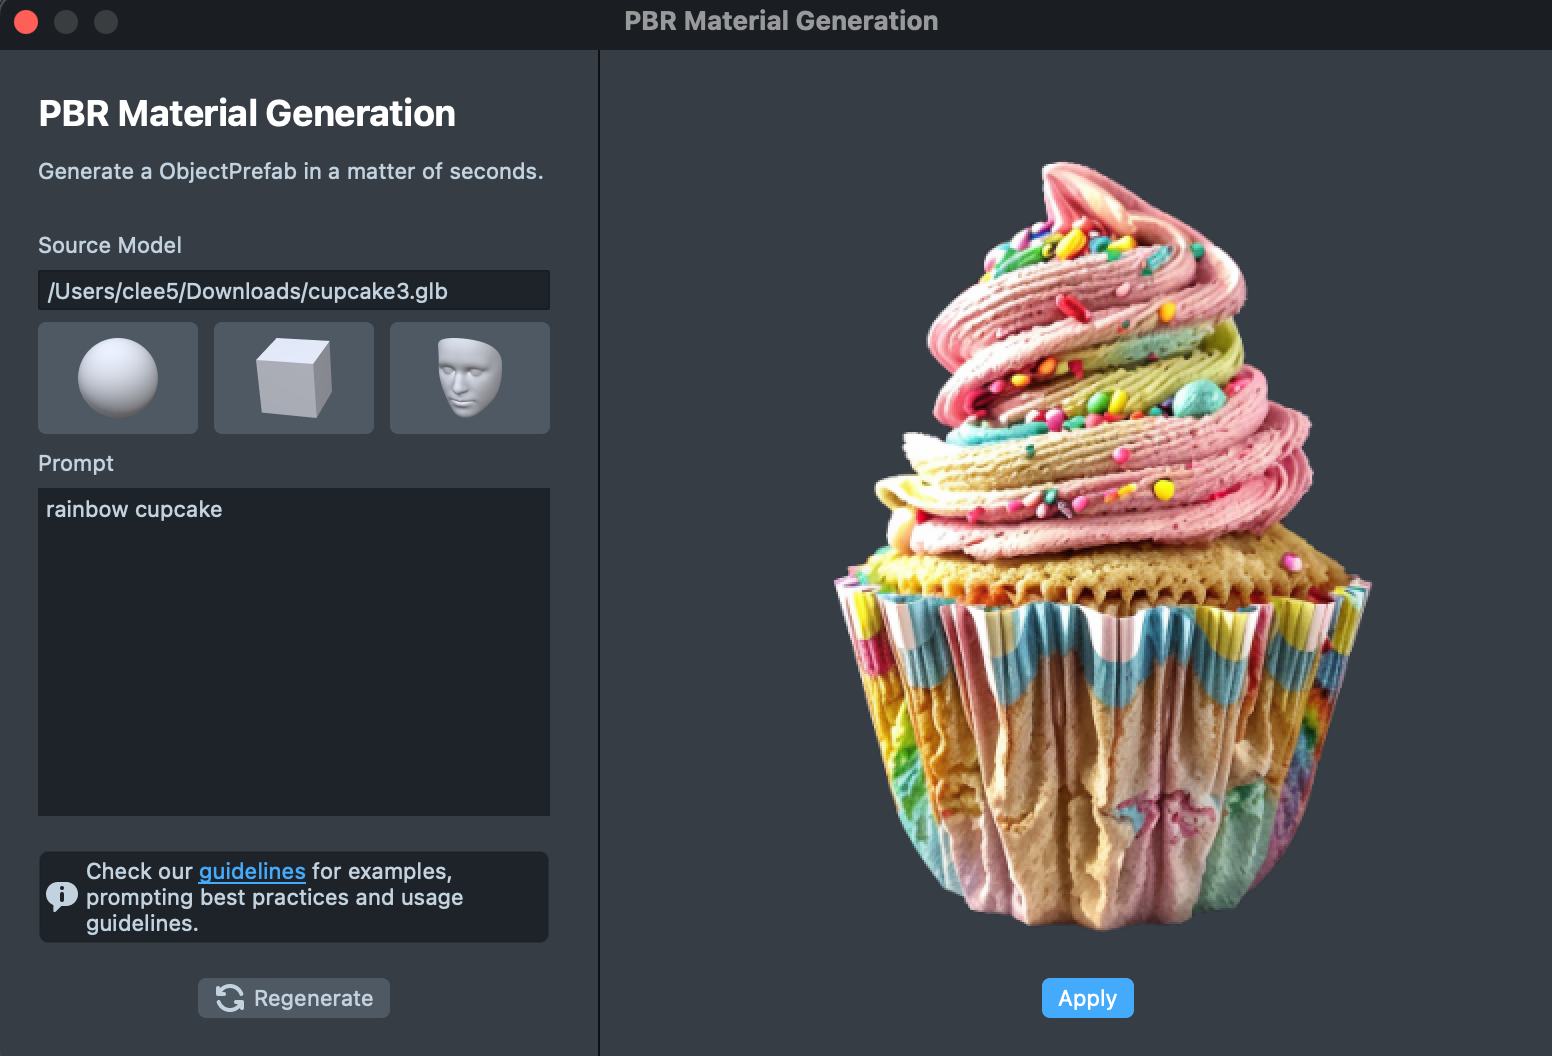
Using the PBR Material Generation
To generate a mesh-aware Gen AI texture with its PBR material, you can follow these steps:
- Open the Material Generation window from the Asset Browser (see above).
- Select a mesh – the defaults include a cube, sphere and a face mask but you can drag in any 3D model under the Source Model field.
- Enter a prompt in the text box and click Generate. The material will take around 1 minute to generate. Here are some sample prompts:
- Sphere + “Globe with water, clouds and land” / “planet earth” (default)
- Cube + “Sci Fi game asset”
- Cube + “Wooden crate”
- Face Mask + “Wooden Ornamented Mask”
- Click Apply to import the prefab with your model, texture and the PBR material into the Asset Browser.
- Drag the prefab into your Scene Hierarchy to use.
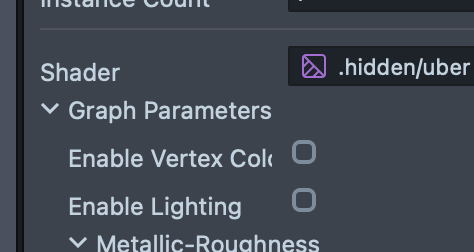
- Adjust the Material’s Metallic, Roughness, Occlusion Strength (typically lowering them) to find your desired output, or uncheck “Enable Lighting”.
PBR Material Generation works with common 3D files (.fbx / .obj / .stl /.gltf / .glb), but not for .mesh files.
Textures and Face Masks
Textures are used in a wide variety of place in Lens Studio. You can use the built-in generators to speed up your Lens development.
General Textures
Texture Generation allows you to create a general texture for use with Image and other component.
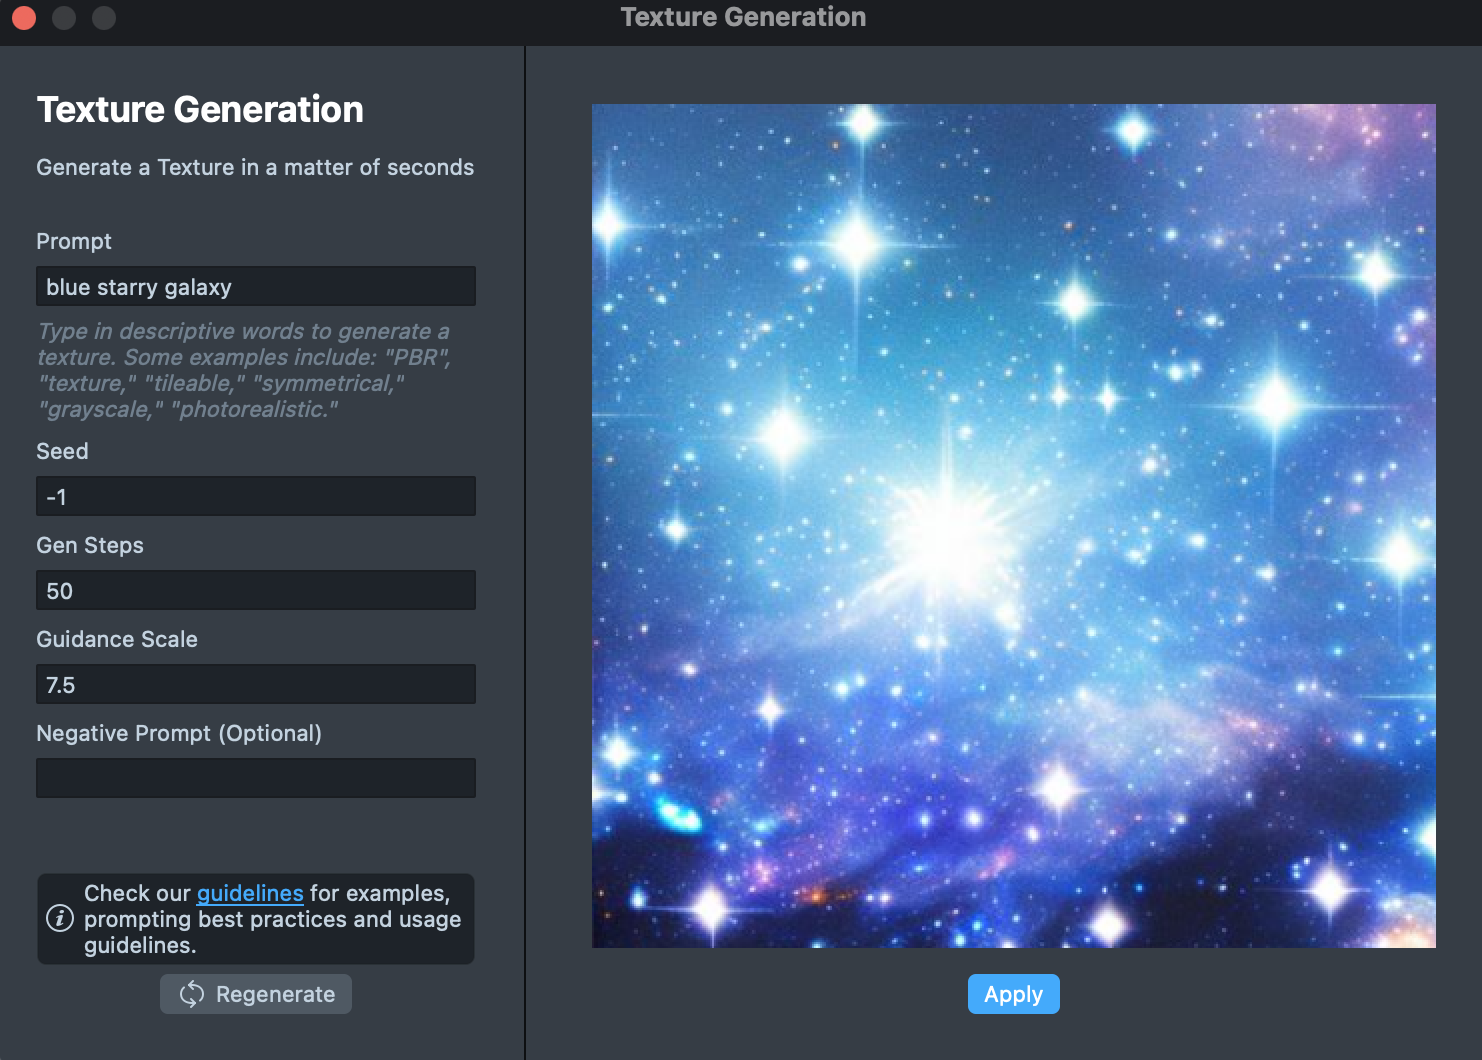
To generate a texture, you can:
- Open the Texture Generation window from the Asset Browser.
- Enter a prompt in the text box and click Generate. Here are some sample prompts:
- “Wooden panels”
- “Black and orange cheetah print”
- “Mossy grass with colorful polka dots”
- “Outer space in the galaxy”
- “Night sky starry night”
- Click
Applyto import the texture into the Asset Browser. - Add the texture to the material or component of your choice.
Face Masks
Face Masks allow you to map a texture to a user's face, which will deform with their facial movements. You can generate the textures for these effects using the Face Mask Generation tool.
To generate Face Mask texture, you can follow these steps:
-
Add a Face Mask component to the scene. (Scene Hierachy panel > + >
Face Mask). -
Open the Face Mask Generation window from the Asset Browser (see above).
-
Enter a prompt in the text box and click Generate. For example:
- “Martian”
- “Astronaut”
- “Lion”
- “Einstein”
- “Einstein Black & White”
- “Magical rainbow”
-
Click Apply to import the face mask texture into the Asset Browser.
-
Set the Base Texture in the FaceMaskMaterial to your generated face mask.
-
To change the alignment of the generated face mask, double click on the Face Mask object. Alternatively, you can click on the
cogin theFace Maskcomponent, and chooseEdit.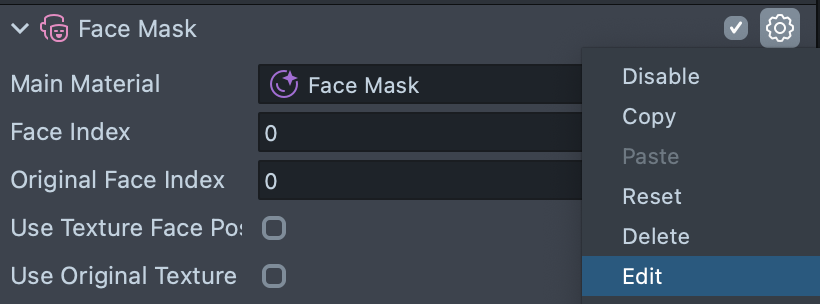
Learn more about Face Mask and how to edit them in the Face Mask Guide.