Face Image
The Face Image object attaches a 2D textured plane to your head.
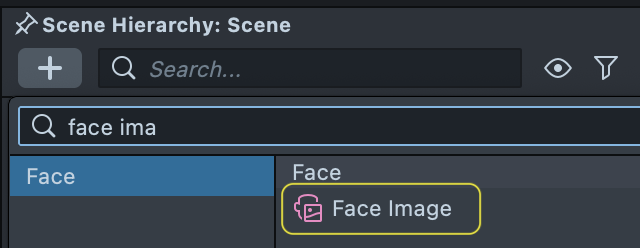
Create the Face Image
To create a Face Image effect, first click the "+" button in the Scene Hierarchy panel. Then, select Face -> Face Image.
Assign Texture to the Image
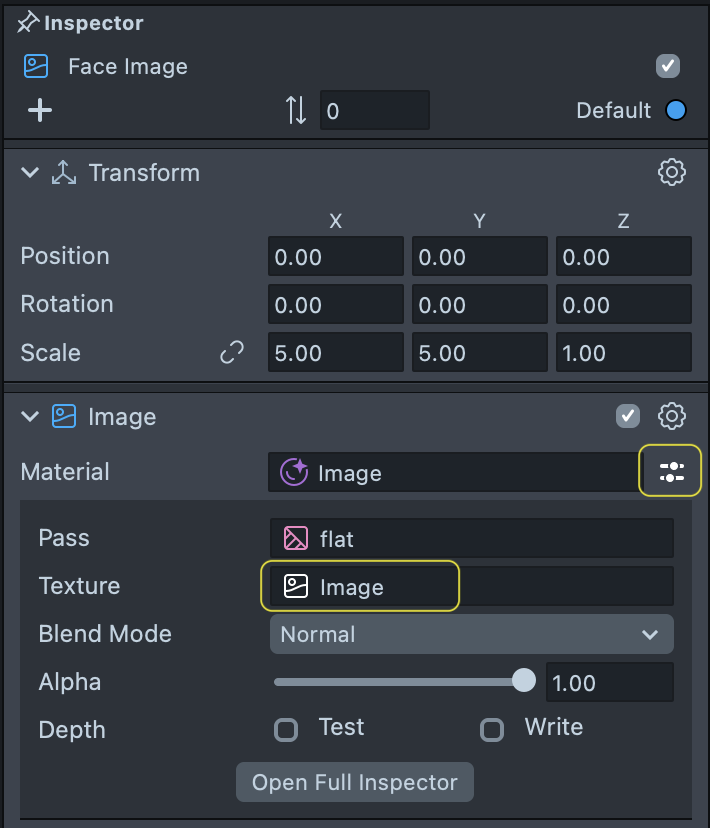
First, drag and drop your texture into your Asset Browser panel. Assign your newly added texture to your Face Image object. Select your Face Image object in the Scene Hierarchy panel. Then, in the Inspector panel, open the Material inline inspector (by clicking on the settings icon next to the Material field), and assign Texture field with your newly added texture.
Position the Face Image
The Face Image object is a 2D object. Double clicking on the new Face Image object automatically opens the Face Image Editor panel, which allows you to visually edit the object. In the Face Image Editor panel, drag your Image around the visual editor to position it on the head. You can scale the Image by dragging the bounding box edges or corners.
You can rotate your Face Image object by hovering your mouse over the Image corner. Your mouse will turn into a rotation handle. Click and drag your mouse to rotate the Image.
By default, Align to Camera is not enabled on new Face Images. When this is enabled, the Image will always face the camera and not rotate with the head. To disable, simply uncheck Align to Camera
Face Image Settings
With a Face Image object selected, the following settings can be configured:
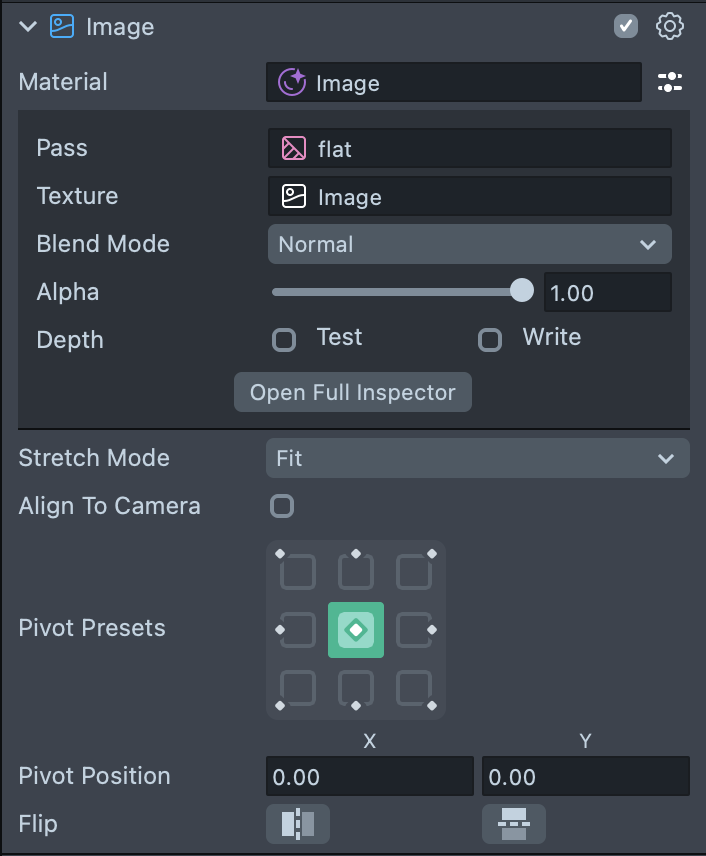
- Material: The material assigned to the image.
- Texture: The texture assigned to the image
- Blend Mode: The blend mode of the image. Commonly used blend modes are Normal, Multiply, Overlay, Screen and Soft Light
- Alpha: How transparent the image is
- Depth Test: Should the image plane depth test. If true, it will intersect with other 3D models in the scene
- Stretch Mode: How the image is fit to its bounding box. Refer to the Image guide for a description of each Stretch Mode
- Align to Camera: The image will always be aligned to the camera and not rotate with the head
- Pivot Presets: The Pivot Presets interface will automatically set the Pivot Position (below) to commonly used pivots when clicked
- Pivot Position: The location of the pivot point of the image (represented by a white diamond)
- Flip: Allows you to flip the image either horizontally or vertically