Head Attached 3D Objects
You can attach 3D Objects to your head so that they track to a point on your head. This is great for adding accessories such as glasses, headwear and other 3D models.
Import your 3D Object
You can import your 3D object by dragging your file into the Scene Hierarchy panel.
Create the Head Binding
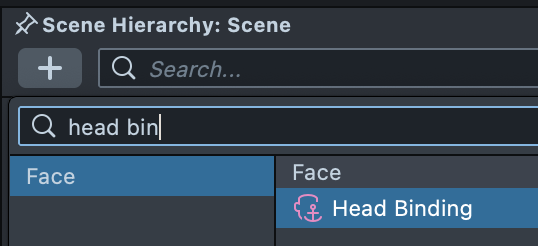
A 3D object is attached to the face using a Head Binding object. To create a Head Binding, in your Scene Hierarchy panel select: + -> Face -> Head Binding.
Then you can drag your 3D objects under this new Head Binding object to attach it to the user’s face.
Modifying the Head Binding
In the Inspector panel of the Head Binding Object, you can set which Face Index to attach the object to. The Face Index field starts with 0 for the first face the Lens sees, 1 for the second face and so forth.
You can modify which part of the face the Head Binding is attached to by changing the Attachment Point Type. Refer to the Head Binding Settings section below for more information.
Positioning your 3D Objects
You can position your 3D objects around your head as you would with other 3D objects.
Use the Move, Rotation, and Scale tool at top of the Scene Panel to change the transform of your 3D objects in relation to the head binding.

Face Occluder
The Head Binding object comes with a Face Occluder as a child. This Face Occluder object contains a 3D model of a face that is used to hide parts of your 3D model as your head turns. In other words, it represents your user’s head in the scene.
For example, if you added a 3D model of sunglasses, when you turn your head, some section of the glasses’s arm will be hidden by your head.
In most cases, you do not need to touch the default Face Occluder. That said, you can create your own custom one by adding a custom mesh and assigning it a new Occluder material.
Head Binding Settings
With the Head Binding object selected, you'll see the following settings used to configure the object in the Inspector panel:

- Face Index: The index of the face this event is tracking. Change this value to control which face the event tracks. The first detected face is 0, the second face is 1, and so forth.
- Attachment Point Type: A point on the face that your head binding will be centered around. Options are:
- Head Center
- Candide Center
- Triangle Barycentric
- Face Mesh Center
- Left Eyeball
- Right Eyeball
- Mouth Center
- Chin
- Forehead
- Left Forehead
- Right Forehead
- Left Cheek
- Right Cheek