Face Inset
The Face Inset effect allows you to map a feature of your face (e.g. eyes) to other areas of your face. This allows you to, for example, replace your eyes with mouths or map an eye to the center of your forehead.
Create the Face Inset
To create a Face Inset object, first click the "+" button in the Scene Hierarchy panel. Then, select Face Effects -> Face Inset.
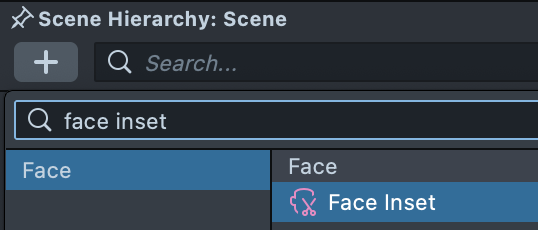
Once added, you should see a new Face Inset object in your Scene Hierarchy panel. It is a child of the Face Inset Binding object which binds the inset to your face.
Adjust the Face Inset
Double-click on the newly added object to modify the object. In this case, Lens Studio will automatically open the Face Inset Editor panel.
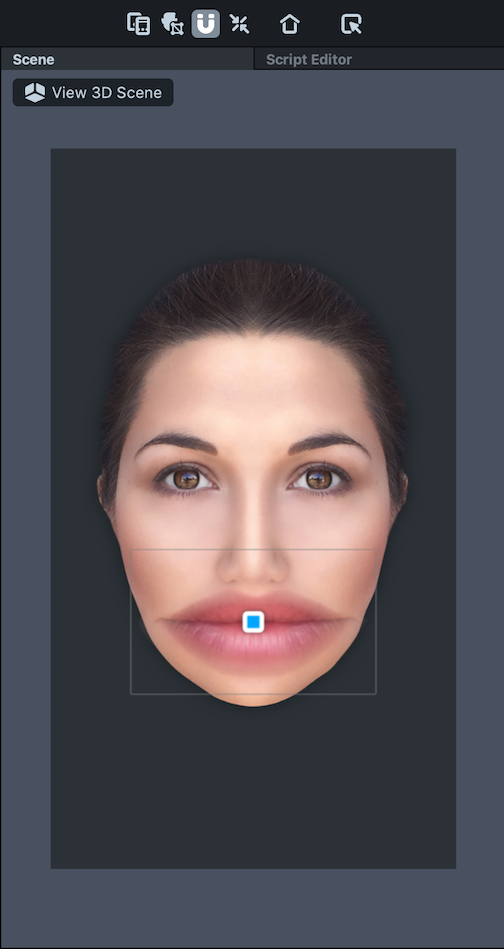
You can move and scale the added face inset in the Face Inset Editor panel to wherever you want on the face. Drag the corner of the face inset to rotate.
Face Inset Settings
With the Face Inset object selected, you'll see the following settings used to configure the object in the Inspector panel:
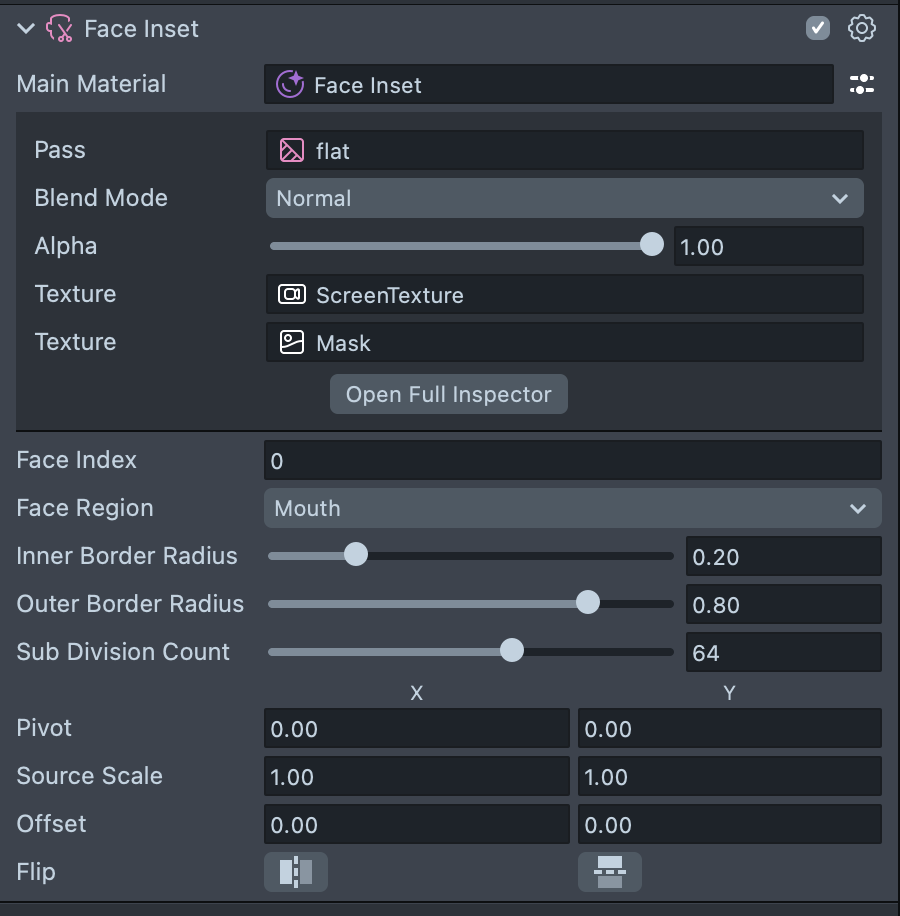
You can modify Face Inset specific settings to control how the inset looks.
- Face Index: Which face the object will apply to. The first face in the scene is 0; the second face in the scene is 1
- Face Region: The region of the face you'd like to copy. Available options are: Left Eye, Right Eye, Mouth, Nose and Face
- Inner Border Radius: How transparent the edges of the added region is
- Outer Border Radius: How large you'd like the copied region to be. A low number will be tight to the feature. A higher number will have more padding
- Subdivision. Count: Determines how many vertices are drawn for the copied shape, thus controlling how smooth the shape of the copied region is
- Source Scale: The scale of the region texture
- Offset: The offset of the region texture from center
- Flip: Option to flip the face inset texture horizontally or vertically
For further control, you can click on the Settings icon next to the Material field to open the inline editor for the material rendering the inset.
- Blend Mode: The blend mode of the inset. Commonly used blend modes are Multiply, Overlay and Soft Light
- Alpha: How transparent the face inset is
- Texture: Where the facial features are being pulled from. In most cases, this should be set to
ScreenTexture - Texture: The second texture is the mask that fades away the texture to better blend it with the face.