ML Environment Matching
ML Environment Matching Metal Character and ML Environment Matching Gold Frame are available in Lens Studio Asset Library. Import the asset to your project and follow the instructions in the Asset Readme.
The ML Environment Template demonstrates built-in ML capabilities that allows AR effects to better match the real world environment easily. The template utilizes two techniques (Blur Noise Estimation and Dynamic Envmap), and provides several examples to see them in action.

Guide
The template comes with several examples that you can find under the Head Binding object in the Scene Hierarchy panel. To try them, enable the checkboxes to the right of each object’s name.
The template leverages two key features to better match the AR effect to the real world:
- Blur Noise Estimation which leverages an ML model to understand the noise in the camera feed and apply them to the AR objects to help them blend in.
- Dynamic Envmap which leverages ML model to create a dynamic environment map such that your objects can reflect real world lighting
Blur Noise Estimation
Select the Camera object in the Scene Hierarchy panel, and in the Inspector panel, notice that there is a Blur Noise Estimation component. With this component added on the Camera object, our Camera will automatically apply the ML model to blur and add noise to your objects so that they blend in with the Camera source.
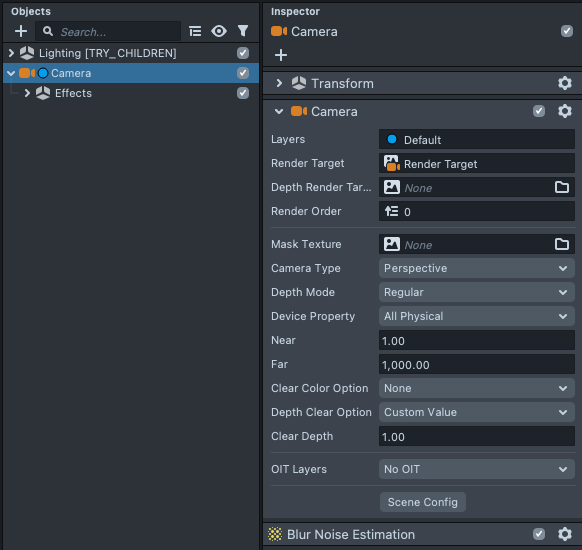
This effect is very subtle and most visible on moving cameras and in darkly lit scenes. If you don’t see any significant changes in the Preview panel, it is normal.
This effect only works on the face camera and only on some devices.
Dynamic Envmap
The Dynamic Envmap feature can be toggled on a Lighting Object. This template comes with two Envmap lighting objects under the Lighting object in the Scene Hierarchy panel. In general practice you should only have one; both are here to allow you to easily compare the difference between the two. Try enabling and disabling the checkbox to the right of each object.
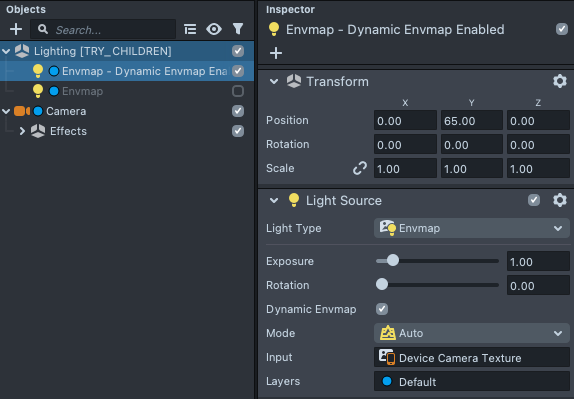
If you select the Envmap - Dynamic Envmap Enabled object, in the Inspector panel, notice that the Dynamic Envmap toggle is enabled. In addition, the Device Camera Texture is used as Input to get data about the real world.
This effect only works on the face camera and only on some devices. When the ML model is unavailable, the Lens will automatically fallback to classical Envmap which will still use the Input albeit without ML processing.
Examples
With the ML Environment Matching features enabled, the effect will automatically be applied to all your objects.
Simple Examples

The Face Mesh and Gold Frames examples show the default Face Mesh and Uber PBR materials in action. Try clicking their related material (same name) in the Asset Browser panel and modifying the Lighting parameters in the Inspector panel.
Try using the Webcam preview and shining light onto yourself to see the environmental matching effect in action.
In the Texture field of lighting, we use a white texture to make sure our parameter can be as shiny as possible. Take a look at the Material Parameters guide to learn more about what data the texture here should contain.
Metal Character - Double Materials
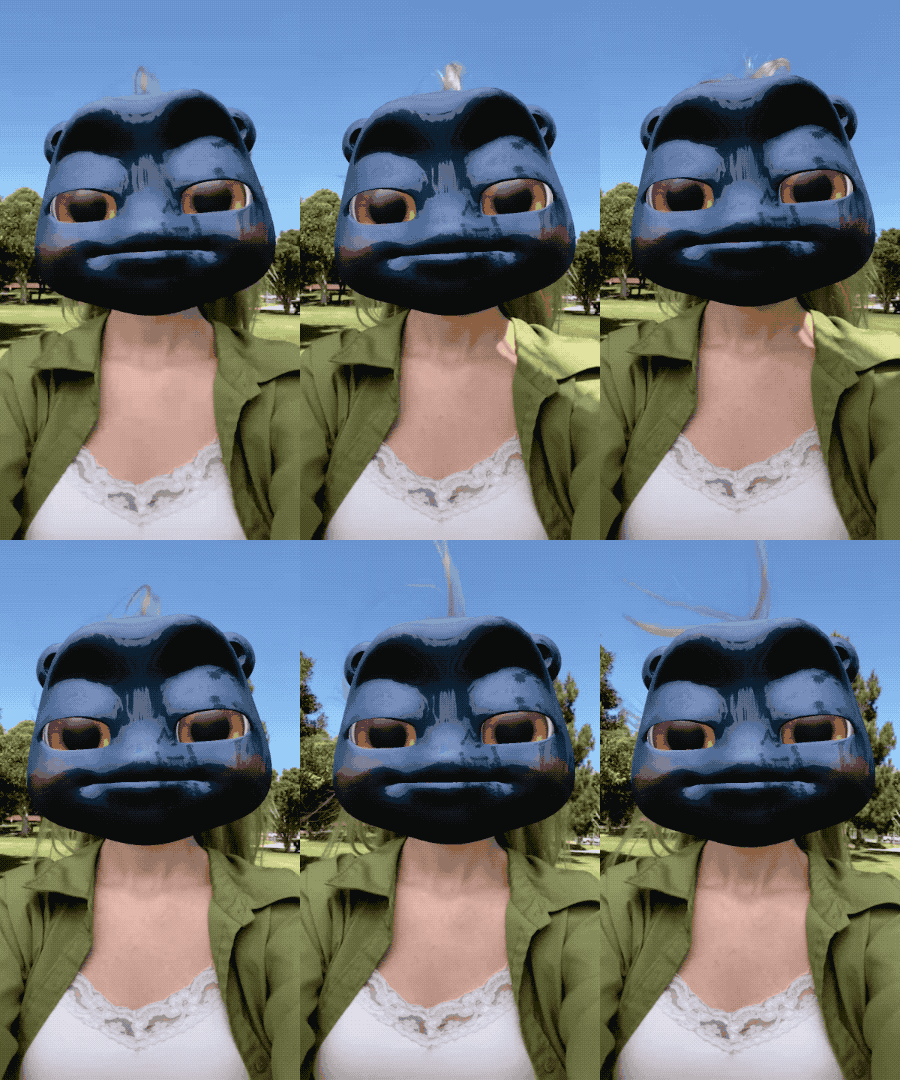
In the previous example, you’ll notice that if you had used no roughness, the object never gets shiny enough to seem reflective. This is because the ML model’s generated envmap is blurry. In order to have an extremely shiny material, we can overlay two materials on top of each other. Take a look at the Character Face object to see this:
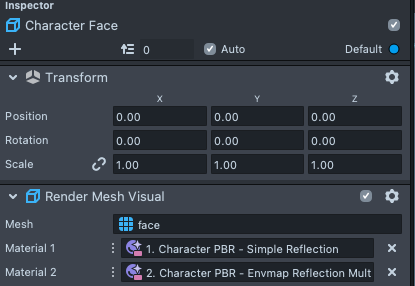
The first material contains a Simple Reflection which reflects a standard Specular map.
This material is based on the Uber PBR material. However, since we only need the Simple Reflection setting, we removed the Lighting settings by detaching it from the final output.
You can detach nodes by holding shift and click/dragging to draw a line over the connections that you want to cut. Take a look at the Material Editor guide to learn more.
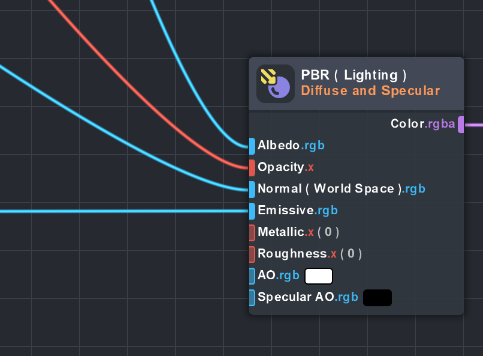
Secondly, we add another Uber PBR material as before to receive the lighting from the Dynamic Envmap. In addition, we use the Multiply blend mode, so that the lighting results are applied on top of the Simple Reflection in the previous material.
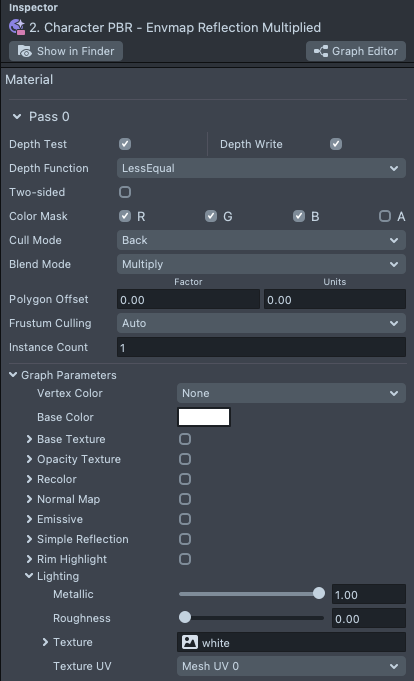
Right-click on a field, and click on Select to see what the field is a reference to.
Baseball Cap Example
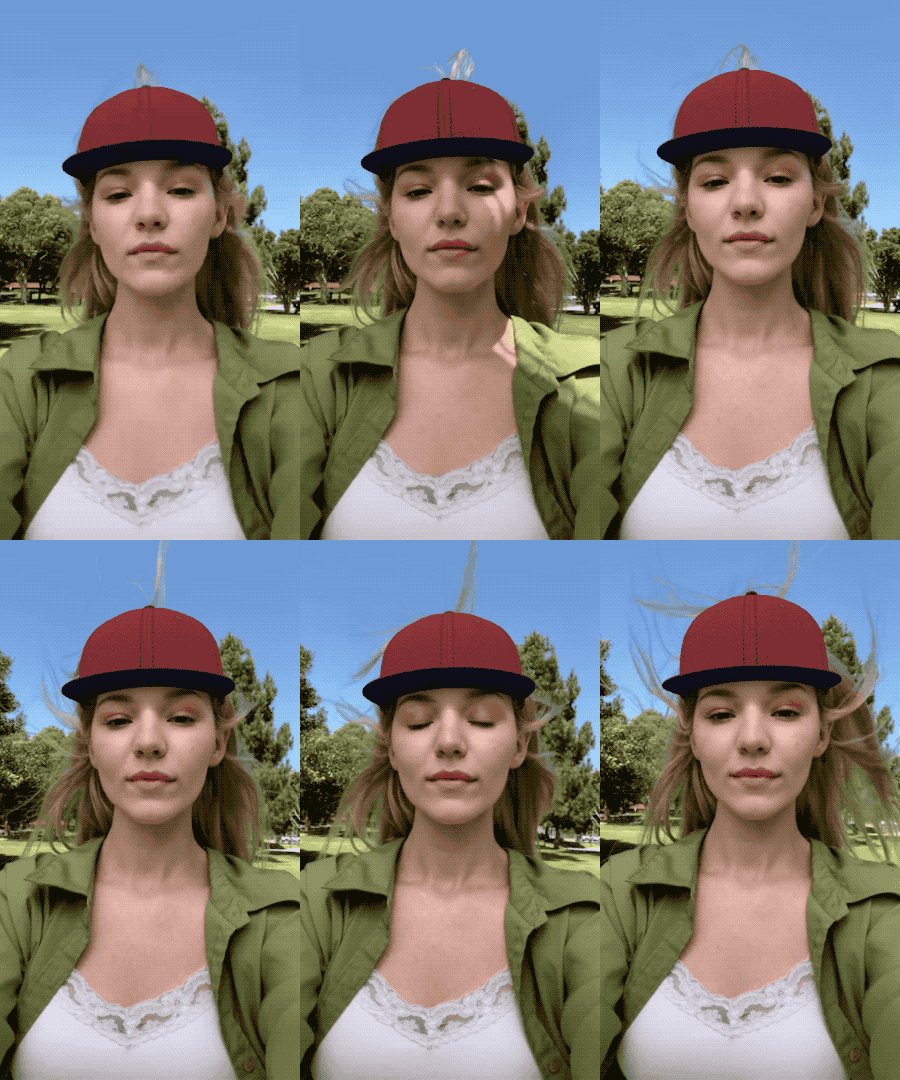
In the last example, we simply brought in the Baseball Cap example from the Asset Library. There’s nothing special in this set-up, and in fact it reflects that the ML Environment Matching feature can be a quick addition to any Lens as it doesn’t require any additional setups on each object!
Previewing Your Lens
You’re now ready to preview your Lens! To preview your Lens in Snapchat, follow the Pairing to Snapchat guide.