Depth Toybox
This template provides an example of using depth data from the Depth Texture to figure out the orientation of surfaces in the scene, as well as how you can use it to occlude your AR objects based on the real world. In addition, it allows you to select, place, and delete objects in the scene, have the option to spawn objects where you’ve moved them, as well as create additional effects based on the user’s interaction.
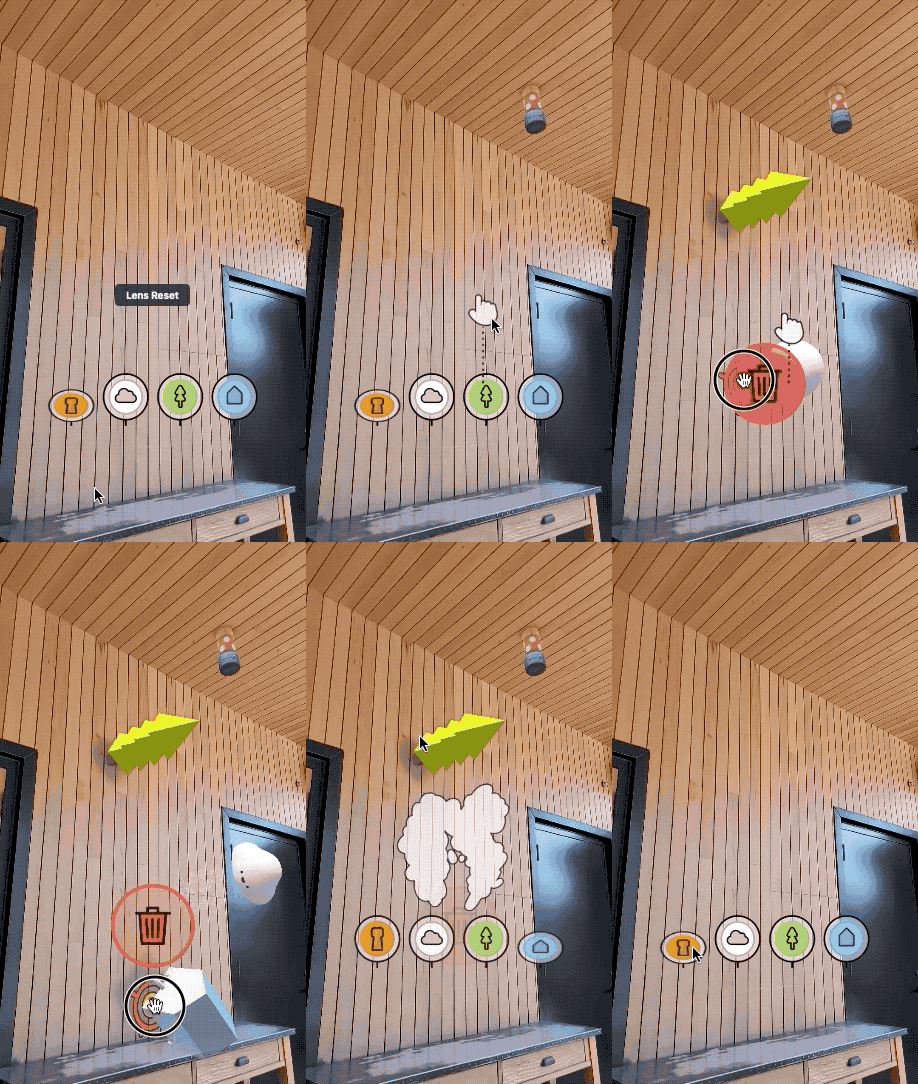
Depth Texture is available on many devices, but not all of them. This template provides a simple fallback when depth texture is not available. Learn about which devices support this capability in the feature guide.
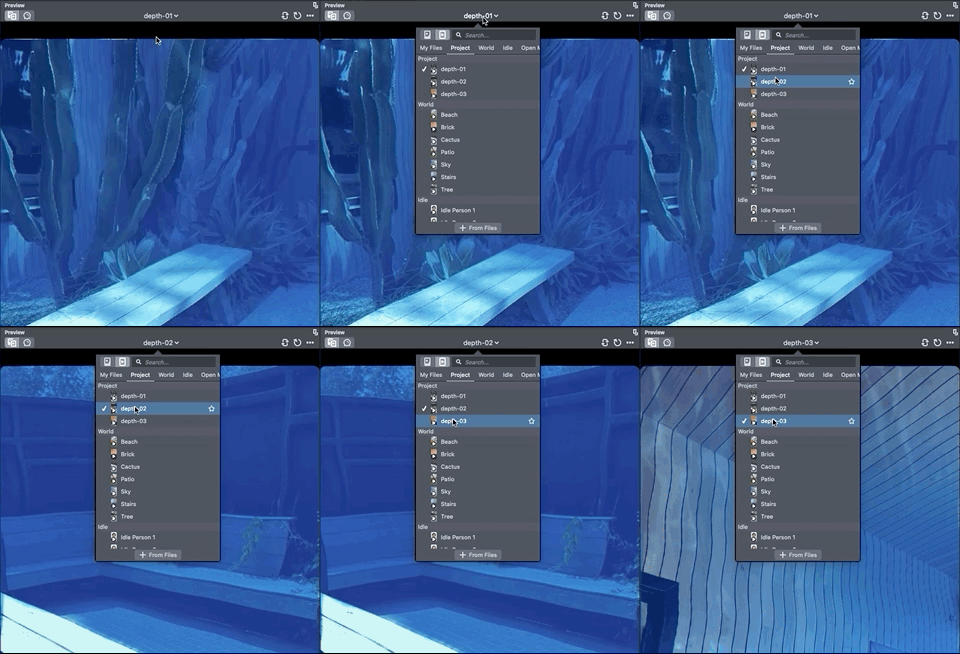
Each template comes with several preview videos to test out how your Lens will look. In the Preview panel, make sure to use the video preview option, and try your Lens on several videos provided in the project.
Guide
The template comes with 4 different example objects which will interact with what the camera sees. Each of these objects utilizes the StickToSurfaces and OcclusionControl script.
Stick to Surfaces
The StickToSurfaces script uses the depth data to estimate where a surface might be facing. It then orients the object based on that information. For example, when you drag an object to a wall, it will reorient the object so that the bottom of the object touches the wall. It also provides an additional option to Make Copies of the object as it is dragged, as well as for it to Look Towards where the user is dragging the object.
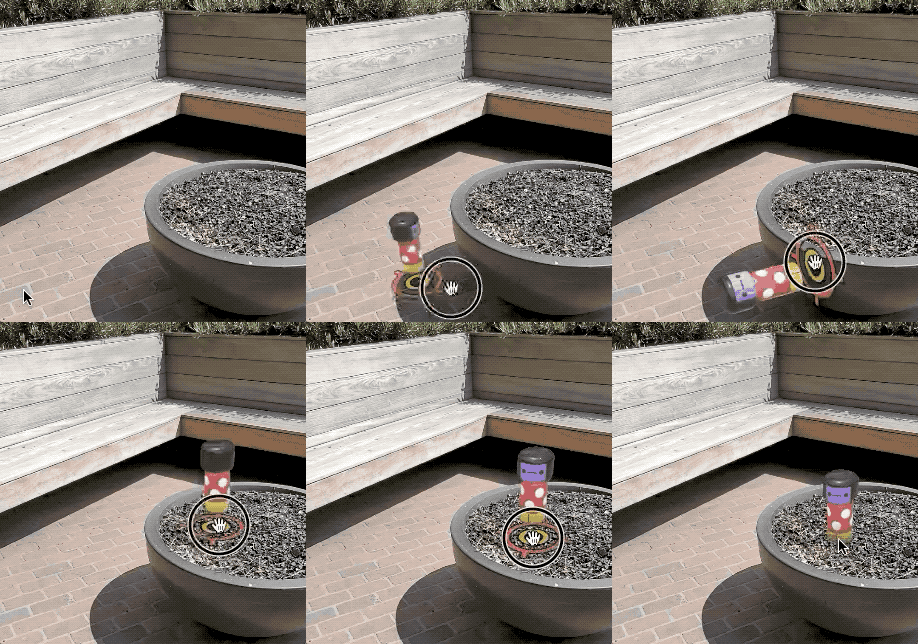
This script also provides the ability for you to define another script to use as Effect Controllers. Each Effect Controller can provide additional effects based on the user interaction.
For each Placeable Object in the examples, you can find an Effects Control child object. Take a look at the scripts found in these objects for examples of how you can add additional effects.
Occlusion Control
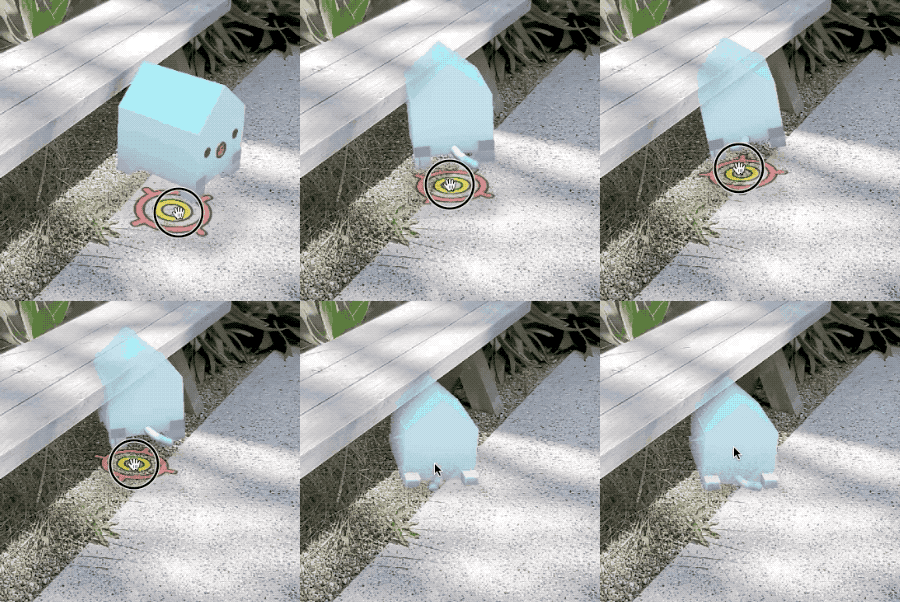
The OcclusionControl script allows you to add references to meshes that you want to occlude based on the depth data. For a mesh to be occluded, it must be using a material that supports occlusion. You can find a material in the Materials folder named Occluded PBR [DUPLICATE_ME], which is a standard PBR shader with added occlusion effects.
User Interface
When using the Lens, users can choose between each Placeable Object based on the buttons on the screen.
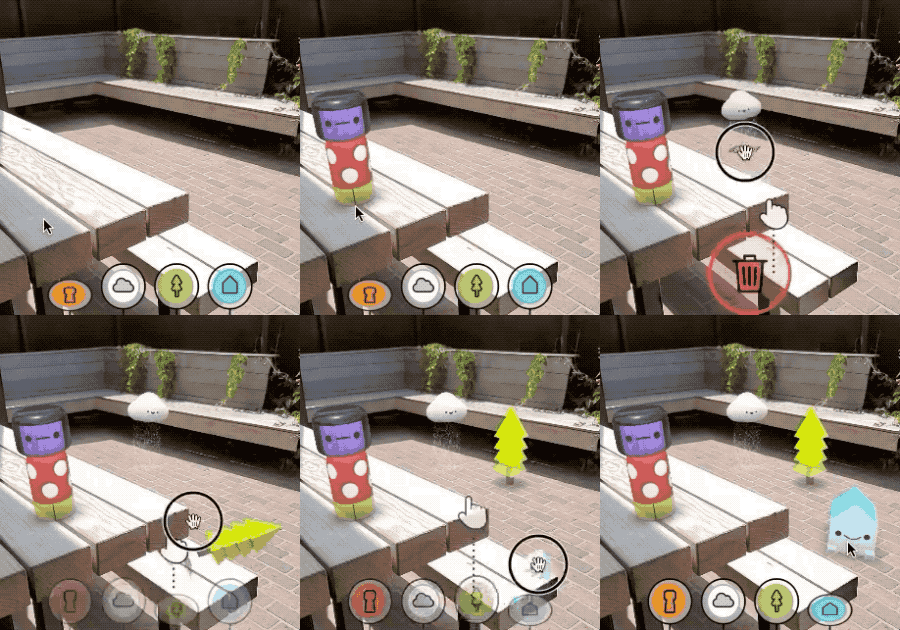
The images used for the buttons can be set up in the PlaysetController object. You can further customize the look and feel of the buttons by modifying the Button Layout object, as well as its children objects under the UI object in the Orthographic Camera object.
Previewing Your Lens
You’re now ready to preview your Lens! To preview your Lens in Snapchat, follow the Pairing to Snapchat guide.