Meme Sticker
You can find this sample project on Lens Studio Home Page.
Enabling people to express themselves is a key use case for Lenses. Adding visuals to a photo or video is a quick way to add expressiveness to an image or video. You can make it easy for others to express themselves with your own artistic flair with the Meme Sticker sample project.
The Meme Sticker sample project allows you to turn any image, gif, or video into a sticker Lens that allows Snapchatters to add, position, scale 2D textures around the screen.
Adding Your Stickers to the Project
You can drag your images, such as gif, png, jpeg, or videos in the form of mp4s from your computer to the Asset Browser panel to bring it into Lens Studio.
You can learn more about how to import images in the Image guide.
Configuring Your Stickers
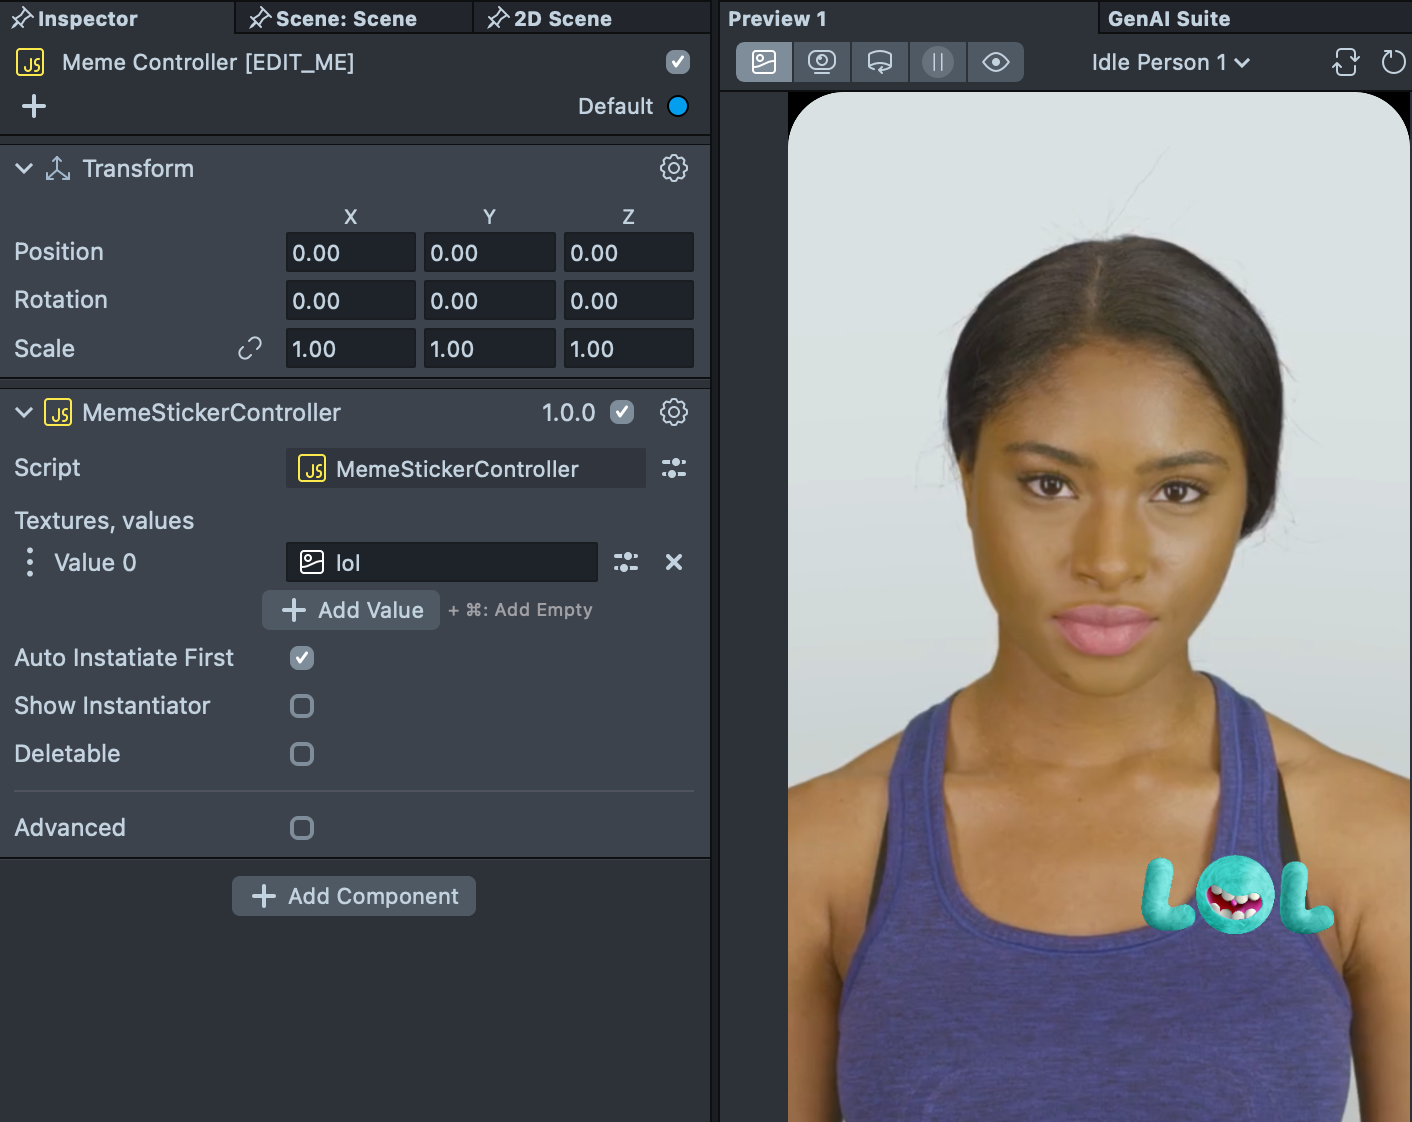
With the Meme Controller object selected in the Scene Hierarchy panel, in the Inspector Panel, you will see a list of textures. Press the Add Value button to add a sticker into the list of stickers Snapchatters can use.
You can also change how you want the stickers to function. For example, rather than allowing users to add multiple stickers, you may only want to provide one sticker and automatically add it to the Lens.
You can toggle these options to change the Lens’ behavior:
- Auto Instantiate First: Whether the first sticker should be added to the screen by default.
- Show Instantiator: Whether users should get buttons to add stickers.
- Deletable: Whether users can drag the sticker to a trashcan to delete it.
Further Customization
The Meme Sticker sample project works by instantiating Prefabs: whether it be the prefab to create the instantiator buttons, or the sticker itself. You can modify the prefabs to additionally change how your Lens looks.
Changing Size of Stickers
In the Asset Browser panel, you can drag the Sticker prefab under Visuals > Prefabs into the Scene Hierarchy panel to instantiate the prefab. Let's put it under the Parent of Content object since that’s where the stickers will be created.
Once you’ve made your changes, as with other prefabs, don’t forget to press Apply to save it.
Finally, you can delete the prefab from your Scene Hierarchy panel since it will be instantiated by the Meme Controller.
Changing the Instantiator
You can do the same with the Instantiator prefab to change the look and feel of the Instantiator Buttons. This time, drag the prefab under the Parent of Instantiators scene object since that’s where the Instantiator will be shown.
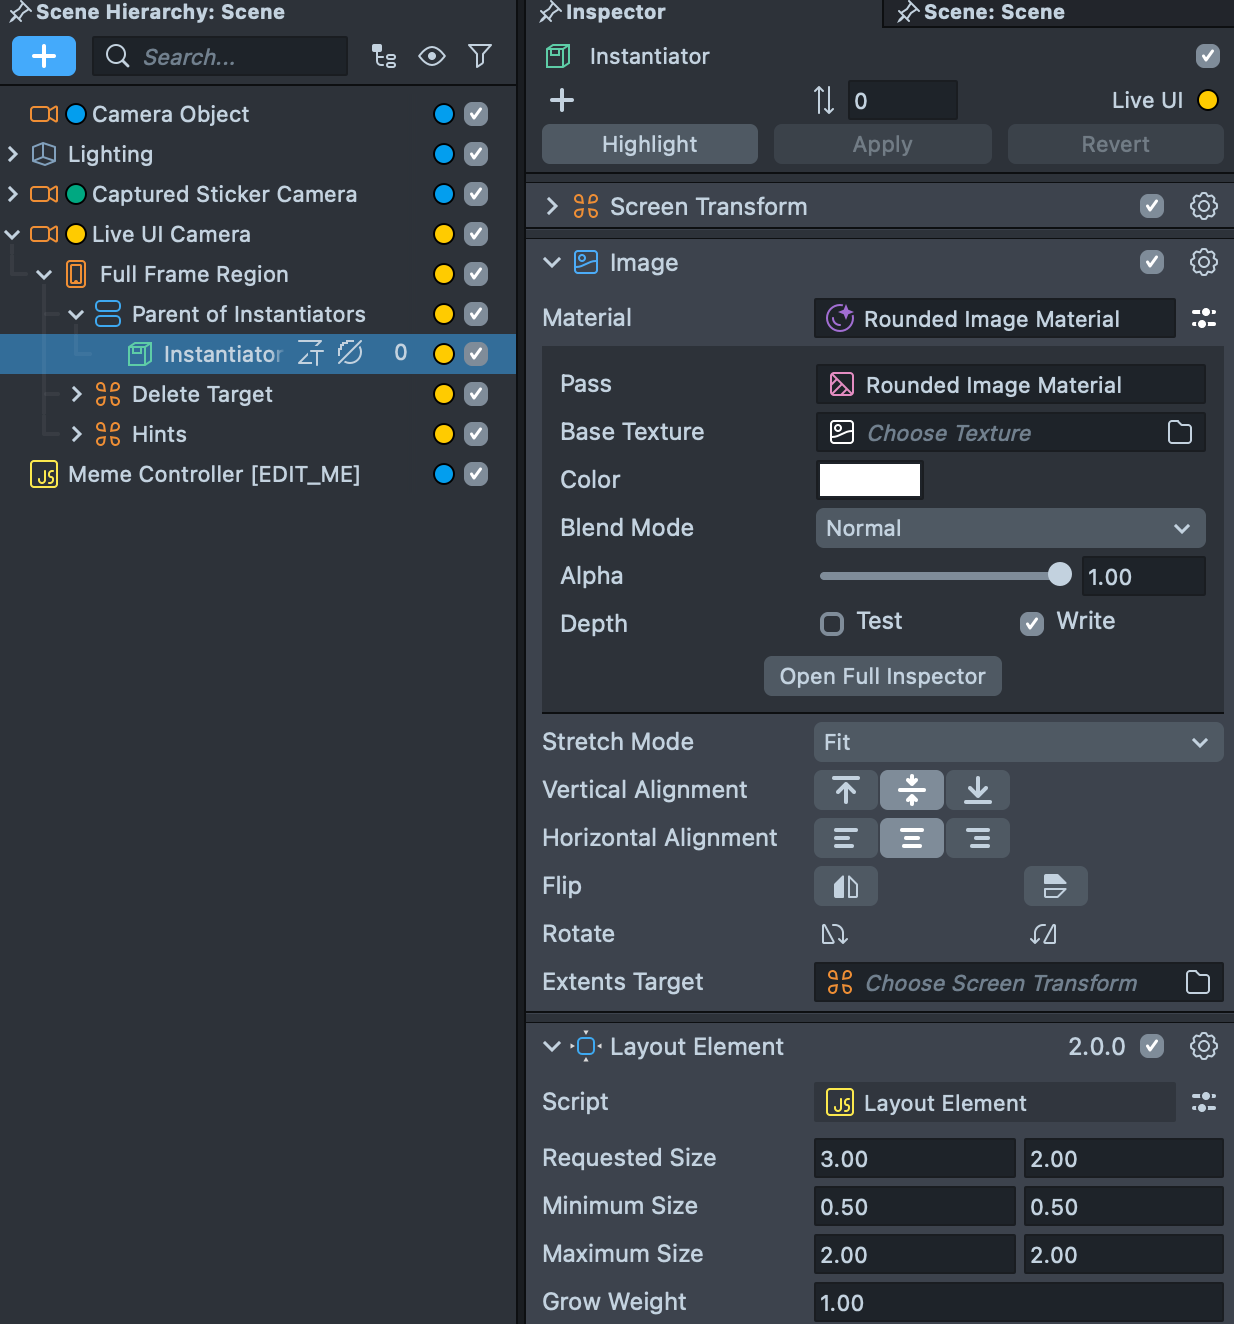
Notice that the sample project is using the Layout Element Custom Component which manages elements under the Vertical Layout component found in the Instantiators object. Modify any of these to change how the instantiators look.
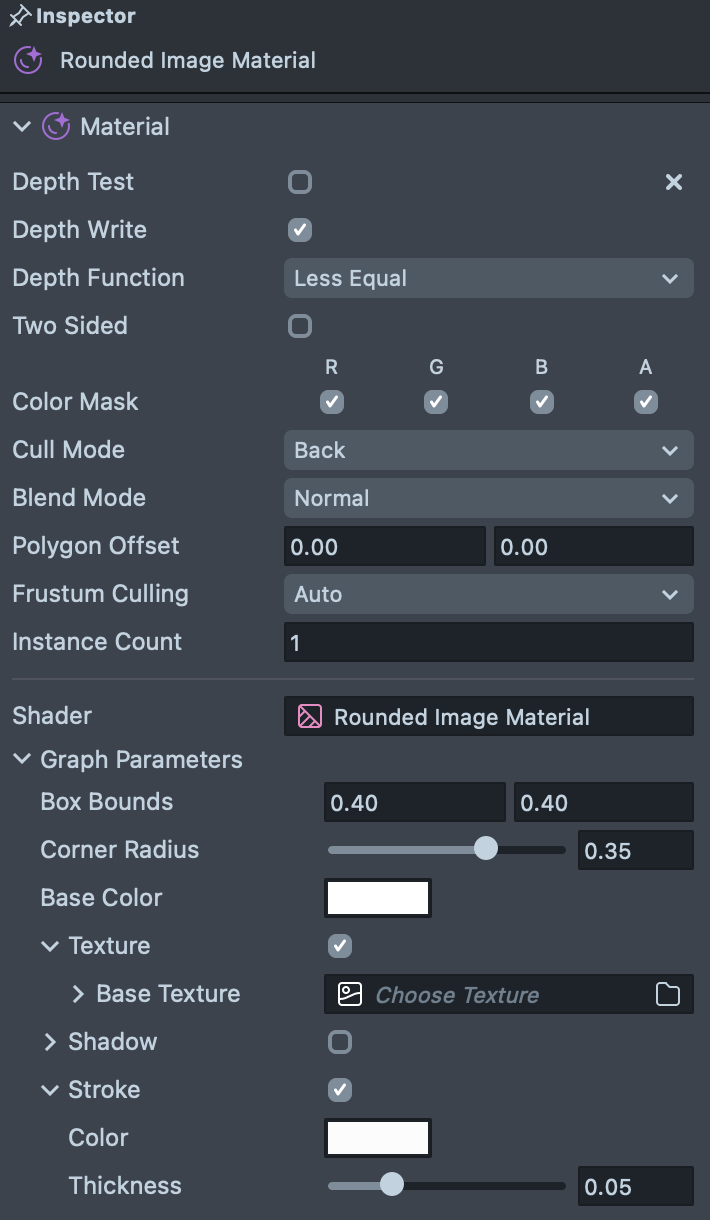
In addition, you can modify the Rounded Image Material that the buttons use to change the appearance of each button.
If you change the way the Instantiator looks, you might want to change the instantiation area so it doesn’t overlap. Take a look at the Instantiation Area option in the Instantiator prefab. It is also exposed in the Advanced section of Meme Controller.
Previewing Your Lens
You're now ready to preview your lens. To preview your Lens on Snapchat, follow the Pairing to Snapchat guide.