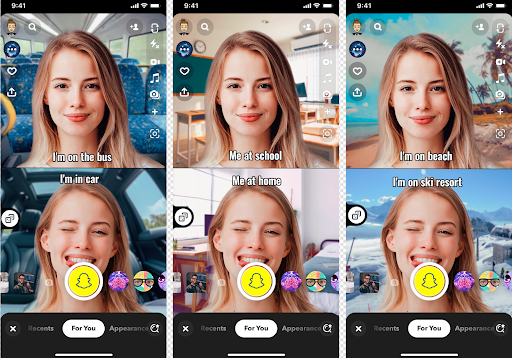
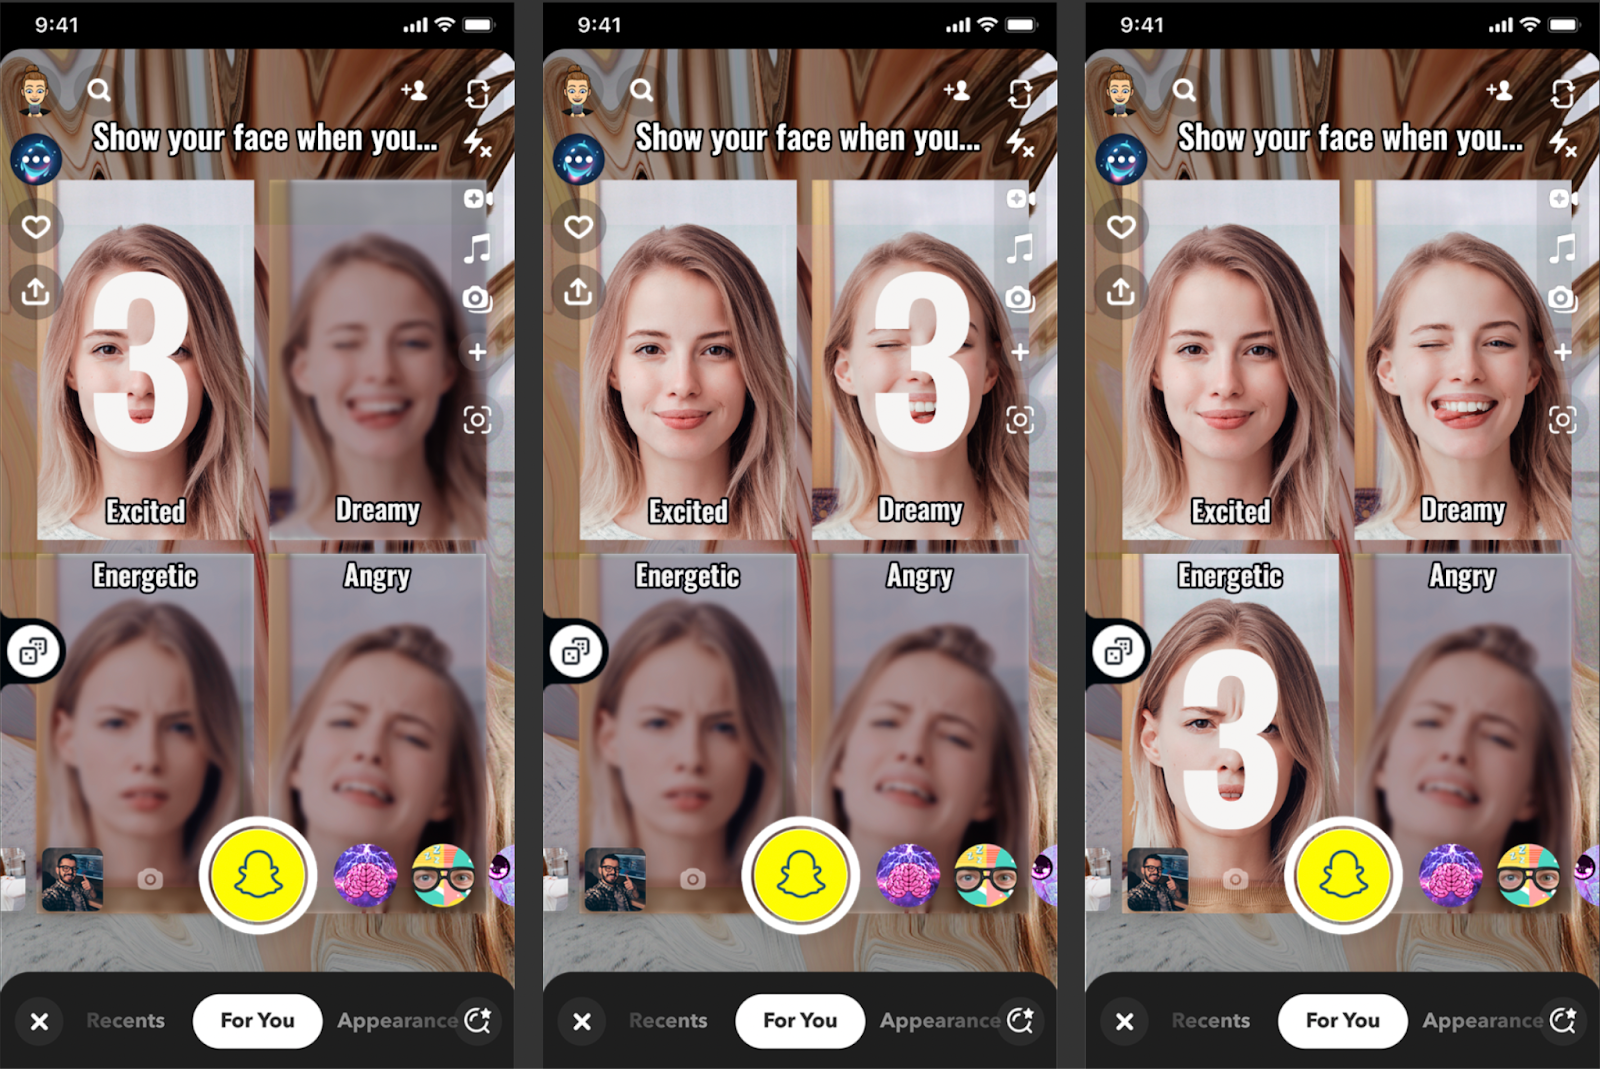
Freeze Frame
This template project includes 3 configurations that you can choose as a base for your lens.
Each variant allows users to showcase their reactions to different scenarios. Scenarios are selected through randomization, and you can create more scenarios yourself!
Customizing the Sample Project
Since the project contains 3 variants, toggling between them will occur by enabling/disabling the corresponding objects.
Two frames
The first variant included in the project is a two-frame randomizer, where you can add your own labels and backgrounds.
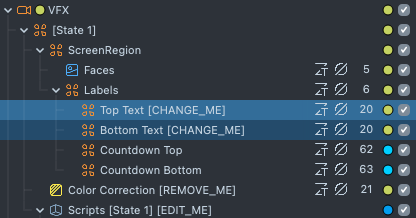
This template is active by default, to disable it -- disable all scene-objects that contain State 1 in their name.
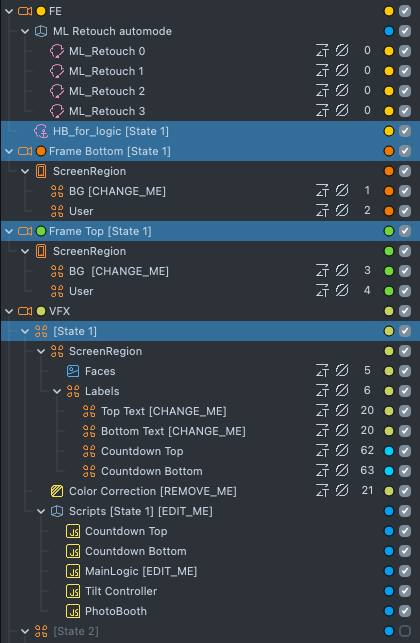
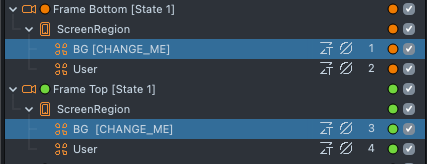
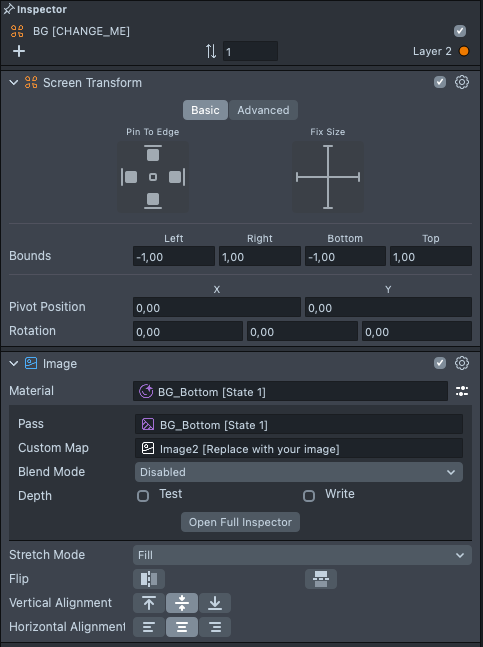
To set initial images for the backgrounds of the top and bottom frames, you need to add your own textures to the BG [CHANGE_ME] object
in the Frame Bottom [State 1] and Frame Top [State 1] cameras.
To set initial labels for the top and bottom frames, you need to change the text in the Top Text [CHANGE_ME] and Bottom Text [CHANGE_ME] objects
in the VFX->[State 1]->Labels parent, which is also used in the Tilt Controller script to rotate ScreenTransform in response to the user
tilting their head.
To add labels and backgrounds that will be randomized, you need to specify them in the input data of the VFX->[State 1]->Scripts [State 1] [EDIT_ME]->MainLogic [EDIT_ME] script, duration and randomization speed can be changed there as well in the Roll Duration and Roll Count parameters.
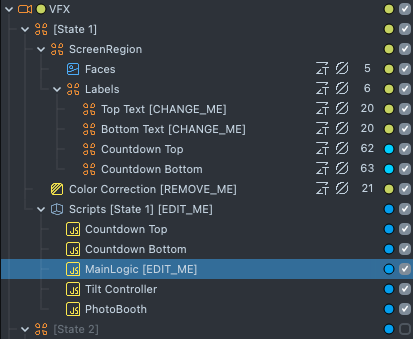
Enter your labels in the Top Text and Bottom Text fields, and add textures for background randomization in the Top BG and Bottom BG fields.
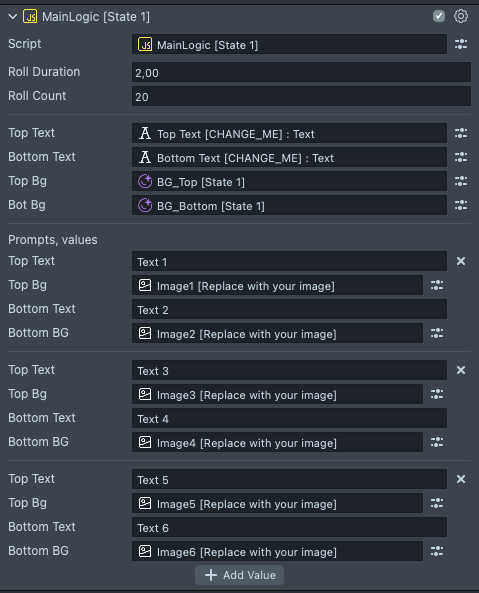
Use the Add values button to add more values for randomization.
Four frames with independent prompts
The second variant is a four-frame randomizer where you can add unique labels to each frame as well as a main caption.
To make this template active, you need to enable all objects containing State 2 in their name (don't forget to disable objects related to
previously selected state as well).
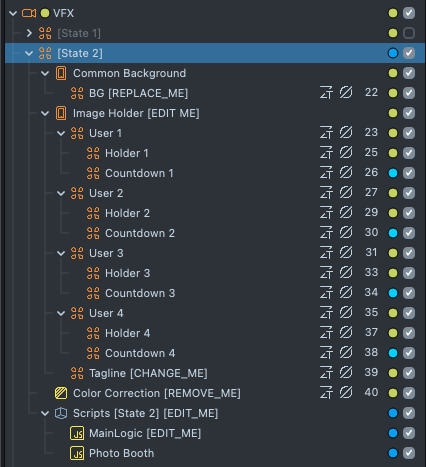
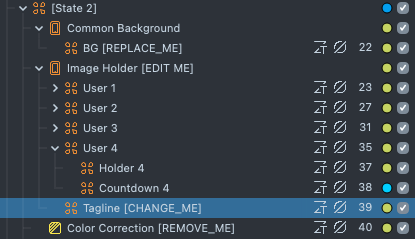
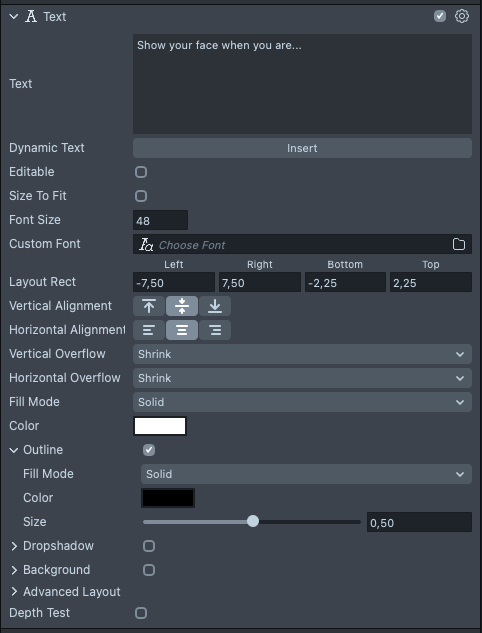
To change the main caption, modify the text in the VFX->[State 2]->Image Holder [EDIT ME]->Tagline [CHANGE_ME] object.
To add labels that will be randomized, you need to specify them in the input data of the VFX->[State 2]->Scripts [State 2] [EDIT_ME] ->MainLogic [EDIT_ME] script.
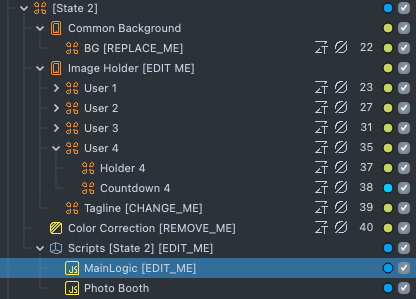
Edit the fields of the Prompts array to add your labels that will be randomized.

To change the overall background, modify the Image component of the VFX->[State 2]->Common Background->BG [REPLACE_ME]object.

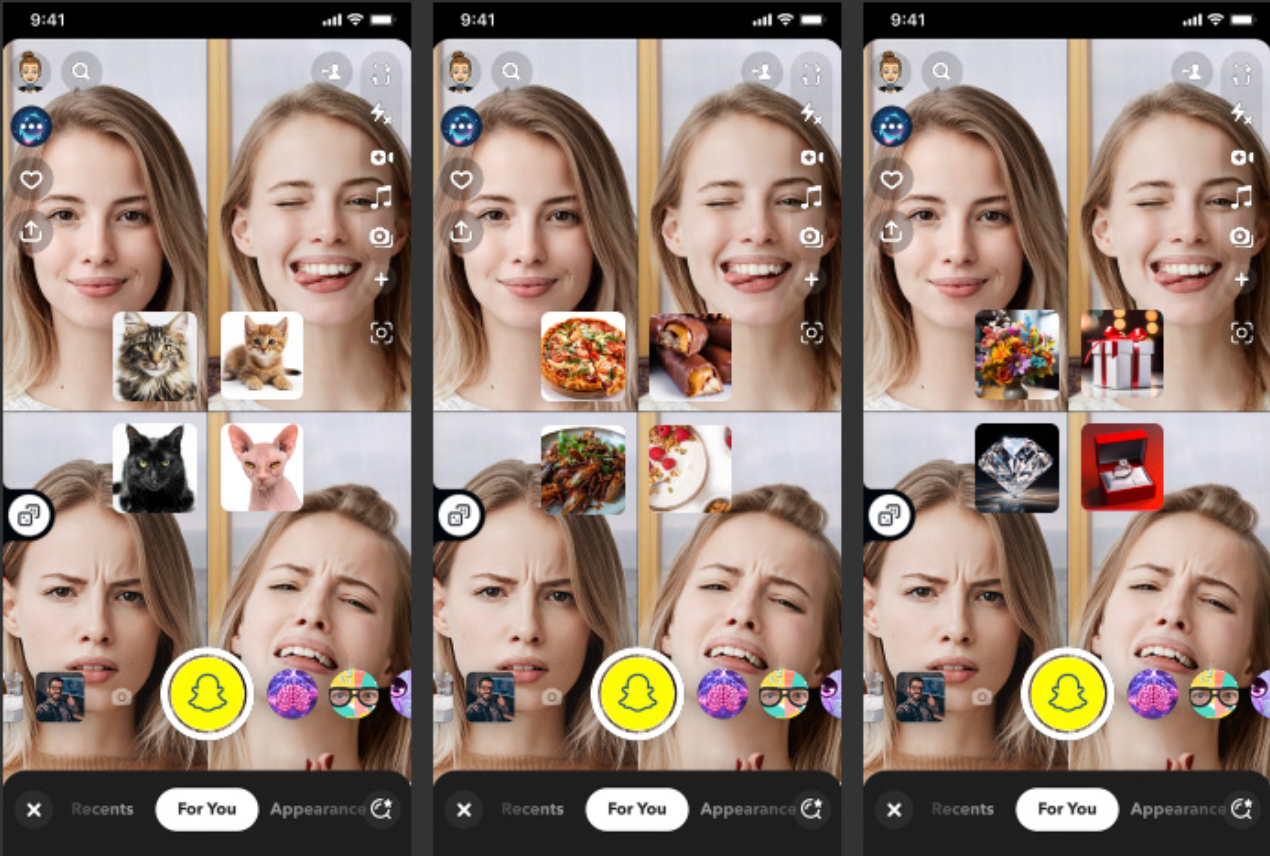
Four frames with prompt groups
The third variant contains a four-frame randomizer where randomization occurs between groups of objects.
To make this template active, you need to enable all objects containing State 3 in their name (don't forget to disable objects related to
previously selected state as well).
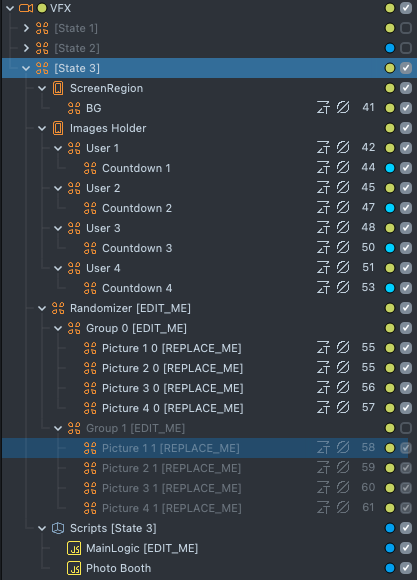
Randomized groups are defined in VFX->[State 3]->Randomizer [EDIT_ME]->Group N [EDIT_ME] scene-objects.

Add more groups by cloning any of the groups, and changing textures in material instances in each of the Picture .. [REPLACE_ME] child images.
Note, that you might need to clone their materials as well, in case you don't want images to repeat.
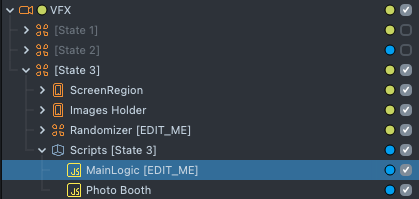
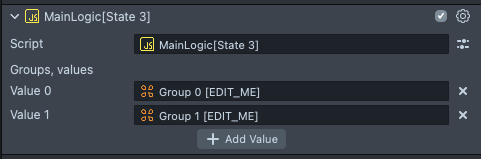
New groups also must be added to VFX->[State 3]->Scripts [State 3]->MainLogic [EDIT_ME] so it would be aware to include them into
randomization process.
Previewing Your Lens
When you have made your customizations, and want to check it on a variant on the device, or simply want to try the predefined variant, follow the Pairing to Snapchat guide.