Picture Frame
The Picture Frame automatically adds a 3D frame around your 2D image. Import your own custom 2D image and link it to the Picture Frame. The asset then procedurally builds a 3D picture frame around your content.
Guide
Find the Picture Frame asset in the Asset Library and import it into your project. Click here to learn more about how to use assets from the Asset Library.
Once you import the asset from Asset Library, you can find the package in the Asset Browser.
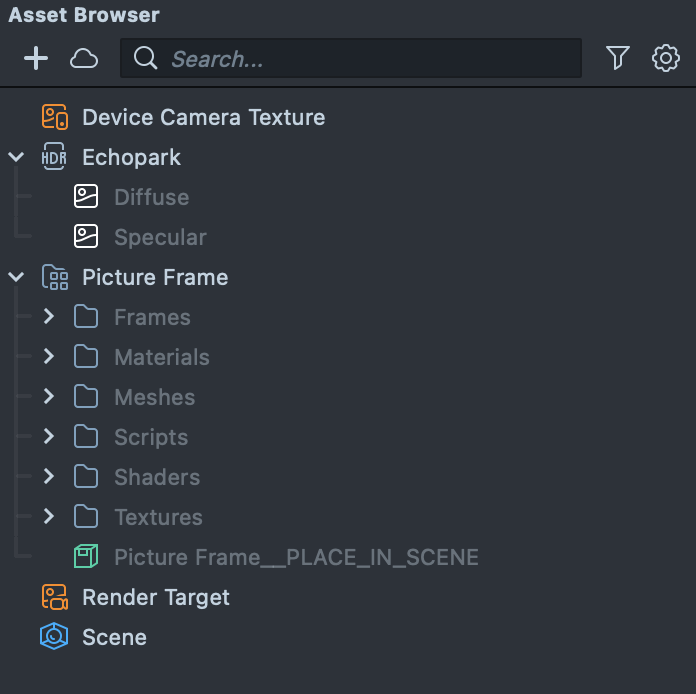
Follow the instructions and drag the prefab Picture Frame into Scene Hierarchy to create a new Scene Object.
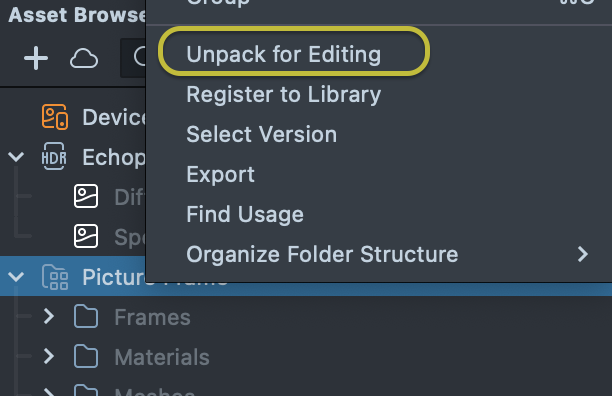
You can right-click and select Unpack for Editing from the drop-down menu to unpack all assets stored in the bundle. Click here to learn more about Asset Packages. Once you unpack the package, you can then edit its content.
Adding Device Tracking
This asset requires a device tracking component. First, select the main Camera Object and add a Device Tracking component.
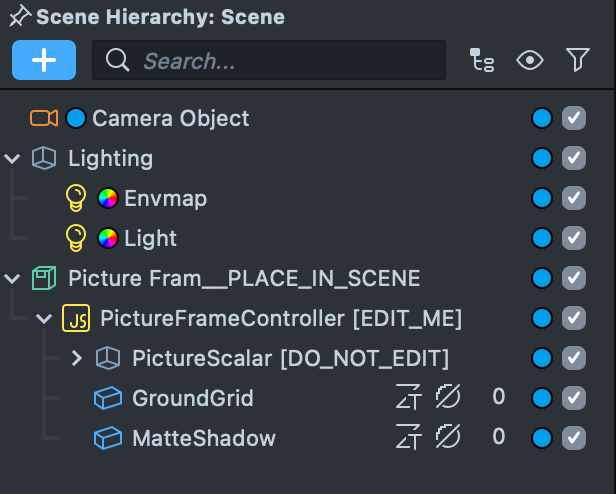
Next, ensure you assign the Device Tracking to the Device Tracking field in the WorldObjectController on the PictureFrameController [EDIT_ME] scene object, and the Camera to the Camera field in the Interaction component on the same scene object.
Adding the 2D Image
The Picture Frame asset assumes that you have a 2D image which you'll be importing into Lens Studio. It's important to use optimized images for Lens size and performance reasons. Follow below to create optimized texture resources:
- Images should never be greater than 2048 x 2048 pixels.
- Non-transparent images should be saved using JPEG. Transparent images should be saved using PNG.
- If the image allows, try compressing to reduce the Lens size.
Drag and drop your 2D image into the Asset Browser panel. Then click on PictureFrameController in the Scene Hierarchy panel. In the Inspector panel, click on the Picture setting and select your imported image. Now, go to the Preview panel to see your auto generated 3D picture frame.
Adding Shadow
For realism, we can have the frame cast a shadow on the environment. To add a shadow, check the Shadows checkbox in the Directional Light in your project. For the best results, adjust the directional light's rotation to point in the direction where you want the shadows to be cast.
For more information about light and shadows in Lens Studio, visit the Light and Shadow guide.
Customize
The PictureFrameController allows you to customize both the picture and frame itself. To customize, select the PictureFrameController in the Scene Hierarchy panel. Then in the Inspector panel under the Script component you will see the list of customization options.
Customize the Picture
The following customization options allow you to configure the picture itself, its size, positioning and shadow.
Picture- This should be replaced by your imported texturePicture Scale- The scale of the picture and picture framePicture Ground Offset- How far off the picture frame is from the groundShadow Density- The intensity of the shadow from 0.0 to 1.0
Customize the Frame
The following customization options allow you to configure the frame's style, color and size.
Frame Color- The color of the frameFrame Style- The style of the frame (3 Styles to choose from)Material- The material of the frame (Glossy or Matte)Frame Scale- The thickness of the frame
Script Interface
WorldObjectController.js
-
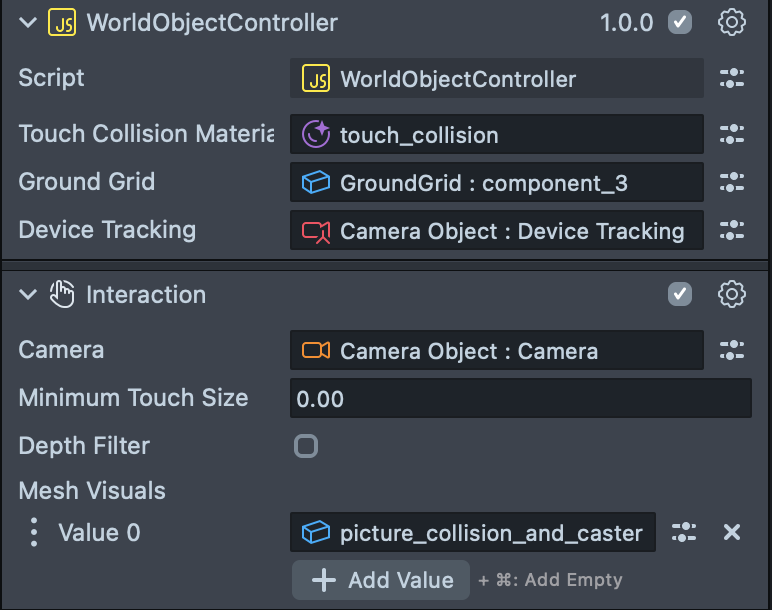
Touch Collision Material (Asset.Material)- The material used by the touch collision mesh. In Lens Studio's scene panel, the mesh is visualized with a semi transparent material. When running in Lens, this material is made invisible -
Ground Grid (SceneObject)- A reference to the ground grid object
PictureFrameController.js
Picture (Asset.Texture)- The texture that the frame will automatically be built around. This should be replaced by your imported texturePicture Scale (float)- The scale of the picture and picture frame. The larger the scale, the bigger the picture in the scenePicture Ground Offset (float)- How far off the picture frame is from the groundFrame Color (vec4)- The color of the frame selected via a color pickerFrame Style (Dropdown)- The style of the frame selected via a dropdownMaterial (Dropdown)- The material of the frame selected via a dropdown. This allows you to select between a Glossy and Matte materialFrame Scale (float)- The scale of the frame itself. This allows you to create a thin or thick surrounding frameShadow Density (float)- The intensity of the shadow from 0.0 to 1.0. The closer to 1.0, the darker the shadow
Previewing Your Lens
You're now ready to preview your world Lens experience. To preview your Lens in Snapchat, follow the Pairing to Snapchat guide.