Getting Started with Snap Cloud
This guide will show you how to set up any Lens to access a Snap Cloud backend. We'll run through configuring a project and authenticating users. After progressing through this guide, learn how to configure and access a simple database through the Databases guide.
For full reference documentation refer to the Snap Cloud documentation site.
Alpha
Snap Cloud powered by Supabase is currently in alpha. Apply for the alpha program to access Snap Cloud for your Spectacles projects.
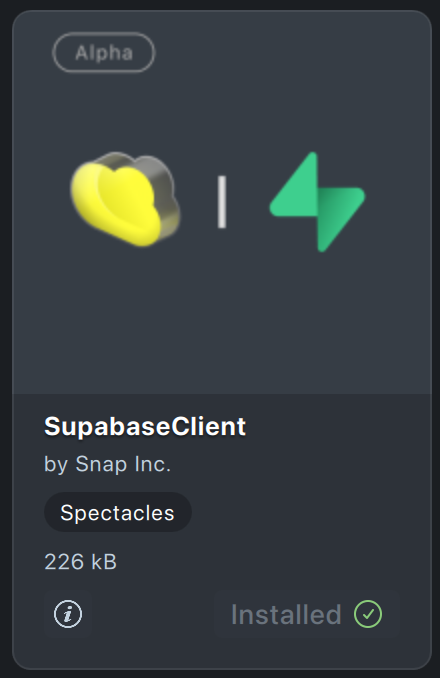
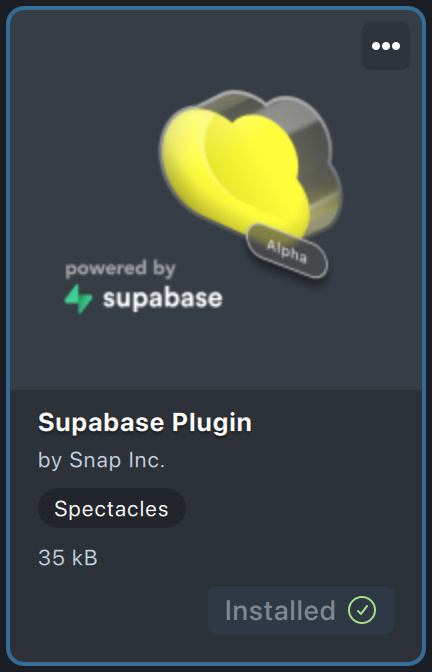
Install the Supabase Asset and Supabase Plugin
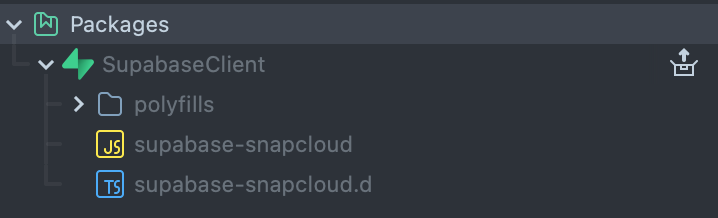
Go to the Asset Library to install both the SupabaseClient and the Supabase Plugin. The SupabaseClient provides the supabase-js client library, configured for Lens Studio. This is the library used to make calls to your Supabase backends. The Supabase Plugin provides a convenient interface to manage your projects.
Open the Supabase Plugin under the Window menu item. The plugin lists all your projects and provide options to create new projects, open the Supabase dashboard, and more.
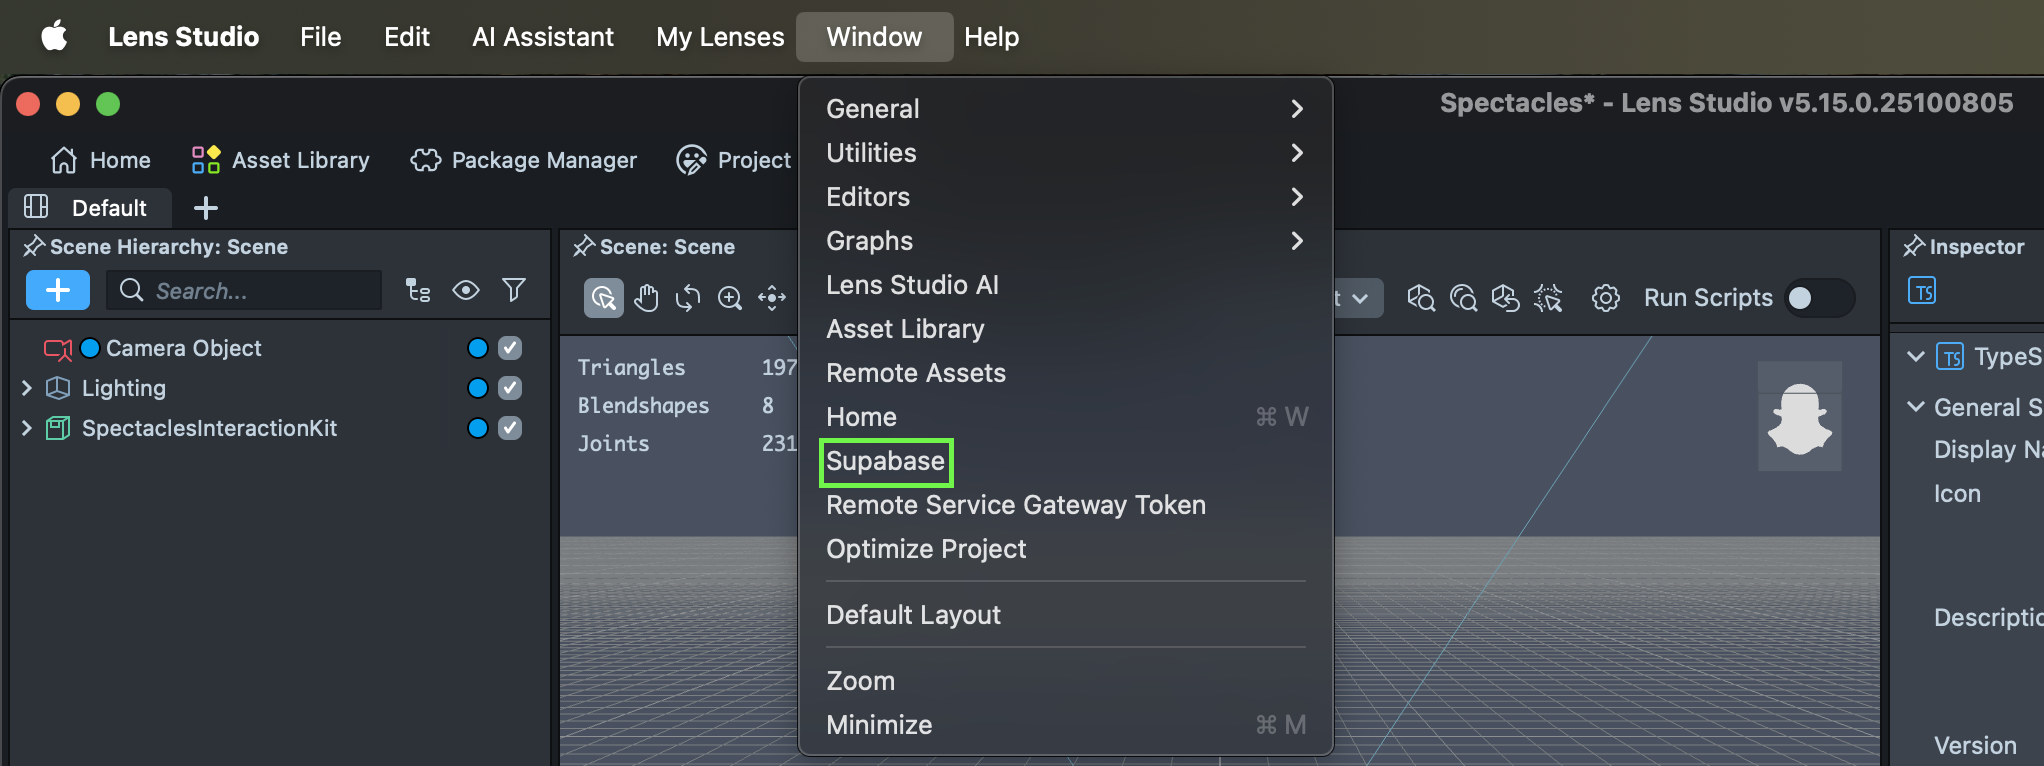
When you first open the Supabase Plugin you will need to Login if you have not done so already.
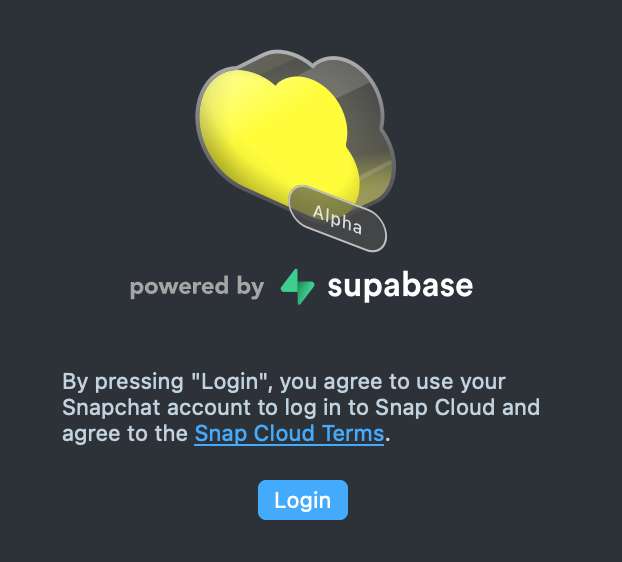
Make sure your account has finished email verification before this step.
Create a New Project
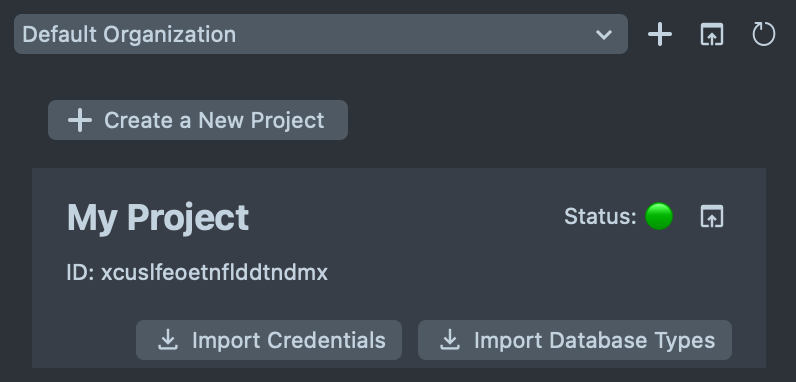
If you have no organizations (e.g. first time running Supabase) and no projects, a default organization will be created for you. If you have more than one organization, you will see each in the drop-down combo box.
You can click the Create a New Project button to start a new project. Input a project name and database password.
It may take a minute for the newly created project to be initialized.
Start developing your Lens
Connect your Lens to Supabase
Add the SupabaseClient asset (which you installed earlier from the Asset Library) into your Lens project.
Now we'll create a simple script that will authenticate the user of your Lens with Supabase. To use the Supabase client library:
- Import the library:
import { createClient, SupabaseClient } from 'SupabaseClient.lspkg/supabase-snapcloud'. - Create a Supabase Project asset by clicking the
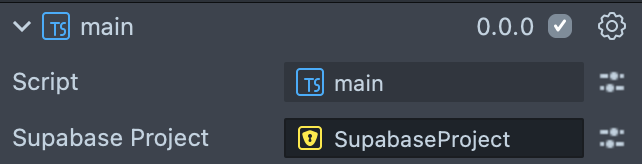
Import Credentialsbutton (in the Supabase Plugin) under project you'd like to use. - Add the Supabase Project to your script. Create an input
@input supabaseProject: SupabaseProject, then drag the Supabase Project asset you just created into the script's input field.
- Finally, in your script invoke
createClient(this.supabaseProject.url, this.supabaseProject.publicToken)to create the client-side interface that you'll use to invoke all Supabase commands.
Once you've created the client, you can login your user by calling this.client.auth.signInWithIdToken({});
The following script shows this in full:
- TypeScript
- JavaScript
import {
  createClient,
  SupabaseClient,
} from 'SupabaseClient.lspkg/supabase-snapcloud';

@component
export class MyComponent extends BaseScriptComponent {
  @input
  supabaseProject: SupabaseProject;

  private client: SupabaseClient;
  private uid;

  onAwake() {
    this.createEvent('OnStartEvent').bind(() => {
      this.onStart();
    });
  }

  onStart() {
    this.initSupabase();
  }

  async initSupabase() {
    print('Initializing Supabase client...');
    print('Project URL: ' + this.supabaseProject.url);

    const options = {
      realtime: {
        // Temporary fix due to a known alpha limitation, set the heartbeatIntervalMs to 2500
        heartbeatIntervalMs: 2500,
      },
    };

    this.client = createClient(
      this.supabaseProject.url,
      this.supabaseProject.publicToken,
      options
    );

    if (this.client) {
      print('Supabase client created successfully');
      await this.signInUser();
    } else {
      print('Failed to create Supabase client');
    }
  }

  async signInUser() {
    print('Attempting to sign in...');

    const { data, error } = await this.client.auth.signInWithIdToken({
      provider: 'snapchat',
      token: '',
    });

    if (error) {
      print('Sign in FAILED: ' + JSON.stringify(error));
      return;
    }

    if (data && data.user) {
      const { user, session } = data;
      this.uid = JSON.stringify(user.id).replace(/^"(.*)"$/, '$1');

      print('Sign in SUCCESS!');
      print('User ID: ' + this.uid);
      print('User Email: ' + (user.email || 'N/A'));

      if (session) {
        print('Session Active: YES');
        print(
          'Access Token (first 20 chars): ' +
            session.access_token.substring(0, 20) +
            '...'
        );
        print('Token Type: ' + session.token_type);
        print(
          'Expires At: ' + new Date(session.expires_at * 1000).toISOString()
        );
      } else {
        print('Session: No session data');
      }

      print('Authentication verified and ready!');
    } else {
      print('Sign in completed but no user data returned');
    }
  }

  onDestroy() {
    if (this.client) {
      this.client.removeAllChannels();
    }
  }
}
// Import Supabase client
const createClient =
  require('SupabaseClient.lspkg/supabase-snapcloud').createClient;

//@input Asset.SupabaseProject supabaseProject

/**
 * Getting Started with Supabase in Lens Studio (JavaScript version)
 * This example shows the basic setup needed to connect to Supabase
 */

var GettingStarted = function () {
  this.client = null;
  this.uid = null;

  this.onAwake = function () {
    script.createEvent('OnStartEvent').bind(() => {
      this.onStart();
    });
  };

  this.onStart = function () {
    this.initSupabase();
  };

  this.initSupabase = async function () {
    print('Initializing Supabase client...');
    print('Project URL: ' + script.supabaseProject.url);

    const options = {
      realtime: {
        // Temporary fix due to a known alpha limitation, set the heartbeatIntervalMs to 2500
        heartbeatIntervalMs: 2500,
      },
    };

    this.client = createClient(
      script.supabaseProject.url,
      script.supabaseProject.publicToken,
      options
    );

    if (this.client) {
      print('Supabase client created successfully');
      await this.signInUser();
    } else {
      print('Failed to create Supabase client');
    }
  };

  this.signInUser = async function () {
    print('Attempting to sign in...');

    const { data, error } = await this.client.auth.signInWithIdToken({
      provider: 'snapchat',
      token: '',
    });

    if (error) {
      print('Sign in FAILED: ' + JSON.stringify(error));
      return;
    }

    if (data && data.user) {
      const user = data.user;
      const session = data.session;
      this.uid = JSON.stringify(user.id).replace(/^"(.*)"$/, '$1');

      print('Sign in SUCCESS!');
      print('User ID: ' + this.uid);
      print('User Email: ' + (user.email || 'N/A'));

      if (session) {
        print('Session Active: YES');
        print(
          'Access Token (first 20 chars): ' +
            session.access_token.substring(0, 20) +
            '...'
        );
        print('Token Type: ' + session.token_type);
        print(
          'Expires At: ' + new Date(session.expires_at * 1000).toISOString()
        );
      } else {
        print('Session: No session data');
      }

      print('Authentication verified and ready!');
    } else {
      print('Sign in completed but no user data returned');
    }
  };

  this.onDestroy = function () {
    if (this.client) {
      this.client.removeAllChannels();
    }
  };
};

// Initialize and start the script
var instance = new GettingStarted();
instance.onAwake();
Sample Projects
To help you get started quickly, we've created Snap Cloud Sample Project that demonstrate common integration patterns. You can access these samples by:
- Downloading from the GitHub repository
- Finding them directly in Lens Studio's Home Page
The sample includes complete working examples with step-by-step setup instructions. Once you have a sample project open in Lens Studio, simply import your Supabase project credentials as described above to get started.
From here you can explore how to configure and access your first Database. Or, to see the full documentation for all you can do with Snap Cloud, refer to the Snap Cloud documentation site.