Sunglasses
The Sunglasses template allows users to create customizable sunglasses. The template comes with five different sunglasses types. The template allows you to tune the material, color and lenses of the sunglasses. Additionally, the template supports sunglasses for two faces. This guide covers how to customize the sunglasses and add a custom reflection to the lenses.
If you are interested in adding Sunglasses to your existing project, you can utilize the Sunglasses asset in the Asset Library.
Tutorial
Guide
Customize the Sunglasses
To customize the sunglasses, select the Sunglasses Controller [EDIT_ME] object in the Objects panel and adjust its settings in the Inspector panel.
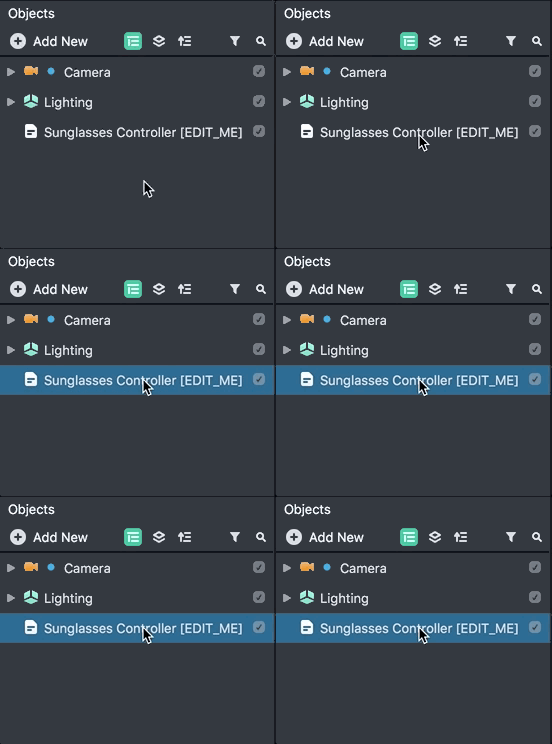
The sections below walk through each customizable setting.
Coloring the Frame
You can edit the frame’s color in the Inspector panel by selecting and editing the Frame Color property.
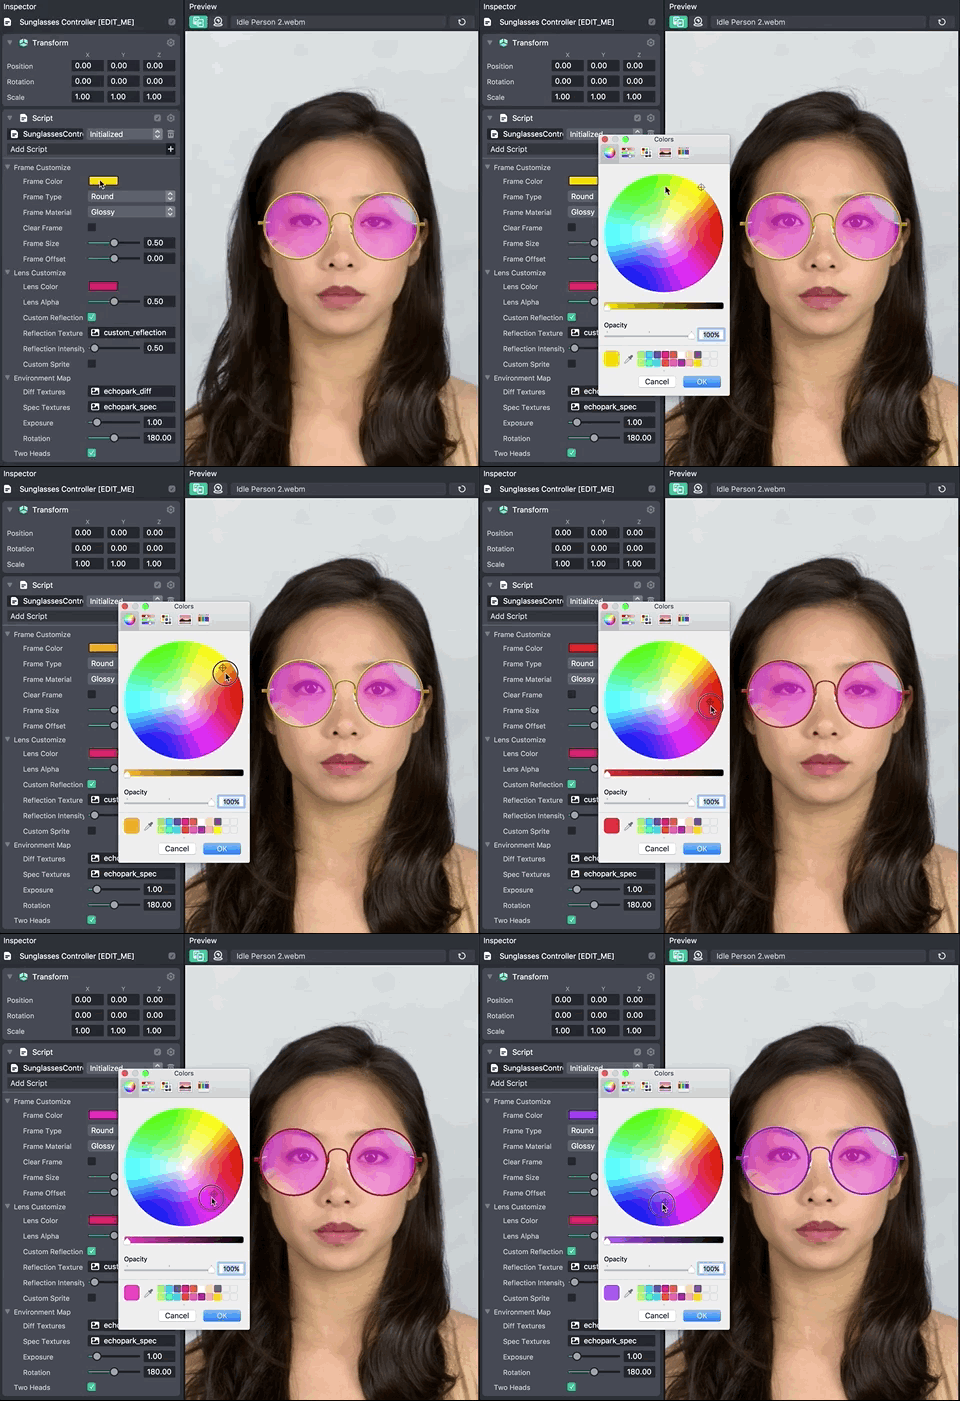
Changing the Frame Type
Choose a frame type by selecting a frame from the Frame Type dropdown menu.
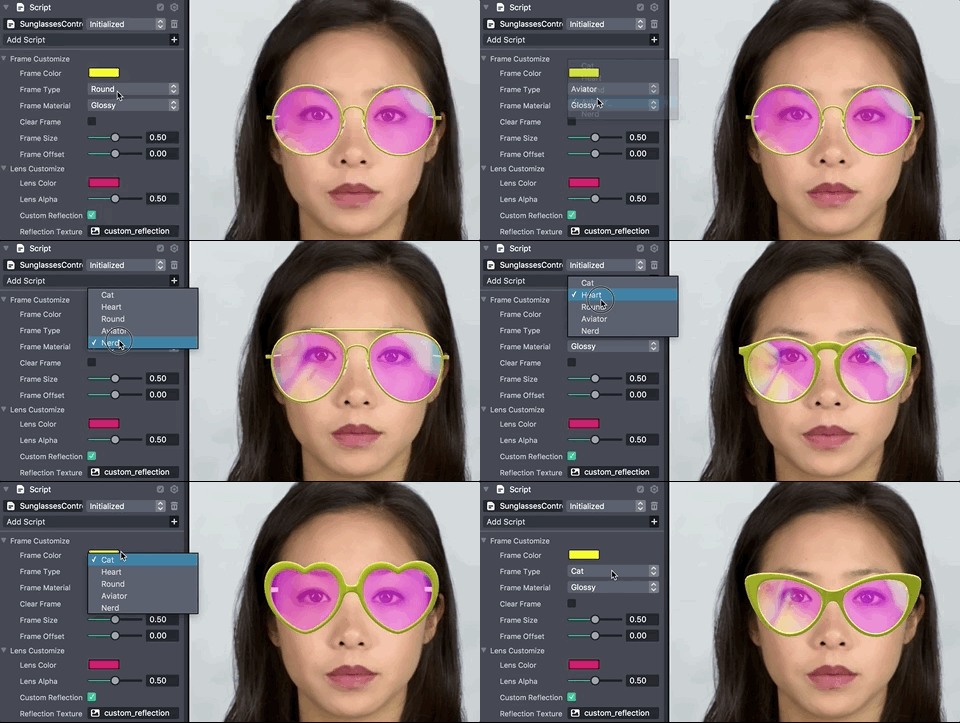
Changing the Frame Material
Change the frame material by selecting a material from the Frame Material dropdown menu. The available frame materials are Matte, Metallic and Glossy.
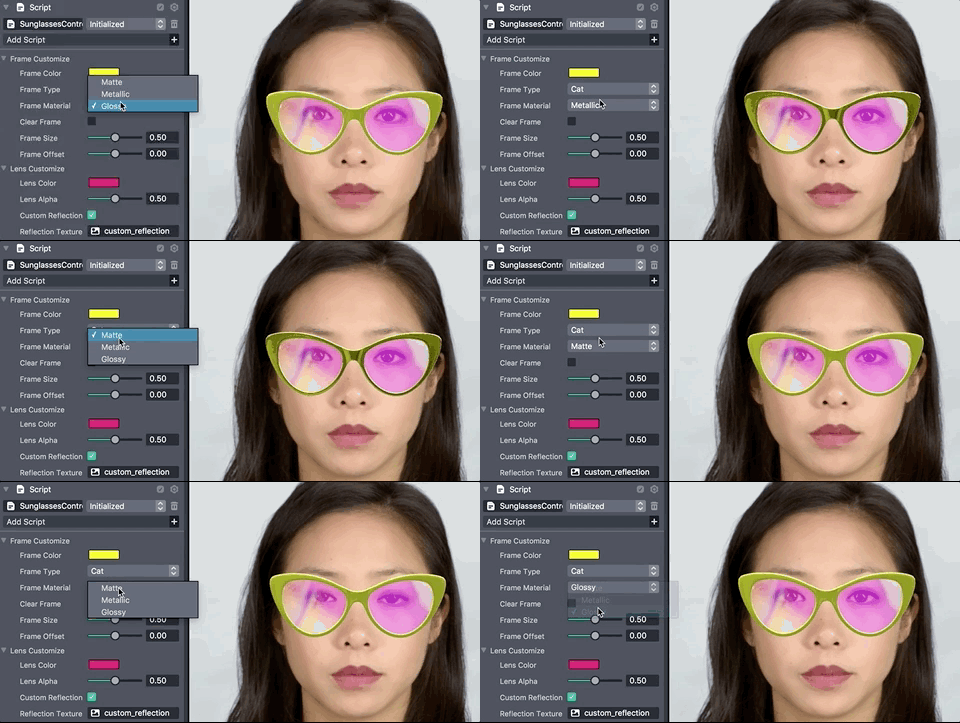
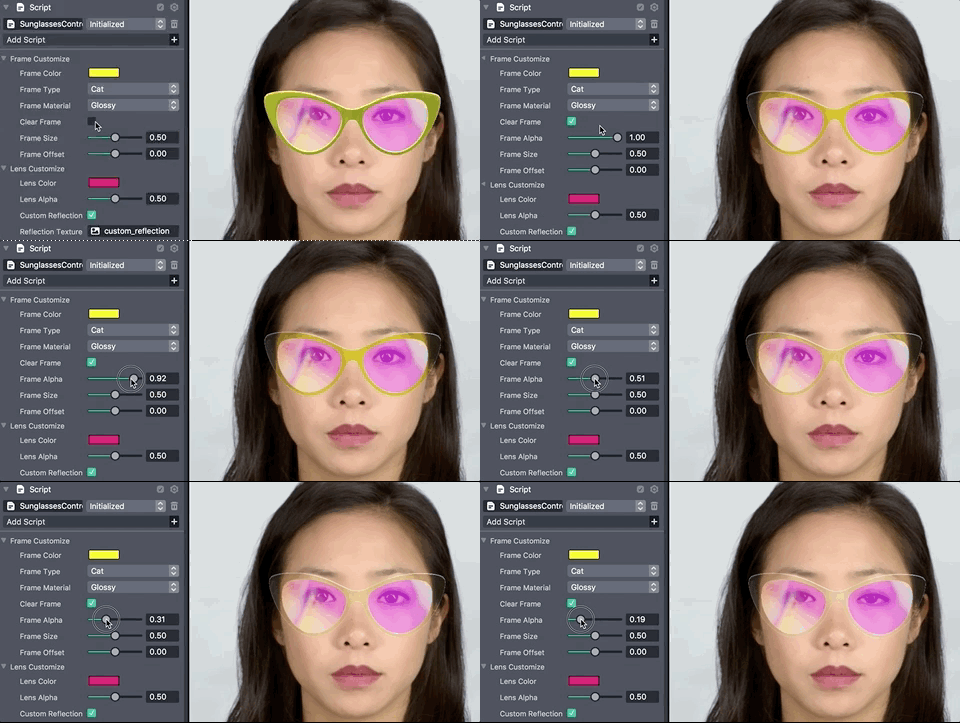
If you wish to have a transparent frame, check the Clear Frame checkbox. When checked, the Frame Alpha slider allows you to adjust the amount of transparency.
Adjust the Frame Size and Position
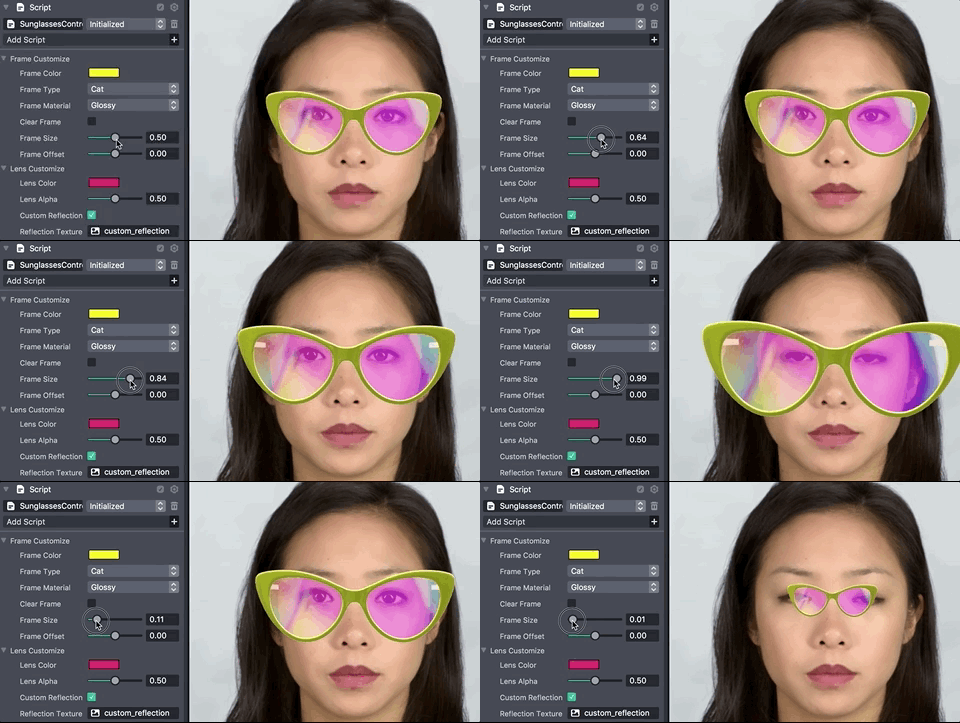
You can adjust the frame size using the Frame Size slider.
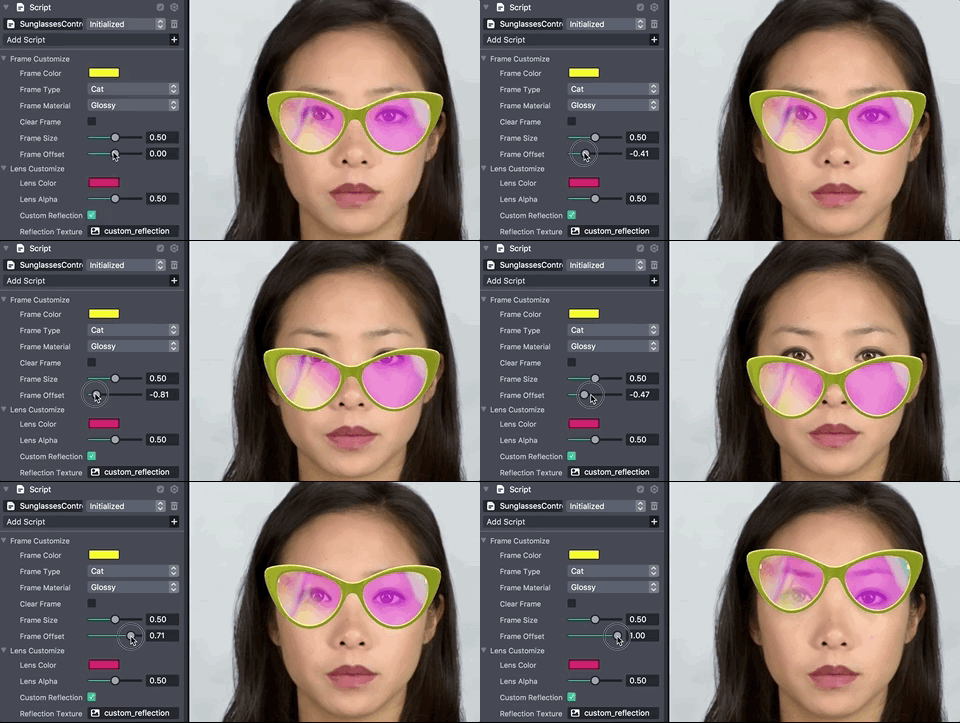
You can also adjust the frame position using the Frame Offset slider.
Coloring the Lenses
You can edit the color of the lenses in the Inspector panel by changing the Lens Color property.
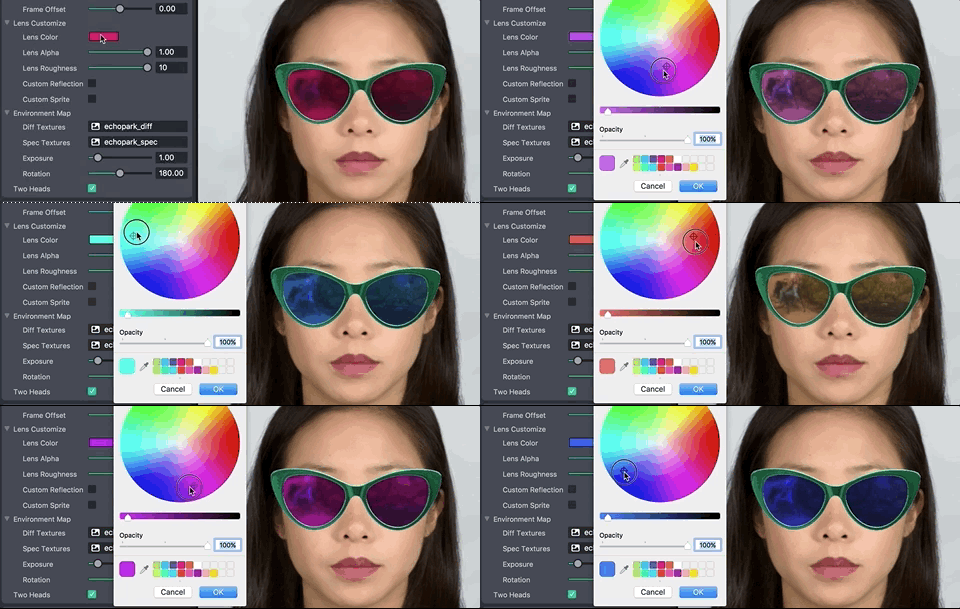
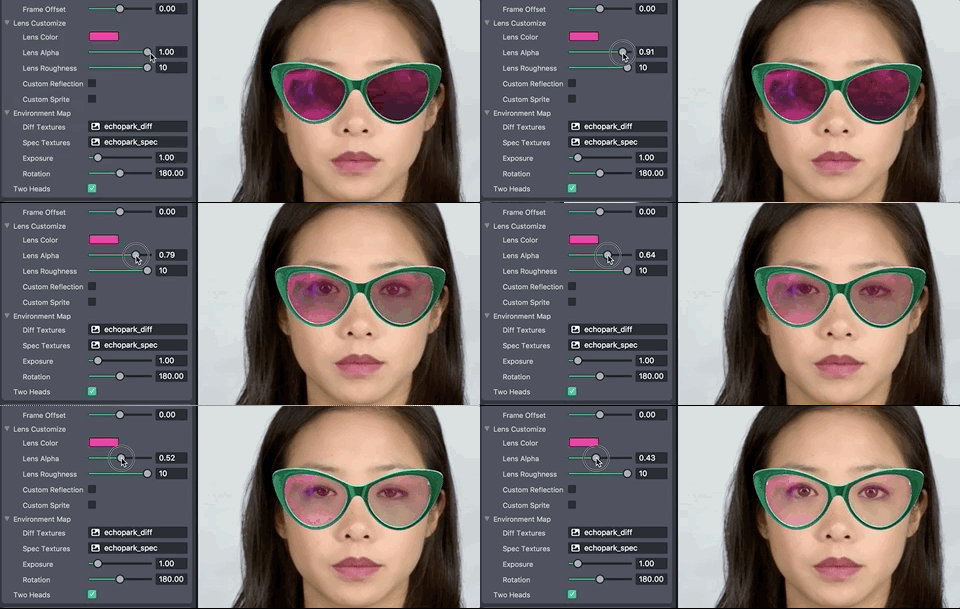
For more transparent Lenses, adjust the Lens Alpha slider.
Adjusting the Lens Roughness
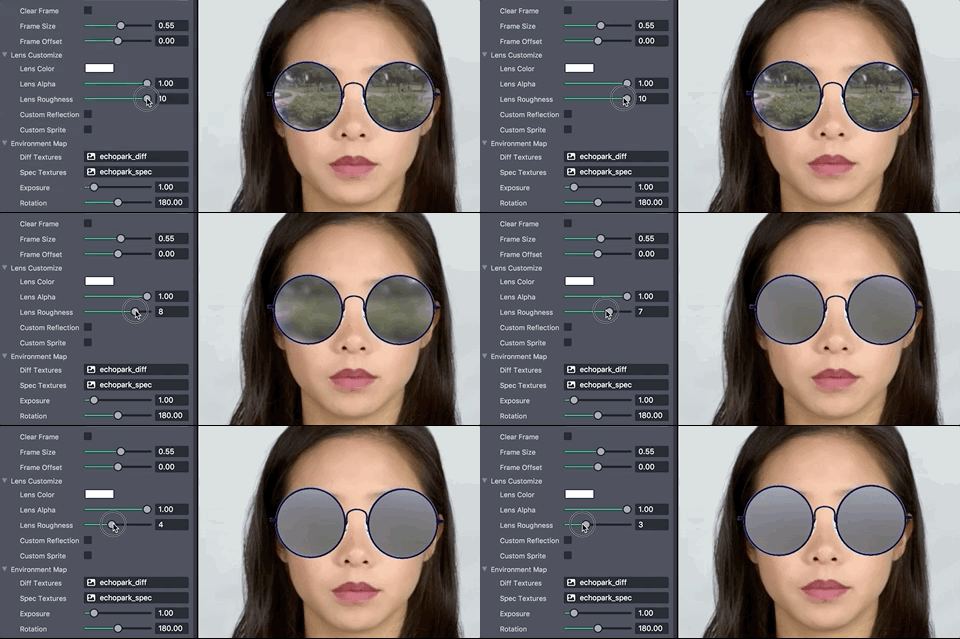
You can adjust the lens reflectivity by adjusting the Lens Roughness slider.
Custom Reflection
The Sunglasses template allows you to use a simple 2D image as a custom reflection. To use a custom reflection, enable the Custom Reflection checkbox.
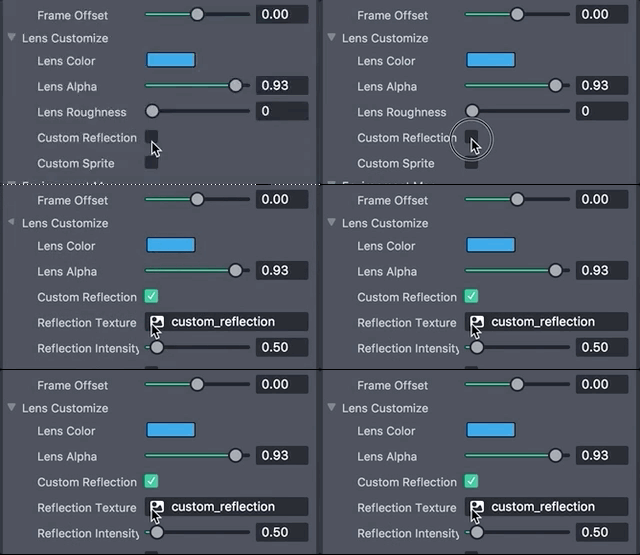
The custom reflection will not be influenced by the environment map
Changing the Custom Reflection
Edit the custom reflection’s texture by changing the Reflection Texture property to your own custom texture. To import a custom texture into Lens Studio, select + -> Import Files in the Resources panel.
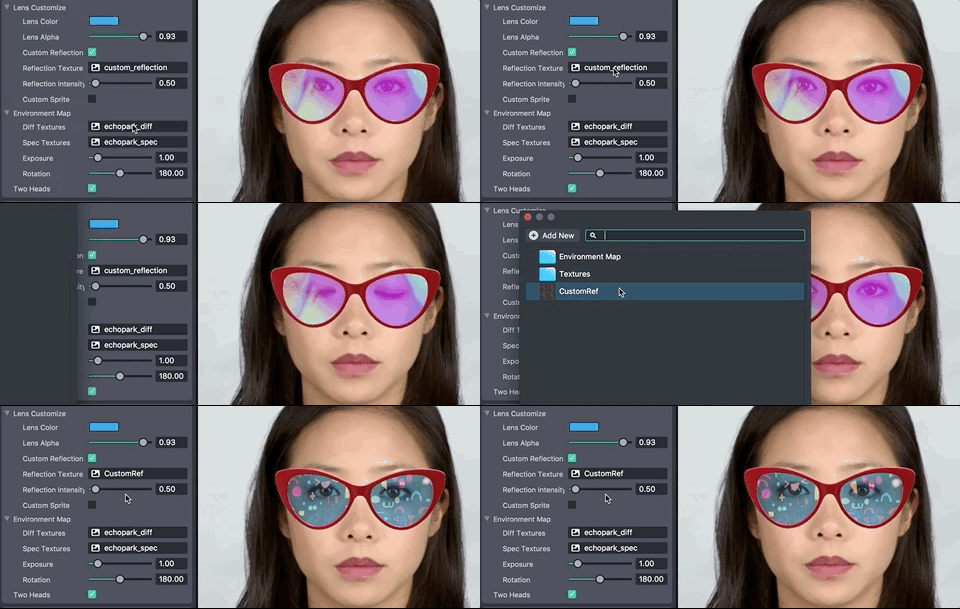
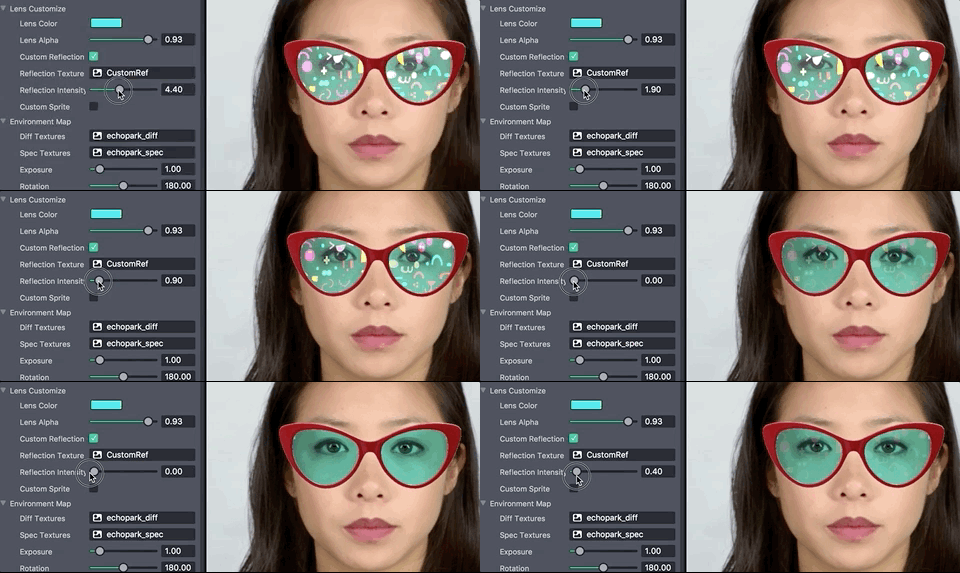
Adjust the Reflection Intensity slider to define how prominent your custom reflection is.
Custom Sprite
A custom sprite can be added to the lenses as well. Unlike the custom reflection, the custom sprites are attached to the frames and rotate with the sunglasses. To enable the custom sprite, check the Custom Sprite checkbox.
![]()
Changing the Custom Sprite
You can change the custom sprite’s texture by changing the Sprite Texture property to a custom texture you’ve imported into Lens Studio.
![]()
Make sure the imported sprite texture is not transparent so it can be blended with the lens reflection.
Adjusting the Custom Sprite
You can adjust the custom sprite’s visibility by changing the Sprite Intensity slider.
![]()
You can adjust the custom sprite’s size using the Sprite Size slider.
![]()
Finally, you can adjust the custom sprite’s position using the Sprite Offset X and Sprite Offset Y sliders.
![]()
Changing the Environment Map
You can change the environment map by changing the Diff Texture and Spec Texture properties to the environment map textures of your choosing.
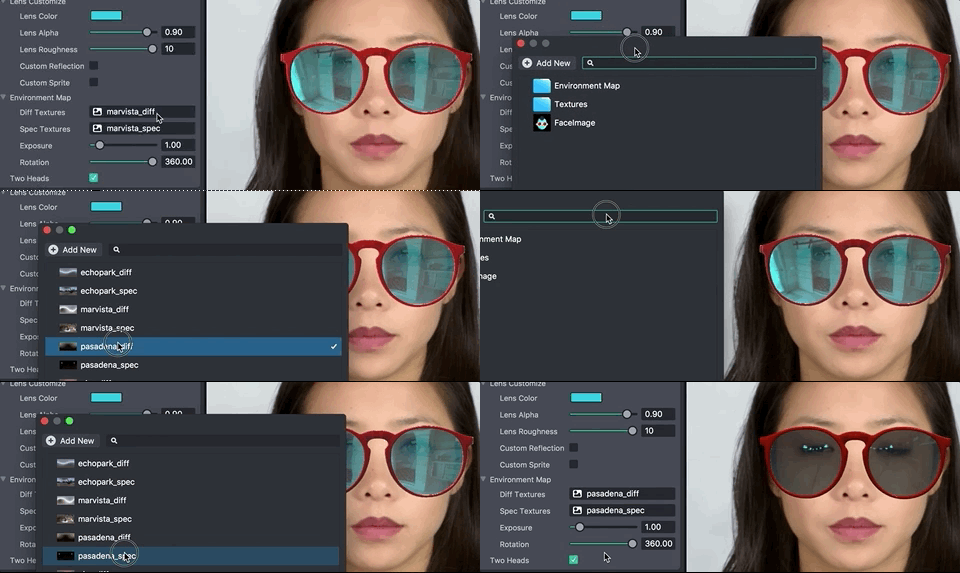
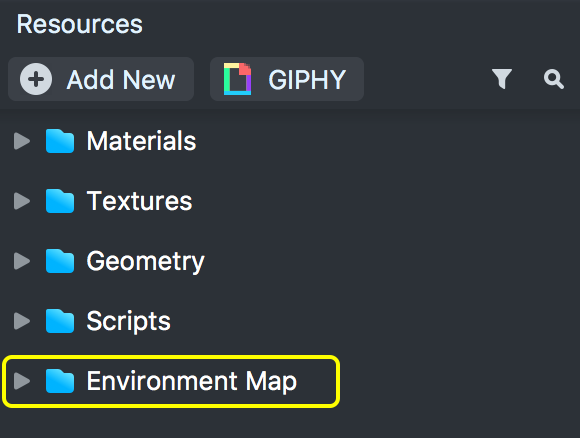
The template includes a handful of environment maps that you can try out. You can find them under the Environment Map folder in the Resources panel.
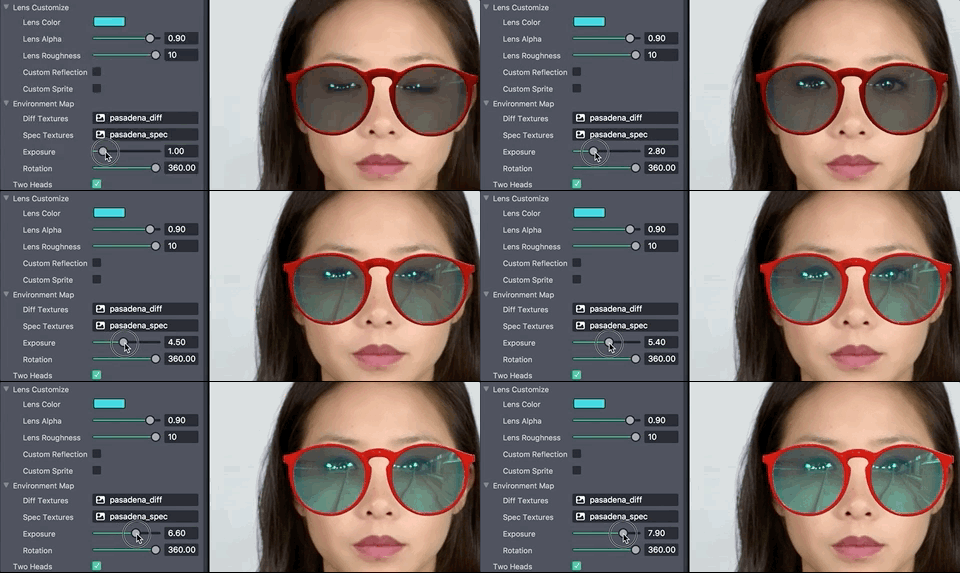
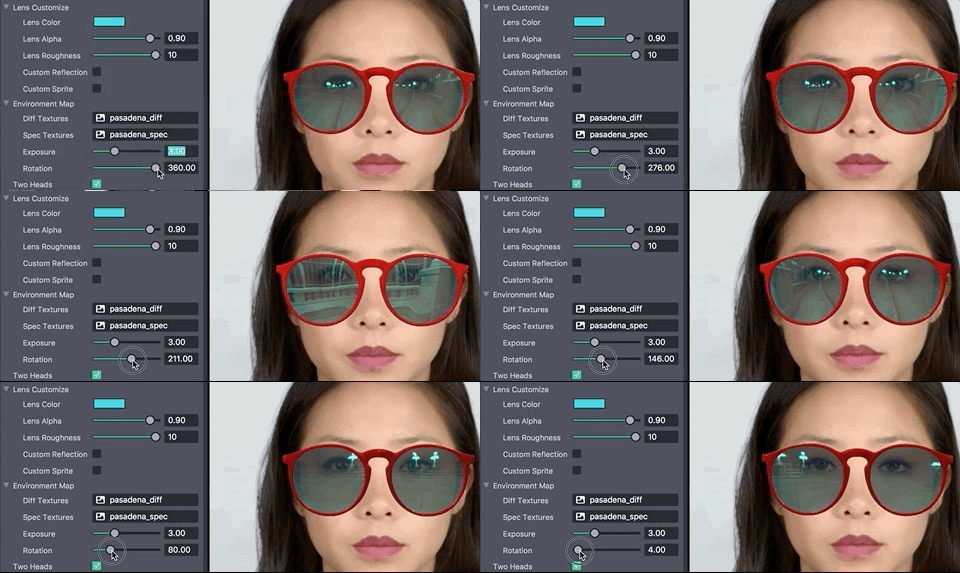
Adjust the brightness of the environment map by changing the Exposure slider.
Adjust the rotation of the environment map by changing the Rotation slider.
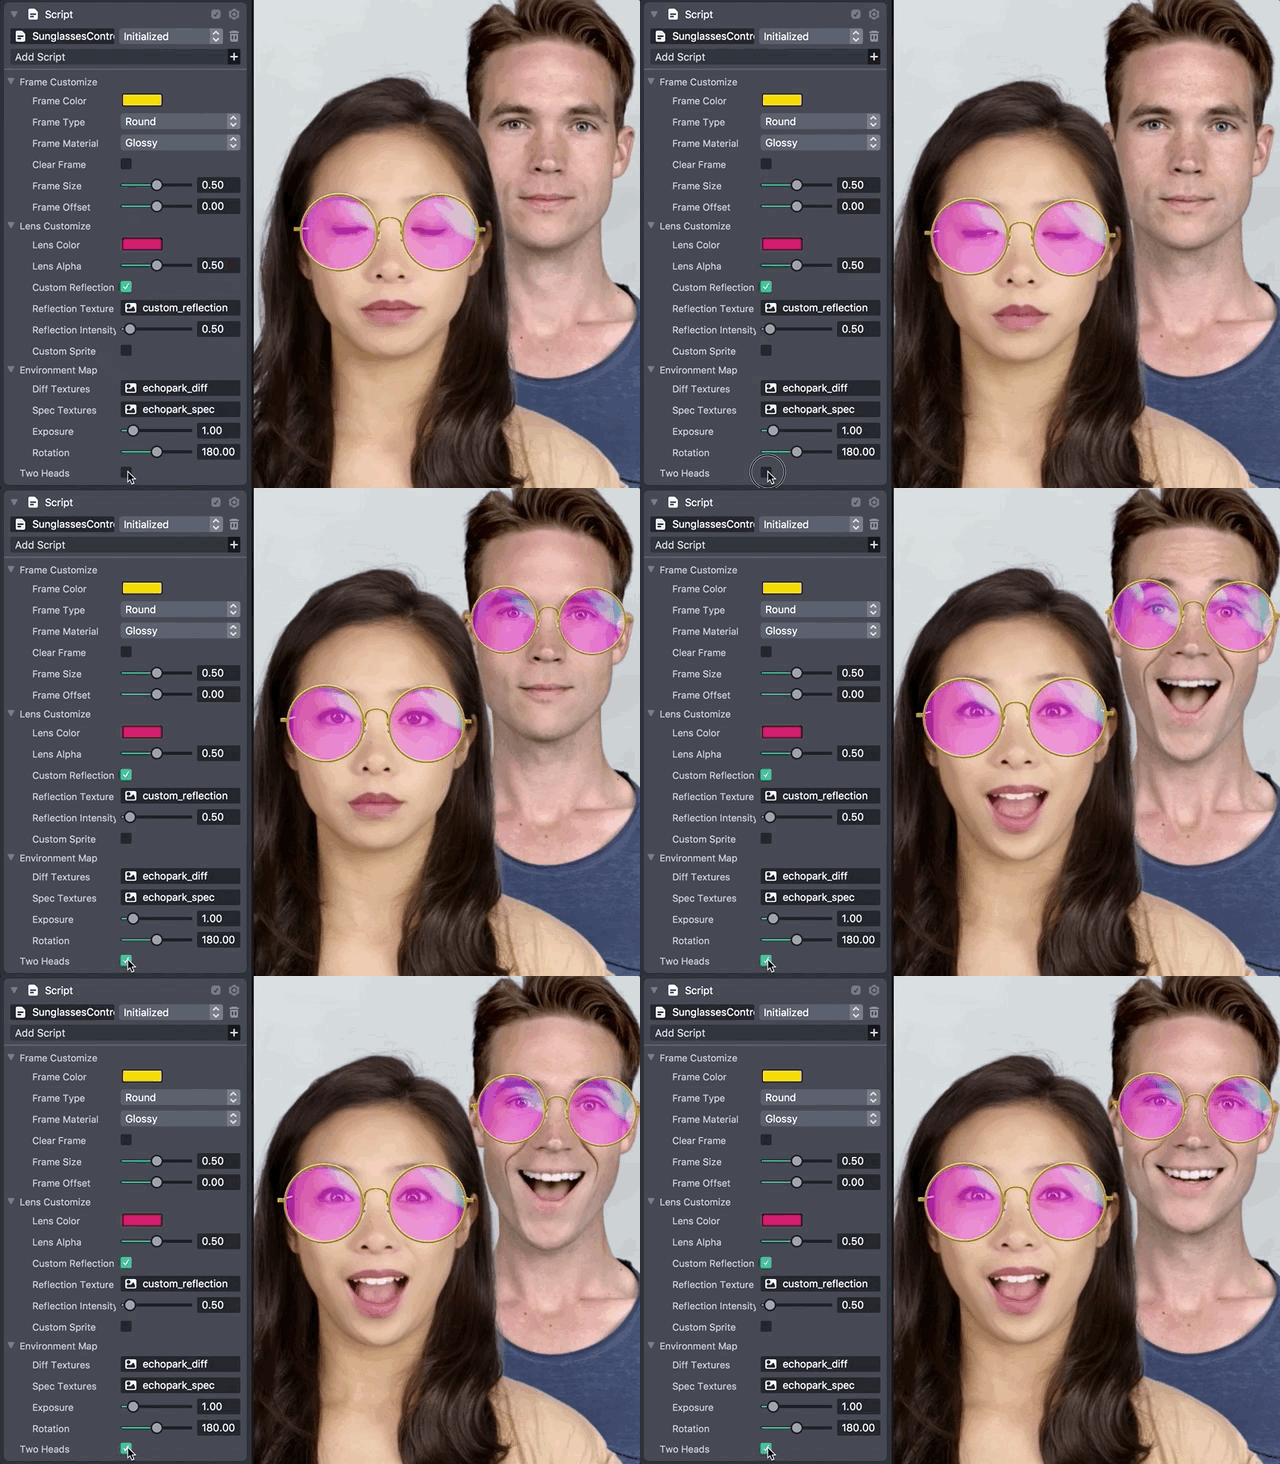
Support for Two Heads
The Sunglasses template supports two heads wearing the same sunglasses. To enable two head support, check the Two Heads checkbox.
Previewing Your Lens
You’re now ready to preview your Lens. To preview your lens in Snapchat, follow the Pairing to Snapchat guide.
Related Guides
Please refer to the guides below for additional information: