Cutout
The Cutout Template lets you create a World Lens by importing just a 2D image or animation. A cutout includes movement, scale, rotation, shadow and the ability to always look at the camera. Multiple Cutouts can be added to the Lens allowing you to create a 3D scene with movable 2D objects.
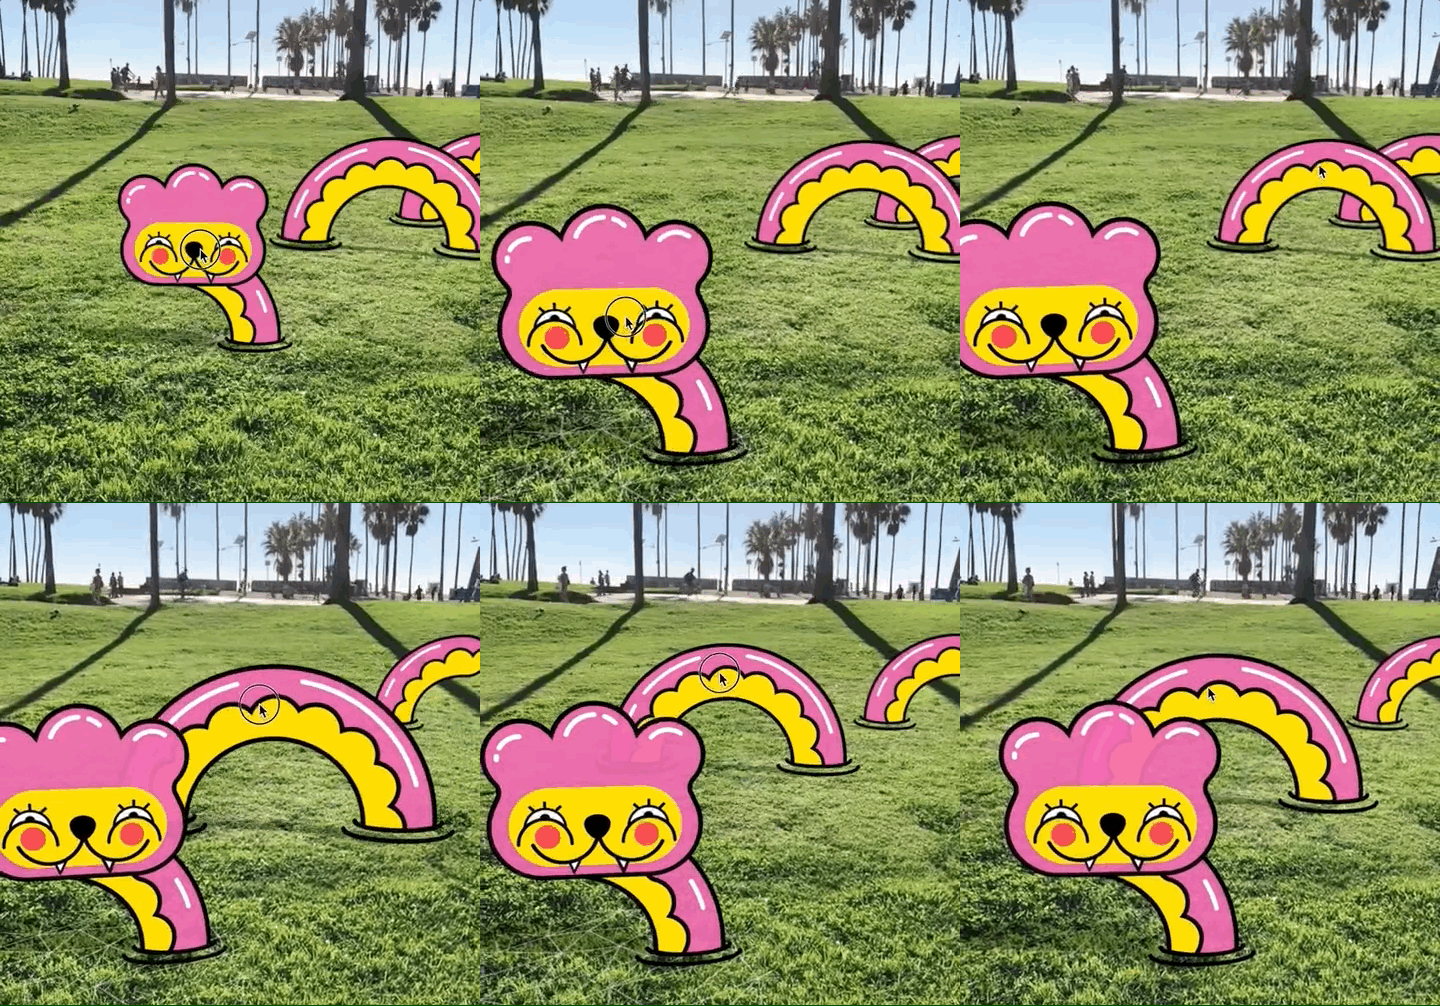
Tutorial
Guide
Switch Preview Video
Switch the preview video to one of our World Lens preview videos. In the preview panel, press the Image / Video Mode button. Then, in the drop down at the top of the Preview panel, select any video under the World category.
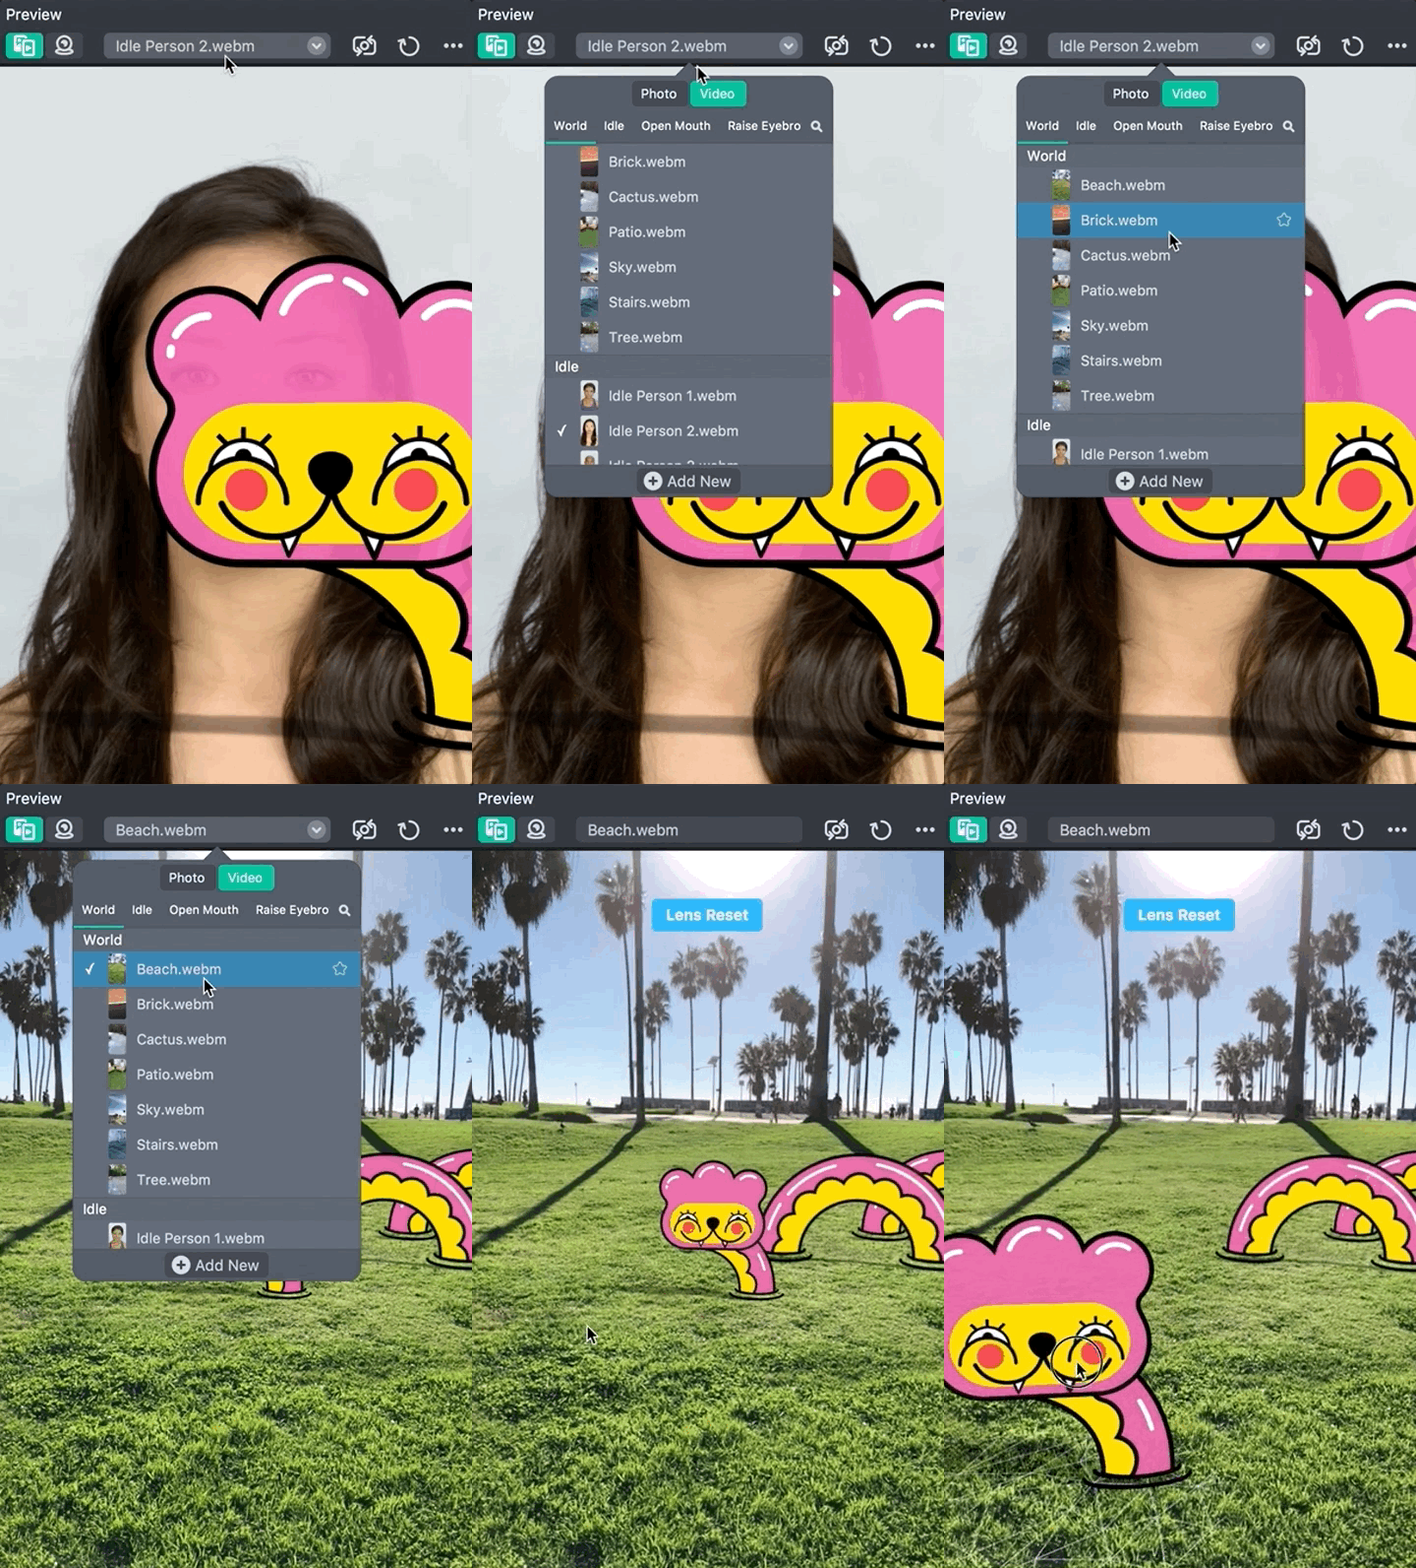
If you don’t see the World category, press the Switch Camera button to switch your preview to the rear camera.
Add Resource
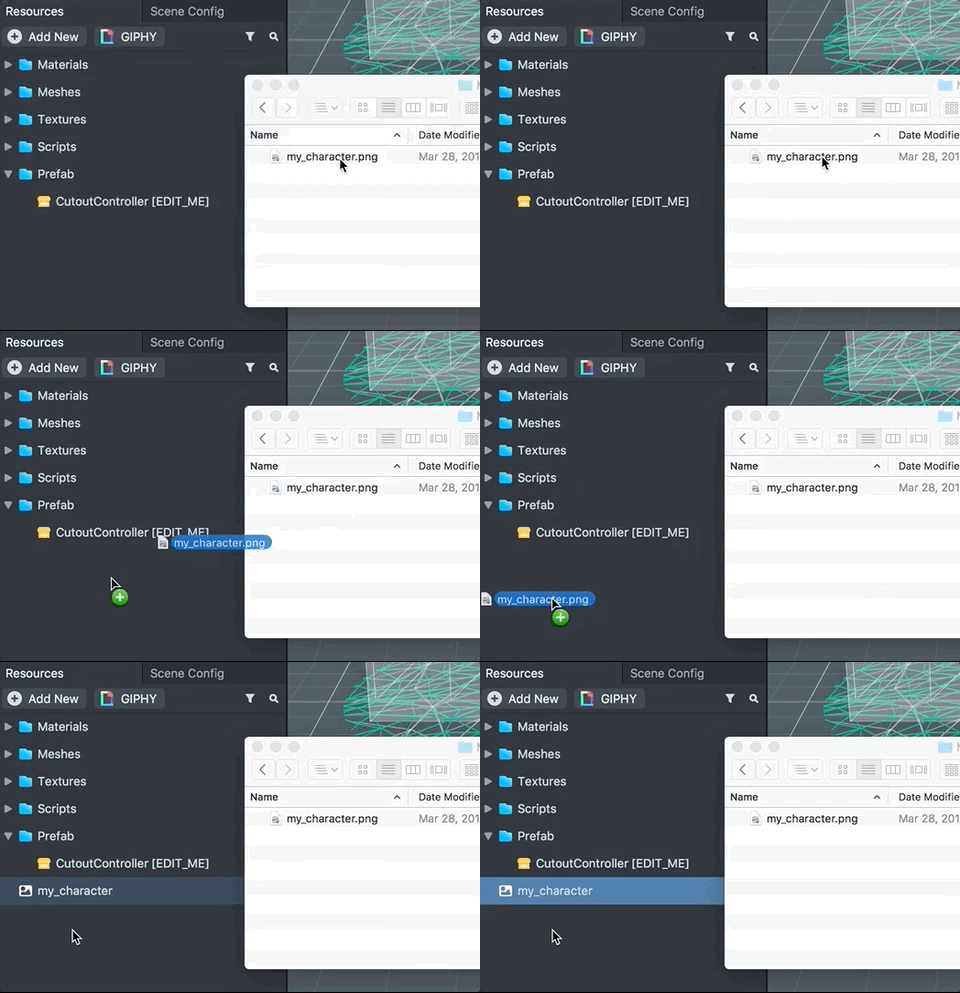
First import a custom 2D texture by dragging and dropping it into the Resources panel. This can be a PNG, JPG or GIF animation. For more information on importing 2D Animation, refer to the 2D Animation guide.
Select Cutout Controller
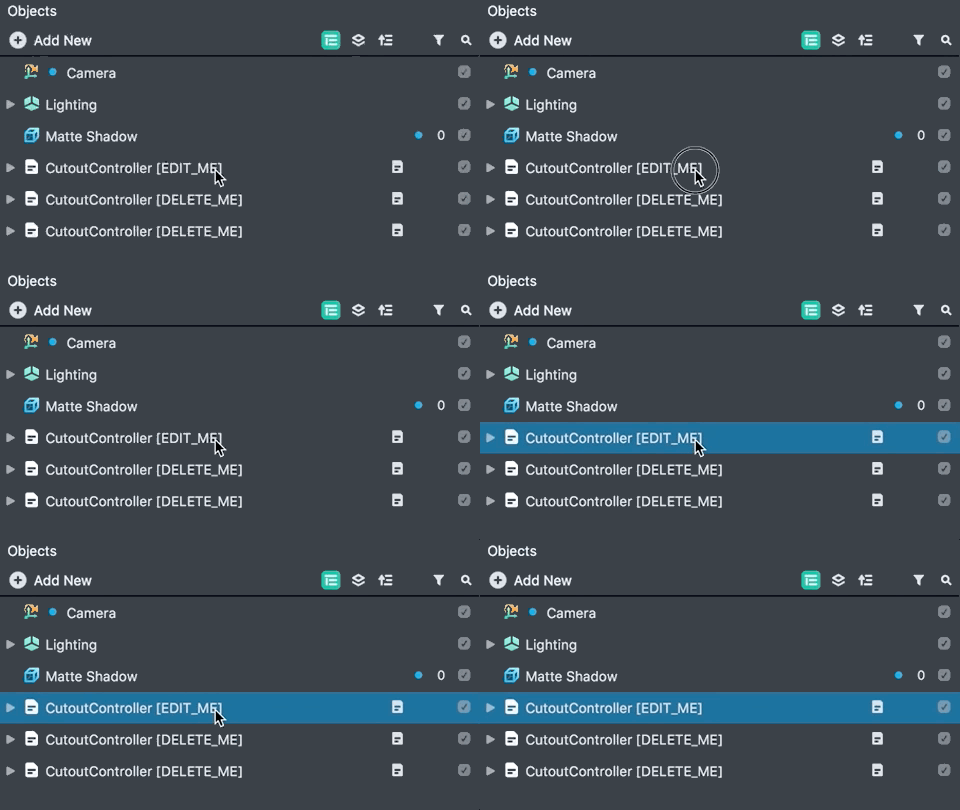
Next, in the Objects panel, select the CutoutController [EDIT_ME] object.
Configure Cutout
With the CutoutController [EDIT_ME] object selected, you can configure its settings in the Inspector panel. First, click the Texture field and set it to your newly imported Texture resource.
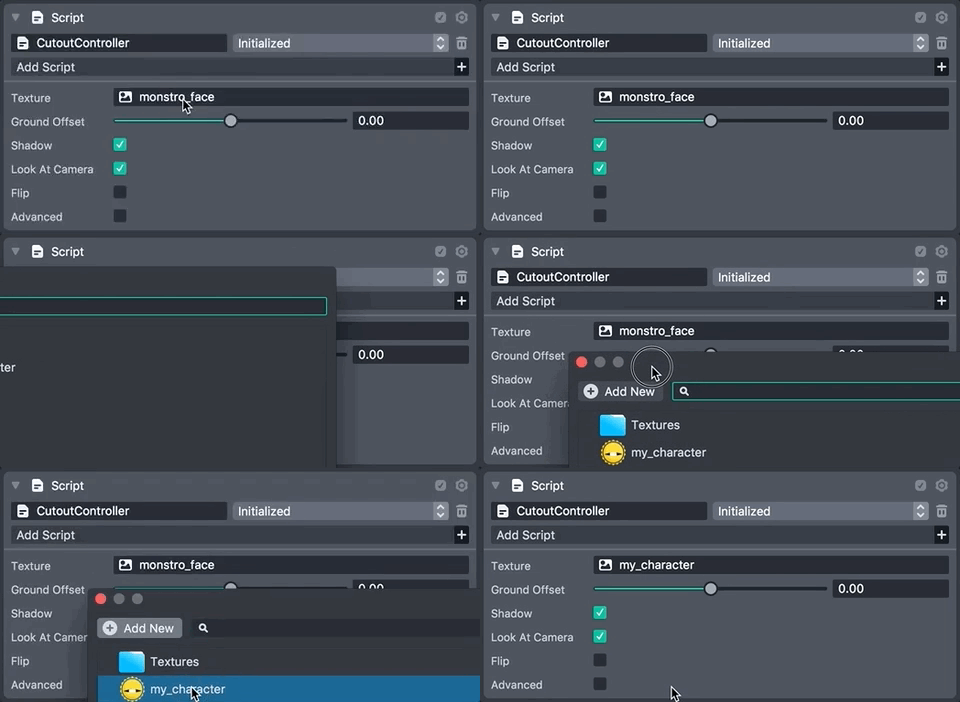
You can then configure the following settings to tune your cutout.
- **Ground Offset -**How far above or below the cutout is from the ground
- Shadow - When enabled, the cutout casts a real time shadow on the ground. It is derived from the silhouette of the 2D image
- **Look At Camera -**When enabled, the cutout will always face the camera about the Y axis
- **Flip -**The 2D image will be mirrored horizontally
Scale Cutout
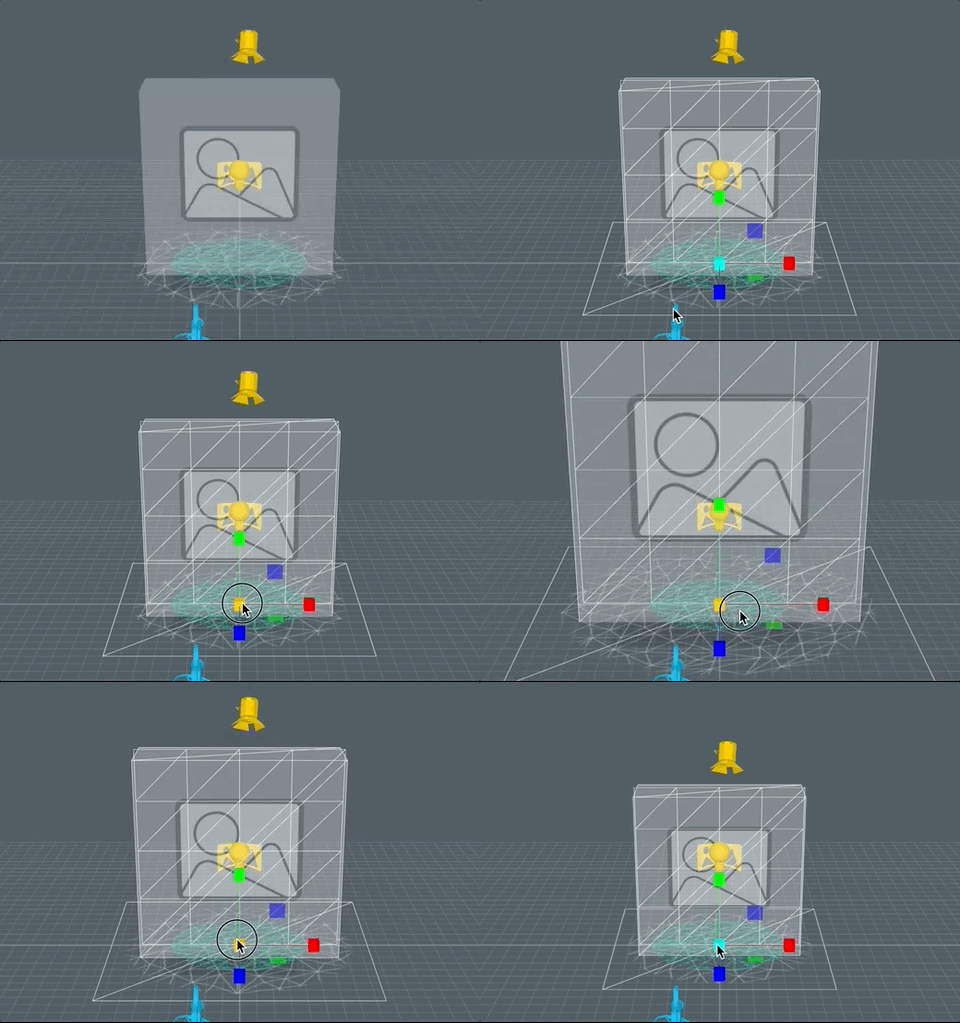
To resize the Cutout object, select the CutoutController object in the Objects panel. Then, in the Scene panel, press the R keyboard shortcut to enable the object's scale handles. Drag the cyan cube in the center of the object to scale up or down the object uniformly.
Multiple Cutouts
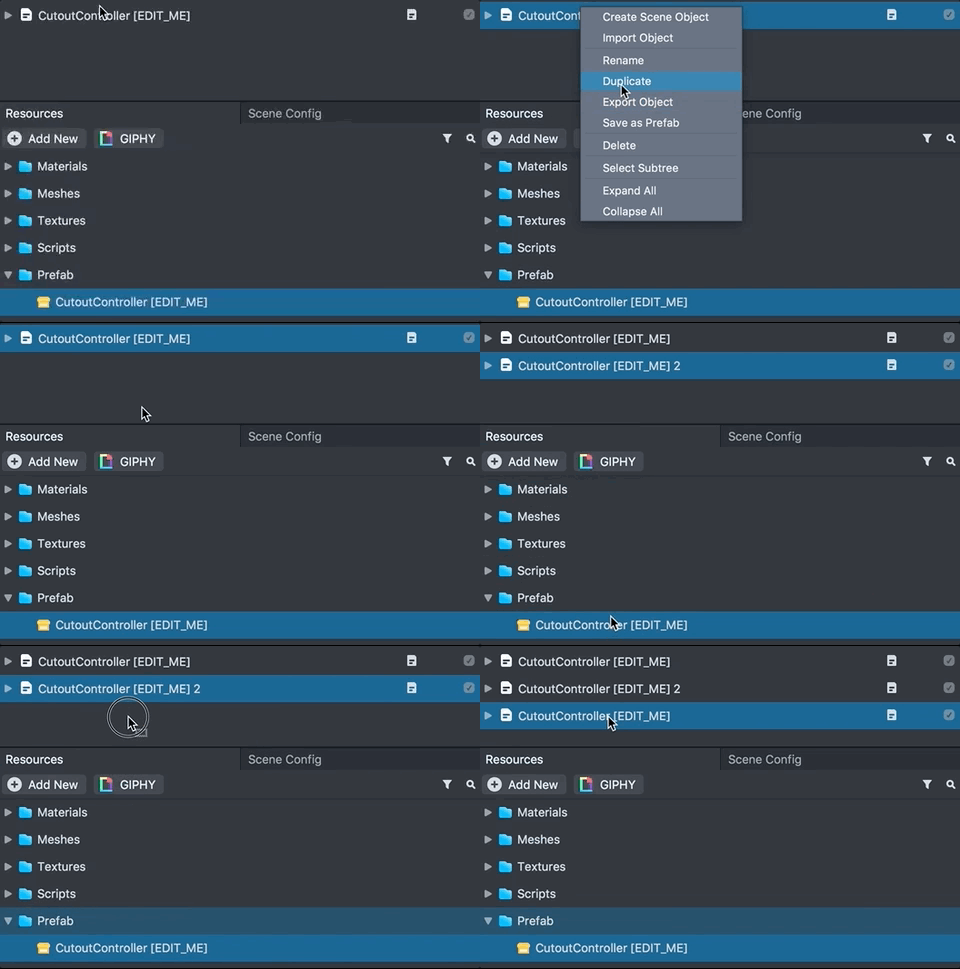
The template supports multiple Cutout Controller objects. To create a new one, right click on the CutoutController object and select Duplicate. Alternatively, you can drag and drop the CutoutController prefab in the Resources panel to the Objects panel.
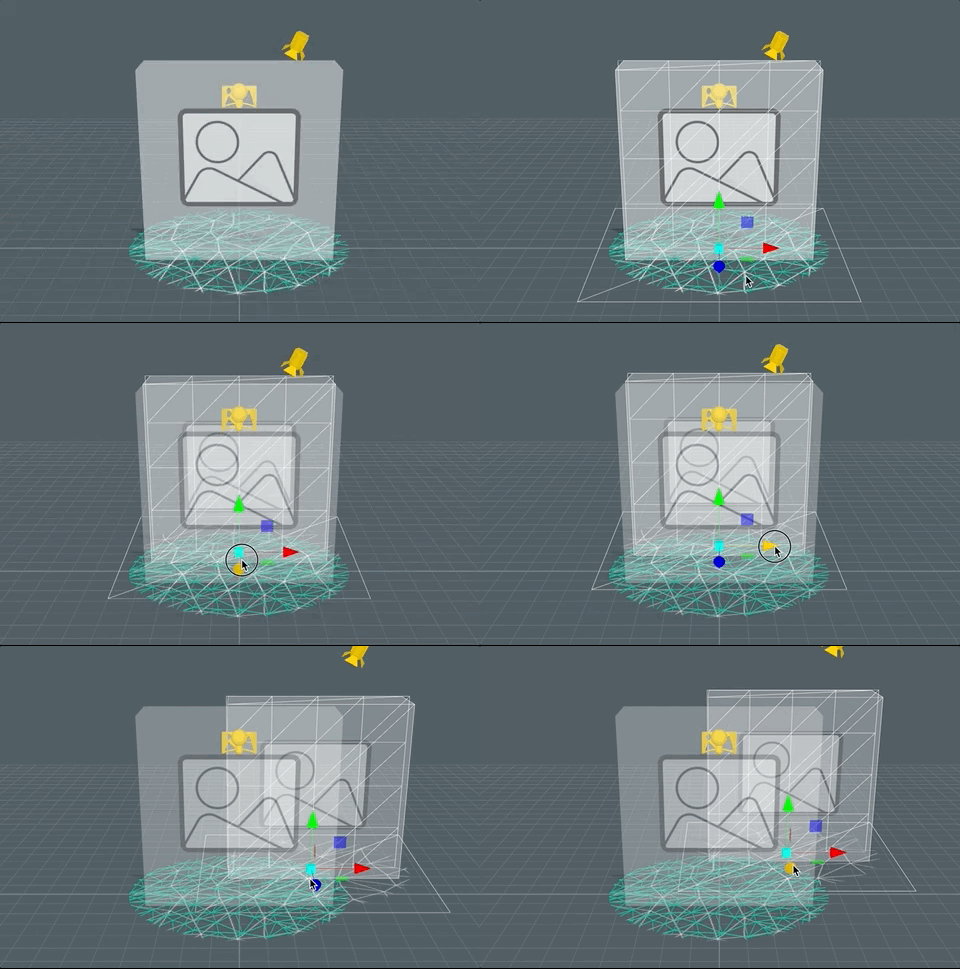
After you've added a new Cutout Controller object, you'll want to offset its starting position so it's not overlapping your original cutout. To do this, select the duplicated object in the Objects panel. Then, in the Scene panel, press the W keyboard shortcut to enable the object's movement handles. Drag the red and blue handles to offset it along the x and y axis.
Shadow Direction
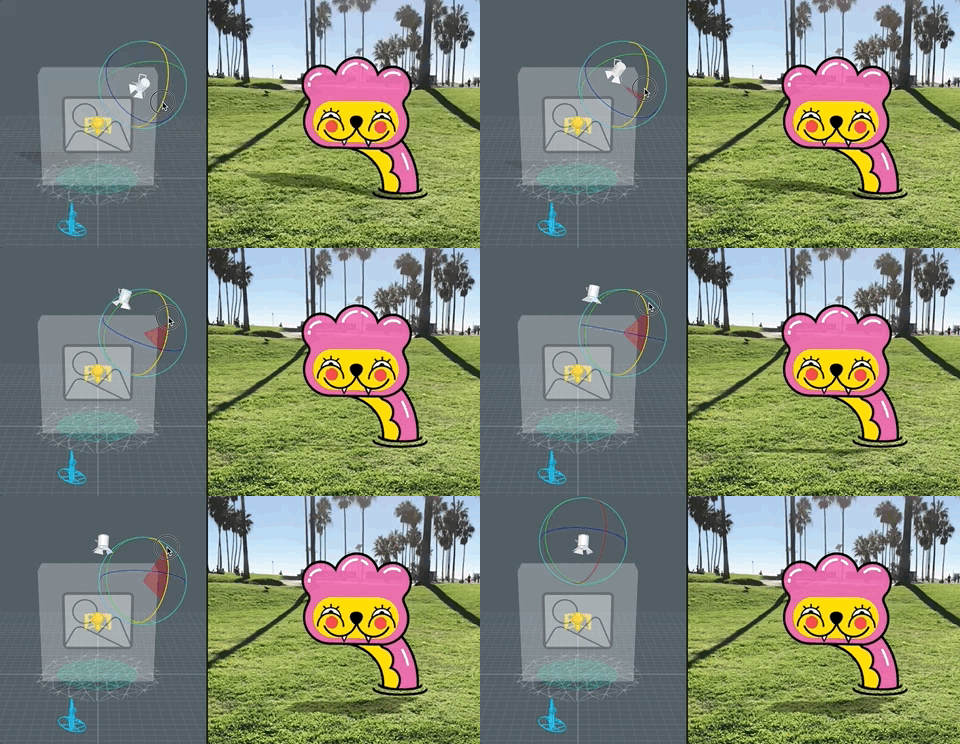
The direction of the shadow can be adjusted by selecting the Light object in the Objects panel.

Then, with the light selected, in the Scene panel rotate the light by pressing E keyboard shortcut and dragging the axis rings.
Submitting Your Lens
You’re now ready to submit your Lens! Follow the guides below: