Connected Custom Location
Location Based Experience brings together Custom Location and the Spectacles Sync Kit to enable persistent, shared AR experiences tied to real-world environments. By pre-scanning a location, creators can deliver seamless multiplayer interactions without the need to restart the mapping flow each time the Lens is launched. New features like Guided Mode and Same Session Setup further simplify the experience, making development faster and more efficient.
Creating a Custom Location�
A detailed workflow for setting up a Custom Location can be found in the Custom Location documentation.
Currently this feature only supports one location. Custom Location Group is not supported.
Setting up Colocated World
Once a Custom Location has been created in Lens Studio, go to Colocated World Scene Object and place Location asset into Located At component.

Creating a Location Mesh Visualization for Content Placement
When using a Custom Location for a Connected Lens, the origin point (0, 0, 0) does not align with the device's position upon completing the mapping process. Instead, the origin is determined by the location where the map was originally generated in Spectacles. Including the Location Mesh in Lens Studio helps accurately visualize and position content within the scene.
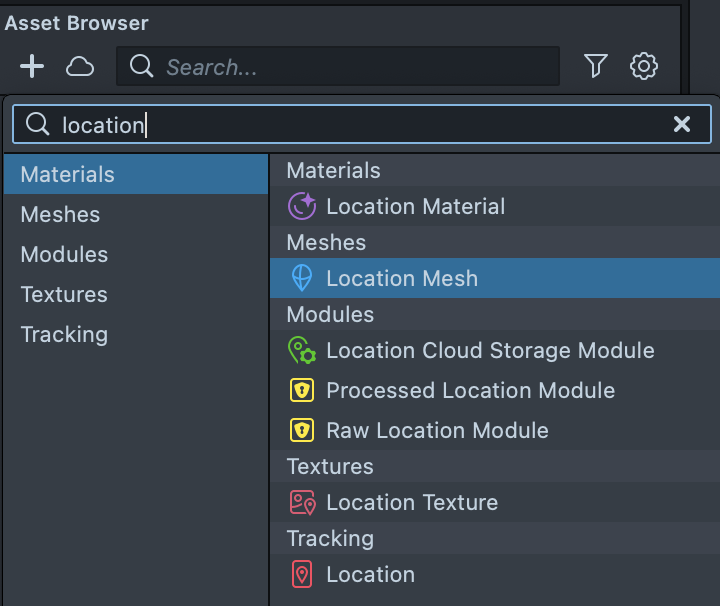
- To create a
Location MeshandLocation Material, click the“+”button in Lens Studio and selectLocation MeshandLocation Materialfrom the options.
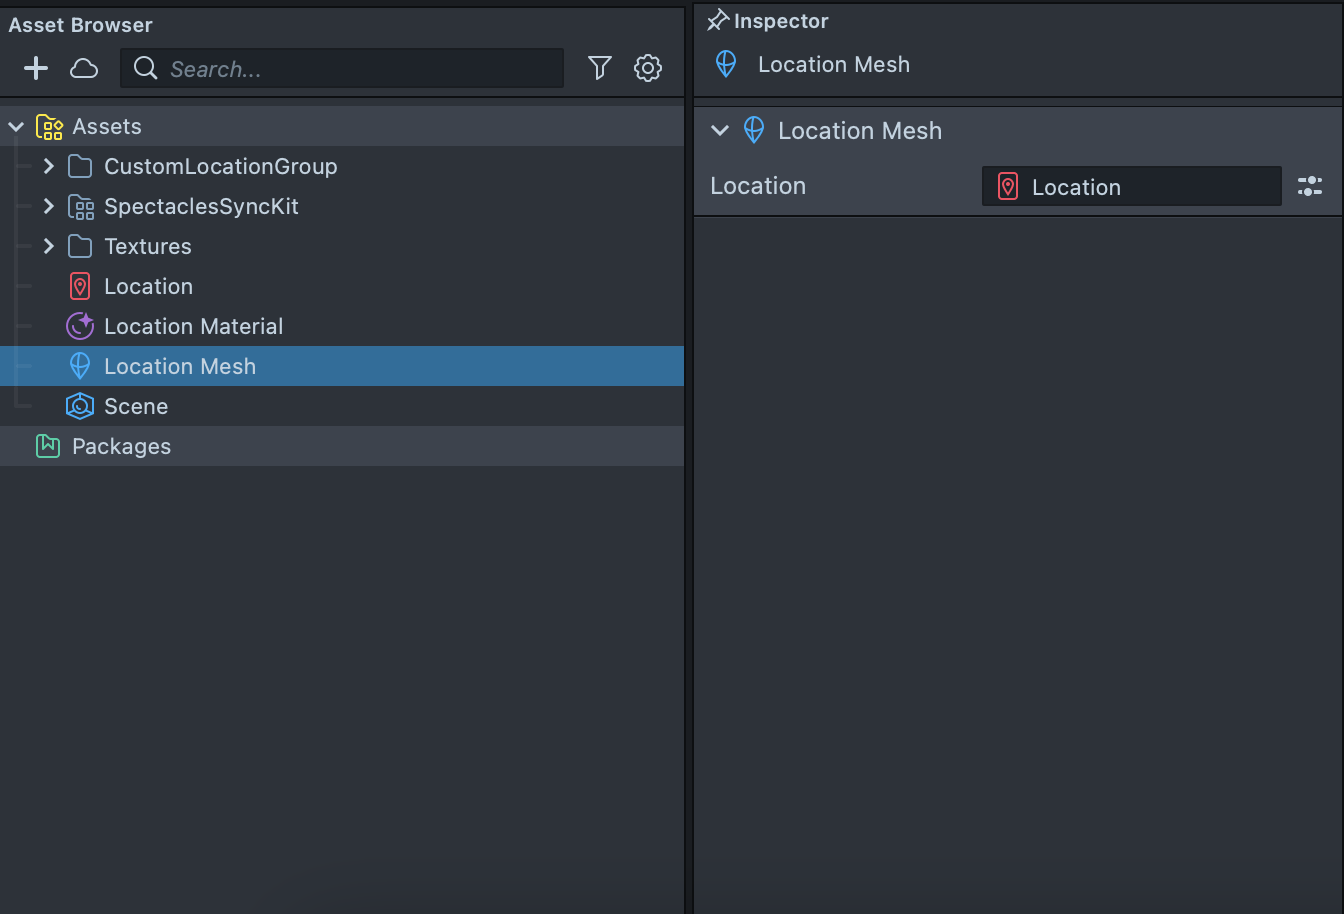
- In the
Location Meshasset, assign theLocationasset to theLocationinput field.
- Create a Scene Object with a
RenderMeshVisualcomponent, then assign theLocation MeshandLocation Materialto their respective input fields.
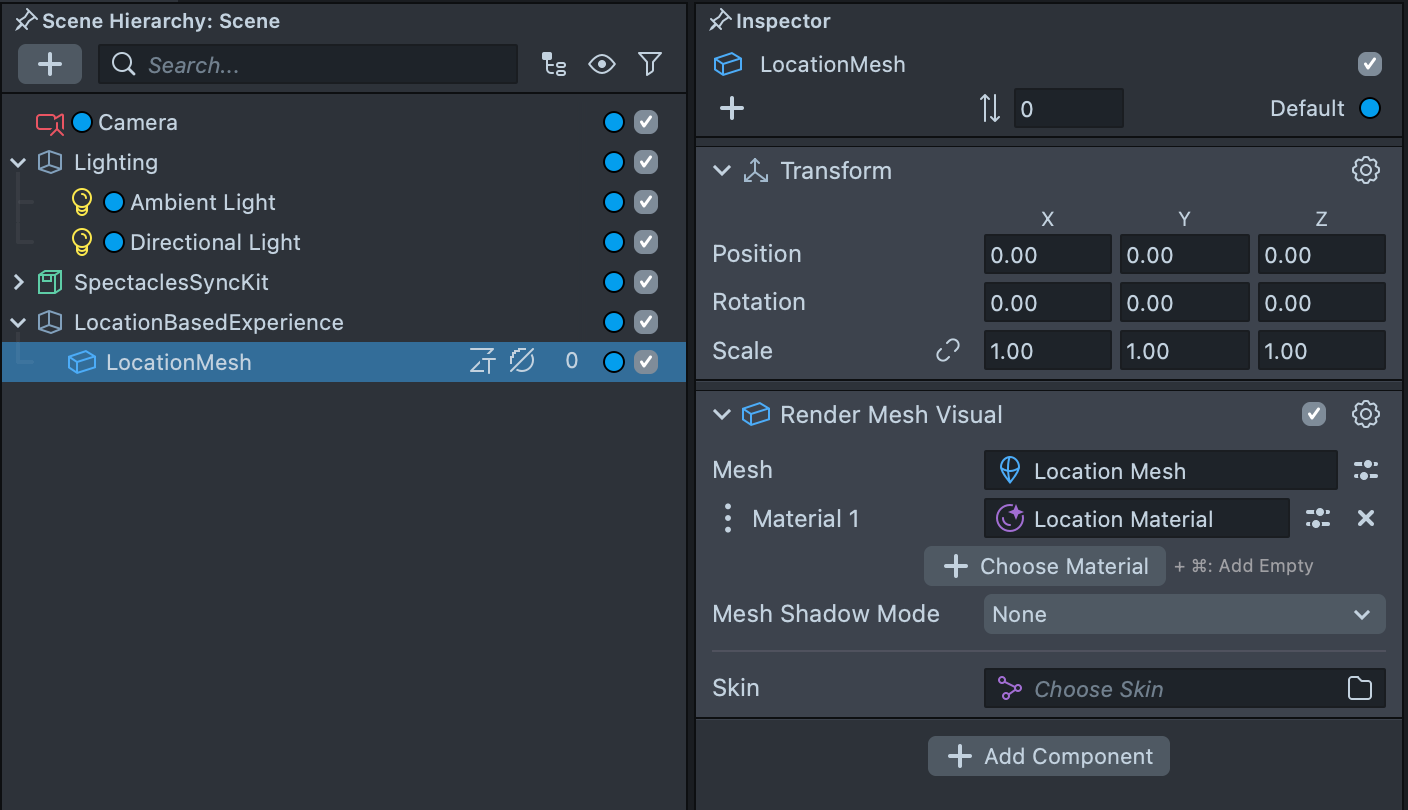
- The Scene View should display the Location Mesh with Material applied.
The transform of the Location Mesh Scene Object should remain at its default position (0, 0, 0). Modifying the transform will result in misalignment within the Lens.

Custom Mapping Visuals for Location Based Experience
To enhance user experience during the mapping process, developers can implement custom mapping visuals.
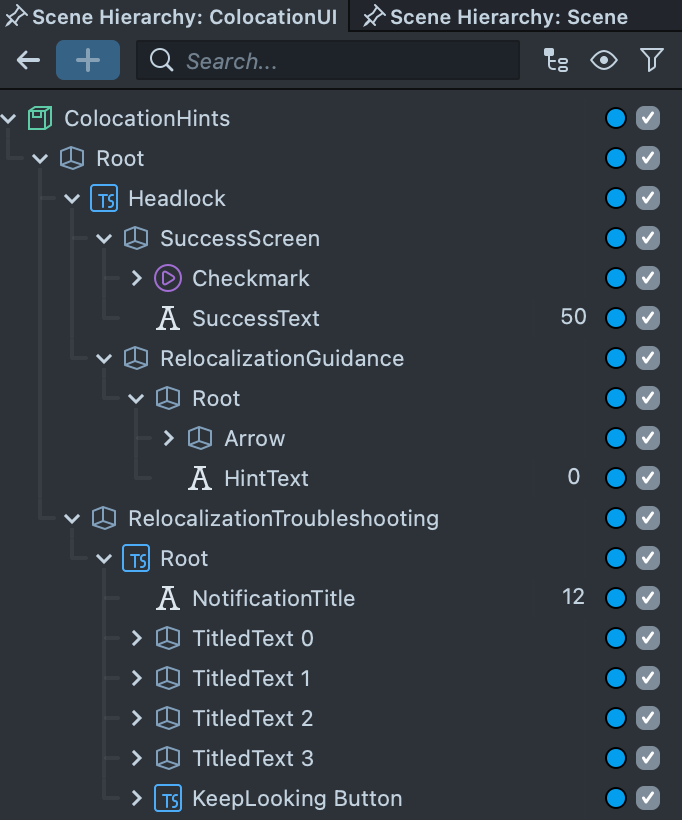
- Unpack Spectacles Sync Kit package and locate the
ColocationUIprefab in Asset Browser.

- Open
ColocationUIprefab in the Scene Hierarchy. The mapping UI offers options for customization. For example, you can modify theRelocalizationGuidancetext and animations to provide specific guidance to users during the mapping process.
Modifying the ColocationUI prefab directly will not be reflected because the contents are controlled by the scripts. To create a unique experience, please follow next steps.
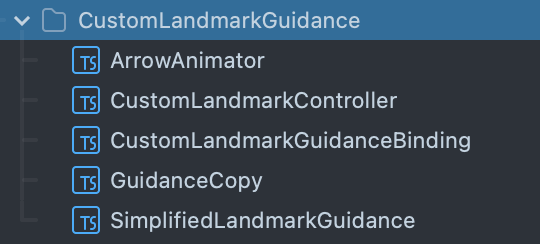
- In order to override the current setup, locate
CustomLandmarkGuidancefolder in Asset Browser and modify these scripts to fit your needs. For example, change the text copies inGuidanceCopyscript will allow you to customize the instructions shown to users during the mapping process.