AI Enabled Components Tutorial
This tutorial will cover how you can use your own custom components within Easy Lens, connect them to the content generators, and integrate it into the Lens Studio AI's compositing, allowing end users to download them and add them to their own Lens with ease!
You can learn more about the underlying concept in the AI Enabled Custom Component guide.
If you'd like to create your own custom component in Lens Studio, you can see this guide, or download the examples in the repository.
You may also refer to AI Enabled Custom Components as Blocks, which is shorter :). Nevertheless, the both refer to a Custom Components with additional metadata for AI attached to it.
| Make a Lens that drops hearts | Make a Lens that drops rocks | Make a Lens that dropped beach ball |
|---|---|---|
Taking a look at the existing component
-
Let's download the component from the Asset Library select unpack to edit in the asset menu to view the markdown file.
-
Let's open the first folder and double click the "AiMetadata" markdown file.
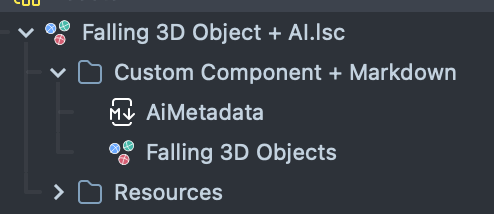
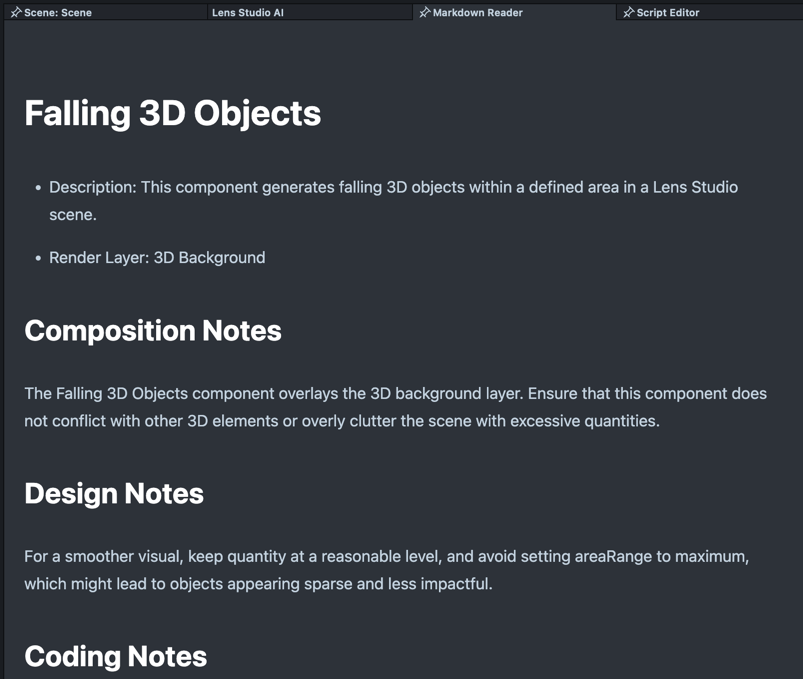
It contains descriptions of each parameter of the custom component as well as its functions and its relationship to the 3D Object asset provider.
-
We can open Lens Studio AI and ask for a lens using this Falling 3D Object component.
Lens Studio AI can automatically add it to a composition of different components.
Modifying and/or removing the installed custom component
-
Once the custom component is in your local library, you can remove it through the lens studio package manager.


You can also modify the custom component or metadata file. Let's return to our original project and add a
randomizeStartingRotationparameter to the AiMetadata file, so that the LensStudio AI knows that it can randomize the starting rotation of the 3D objects.### randomizeStartingRotation
- **Description:** Determines whether each 3D object begins with a random rotation.
- **Type:** boolean
- **Default:** true -
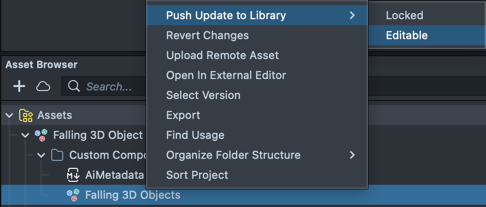
Now you have to re-register it to your local library to update it.
-
Start a new conversation asking for the objects to fall with a randomized rotation to see these changes reflected.
-
We can now generate 3D objects starting at random rotations!
You can now use this component in your EasyLens prompts, enabling a diverse range of creative outcomes!
Every time you push to the library, the Custom Component will increment itself. If you don't save your project after pushing and re-open your project later, you will be asked to pull from the library (since the library now has a newer version than what's in your Asset Browser).
Instead of pulling, we recommend you uninstall the component from the library, so that it will match the same version as inside your Asset Browser!
Additional Examples
You can find additional examples of AI Enabled Custom Components in the Asset Library or in the public repository.
There are several examples to help you get started, including:
- Debug All Types: An example that demonstrates using all the generators Lens Studio AI provides
- AI Enabled Meme Text: An example that demonstrates how you can respond to changes to @input using setters/getters, and using Coding Notes to guide AI to generate controllers that modify the component.
- Score on Head: An example of exposing some functions that can be called by another component (e.g. Bounce Object on Head)
- Bounce Object On Head: A more complex demo which demonstrates exposing events that Lens Controller can stitch up with another component, as well as using a 3D object asset generator.
You can also download the examples in the repository.