Character Skin Generator
Character Skin Generator plugin enables the creation of lenses powered by ML models that transform users into full-body digital characters with pixel-level accuracy.
Getting Started
Launching Skin Generator
-
Navigate to the
Lens Studio AIoption in the top right corner of the Lens Studio. Then, click on theGenAI Home Pagetab in the sidebar.
-
On the
GenAI Home Pagetab, you may need to scroll down to find Character Skin Generator.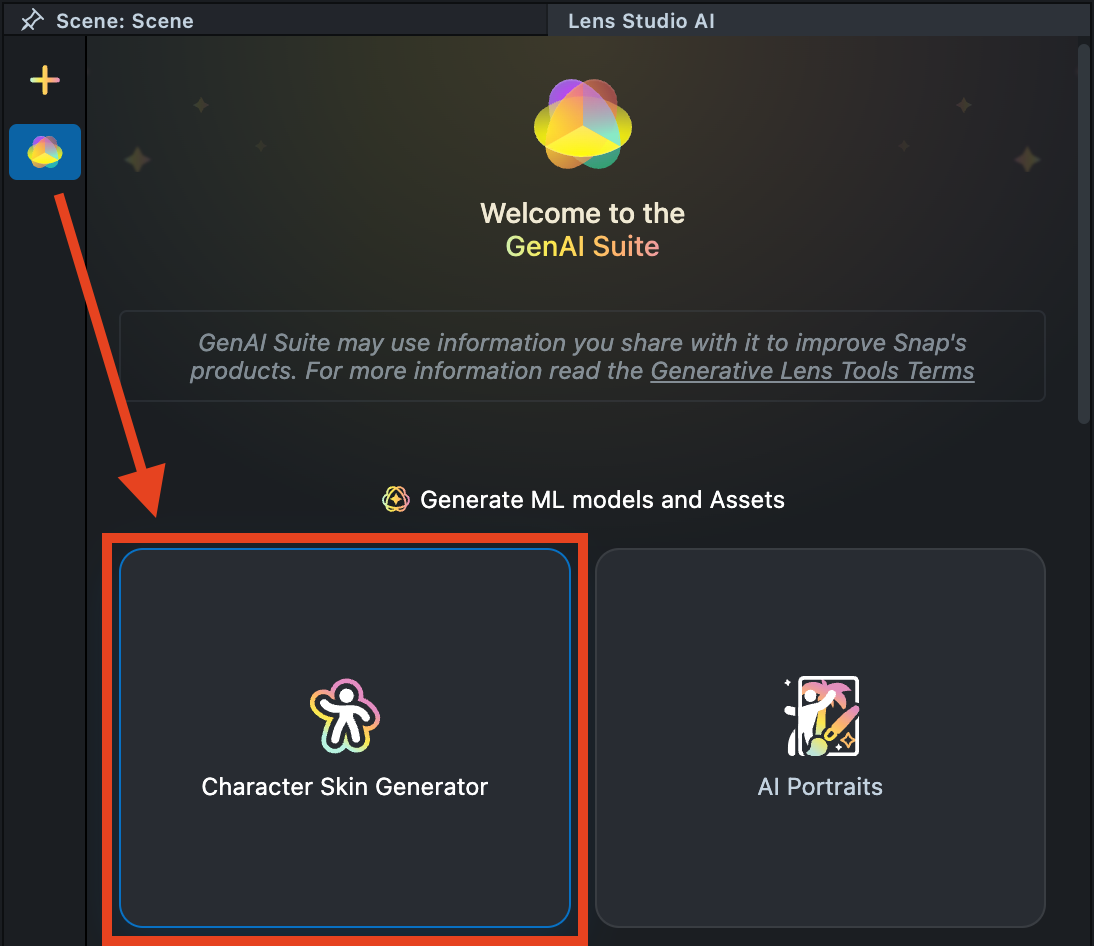
User Interface Overview
-
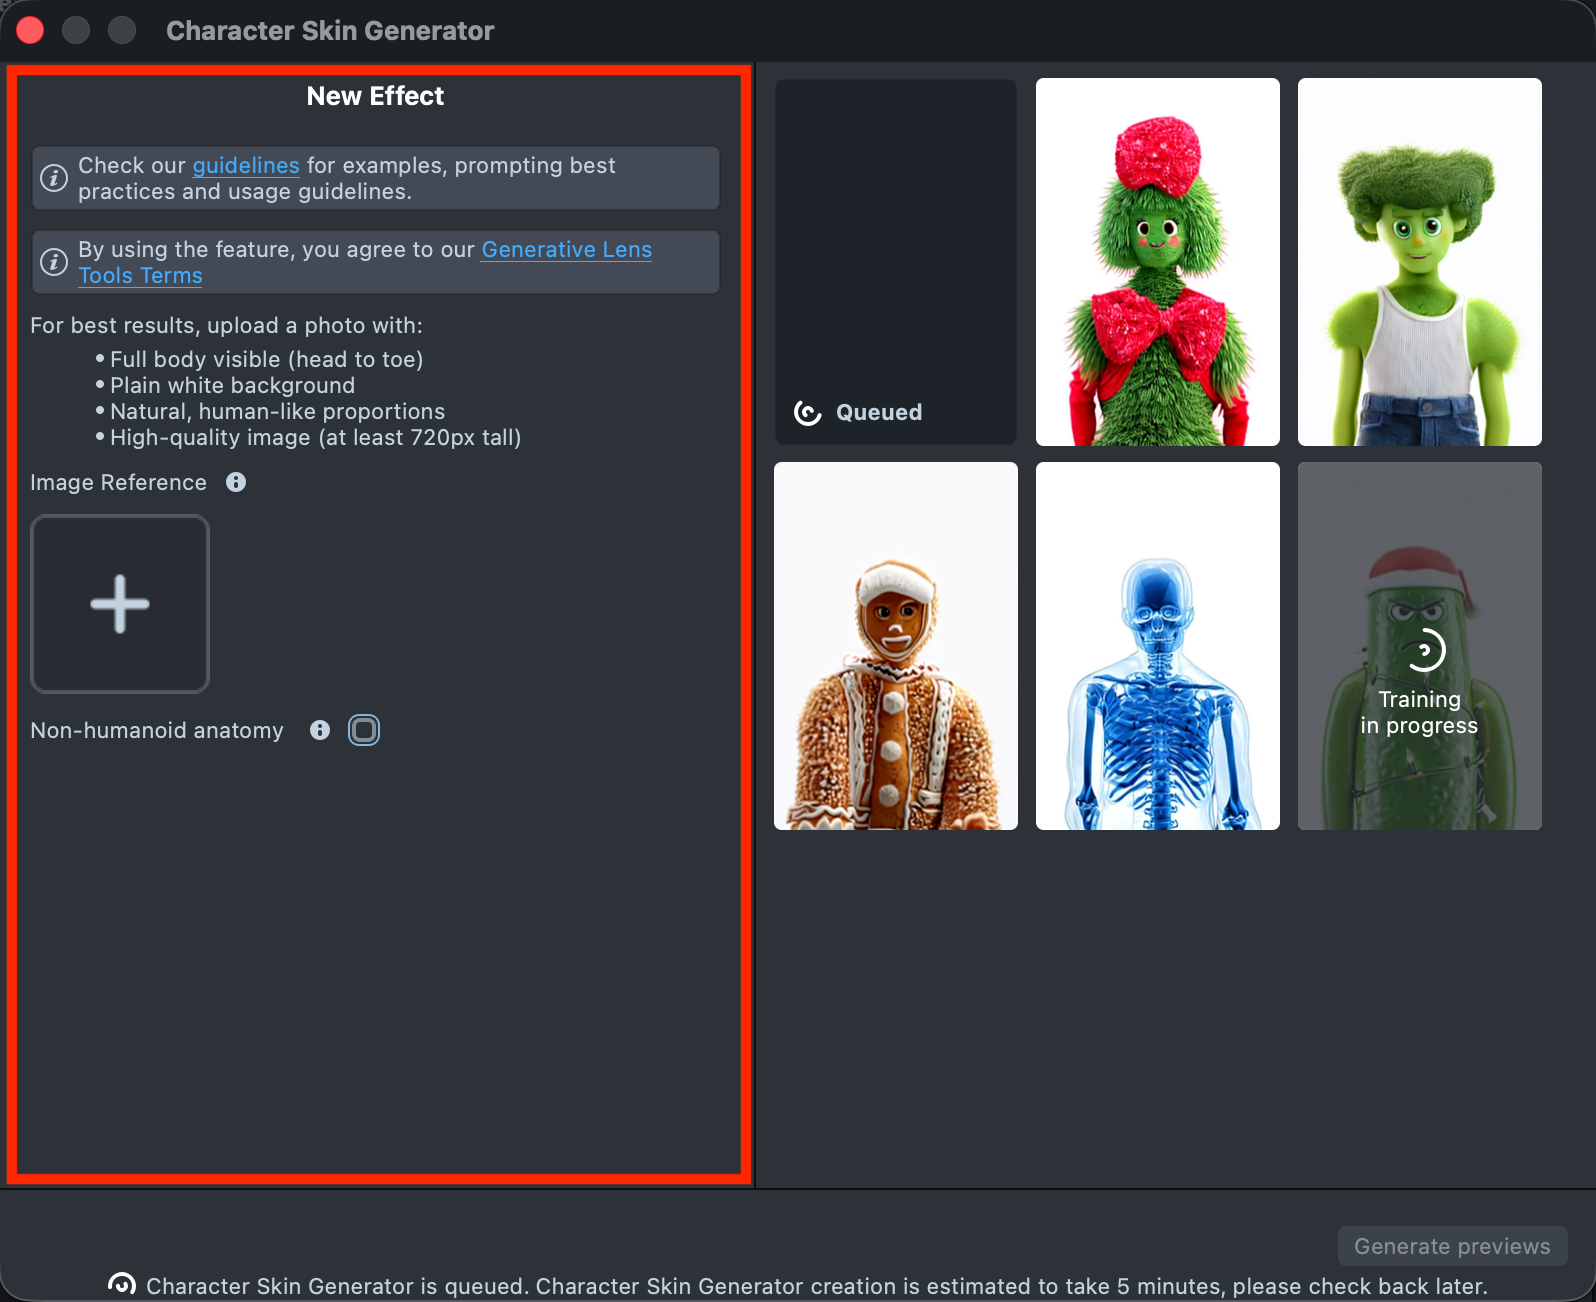
Creation Panel: Provides an input field for the image prompt.
-
Gallery: Displays all created effects along with their statuses.
-
Status Bar: Shows information about recent actions and system feedback.

Creating a New Effect
-
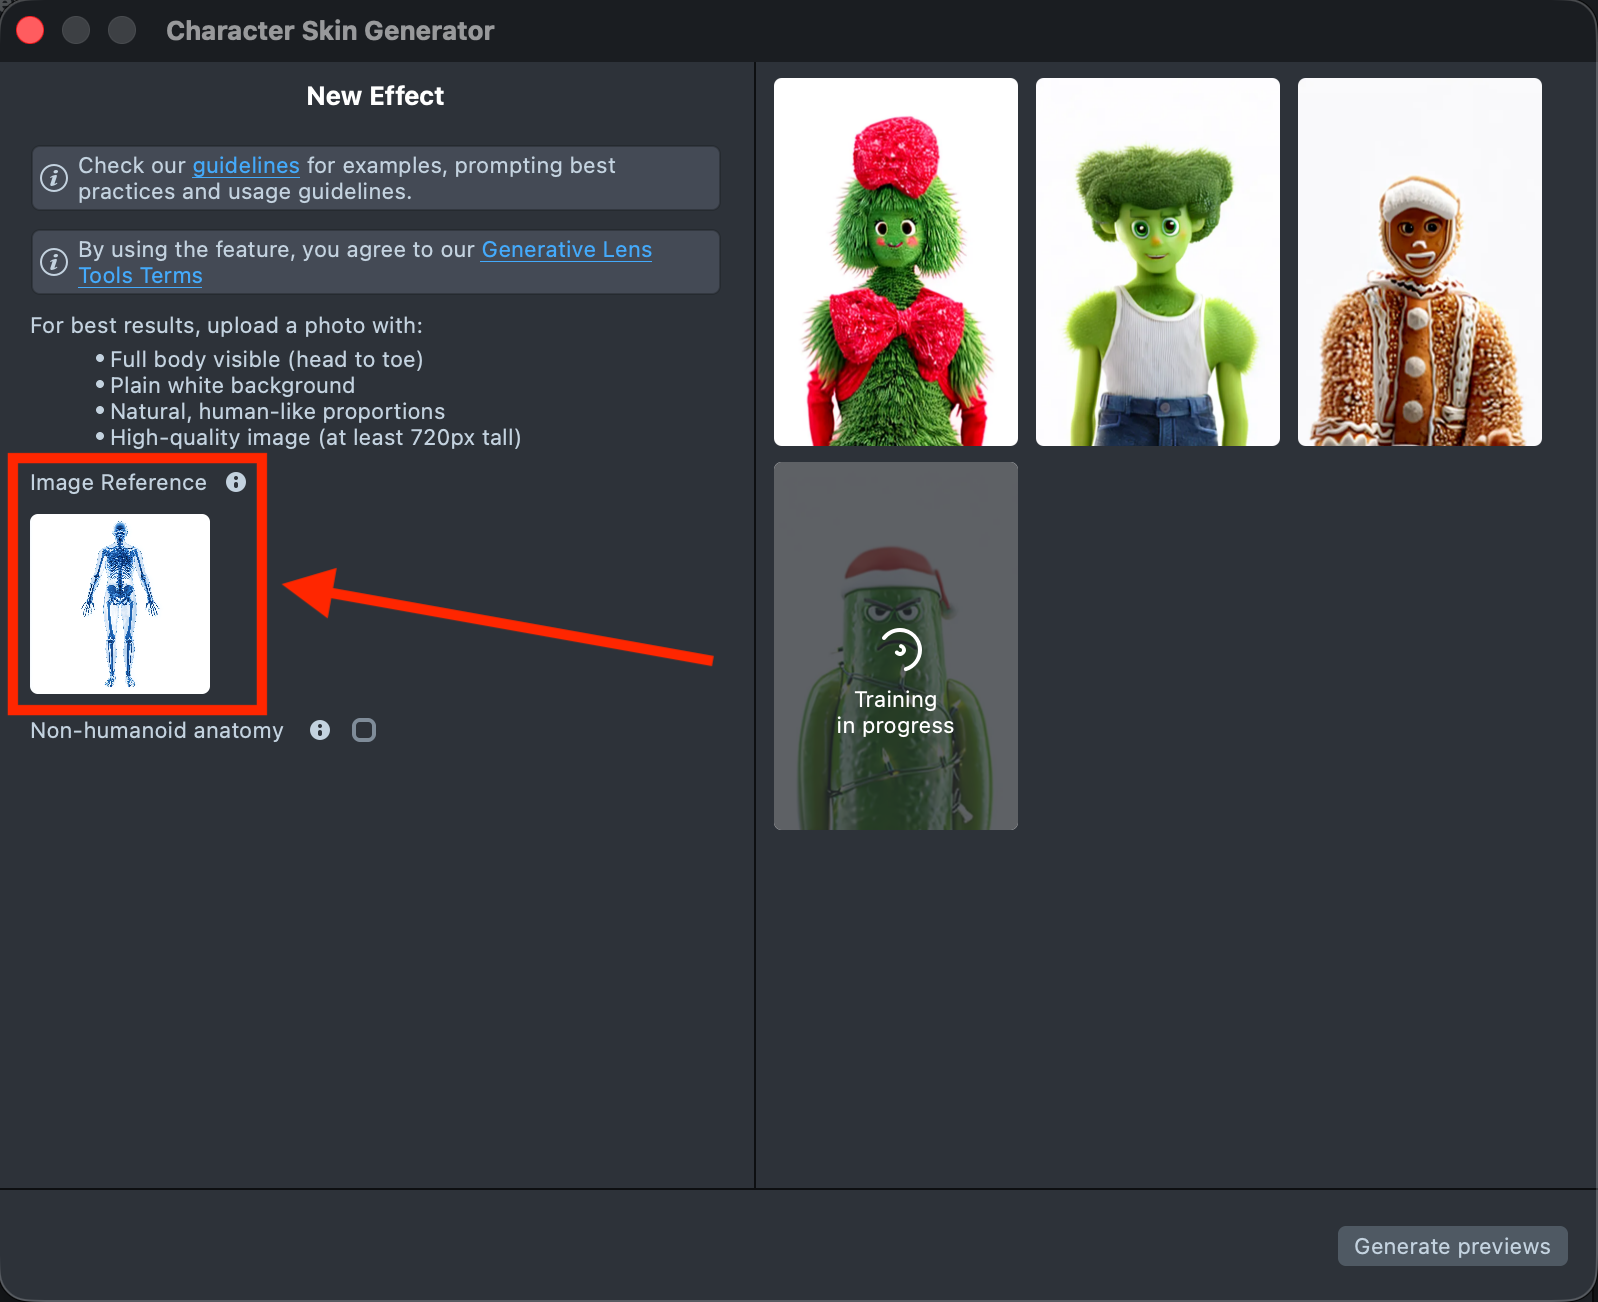
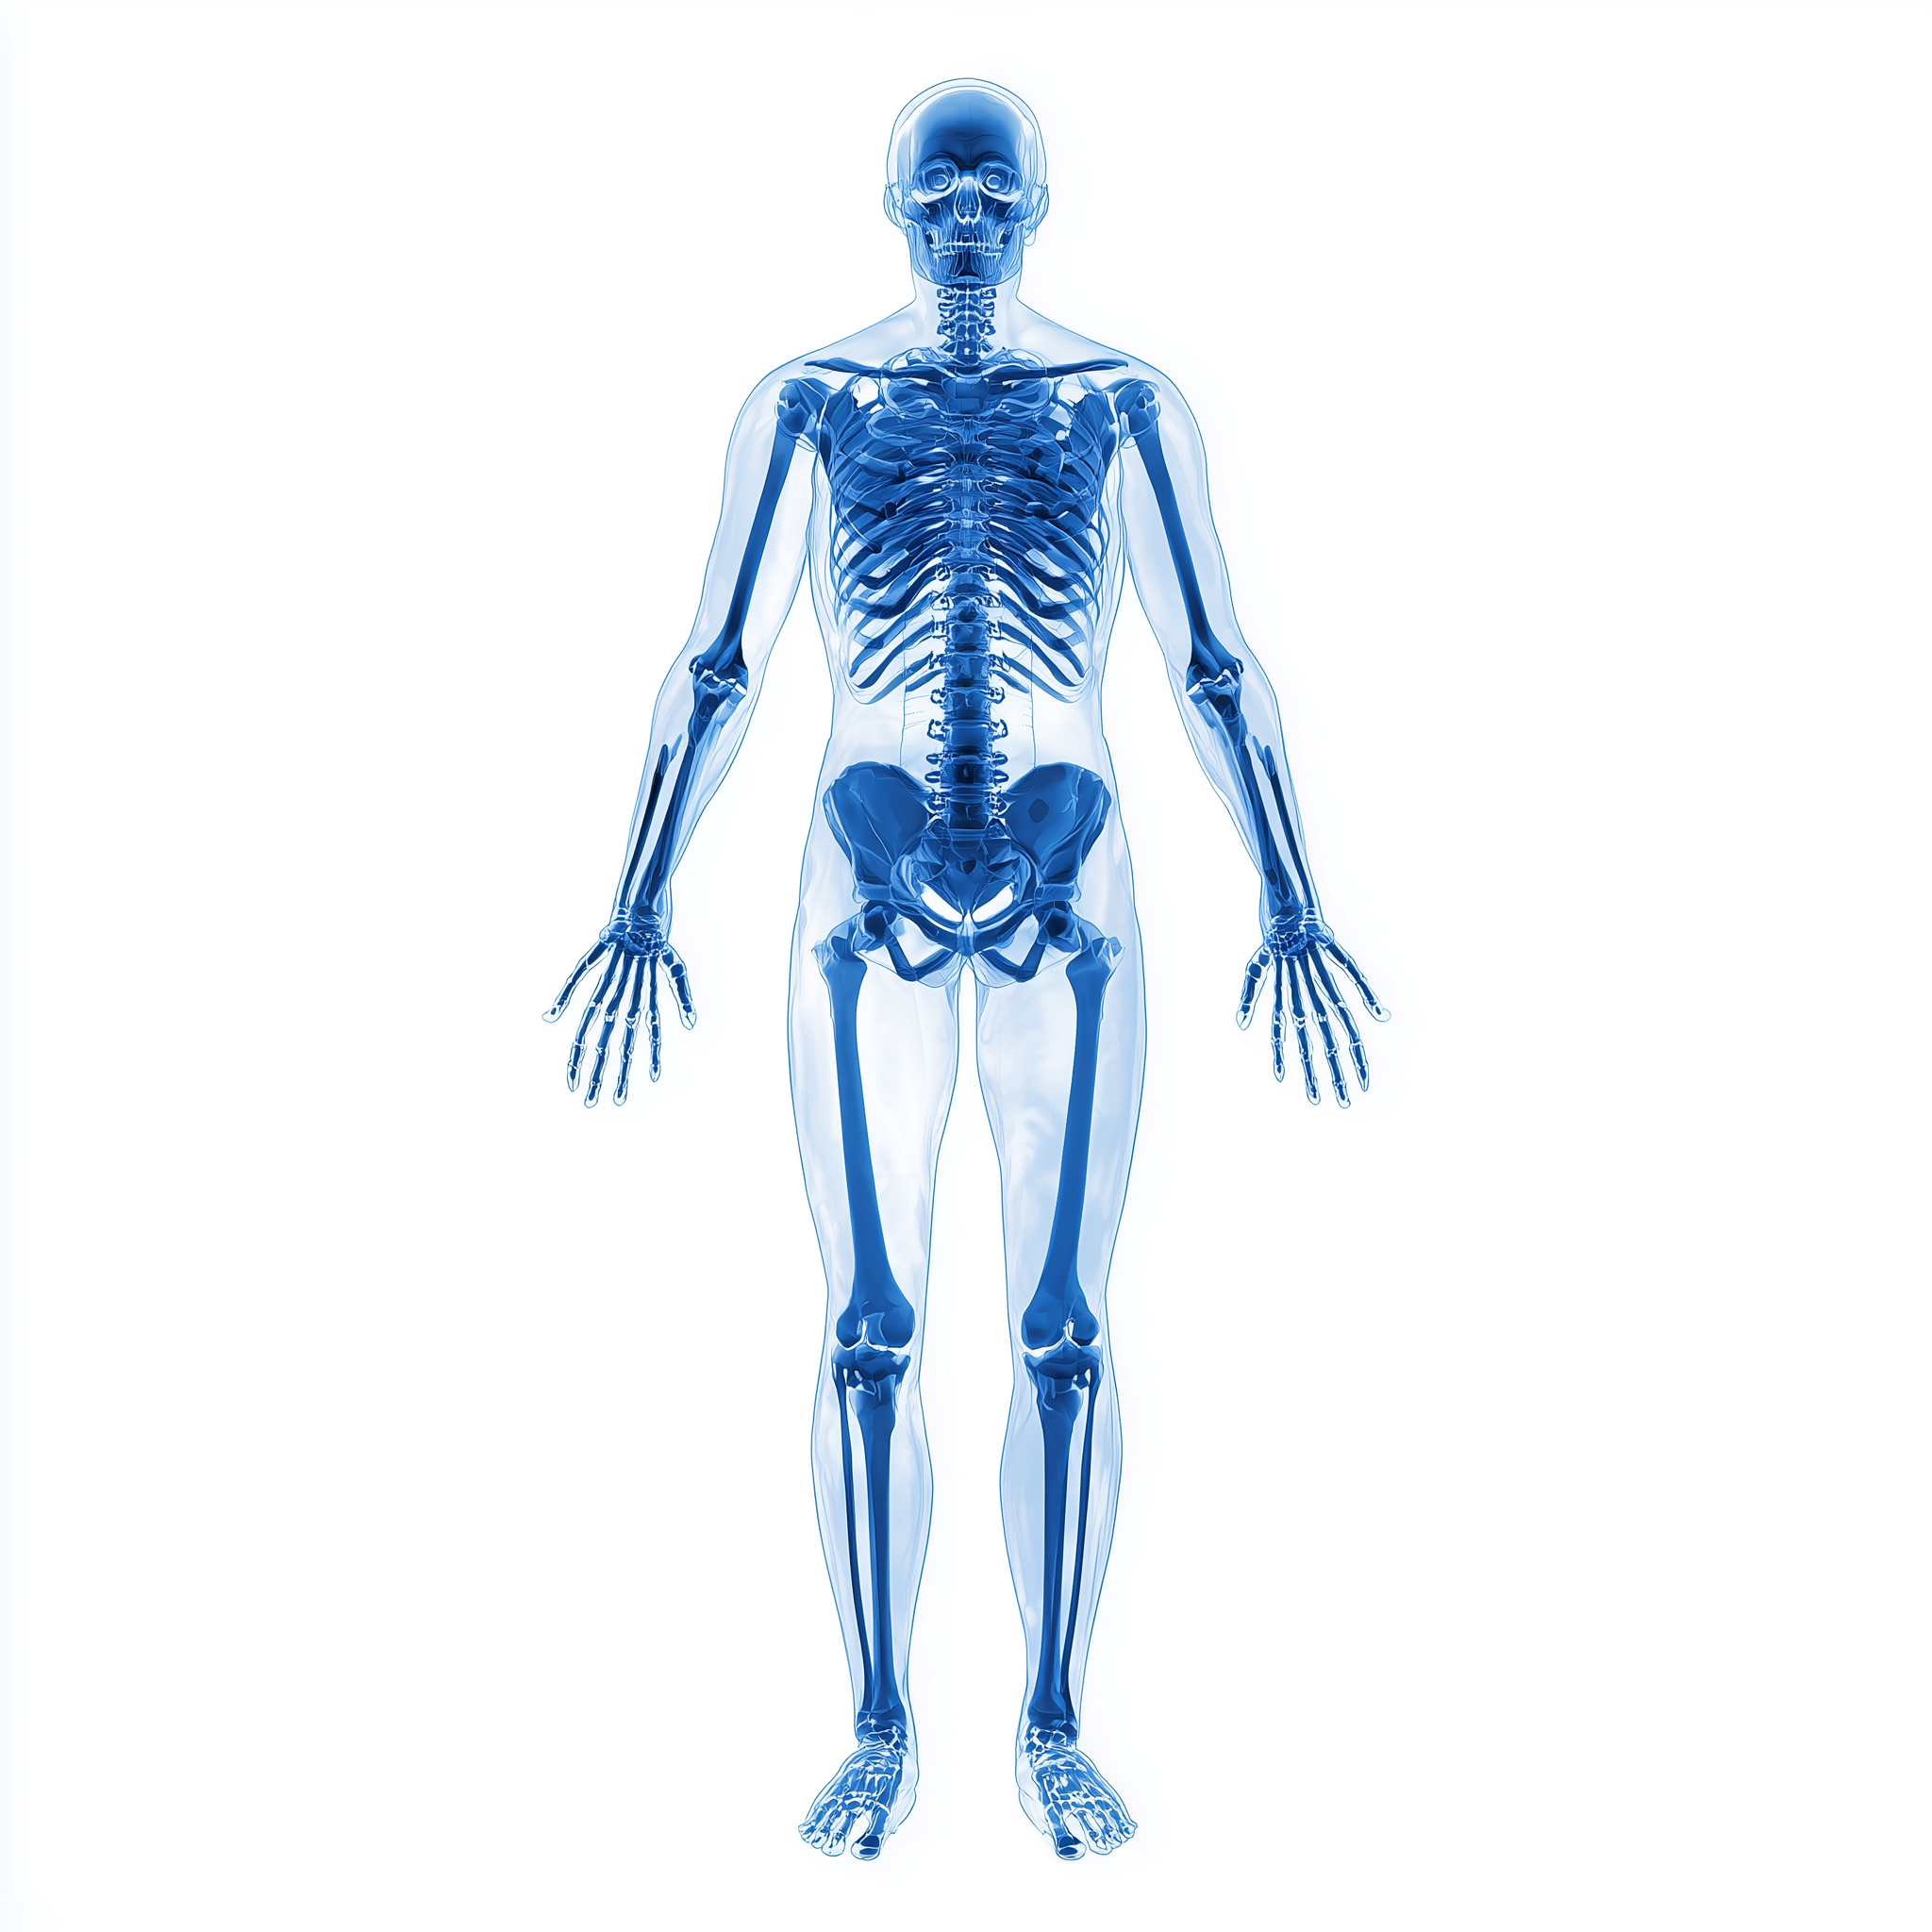
Upload the Image Reference you want to use for your effect creation.
See the Best Practices guide to learn how to achieve the best results.
-
Select the
Non-humanoid anatomycheckbox if your reference image shows a character or object without a human-like body structure (for example, a banana, cactus, snowman, or other non-humanoid shapes).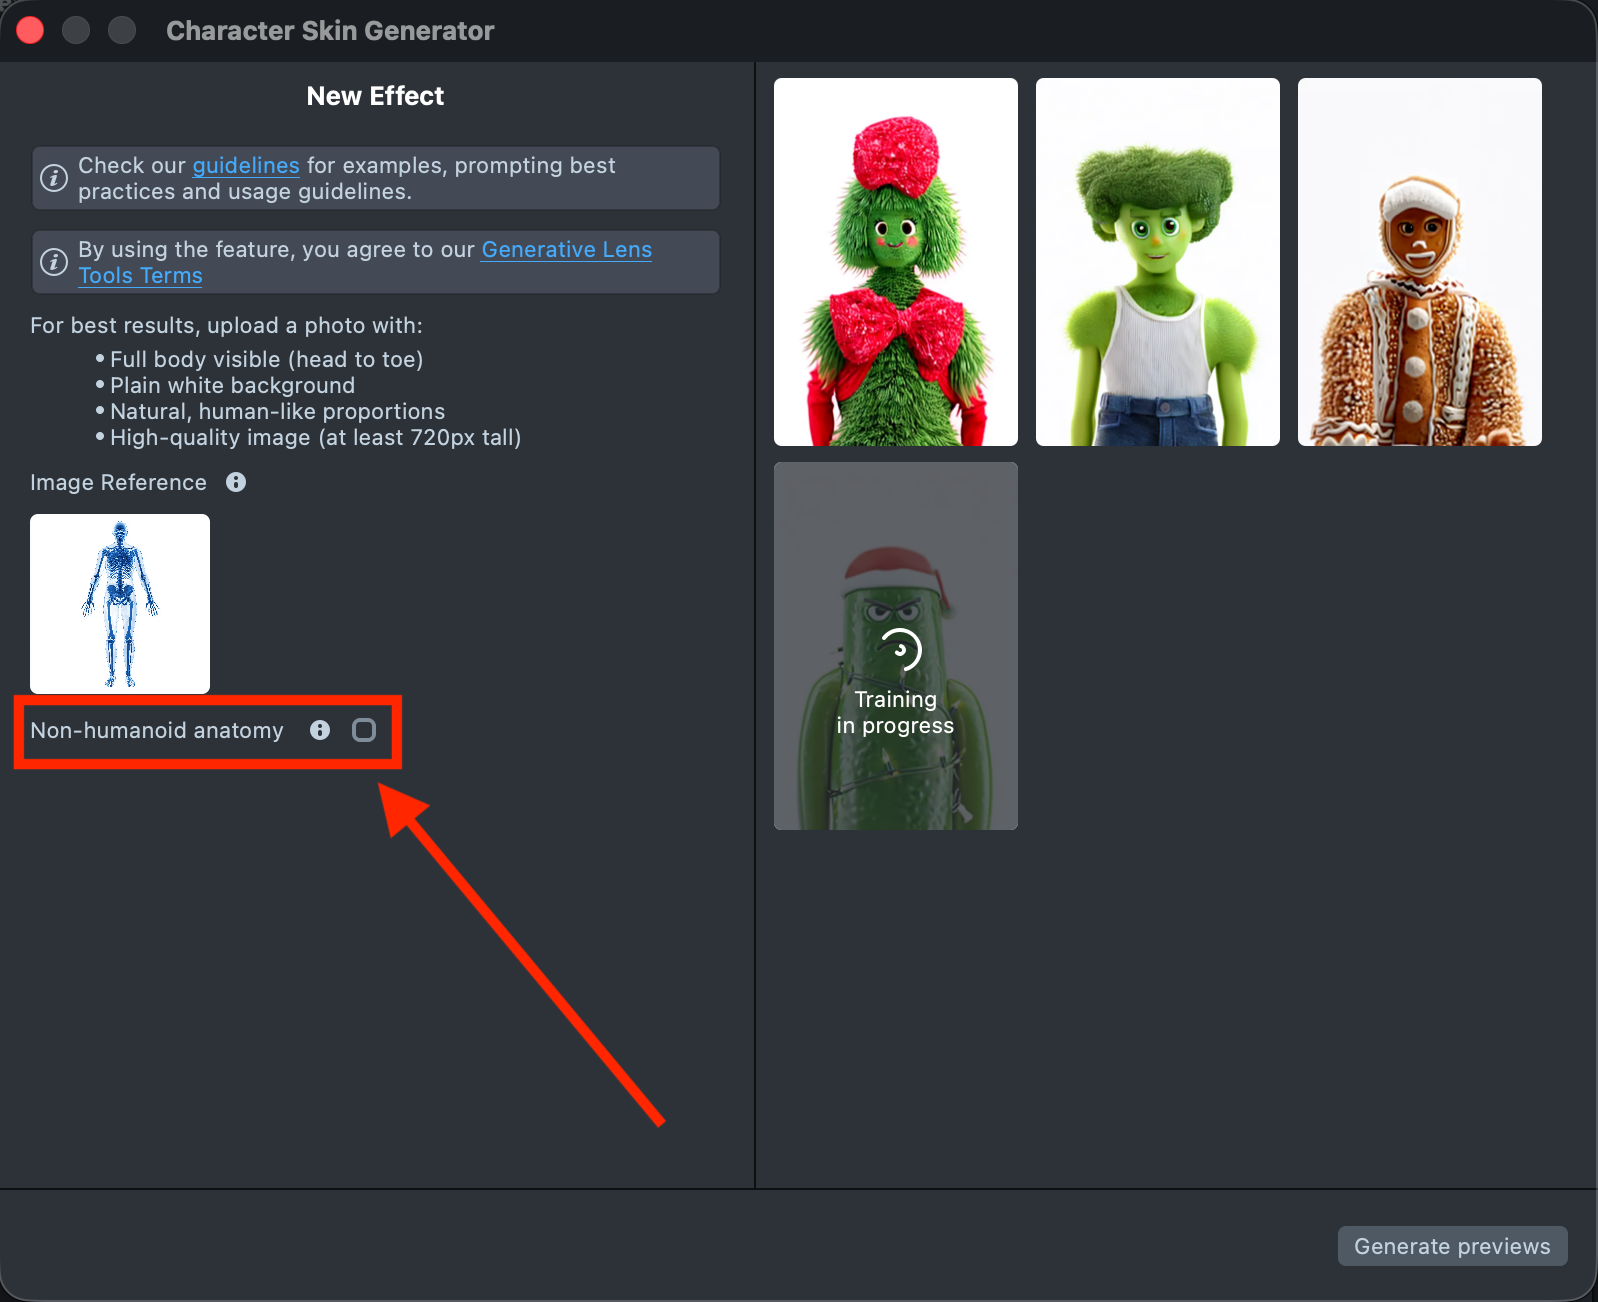
-
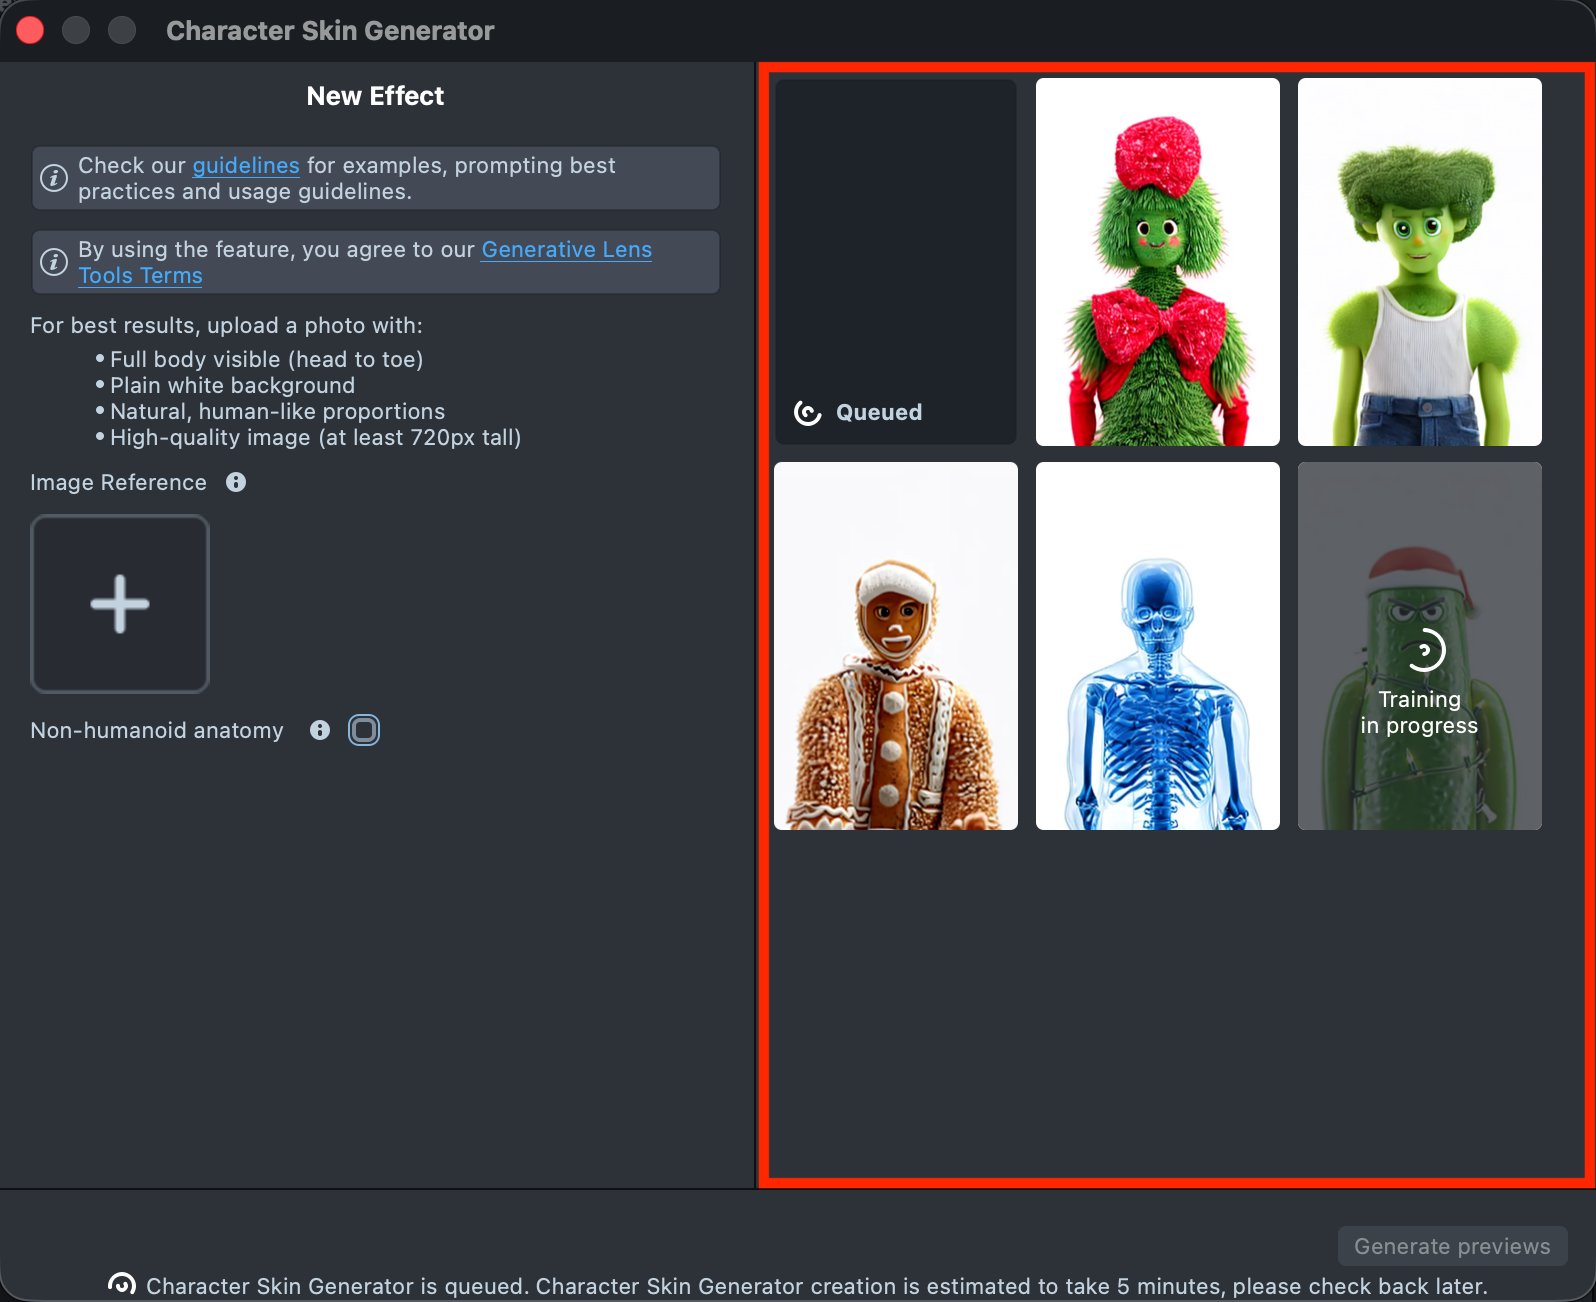
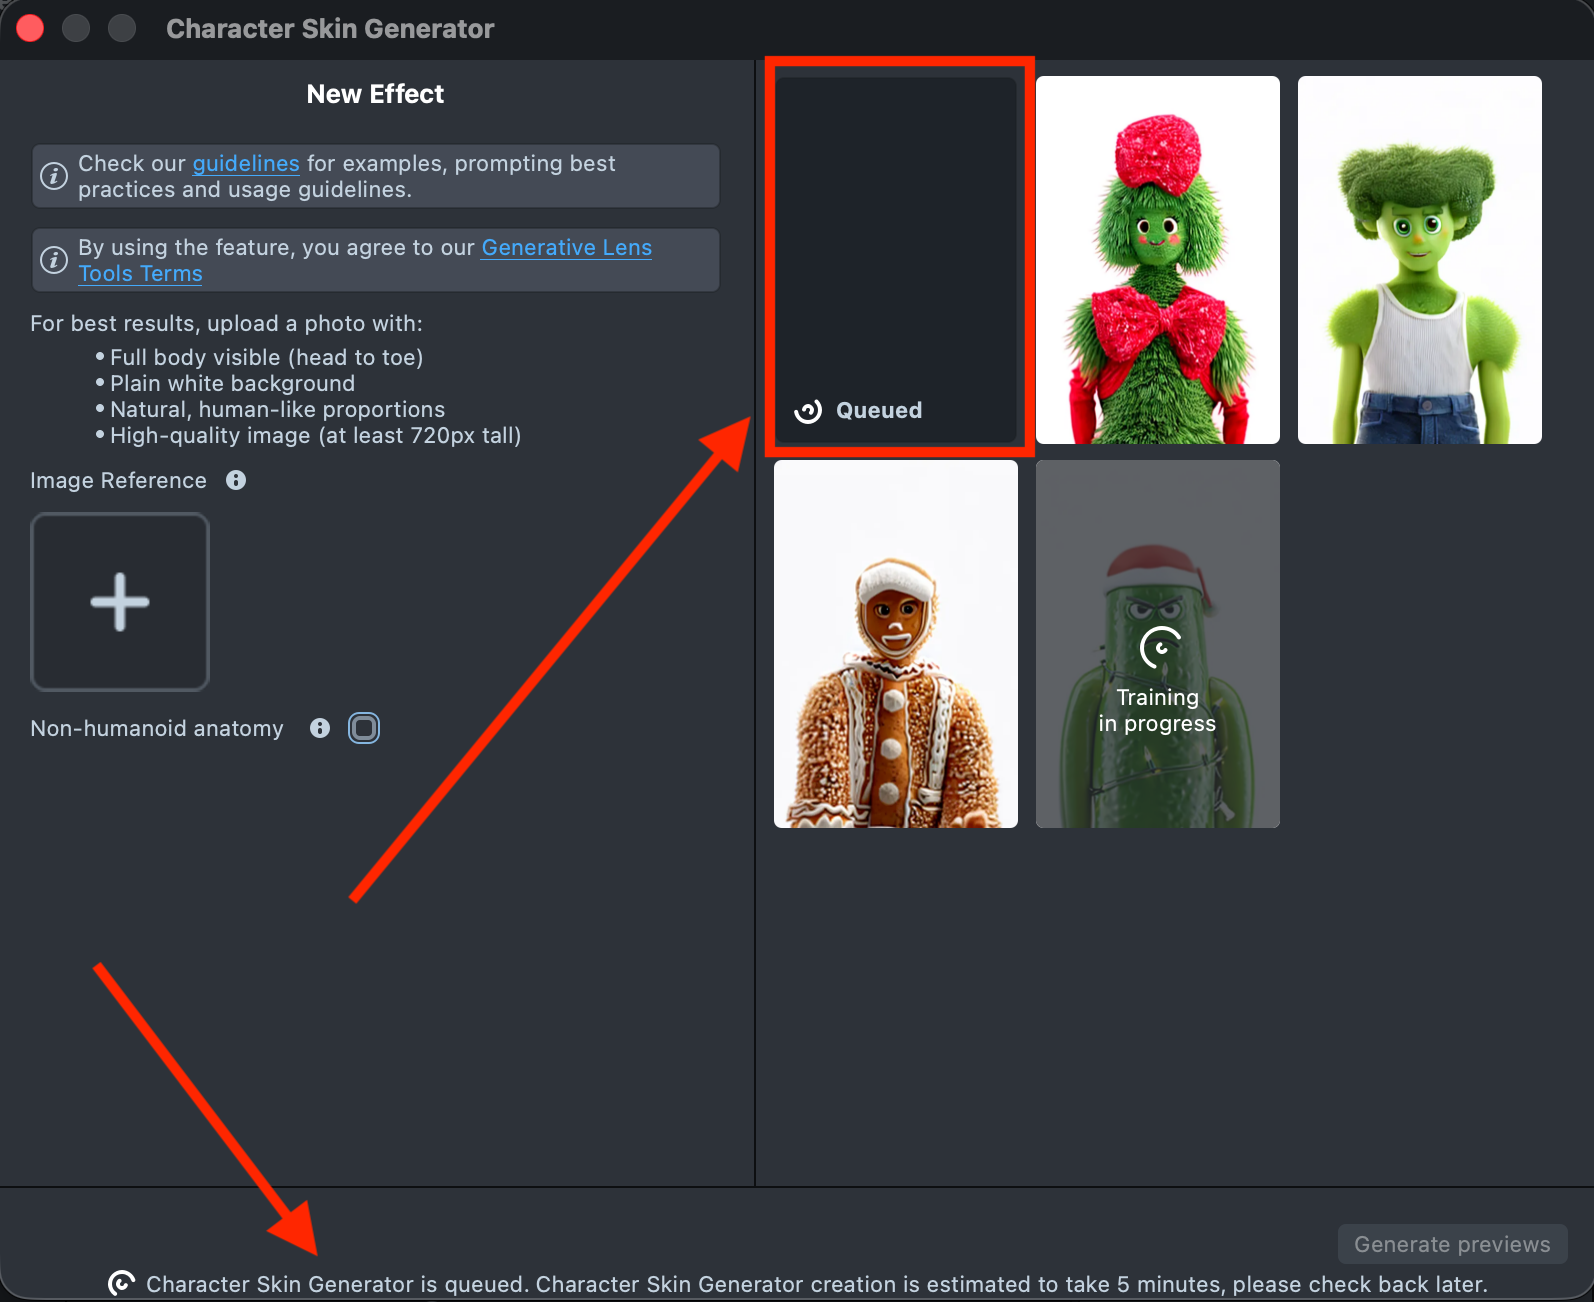
When your prompt is ready, click
Generate previewsto generate the previews.
-
A new tile will appear in the Gallery with a loading indicator in the corner, showing the progress. A corresponding message is also displayed in the Status Bar at the bottom.
Preview generation may take up to 5 minutes. You can close the plugin and return later.
-
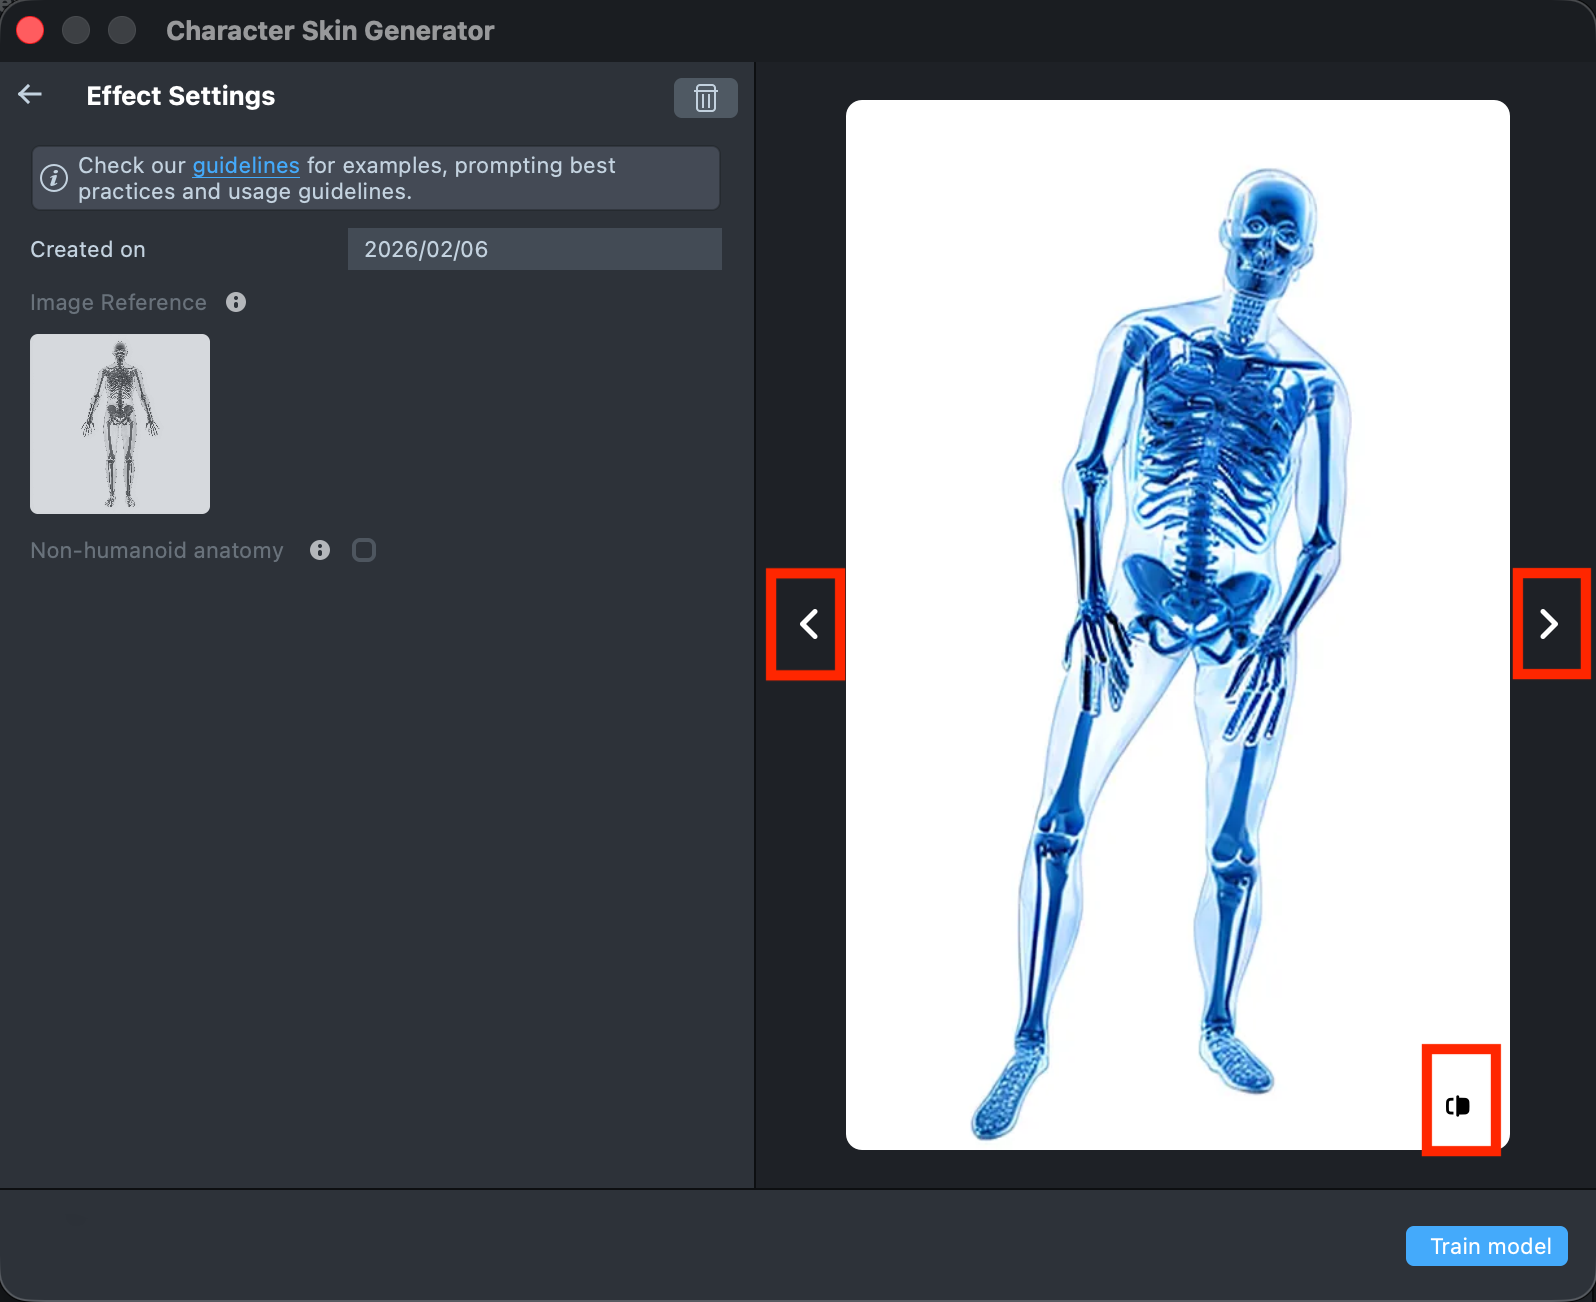
Once the preview has been generated, you can click its tile in the Gallery to open the details page. Here, you can use the arrows on the sides to preview the effect on different models. Additionally, you can click the button in the bottom-right corner to view the original image the effect was applied to.
-
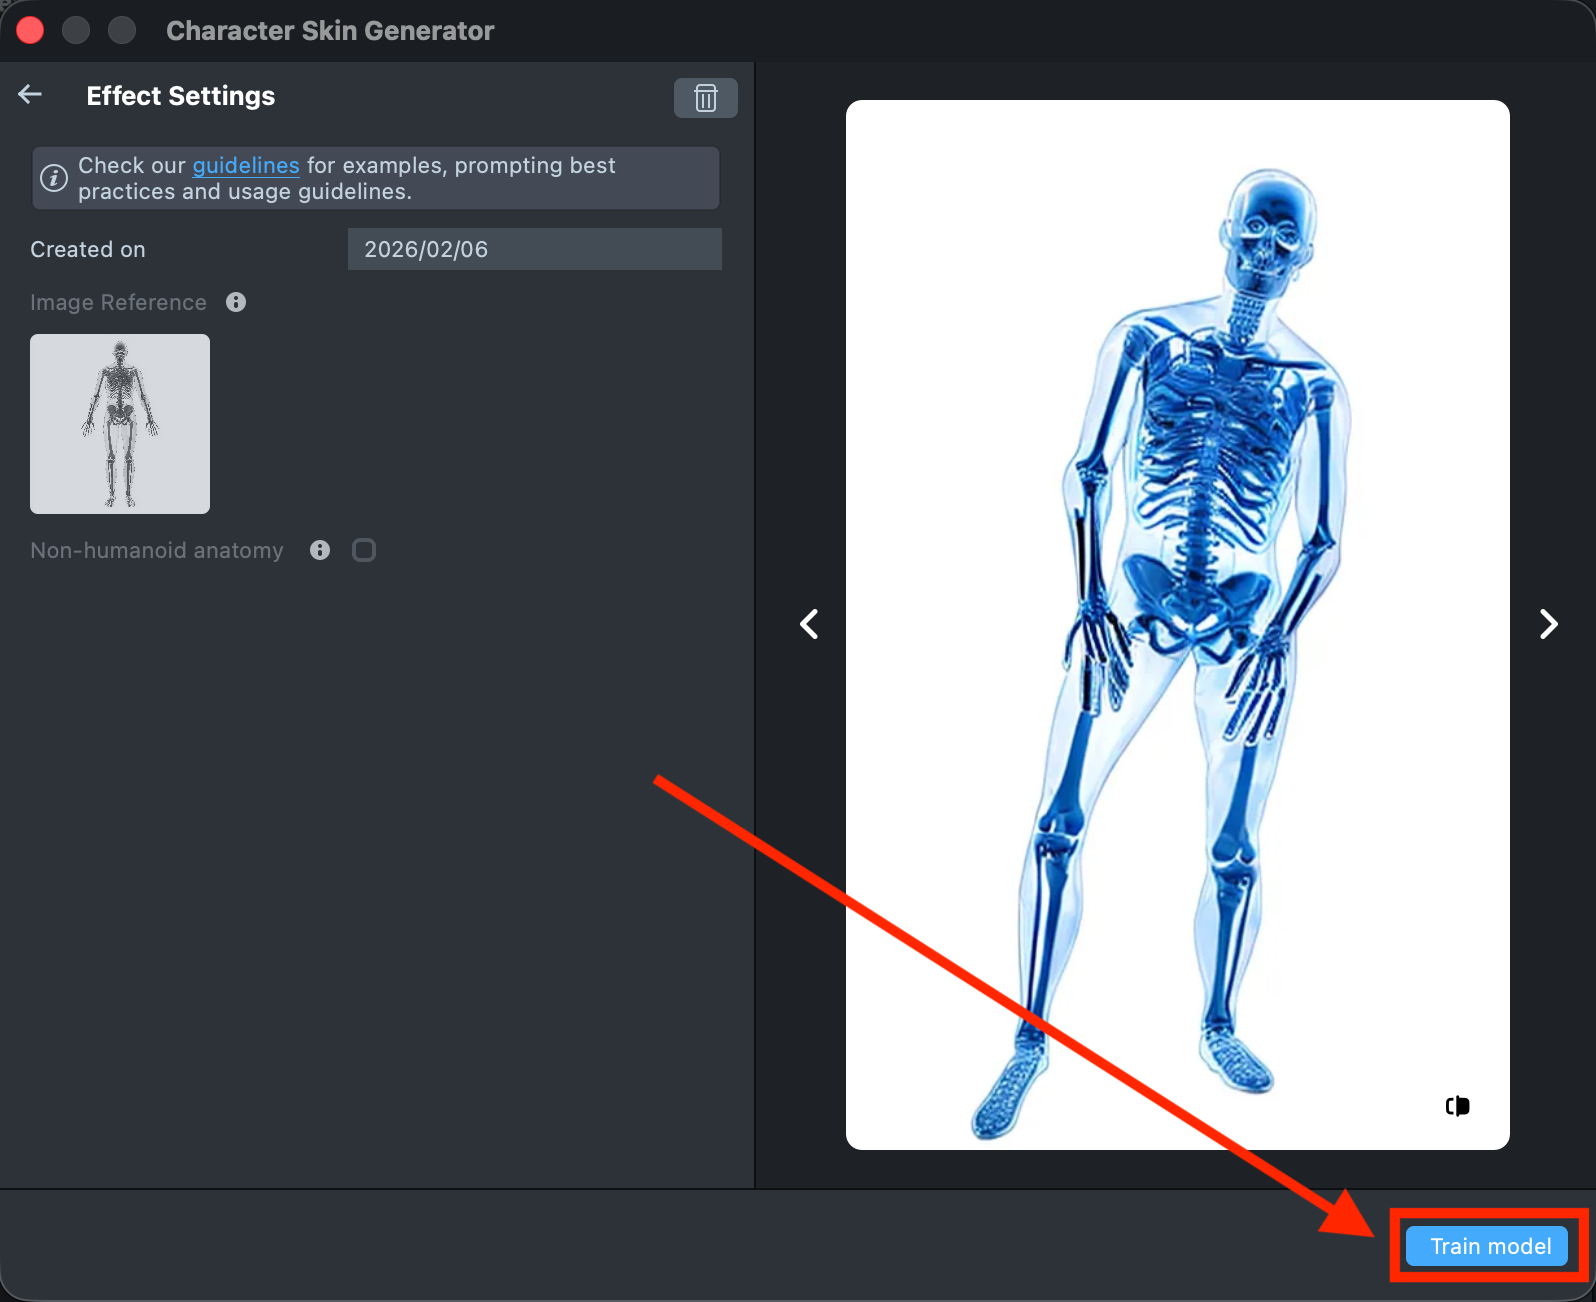
Happy with the preview? Great! Click
Train modelto start training your model. You’ll be able to track the training status directly in the Gallery.Training the model may take 8-12 hours. You can close the plugin and return later.
-
Once training is complete, you can import the effect directly from the Gallery by clicking the
Importbutton, or clickImport to projecton the details page to add it to your project.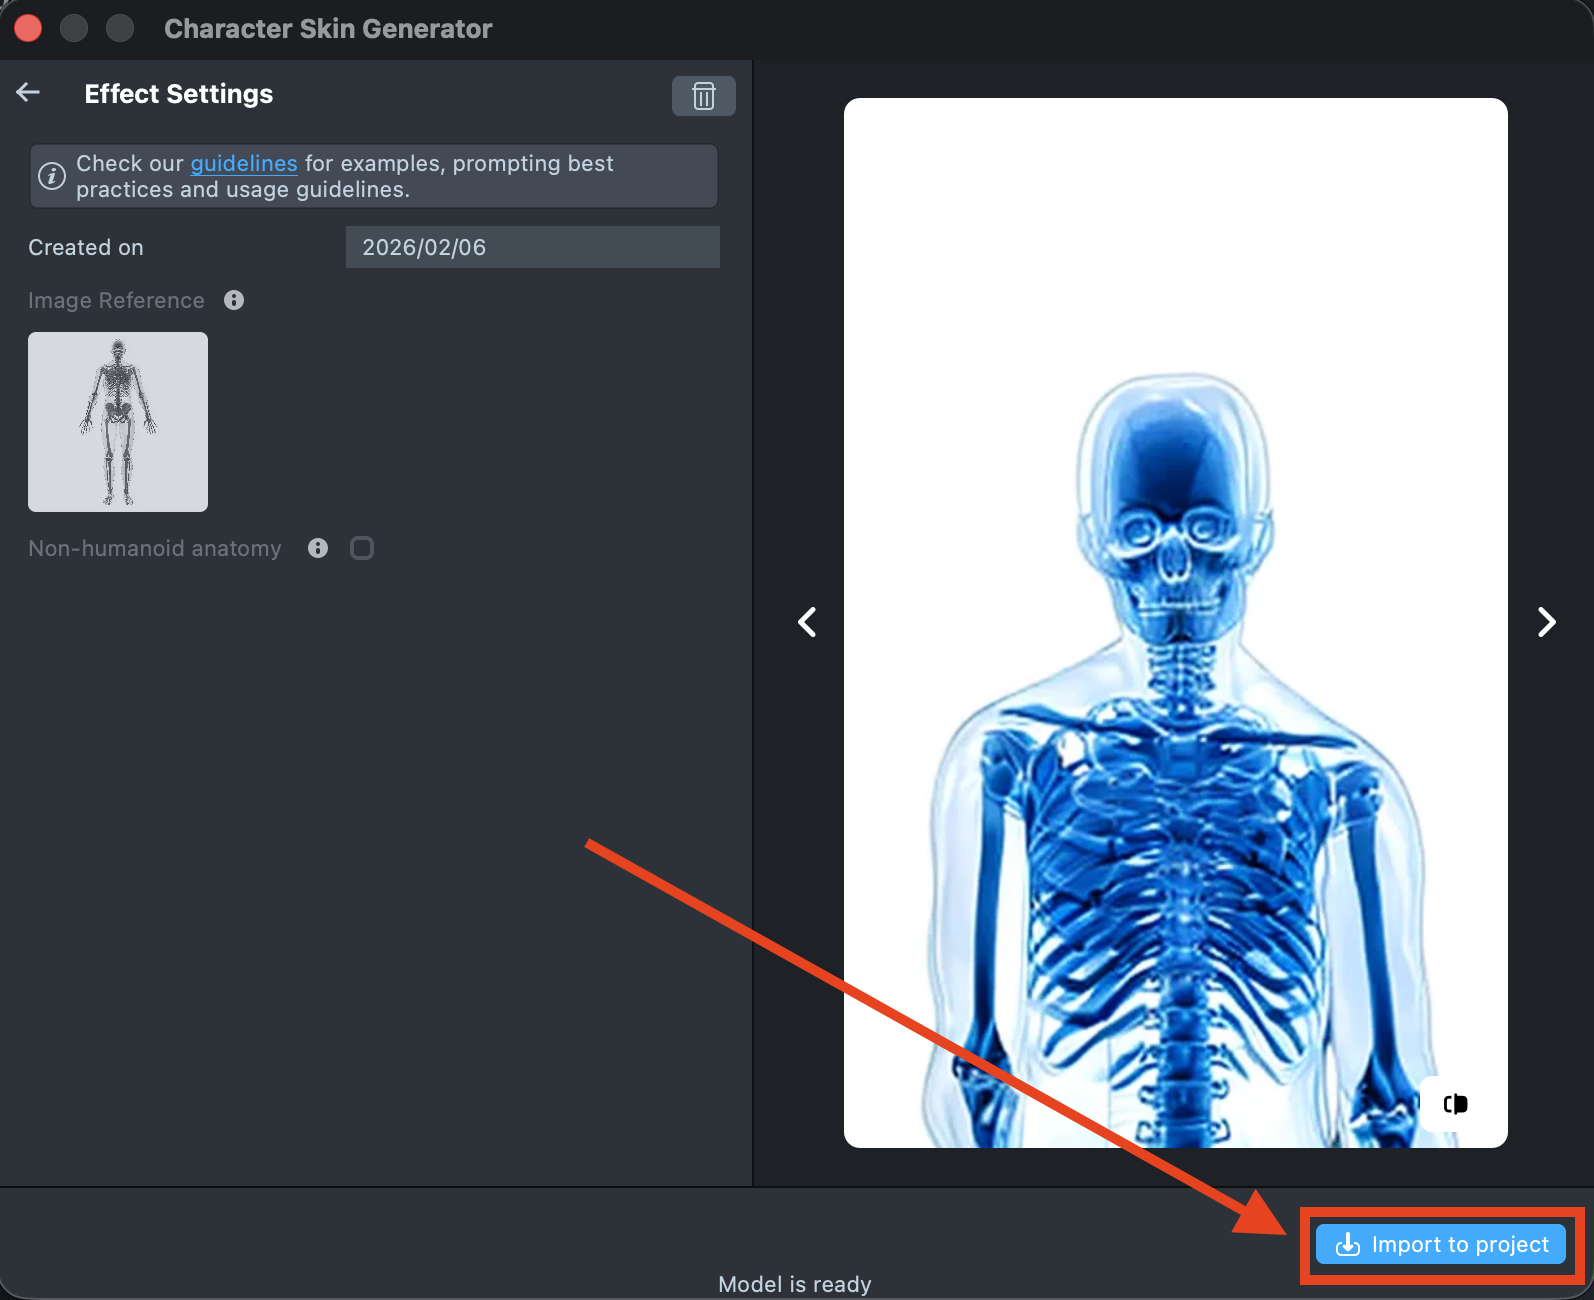
-
When you’re satisfied with the result, save your project and push the Lens for testing on Snapchat. See the Pairing to Snapchat guide to test your Lens on a device, and the Publishing guide to learn more about sharing your creation.
Best Practices
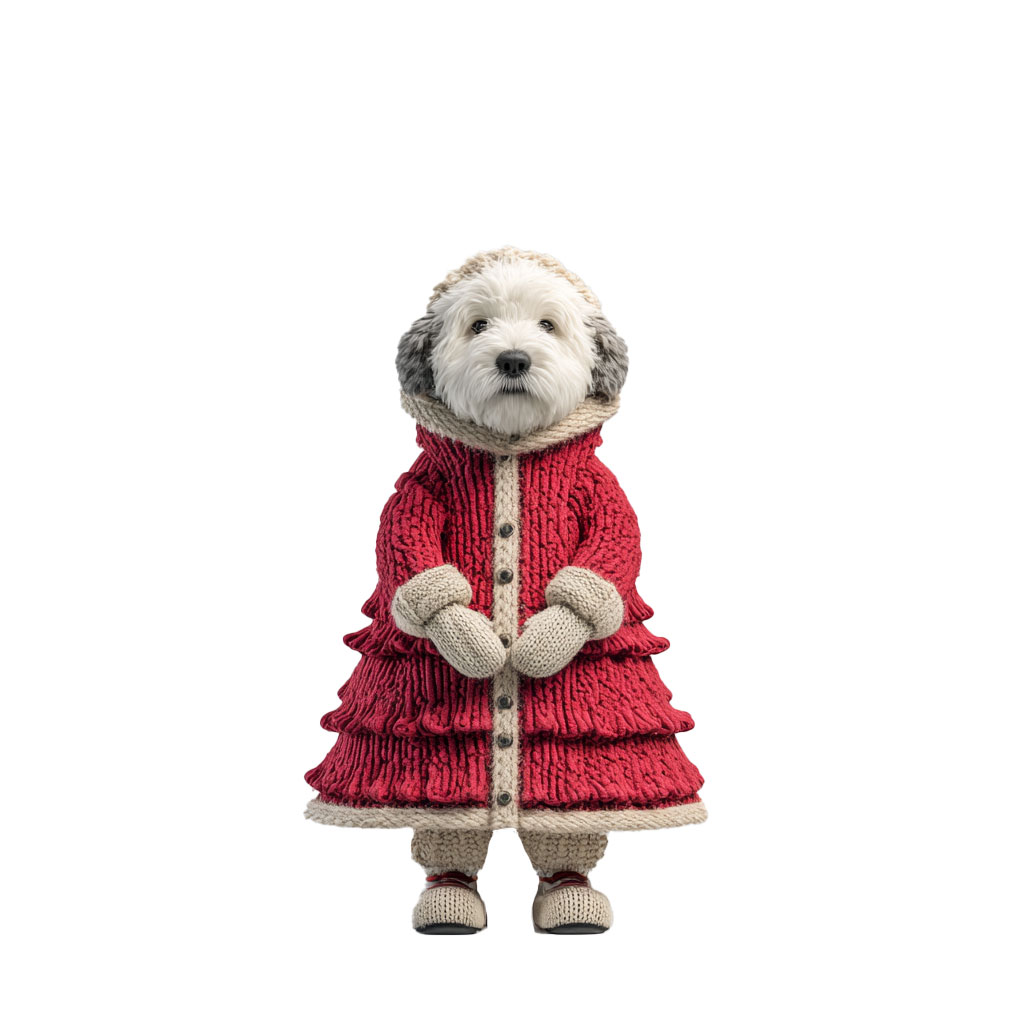
Image Reference Recommendations
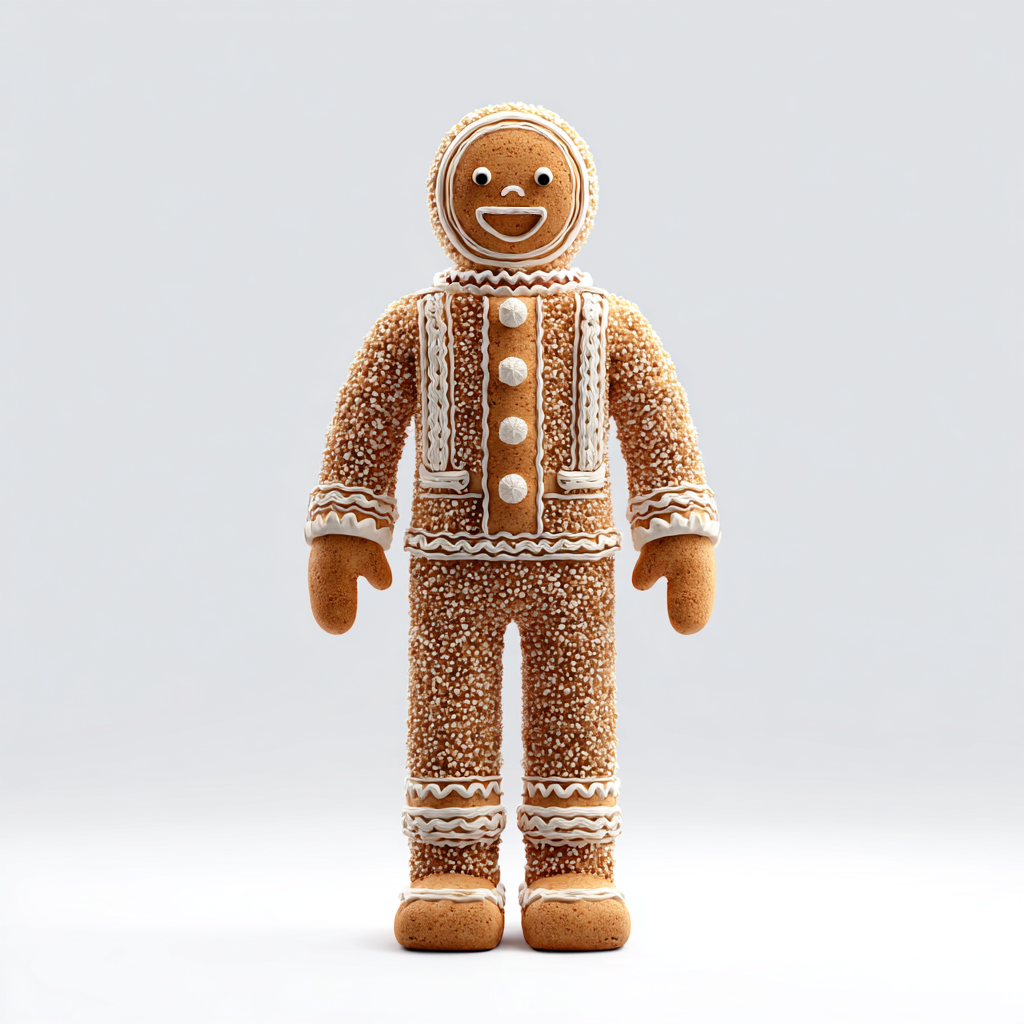
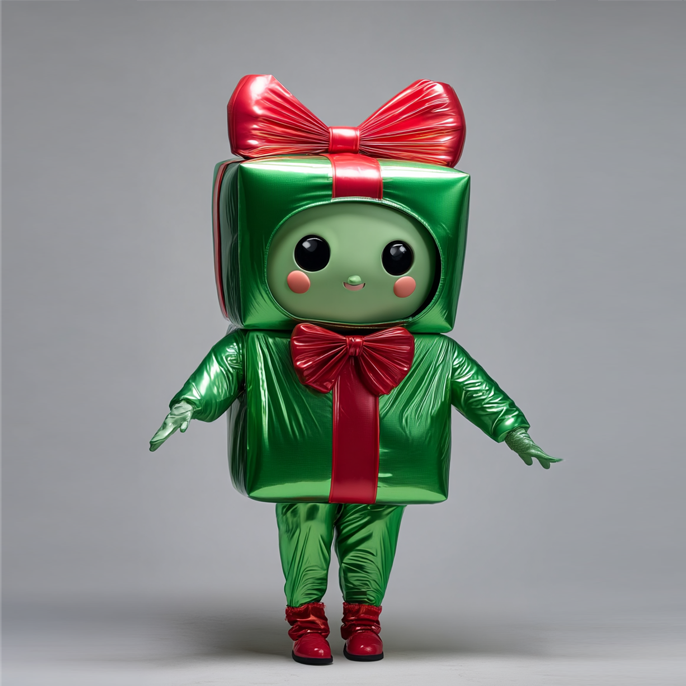
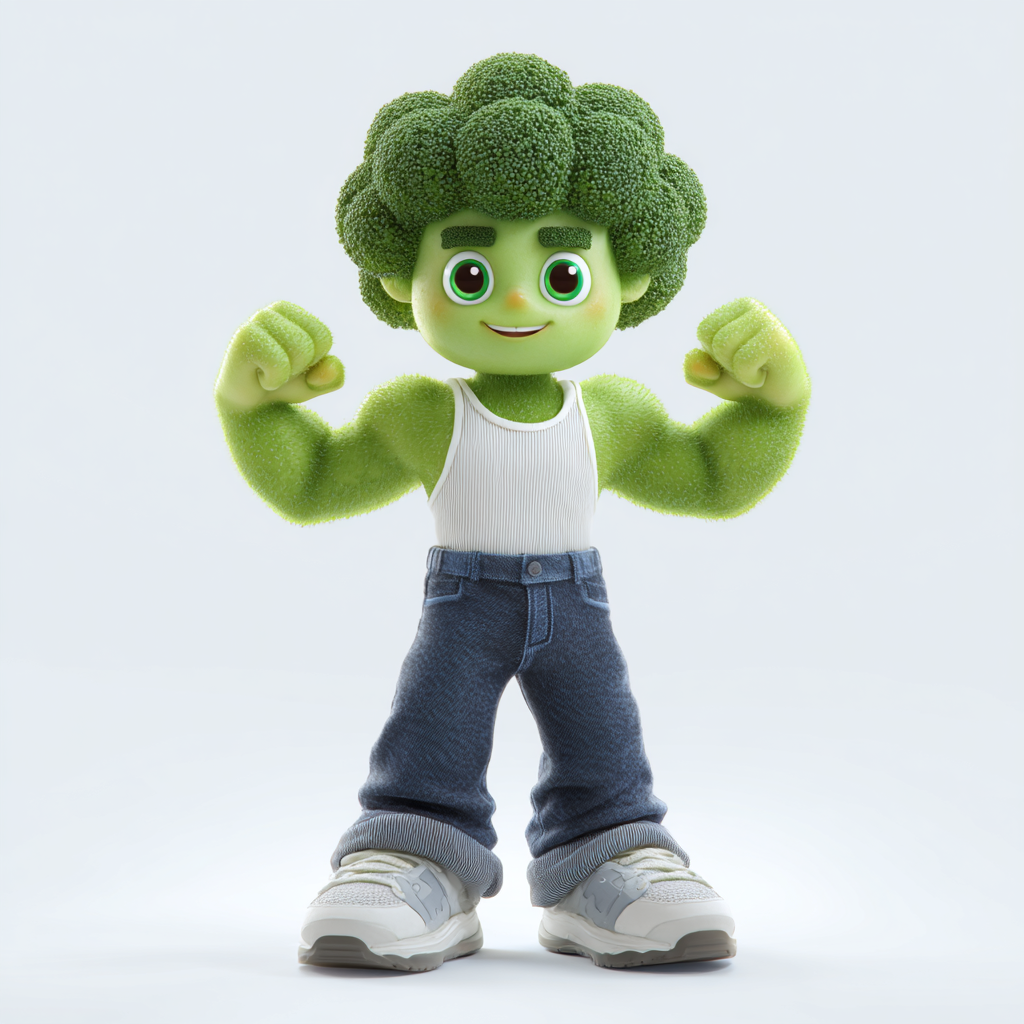
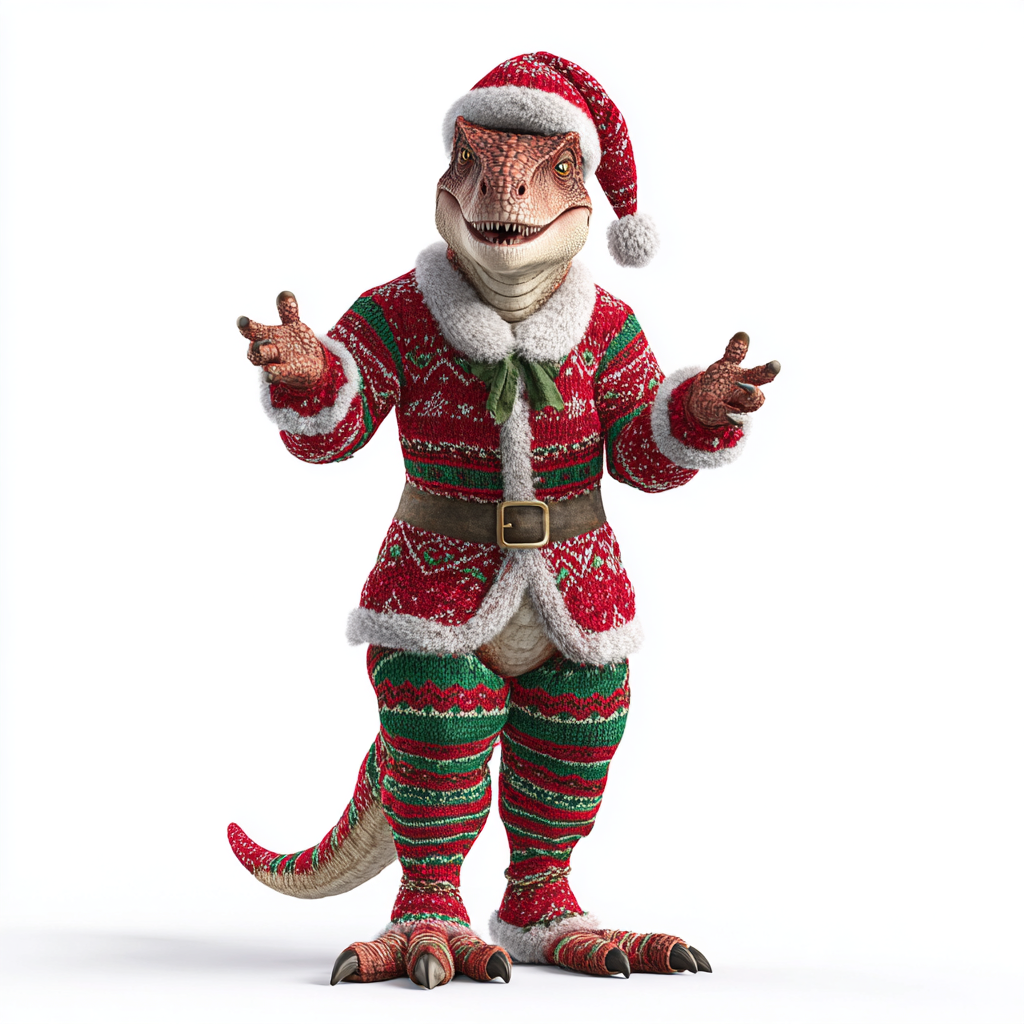
You can use any image, but for best results, upload an Image Reference that meets the following criteria:
- High-quality image (at least 720px tall);
- Plain, high-contrast background;
- Front-facing orientation of the object;
- Larger head with clear, human facial features;
- Simple textures;
- No protruding elements;
- Full body visible (head to toe);
- Human-like body shape in an A-pose or T-pose
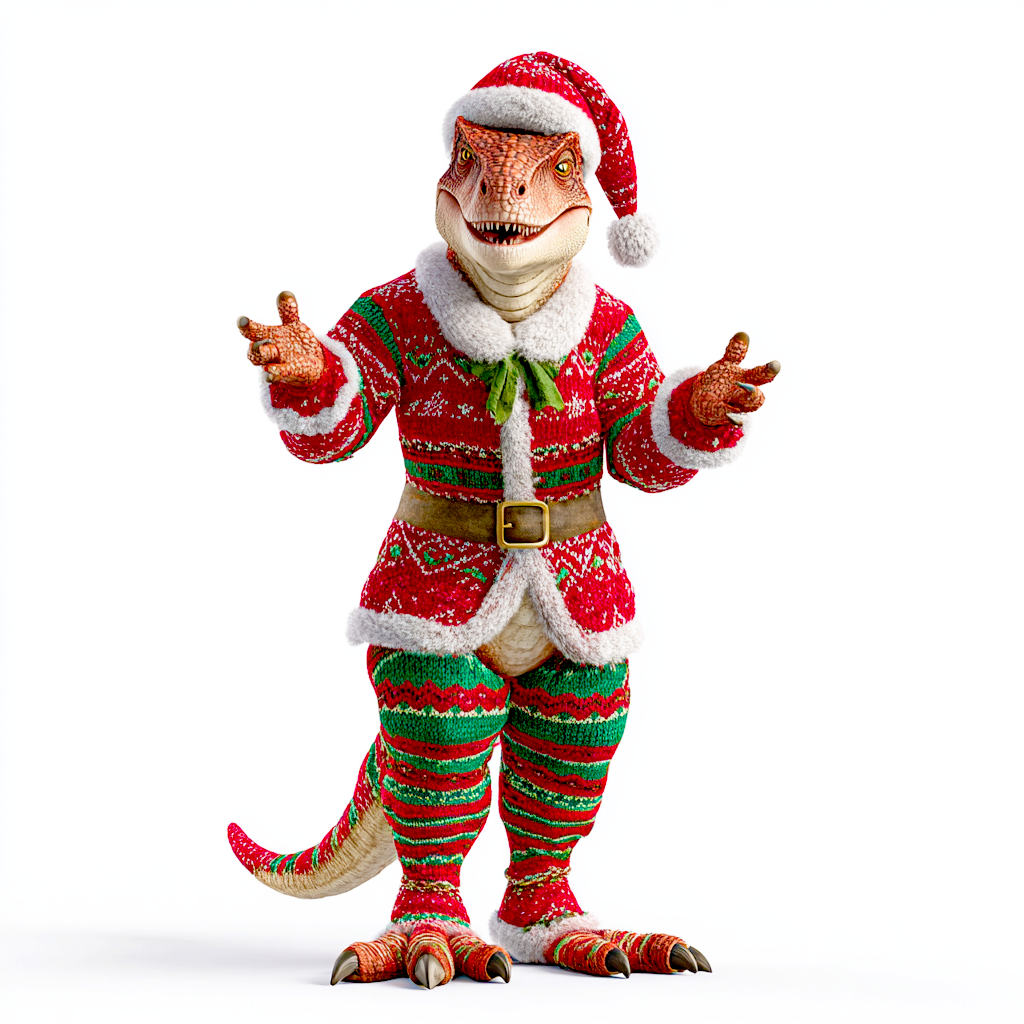
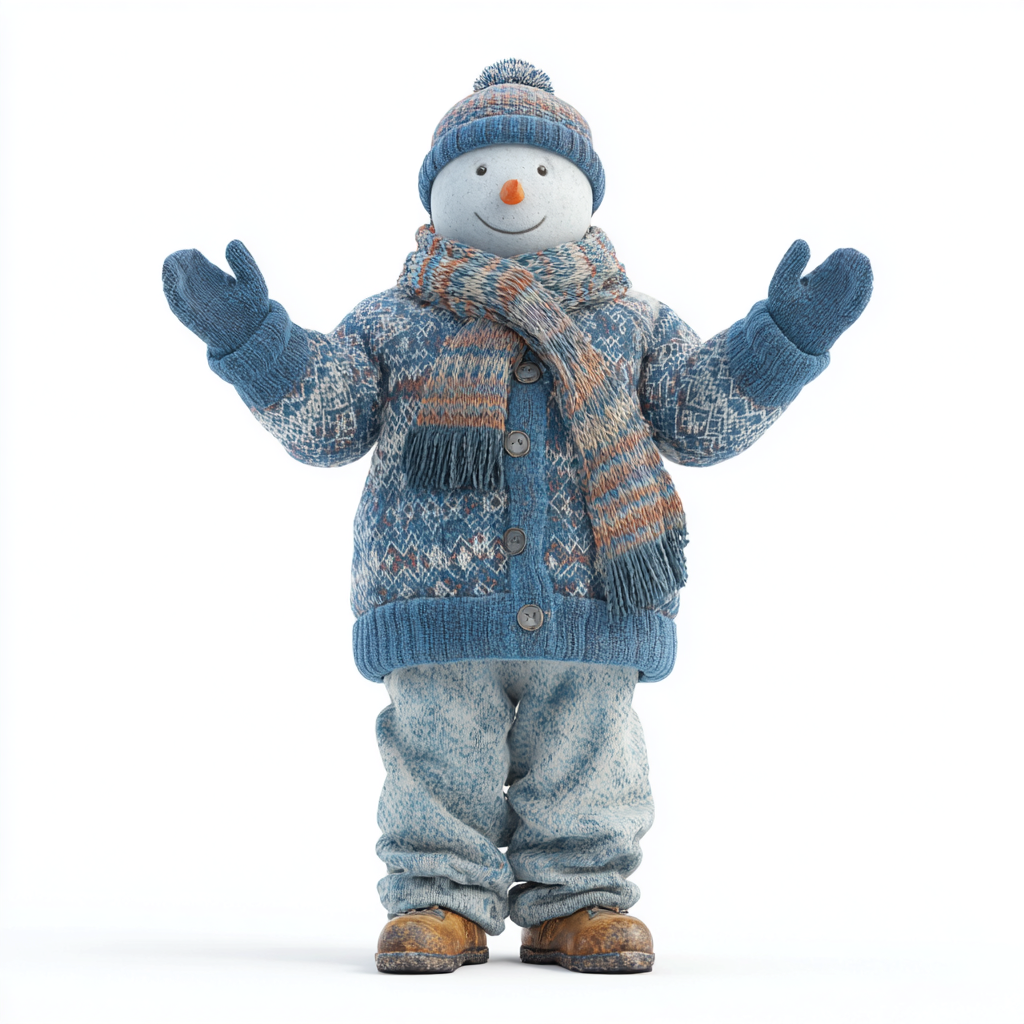
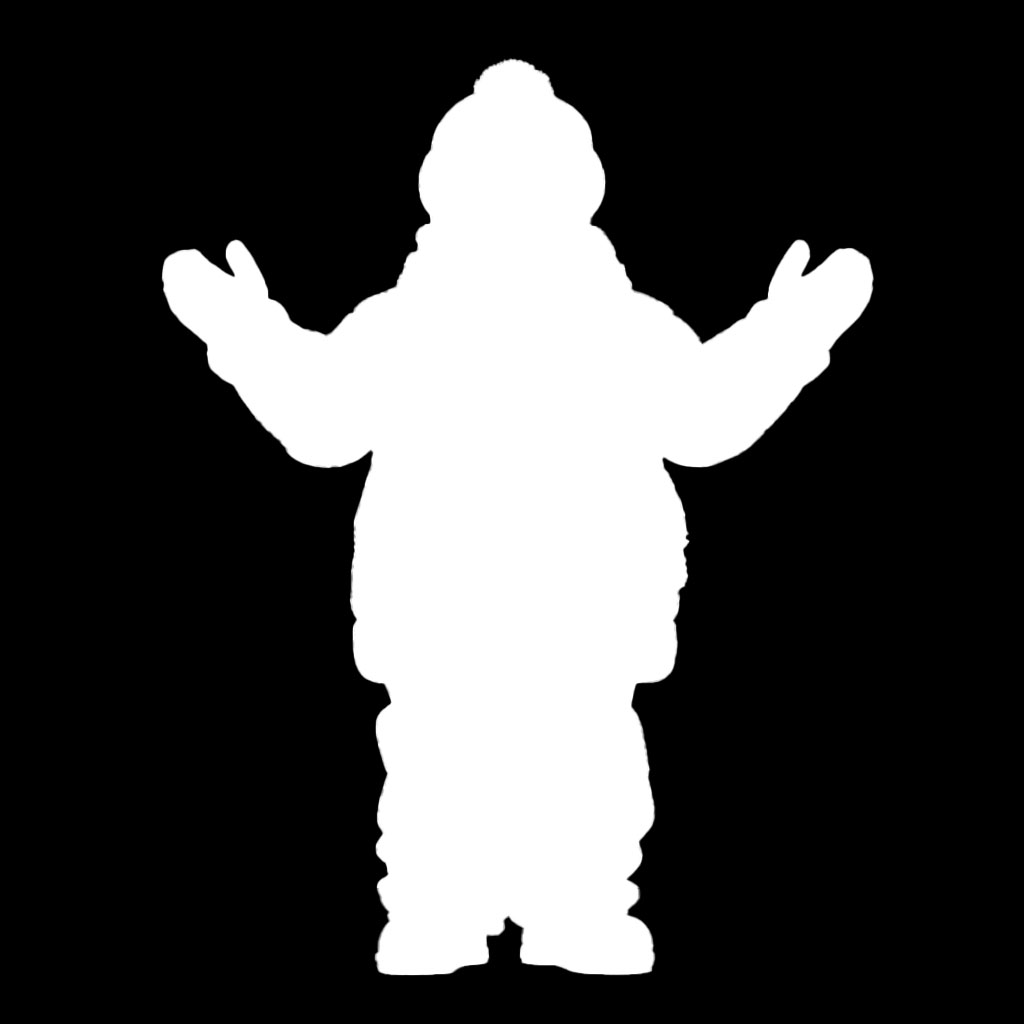
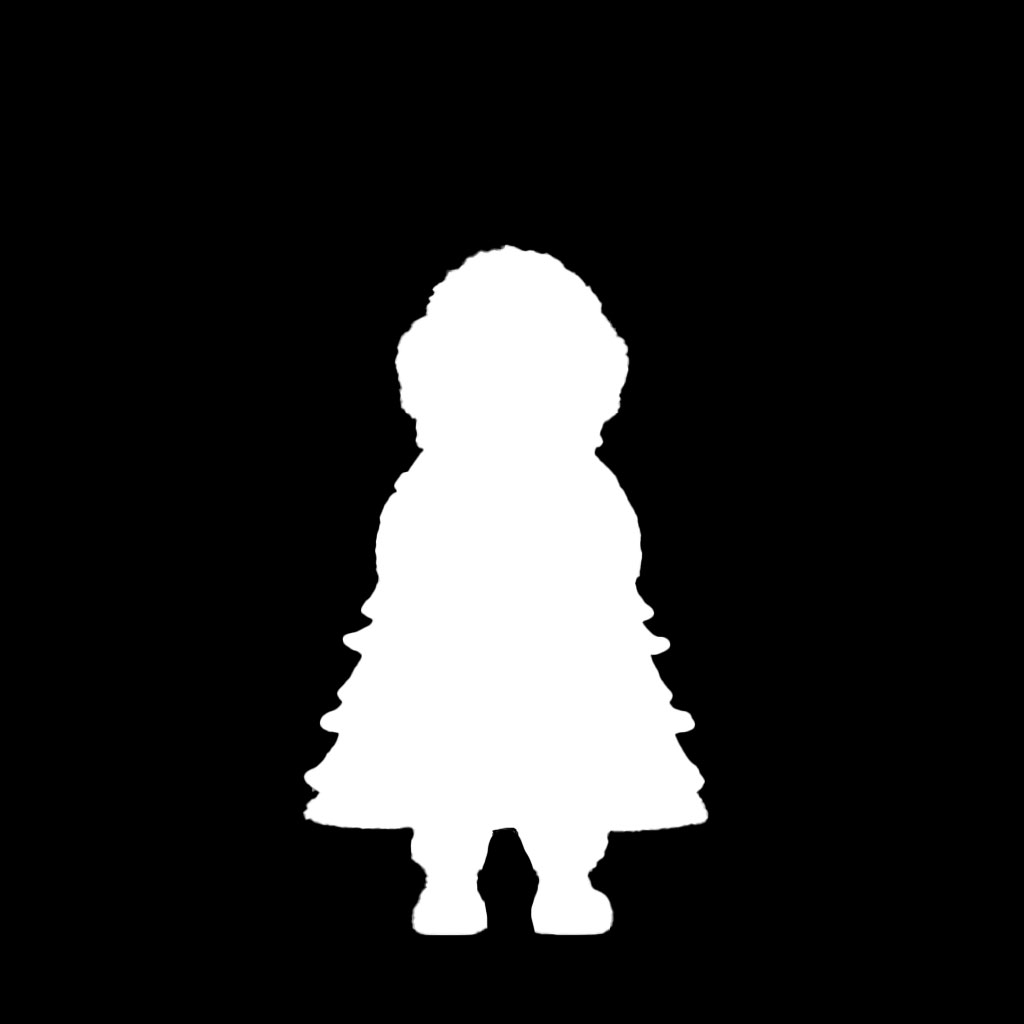
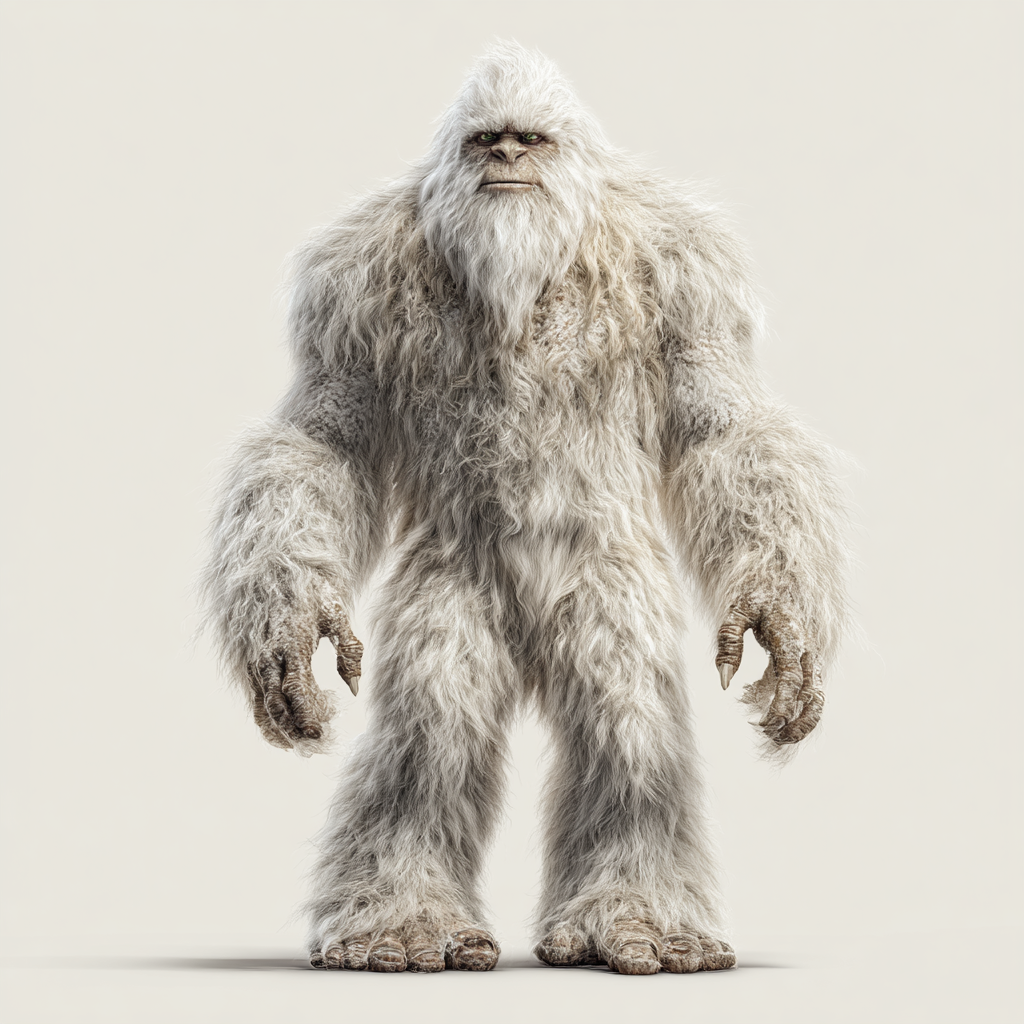
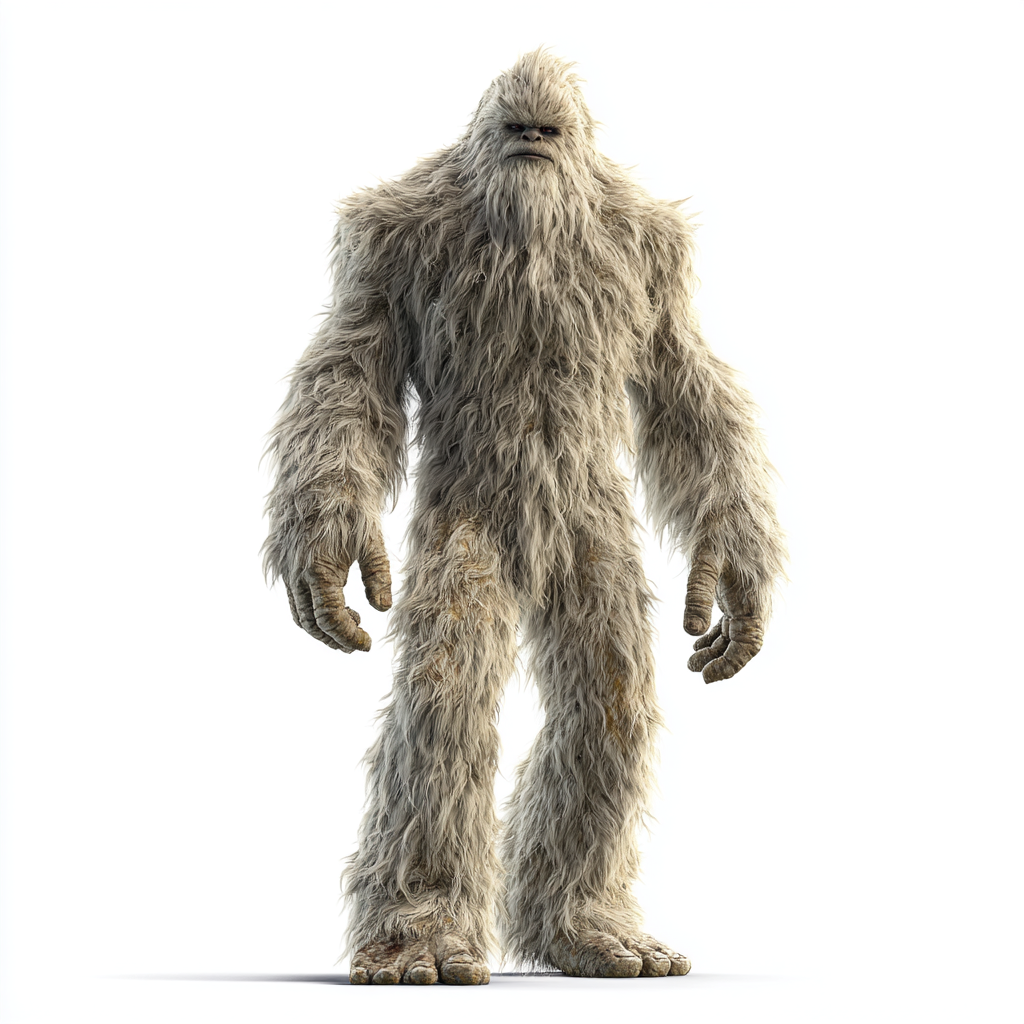
| Ideal Image Reference | ||
|---|---|---|
 |  |  |
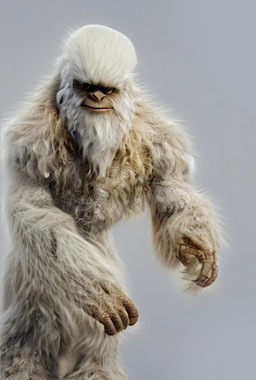
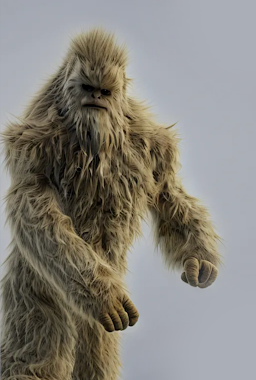
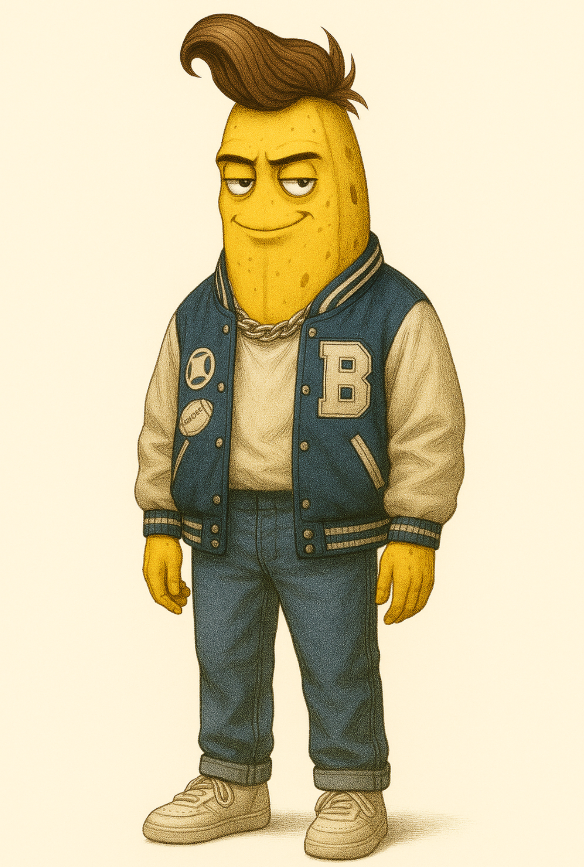
| Good Image Reference | ||
|---|---|---|
 |  | 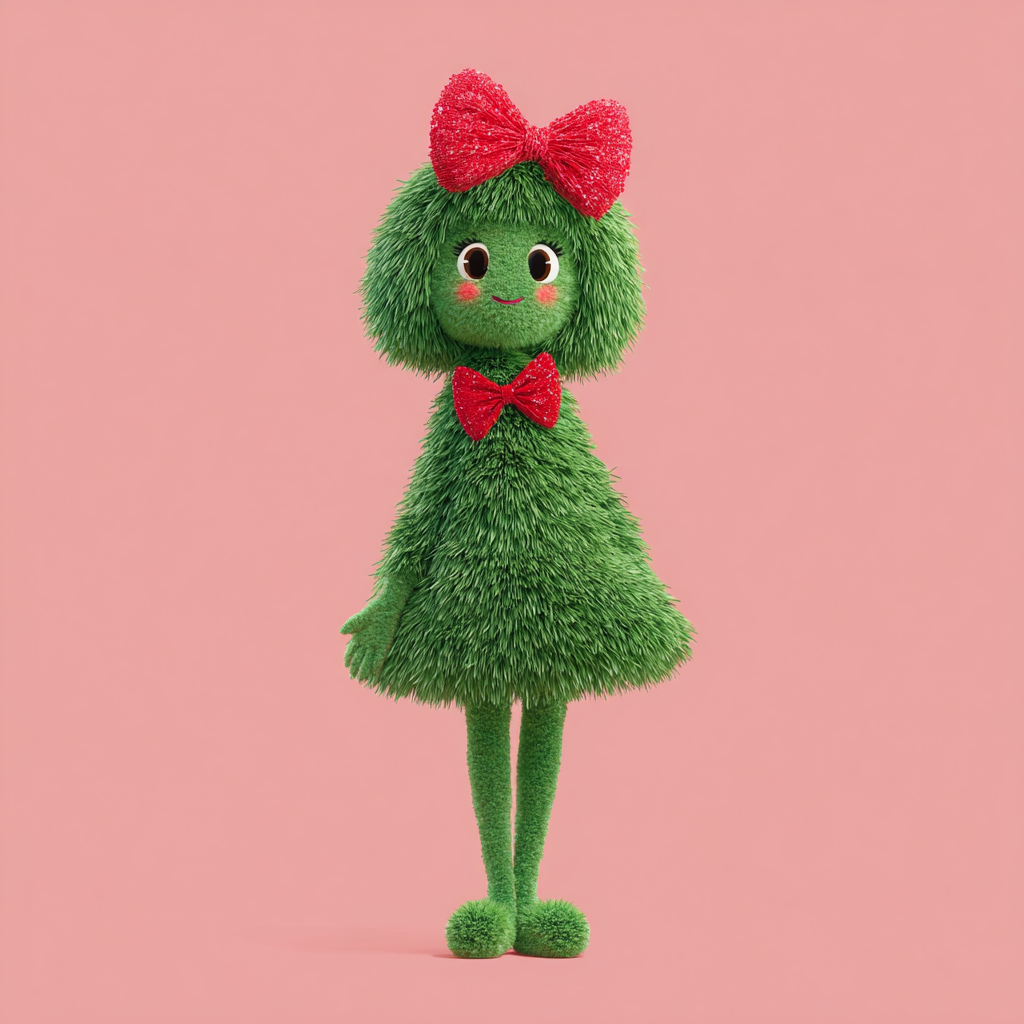 |
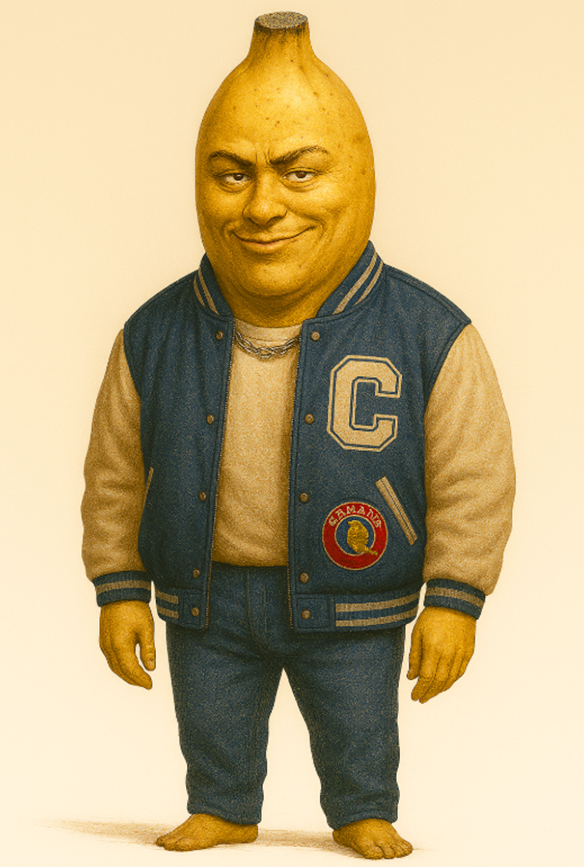
| Poor Image Reference | ||
|---|---|---|
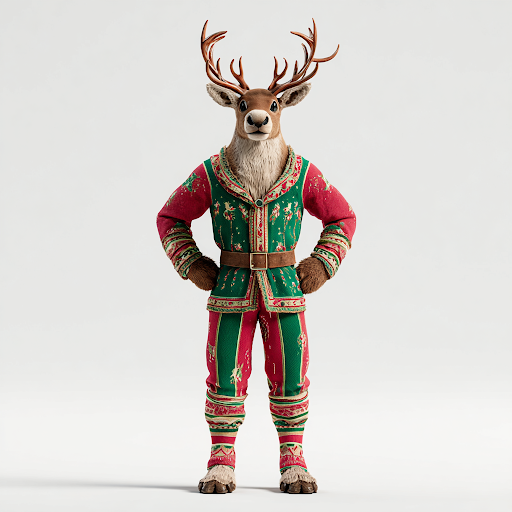 | 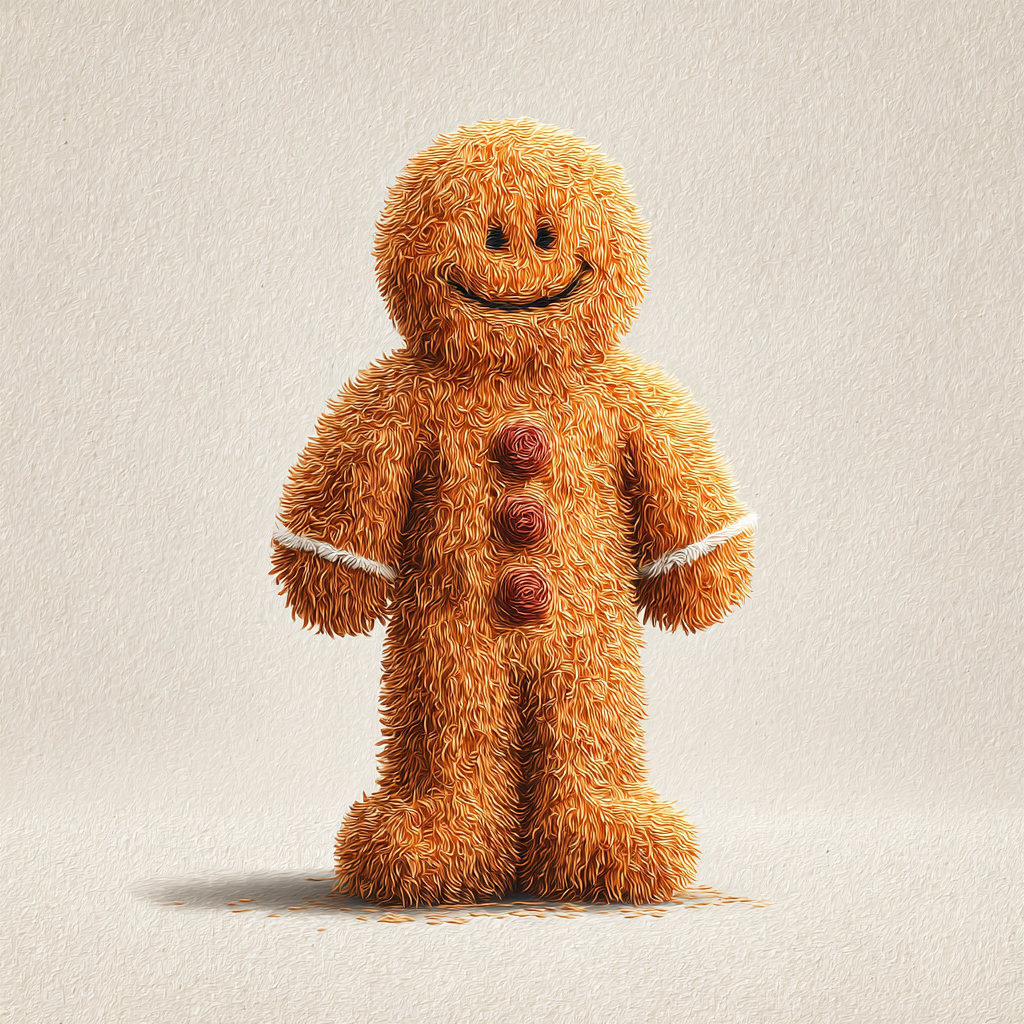 | 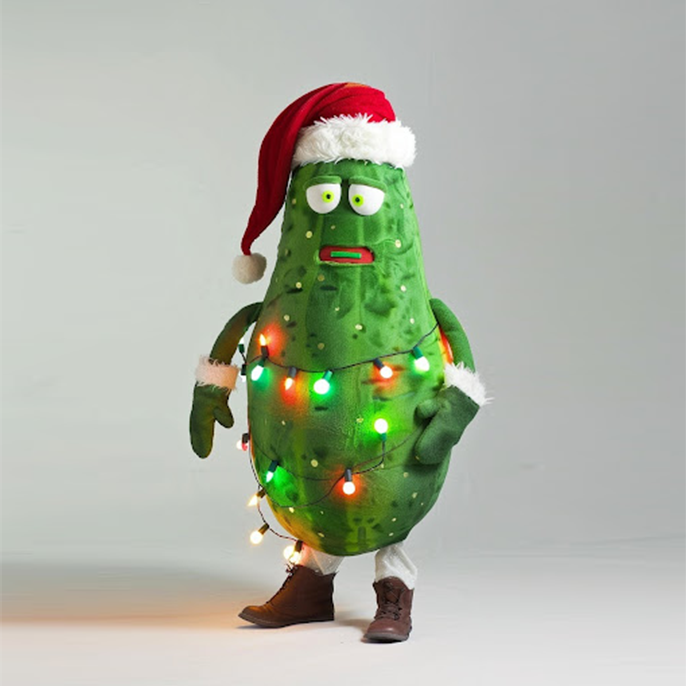 |
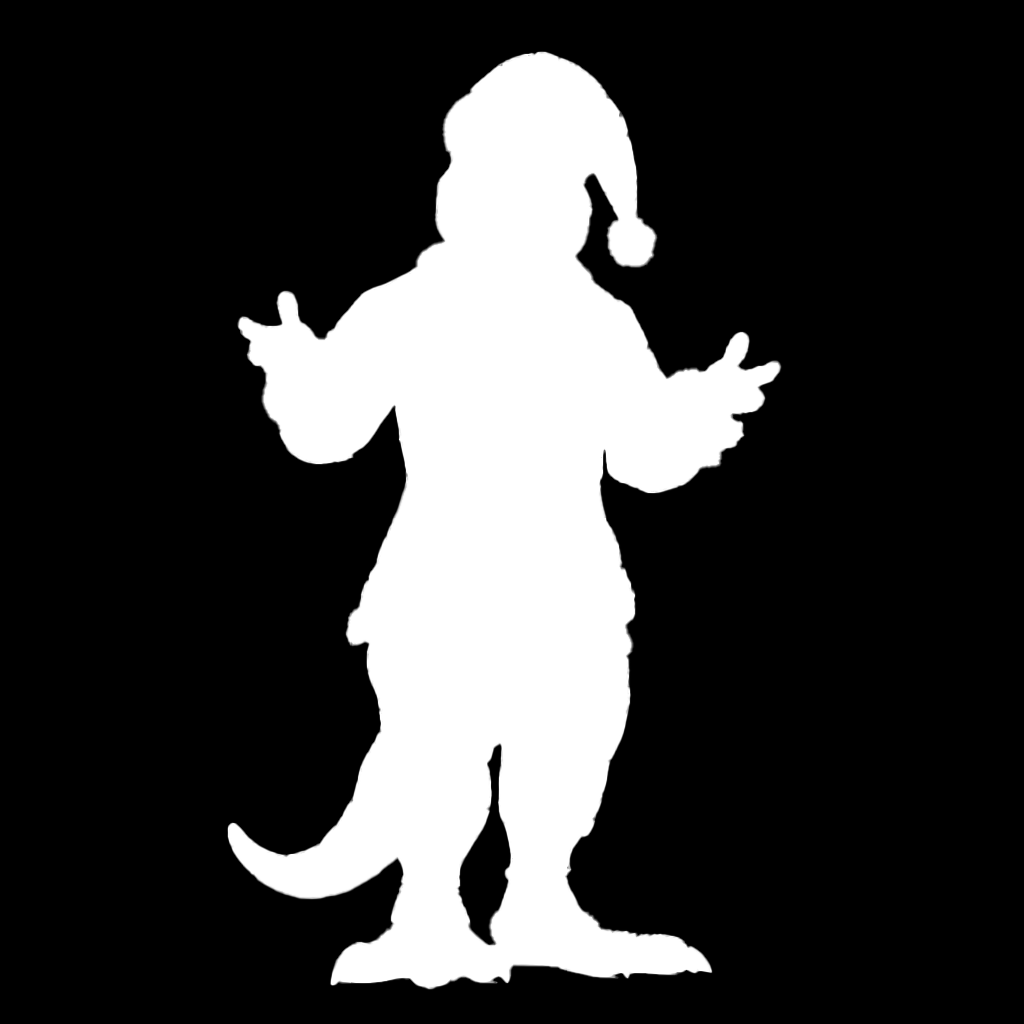
Figure Crop
The tool automatically crops the uploaded image to focus on the human figure and key control points, including the head, arms, and legs. Accurate cropping helps ensure higher-quality model generation.

Background Contrast
For best results, upload an image with a solid background that clearly contrasts with the character’s colors. Low-contrast images may cause visual artifacts, such as a glow along the figure’s outline or incorrect figure detection.
In the example below, the generation boundary captures part of the background from the reference image:
| Low contrast reference | Result |
|---|---|
 |  |
Increasing contrast and clearly separating the subject from the background improves figure recognition and overall output quality:
| High contrast reference | Result |
|---|---|
 |  |
Background Color
Recommended background options include white, black, or a transparent PNG. When using an image reference, the tool transfers colors and textures directly from the uploaded image. If the source image is dark, the resulting model will also appear dark. You can improve results by adjusting brightness and saturation before uploading.
| Dark image reference | Result |
|---|---|
 |  |
Lighting is also transferred. In the example below, side lighting from the reference image is reflected in the generated ML model.
| Image reference with side lighting | Result |
|---|---|
 | 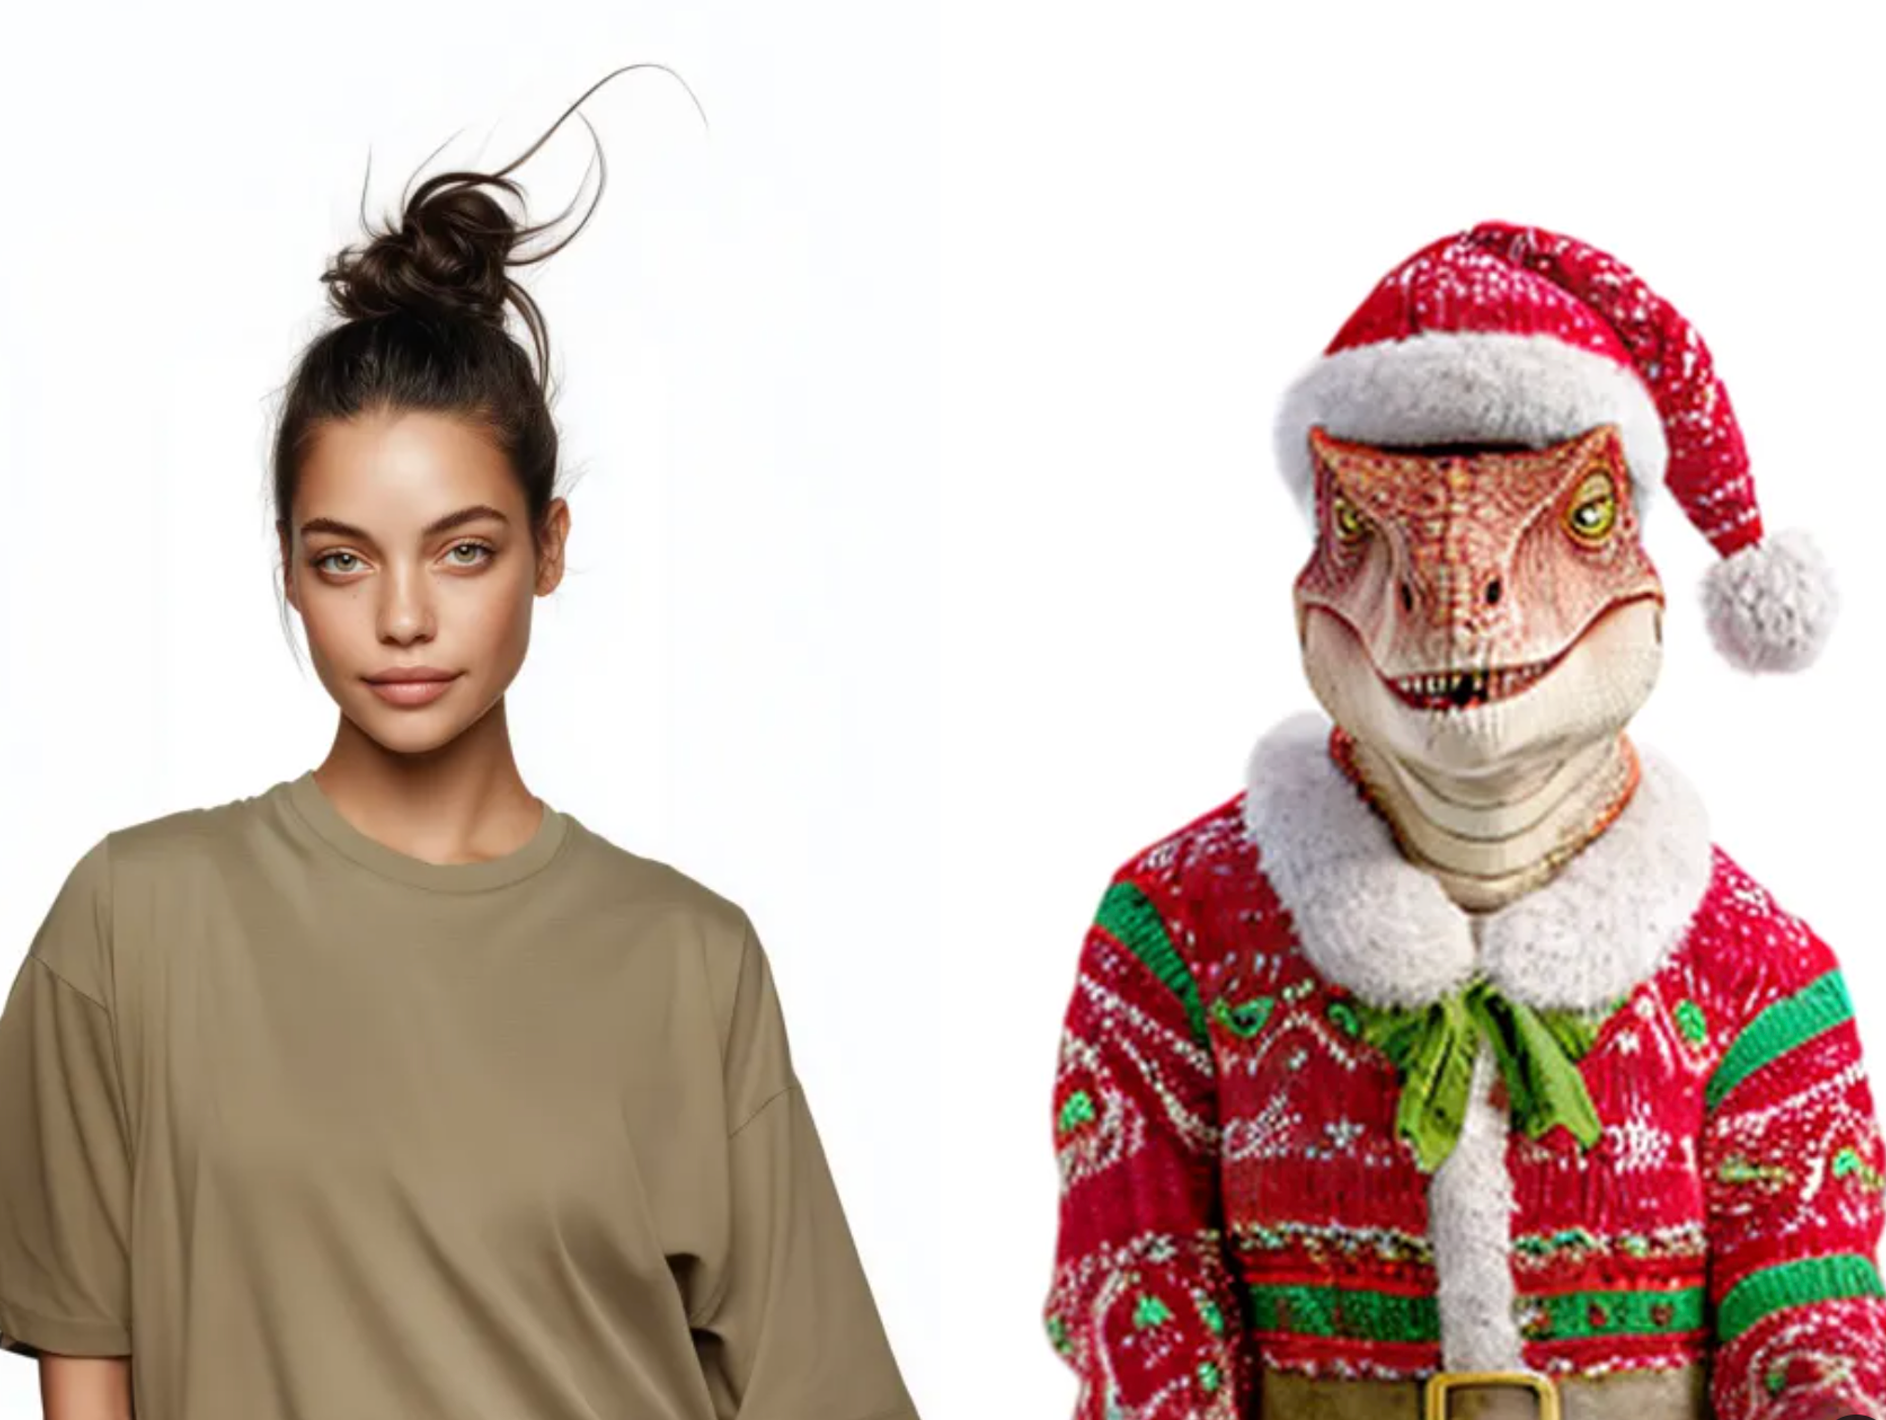 |
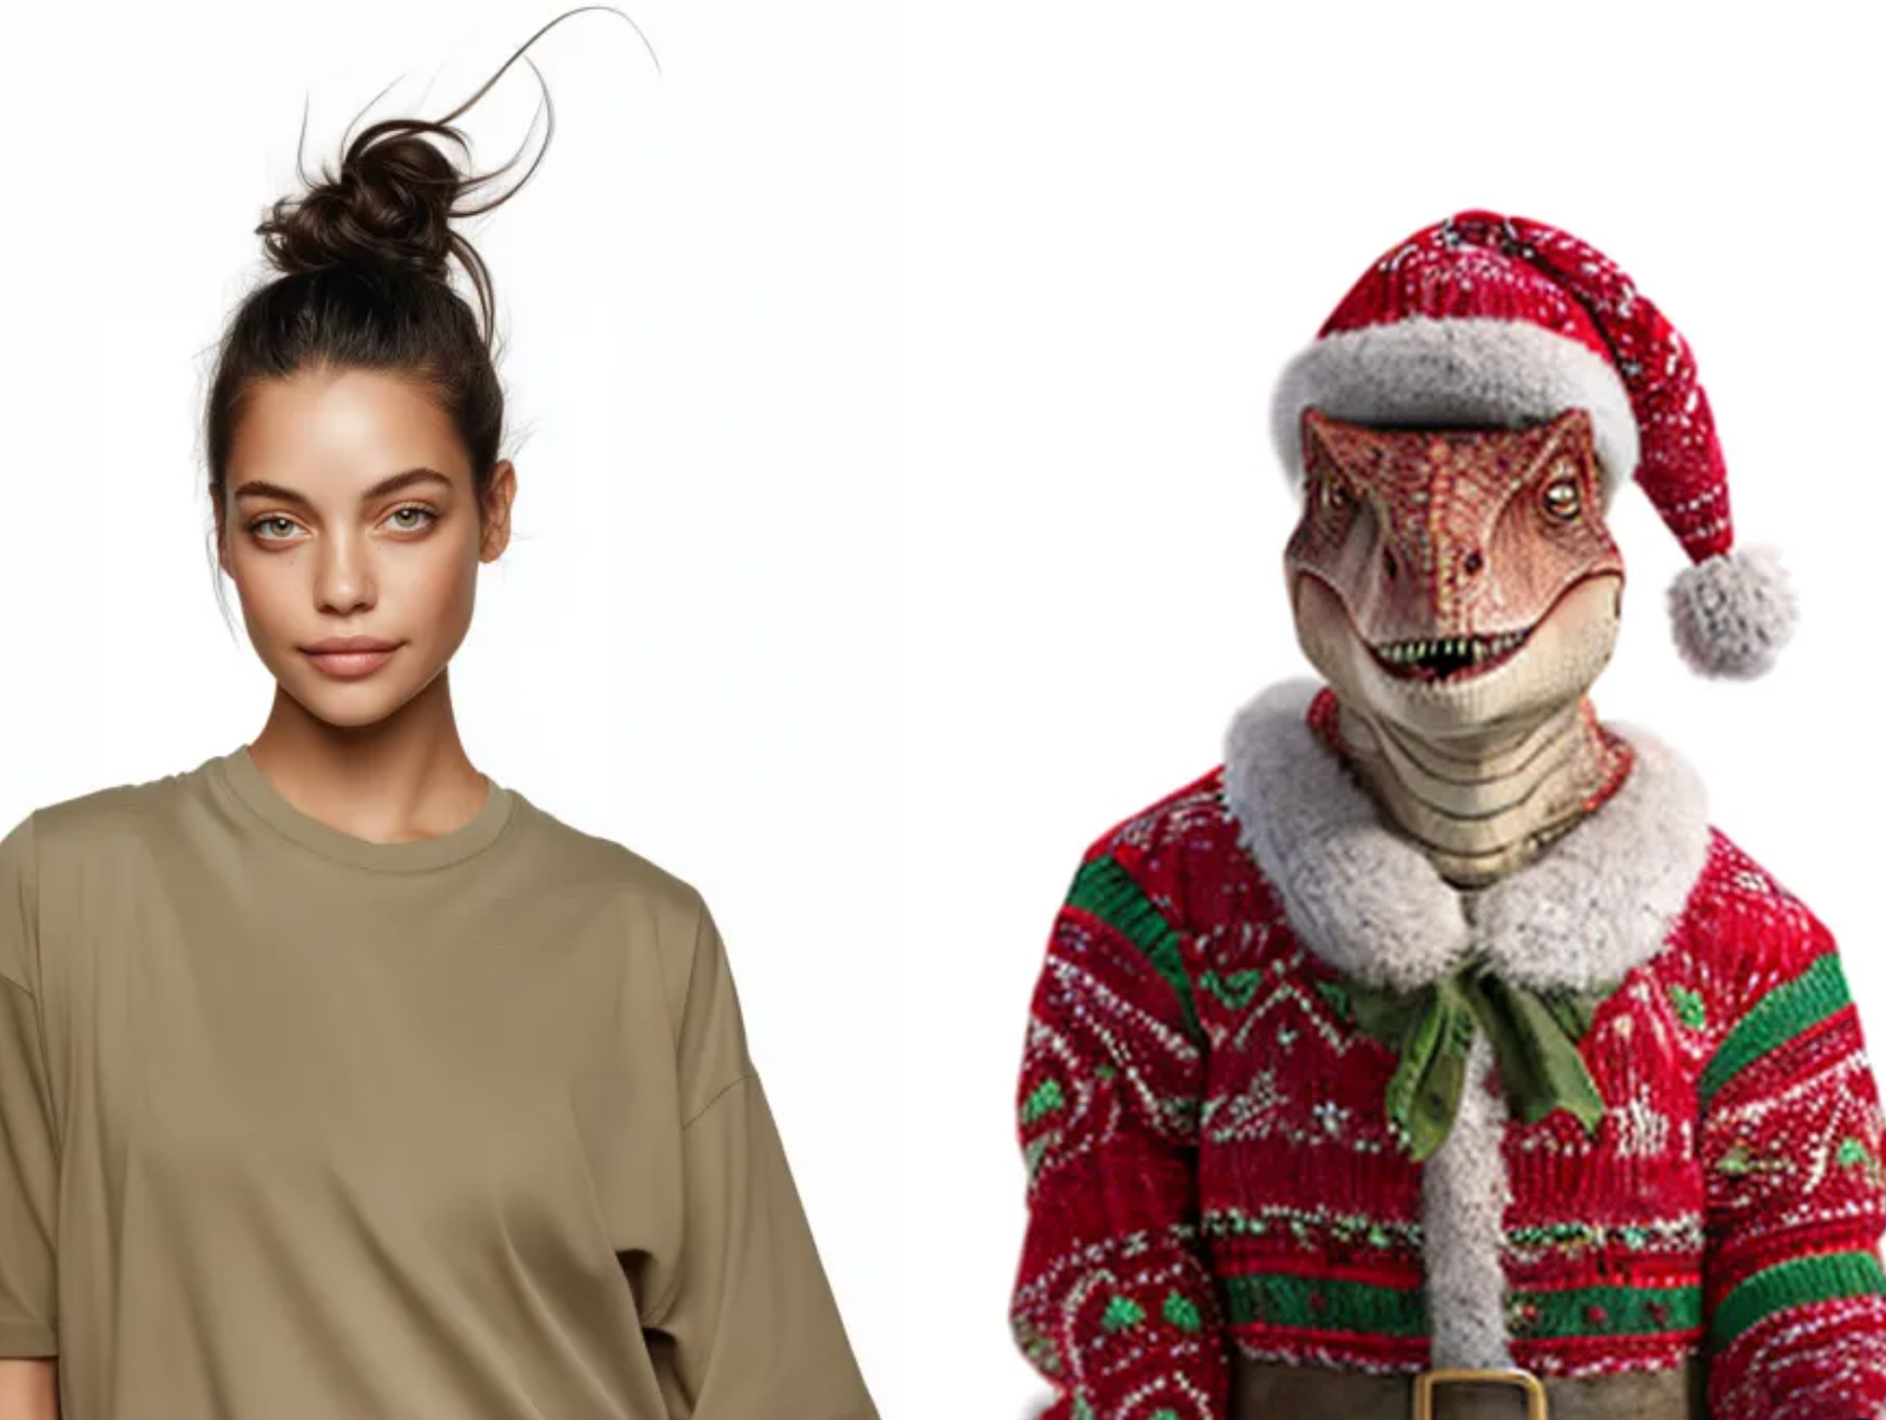
Image References with Faces
If your reference image includes a realistic face, it will be transferred to the model:
| Realistic face | Result |
|---|---|
 |  |
However, realistic faces generally produce lower-quality results compared to stylized or hand-drawn faces:
| Realistic face | Result |
|---|---|
 | 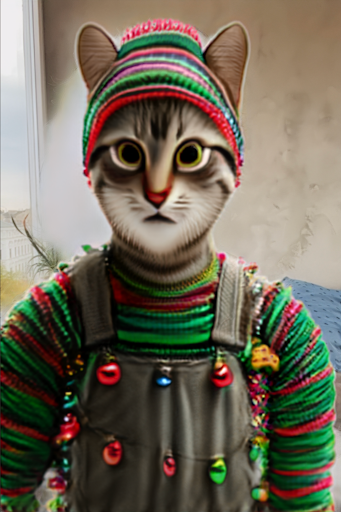 |
| Hand-drawn face | Result |
|---|---|
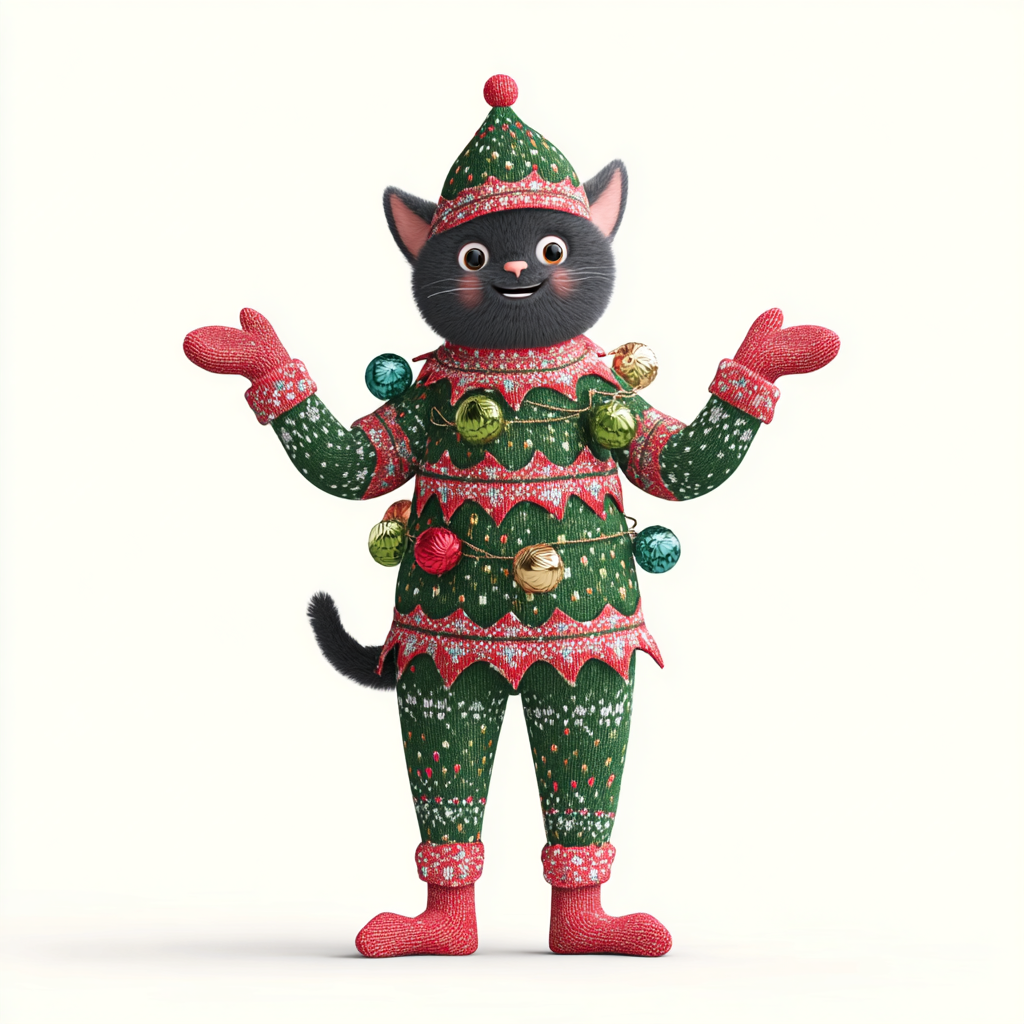 | 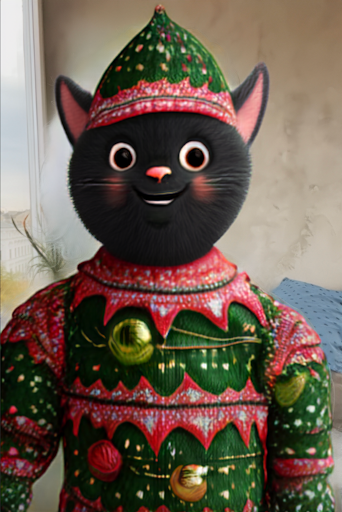 |
Image References with Heads
Head size in the reference image affects facial quality:
- Images with very small heads tend to produce lower-quality facial transfers.
- Using a reference with a larger head helps the tool better calculate and transfer facial features.
As a result, facial detail and overall quality in the final render are typically higher when the head is more prominent in the reference image. Experiment with different references to achieve the best outcome.
Ideal Heads:

Supported Content
The technology performs best when creating ML models for:
- 2D characters with clear shapes;
- Stylized humanoid characters;
- Simple 3D styles;
- Objects with simplified textures.
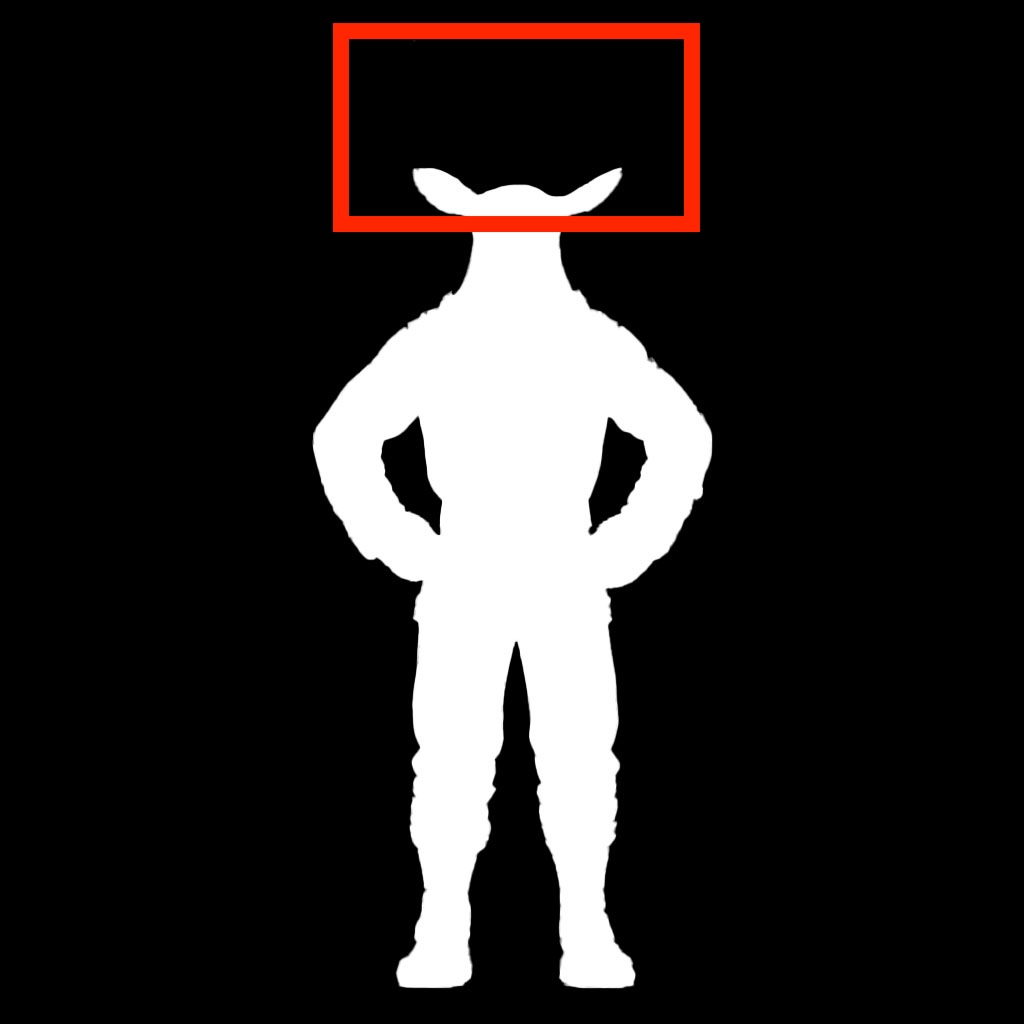
Unsupported Content
The technology does not support:
- Accessories or objects attached to hands (these may be cropped);
- Objects with elements extending beyond the human body silhouette (for example, deer antlers or objects above the head).