Face Occlusion and Features Segmentation
This guide demonstrates how to use the Face Occlusion Custom Component as well as the Facial Features Segmentation Custom Component. Both of these Custom Components allow the user to occlude AR face effects when a user places an object in front of their face.
This occlusion can increase the realism of the AR effect. For example, if the user was to put their hands in front of their face, it will will prevent the AR effect from breaking as the face effect gets overlaid on the hand.
Face Occlusion vs Facial Features Segmentation
At first, the Face Occlusion and Facial Features Segmentation Custom Components may appear to do the same thing, but there are some key nuances that differentiate the two Custom Components.
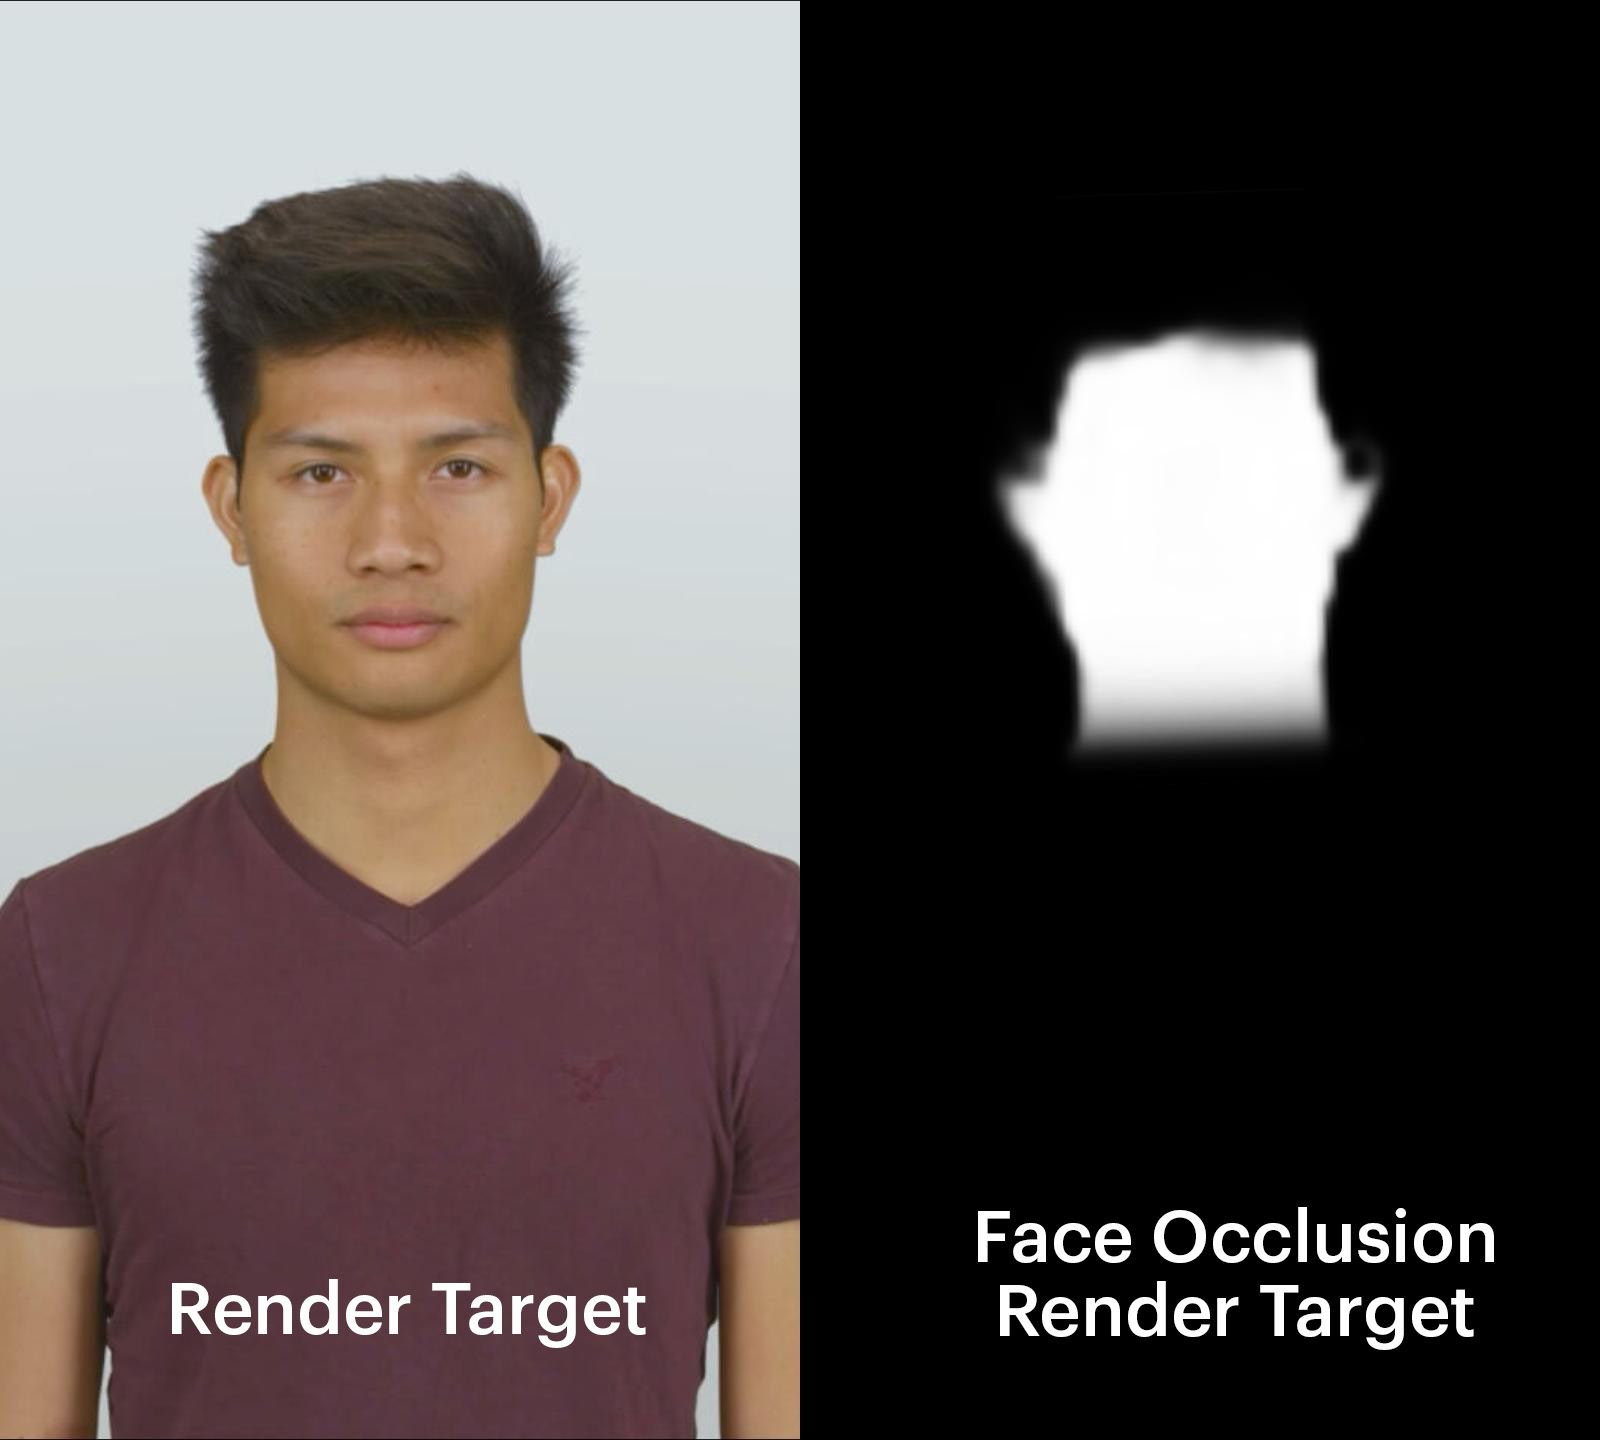
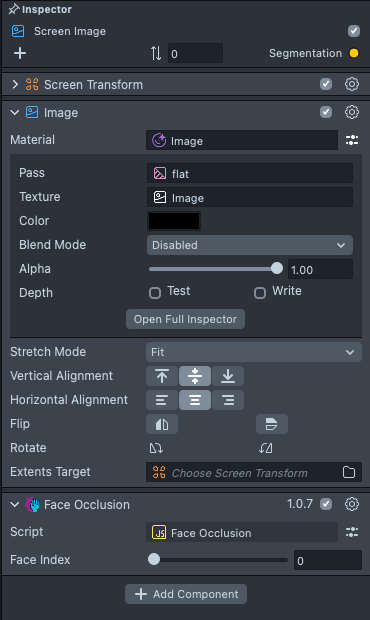
The primary difference between the two Custom Components is that the Face Occlusion Custom Component only has one output, while the Face Segmentation Custom Component has seven distinct outputs. The final output of the Face Occlusion Custom Component is a black and white image, where the white represents the area of the camera that contains a user's face, and the black is everything else. Use the Face Occlusion Custom Component when you are making a face effect that applies to the user's entire face.
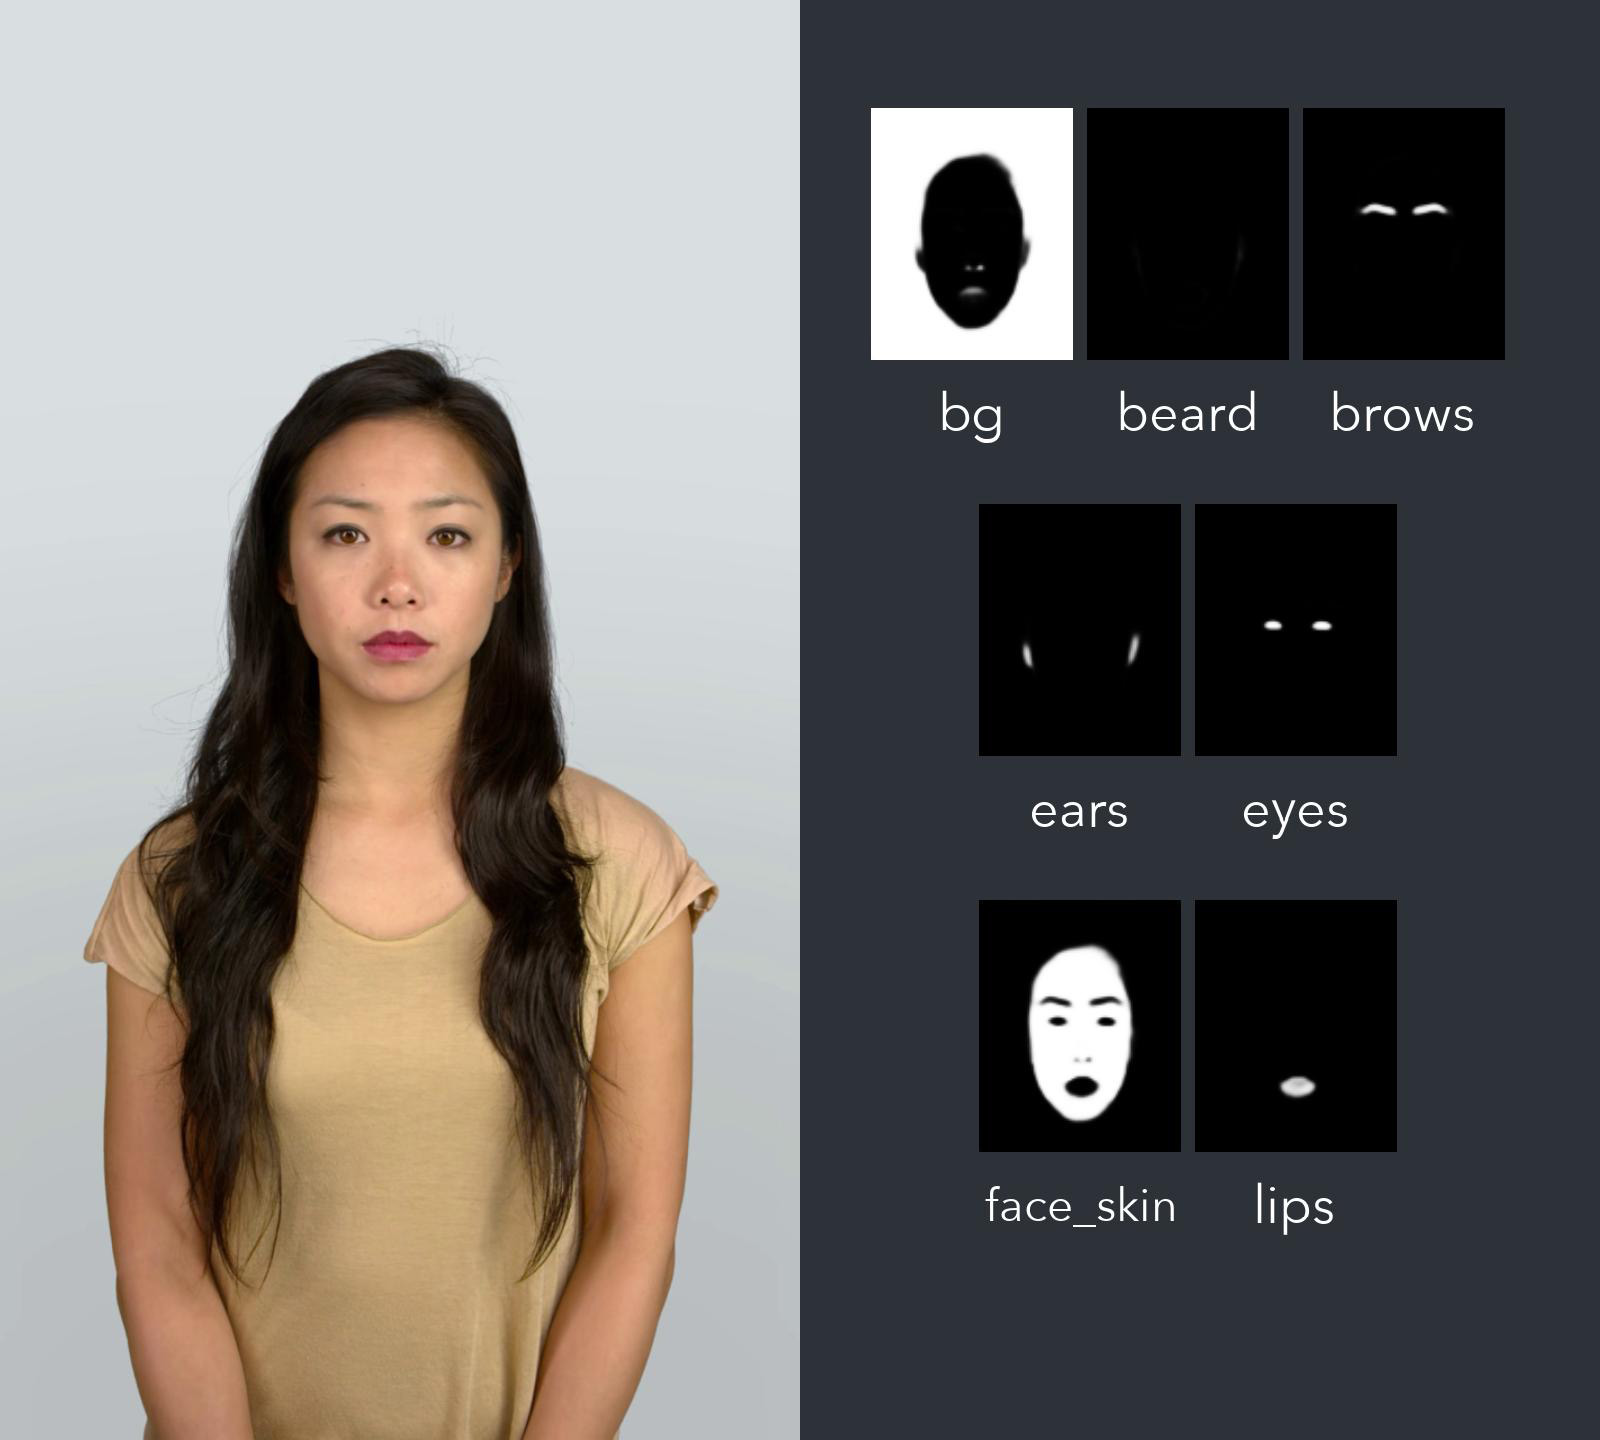
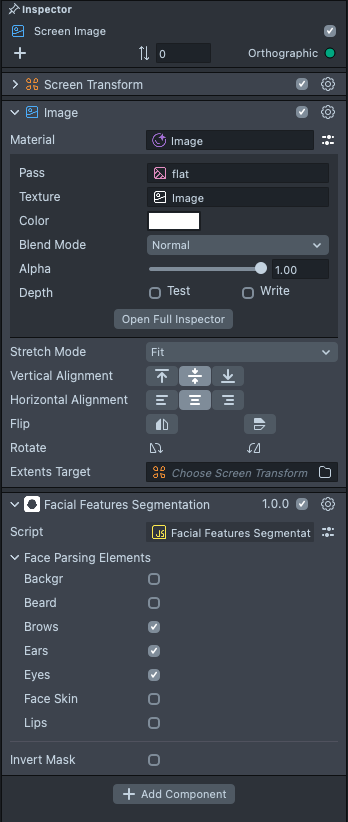
Conversely, the Face Segmentation Custom Component outputs seven different Image Textures, each corresponding to a different element of a user's face:
- Beard
- Eyebrows
- Ears
- Eyes
- Face
- Lips
- Background
The Face Segmentation Custom Component has checkboxes for each of these face elements that you can turn on or off depending on the kind of effect you are looking to achieve. Use the Face Segmentation Custom Component when you are making a face effect that revolves around a specific part of the user's face.
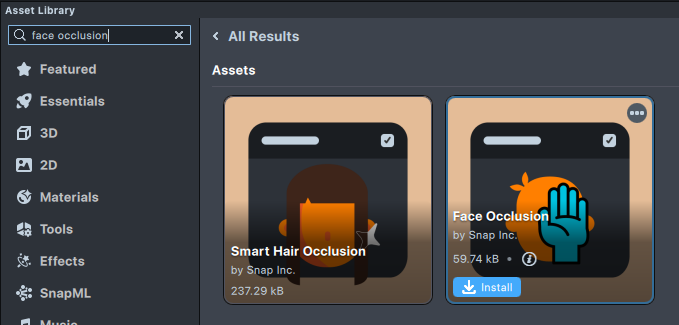
Getting the components
In the Asset Library find the components you'd like to use, and press the Install button to add the component to your Lens Studio.
| Face Occlusion | Facial Features Segmentation |
|---|---|
 |  |
How to Set Up the Custom Components
This section explains how to set up either the Face Occlusion and Face Segmentation Custom Components.
For this effect we need to use two separate Cameras:
- An Orthographic Camera used to render the output of the Face Occlusion or Face Segmentation Custom Components.
- An Perspective Camera for rendering face effects, which will be masked by the output of the Orthographic Camera.
Setting up the Segmentation
Unlike other segmentations which are full screen, Face Occlusion and Facial Features Segmentation are segmenting only the face, and thus needs to be modified to fill the whole screen. Let's take a look on how to do that.
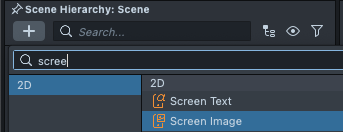
In the Scene Hierarchy panel, press + > Screen Image. This will add an Orthographic Camera to your Lens which can display images in the screen space.
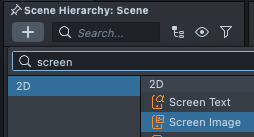
Next, select the Screen Image object. Press the + Add Component to add either the Face Occlusion or the Facial Features Segmentation component.
| Face Occlusion | Facial Features Segmentation |
|---|---|
 |  |
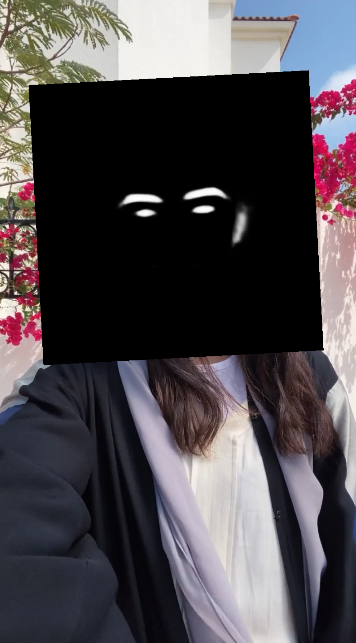
In the Preview panel, you should notice that the parts of the face where we want the AR effect to be visible is white.
If you're using Facial Features Segmentation, make sure to toggle the segments that you want to show!
If you don't see a face, try switching the preview camera in the top right, or choosing a different preview video by pressing the drop down in the top-center of the Preview panel.
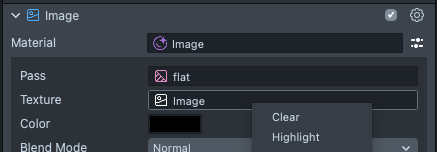
Next, we can remove the default texture from the Texture field by right-clicking on the field, and choosing Clear. We'll also want the Color to be set to black (rgba: 0,0,0,1), so that by default we don't show anything (remember that white is where things should be visible.)
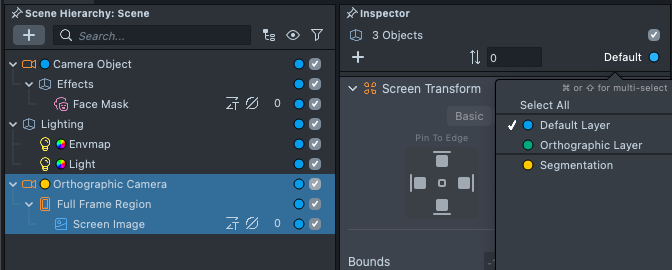
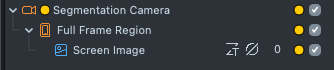
Since we might want to render other things on the Orthographic layer (e.g. text, images on the screen), we can move our objects to a different layer. Select the Orthographic Camera object, and in the Inspector panel, in the Camera component, click on the Layers field, and create a new layer.
We renamed the render target to Segmentation to make it easier to understand.
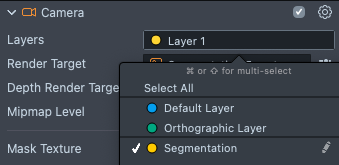
Now, we can select all the objects we want to be rendered by this camera (e.g. our component), and in the top right of the Inspector panel, choose the same layer that we chose in the camera.
| Before | After |
|---|---|
 |  |
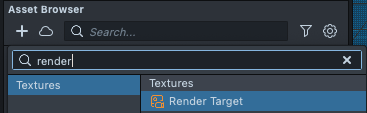
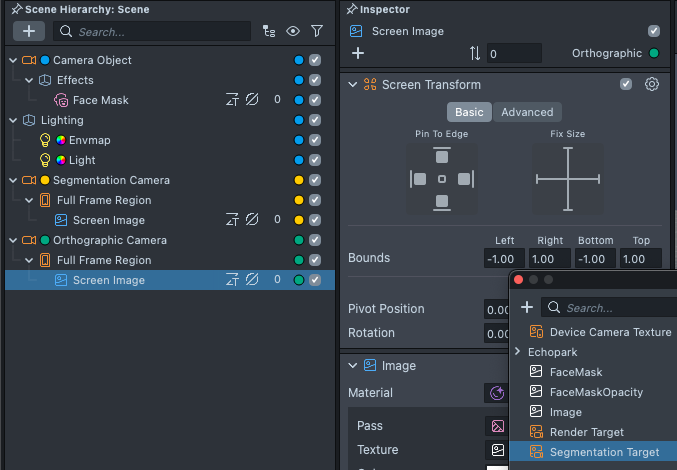
Finally, we'll want our camera to target a new Render Target, which we can use ask as a mask for our main camera. In the Asset Browser panel, click + > Render Target.
We renamed the render target to Segmentation Target to make it easier to understand.
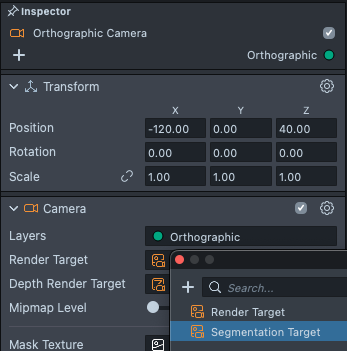
Next, select the Orthographic Camera, and in the Inspector panel, click on the Render Target field, and select the newly added render target.
When you do this, our black and white texture will disappear, as it is now rendering onto a Render Target that is not being shown in the Lens!
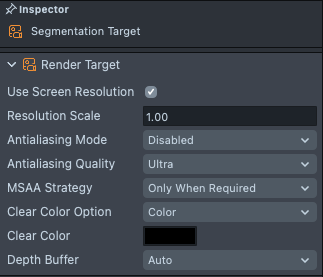
Similar to our image earlier, we will also want the new Render Target to have a black background. Select the new Render Target in the Asset Browser panel. Then, in the Inspector panel, choose Color as the Clear Color Option, and set the Clear Color to Black, with 100% opacity.
Finally, since we want our mask to be prepared before it is used, let's set this camera to the top of the render order. Select the Scene asset in the Inspector panel. Then, under Render Order Config, drag the handle on the left side of Orthographic Camera and drag it to the top.
Masking a camera with a texture
Now that we have a render target displaying the segments that we want to show, we can use it as a mask on our rendering camera.
Select the camera you want to mask in the Scene Hierarchy panel. Usually, you will select the Camera Object. In the Inspector panel, click the Mask Texture field, and in the popup, choose your newly added Render Target.

Testing the Occlusion
Now that we have our setup, let's see it mask our face effects!
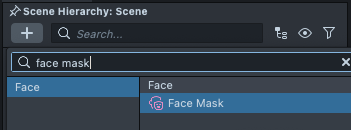
For example, let's have it mask a Face Mask effect.
In the Scene Hierarchy panel, click on the + > Face Mask.
Face Mask itself can have its own mask (mapped to the face), and the texture overlaid on the face may not cover the area that the occlusion mask is covering.
Let's generate a texture that will provide a full coverage of the face mask and help us see how the mask is working. In the Asset Browser panel, press + > Generative AI > Texture.
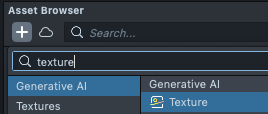
For example, we can prompt for Cheetah print, then press Apply to import it into our project.
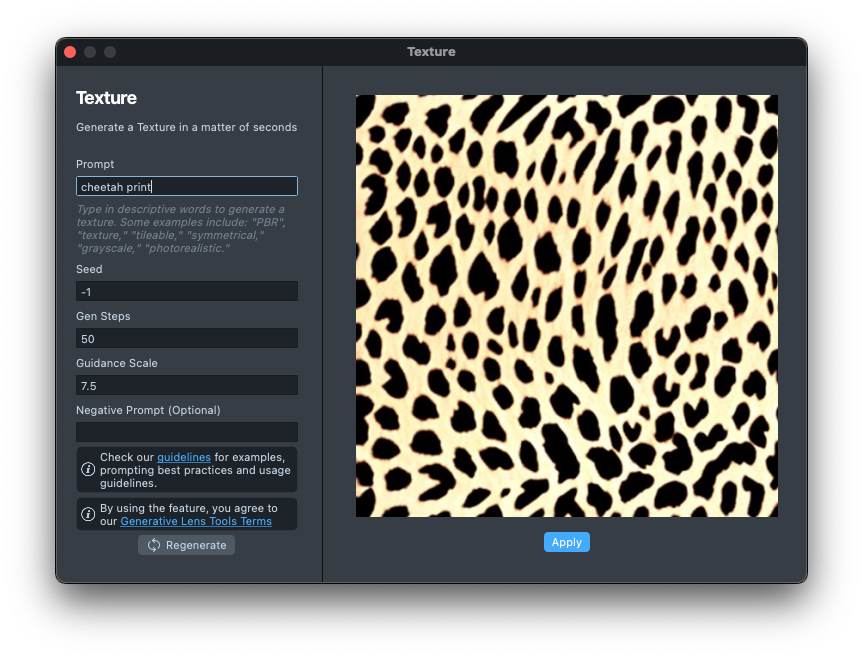
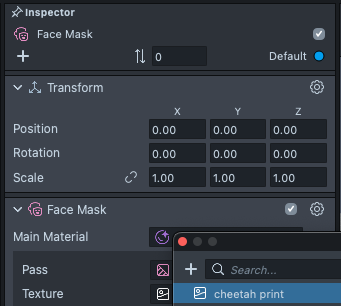
With the texture generated, select the Face Mask object again, and in the Inspector panel, click on the Texture field and choose the newly generated texture.
If you're using the Face Occlusion component, try using the Webcam option in the Preview panel and putting your hand over your face. Notice how the AR effect does not go on top of your hand.
If you're using the Facial Feature Segmentation component, try enabling the different checkboxes on the component, to see the texture come through.
Debugging
In some cases, you might want to see the output of the Segmentation Texture render target.
The easiest thing to do, is to temporarily change your Scene asset so that the Capture Target field points to Segmentation Texture. This will tell the Lens to show the Segmentation Texture output, rather than the standard Render Target that our main camera is pointing to.
Adding Another Orthographic Camera
Alternatively, you may want to debug your texture by showing it on the screen along with your AR effect. Or, you want to add other screen element.
To do this, in the Scene Hierarchy panel, and select + > Orthographic Camera.
Make sure nothing is selected in the Scene Hierarchy panel, so that Lens Studio doesn't try to make it a child of anything else.
With the new camera selected, you can add a Screen Image or whatever element you want to show. It's important to select the new camera when doing this, so Lens Studio knows which camera it should add to.
For example, we can change the new Screen Image object to the Segmentation Texture to show the output of the component. We can double-click on the new Screen Image object and move/resize it as usual in the 2D Editor panel.
Further Reading
Since the texture generated from the component is converted into a Render Target and used as a mask for a Camera object, this mask will be applied to everything under this camera. This means that you can add other AR face effects as well!
If you do need to add other AR effects, which is NOT masked out, you can create another camera object (Scene Hierarchy panel > + > Camera).
Try mixing and matching these various techniques to create a new Face Lens!