2D Head Art
The 2D Head Art asset provides a base for creating Face Lenses that attach 2D art to your head. The asset contains examples that can be toggled to try out different looks. This guide covers how to try out the various example art and how to add your own artwork as an Image.
Guide
Find the 2D Head Art asset in the Asset Library and import it into your project. Click here to learn more about how to use assets in the Asset Library.
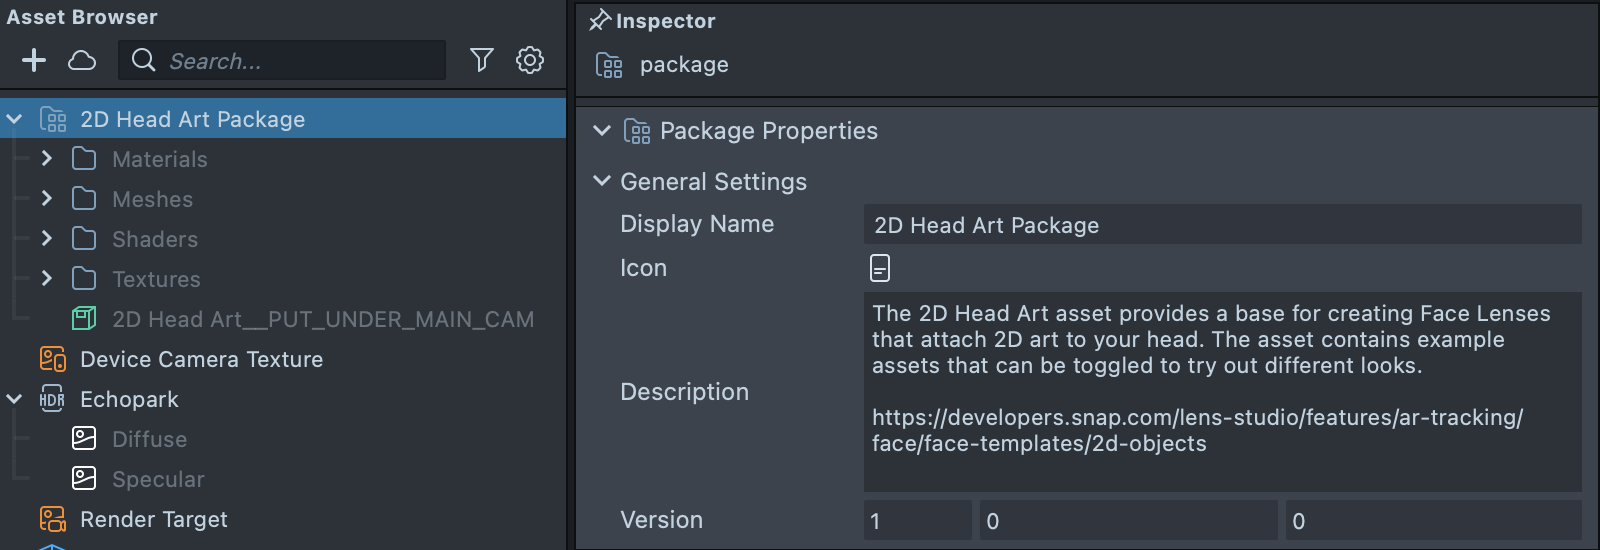
2D Head Art Package
Once you import the asset from Asset Library, you can find the package in the Asset Browser.
Follow the instructions and drag the prefab 2D Head Art into Scene Hierarchy under the Camera Object to create a new Scene Object.
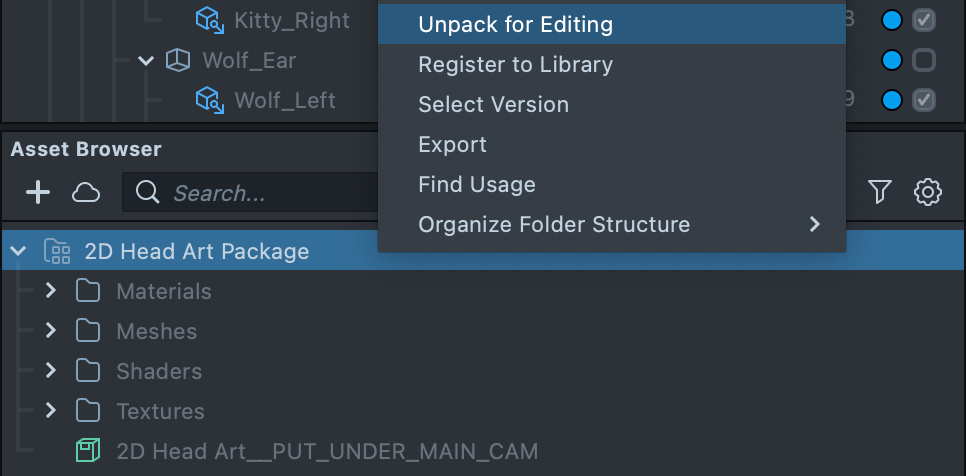
You can right-click and select Unpack for Editing from the drop-down menu to unpack all assets stored in the bundle. Click here to learn more about Asset Packages. Once you unpack the package, you can then edit its content.
Playing with Example Assets
In the Scene Hierarchy panel, under the 2D Objects Examples [REMOVE_ME] object you can find all the provided example face accessories that can be mixed and matched to make a custom Lens.
To enable an accessory, click the checkbox to the right of its name in the Scene Hierarchy panel.
Adding Your Own 2D Textures
To add your own 2D textures to the template, drag and drop your image to the Asset Browser panel.
It's important to use optimized images for Lens size and performance reasons. Follow these guidelines to create optimized texture resources:
- Image dimensions should never be greater than 2048 x 2048 pixels
- Non-transparent images should be saved using JPEG. Transparent images should be saved using PNG
- Try compressing images to reduce the Lens size
Adding Your Texture to a Face Image
To add your texture to the scene, in the Scene Hierarchy panel, select + -> Face -> Face Image. In the Inspector panel, click the Texture field and select your newly imported texture. You can also directly drag your texture from the Asset Browser panel to the Texture field.
Positioning Your Face Image
In the 2D Scene panel, you can position and resize your assets to fit the face in the Preview panel. You can dragging inside the Face Image container.
Alternatively, you can use common face attachment points by tuning the Attach to Point dropdown found on the Head Binding component.
Previewing Your Lens
You're now ready to preview your Face Lens experience. To preview your Lens in Snapchat, follow the Pairing to Snapchat guide.