Chain Physics
This sample project allows you to build simple chain physics simulations using position based dynamics approach. This sample project is great for creating a Lens with earrings, chains, things that can wobble, and more!
This sample project uses Position Based Dynamics for simulating physics through a Script component. This type of simulation omits velocity and directly works with positions. The main advantage of this method is a stability and controllability. It is widely used in different joint, chain or cloth simulations. You can get a more complete physics simulation with Physics Engine.
To make it easier for you to mix-and-match our different examples, this sample project has also been converted to an importable asset in the Asset Library with the name Chain Physics. Find the asset in the Asset Library and import it into your existing project. Click here to learn more about using assets from the Asset Library.
Guide
The Chain Physics sample project relies on the Chain Controller to drive the simulation of each chain. It provides several options to modify how your simulation looks.
Examples
This sample project comes with two examples on how to set up your physics simulation.
One way is to have each segment of the chain be independent objects. You can see this example on the Leaf Earring Chain L and Leaf Earring Chain R objects. This is great for simulating chains that have discrete segments.

You can also create a chain of Image object, instead of using 3D meshes to create a chain of 2D textures.
The second way is to use joints and a rigged mesh. You can see this example on the Flower Stem Chain object. This method is great for simulating things that bend.

Chain Controller
Let’s take a look at how we can set up a chain.
Joints
First we’ll create a chain out of independent objects.
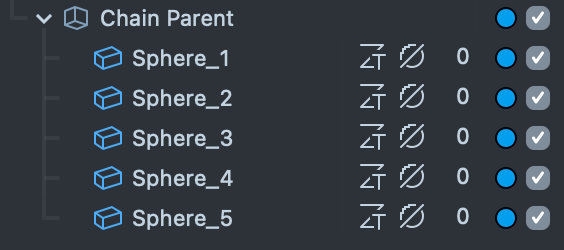
Create a new Sphere and make 4 copies of it. Let’s call them Sphere_1 … Sphere_5. Place them at the desired distance from each other.
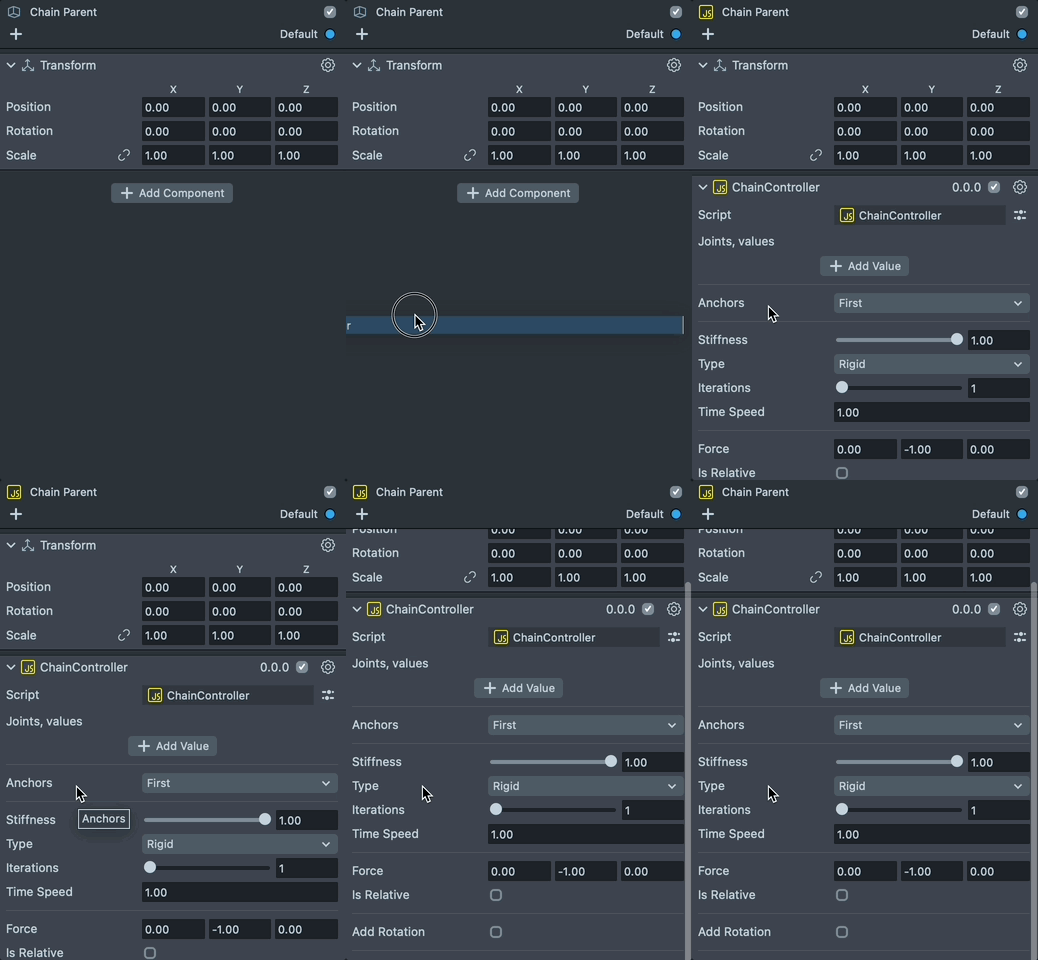
Next we’ll add the ChainController script to start simulating our chain! To do this, select the ChainParent, then in the Inspector panel, press + -> Script and select the ChainController script in the Script folder.
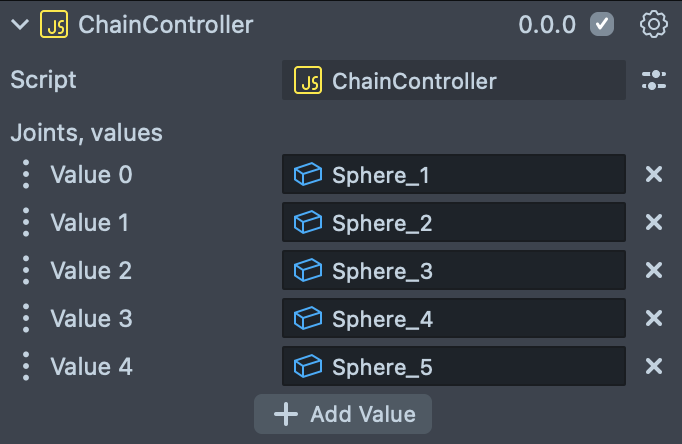
Now we can add the joints of our chain. Click on the Add Value button of the Joints parameter to create 5 fields for the joints. Assign the Sphere_0, Sphere_5 objects to the Joints array values.
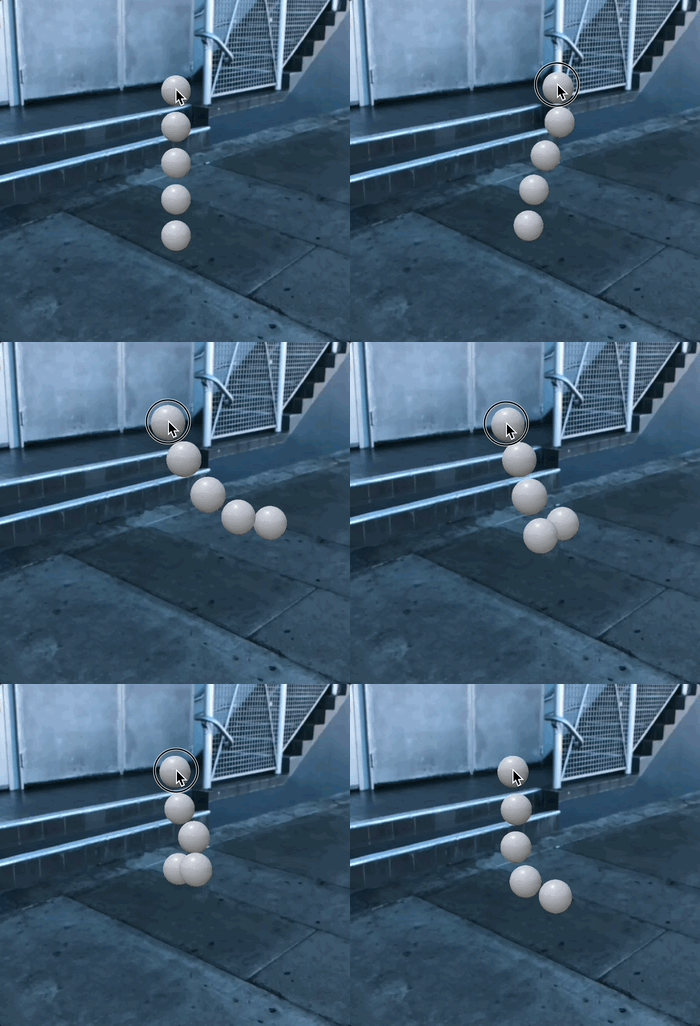
The chain will be attached to the object that is set as the first element of Joints array. Try moving the first Sphere in the Scene panel and you should see the simulation move in the Preview panel.
You need at least two joints in order to make simulation work. If you have only one joint create an empty object and set it as the very first or last joint.
Parameters
Now that we’ve set up our chain, we can modify how the chain behaves. We can do this by modifying the controller’s parameters.
Modify the stiffness parameter to specify how stiff the constraint between each joint is.
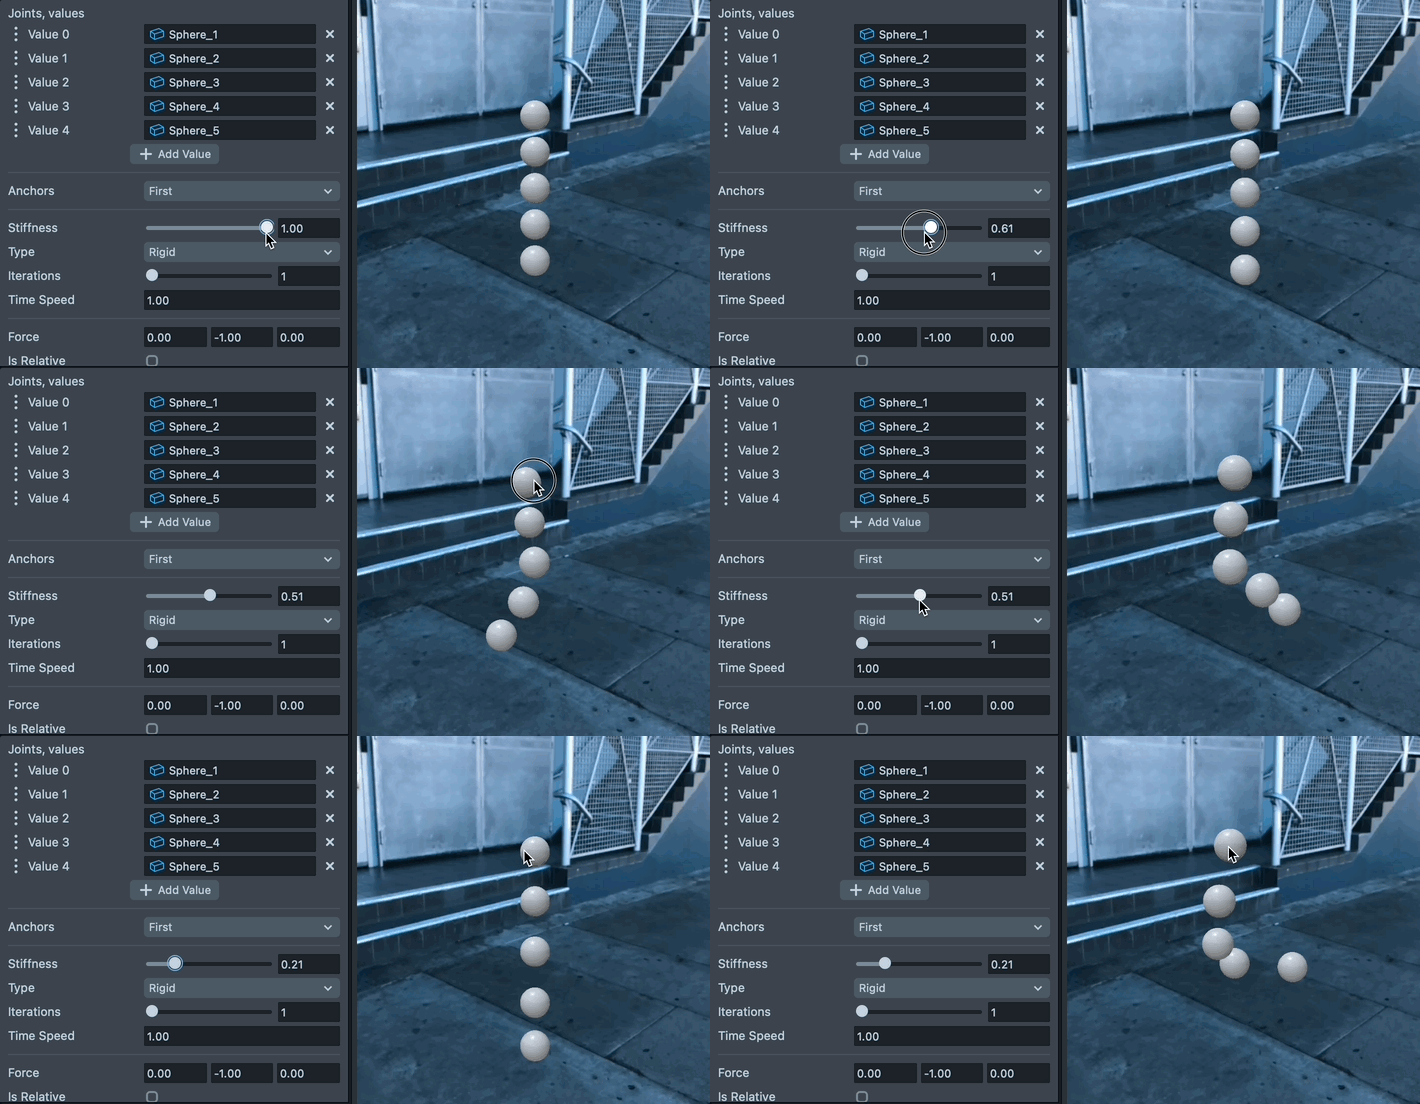
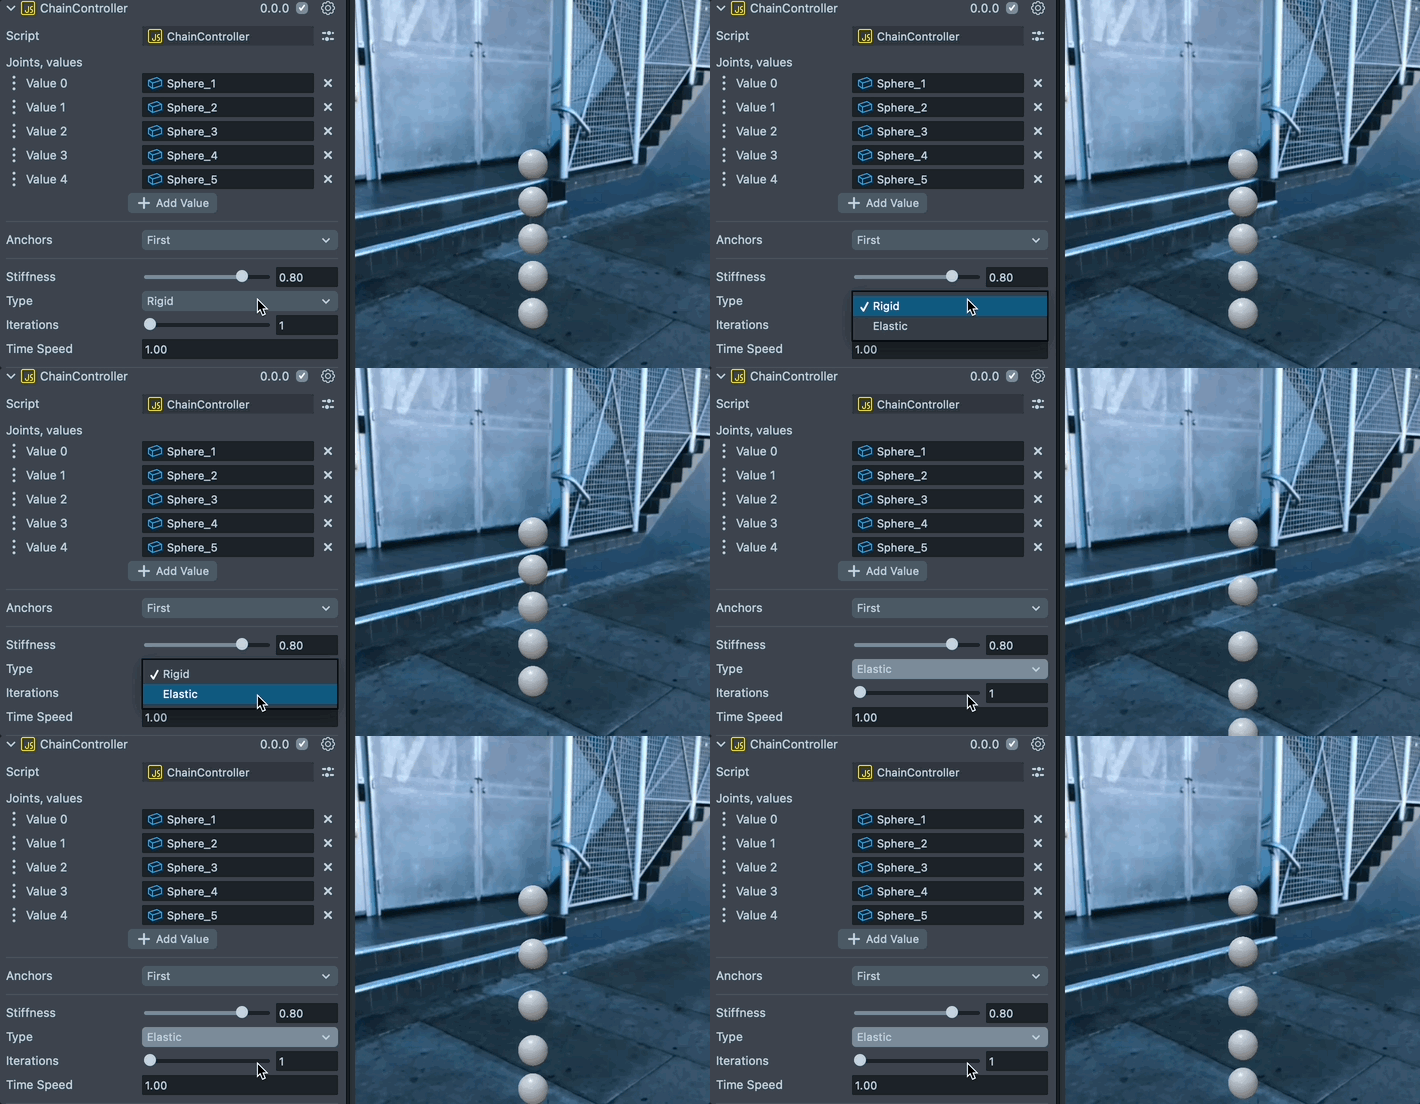
There are two types of behavior we can have on our chain
Rigid typeif we want to keep the distance between the joints constantElastic typeif we want to allow the distance between joints to change
Set the iterations parameter to change how fast the distance between each segment comes to the target distance during the simulation.
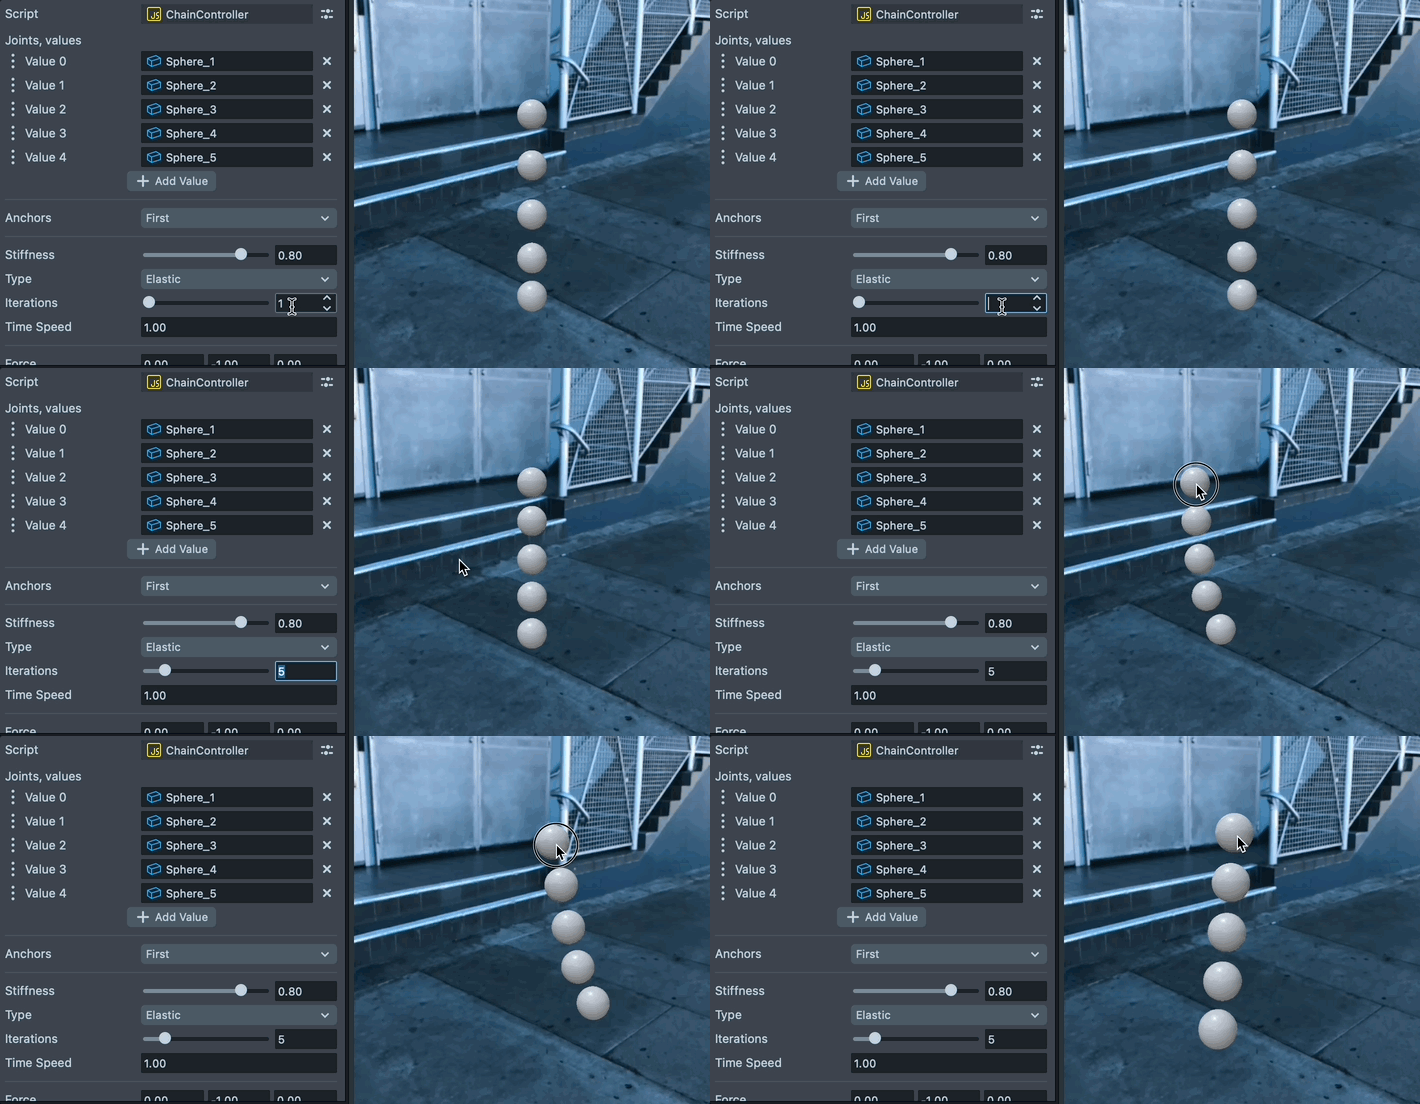
Increasing the number of iterations will have a performance impact on your Lens since it’s making more math calculation per frame.
Modify the Time Speed parameter to set the simulation speed.
Modify the Force parameters to set the direction of an acceleration force that affects joints.
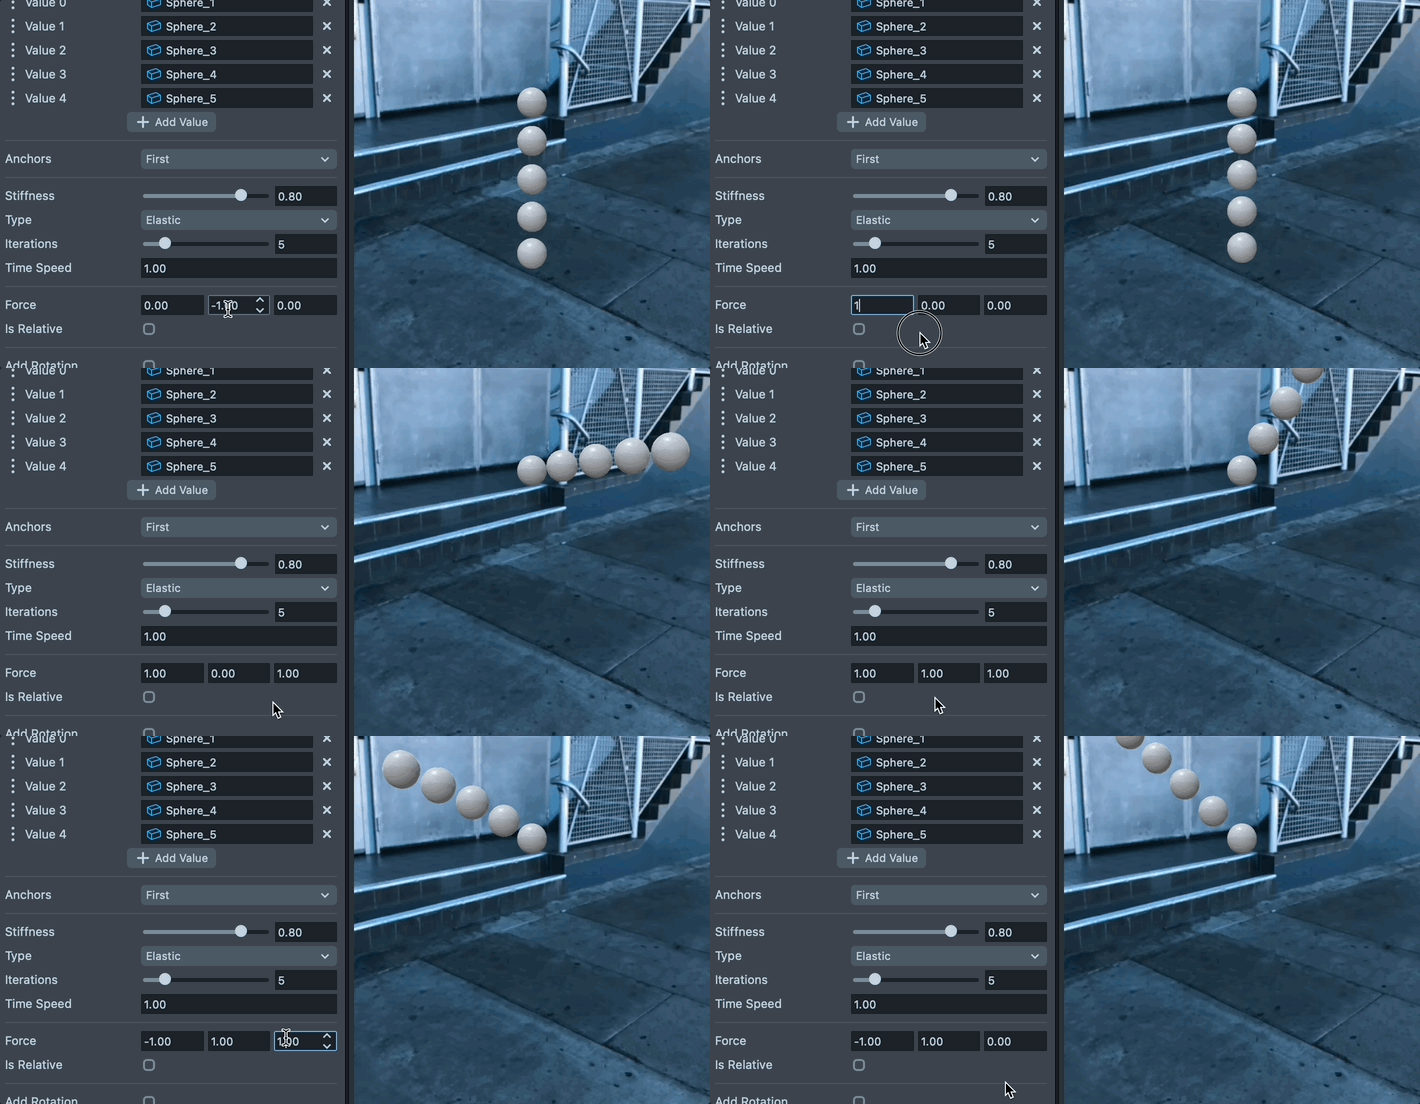
Enable Is Relative checkbox if you want your force to be relative to another object. For example, we can set the Relative To field to a Head Binding object to have our force always point the same direction relative to the head.

Rotation
Enable an addRotation checkBox to make joints rotated towards each other. Joints will be rotated around their pivot point.

If your pivot is not at the right place you can create an empty object, place it as needed and make your object it’s child.
Also you might need an extra joint at the end of the chain in order to rotate last object correctly. Empty sceneObject will do.
This method works well both for the hierarchy and separate joints but doesn’t take into the joint’s parent object’s rotation.
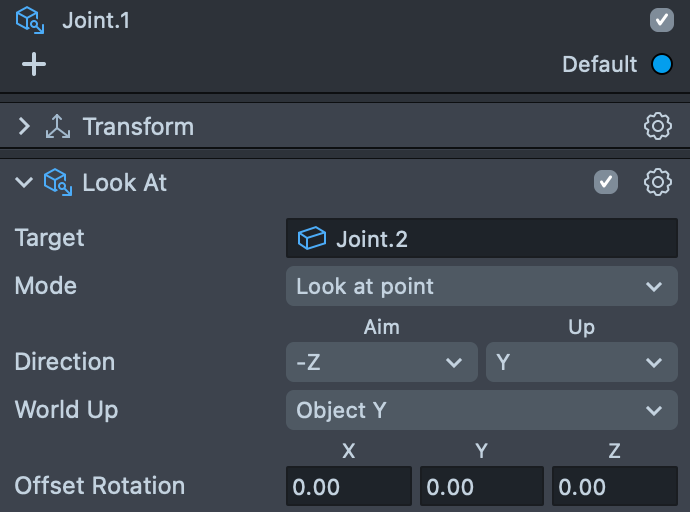
For more advanced setup you can disable this checkbox and add a LookAt Component to each joint instead. This method will give you more control over how your objects are rotated.
For example, you can have each joint look at the next joint.
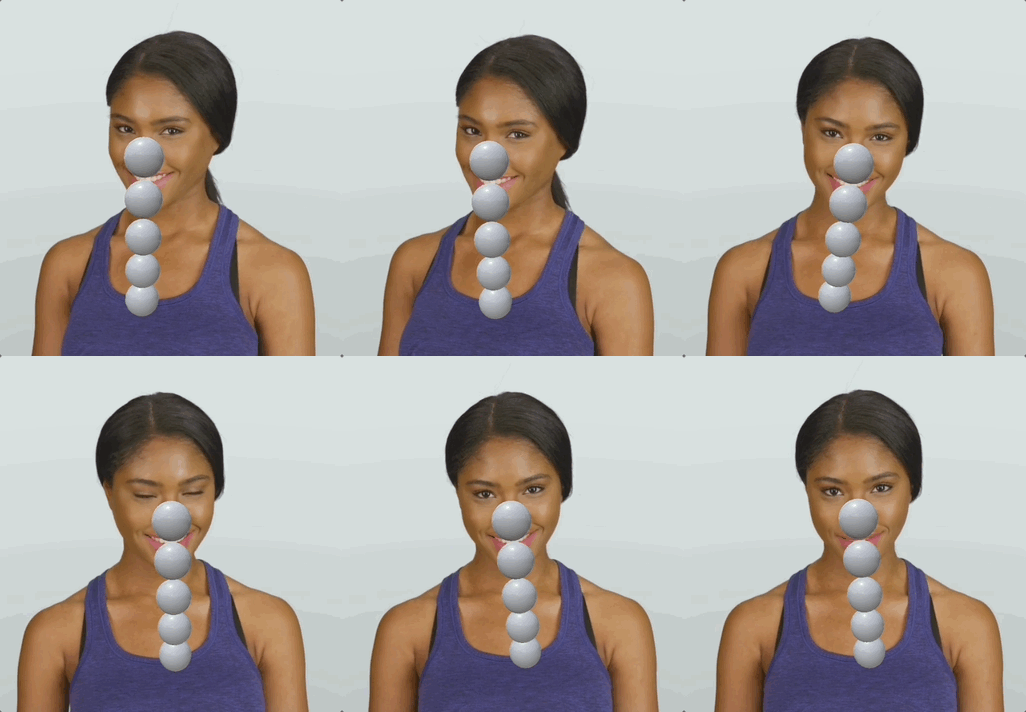
Putting all this together, you can achieve something like the following:

Skinned Mesh
Another way you can set up a chain is by using a skinned mesh. Rather than moving separate objects as before, this technique will allow you to modify one object’s mesh by modifying bones that the mesh is rigged to.
We can start by importing a model that has been rigged with a skeleton. Import your FBX file to the lens studio by dragging and dropping the file into the Scene Hierarchy panel. Then, add the Chain Controller Script. Now, in the Joints Array, instead of selecting the mesh itself, we will add the bones of our mesh.
You can modify the simulation in the same way as described above.
JS Math Library
This sample project uses a customizable JavaScript math library to speed up the common math calculations necessary to simulate physics, thereby increasing Lens performance.
Previewing Your Lens
You’re now ready to preview your Lens! To preview your Lens in Snapchat, follow the Pairing to Snapchat guide.