Face Paint
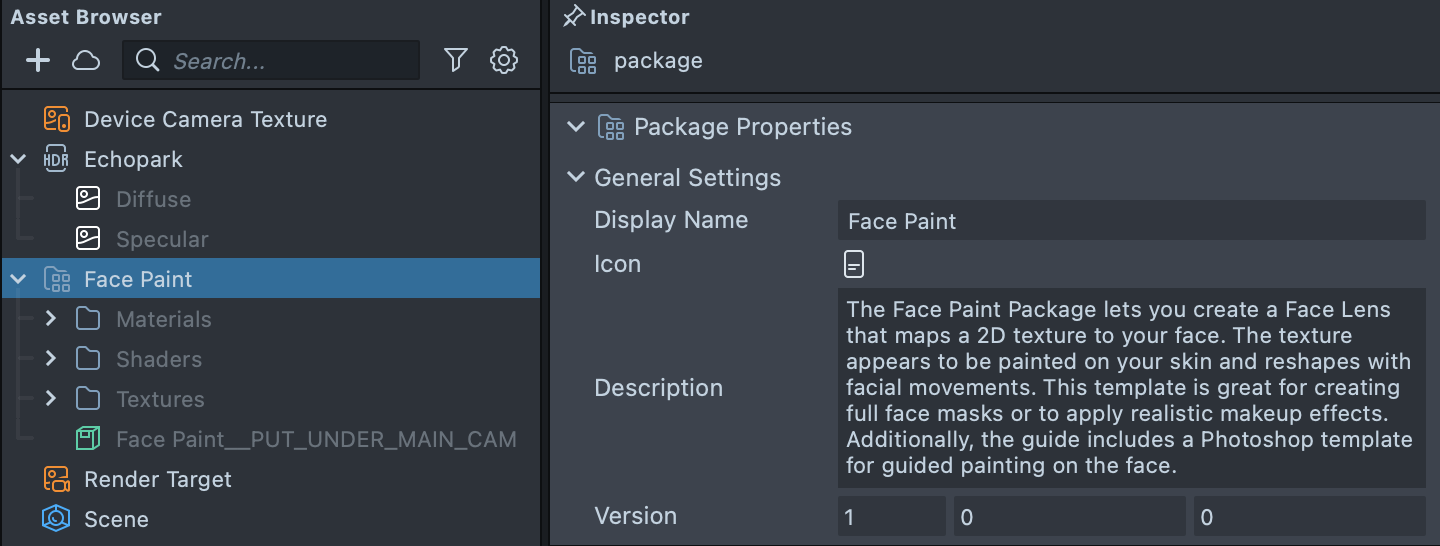
The Face Paint lets you create a Face Lens that maps a 2D texture to your face. The texture appears to be painted on your skin and reshapes with facial movements. This template is great for creating full face masks or to apply realistic makeup effects. Additionally, the guide includes a Photoshop template for guided painting on the face.
Face Paint Asset
Find the Face Paint asset in the Asset Library and import it into your project. Click here to learn more about how to use assets in the Asset Library.
Once you import the asset from Asset Library, you can find the package in the Asset Browser.
Follow the instructions and drag the prefab Face Paint into Scene Hierarchy to create a new Scene Object.
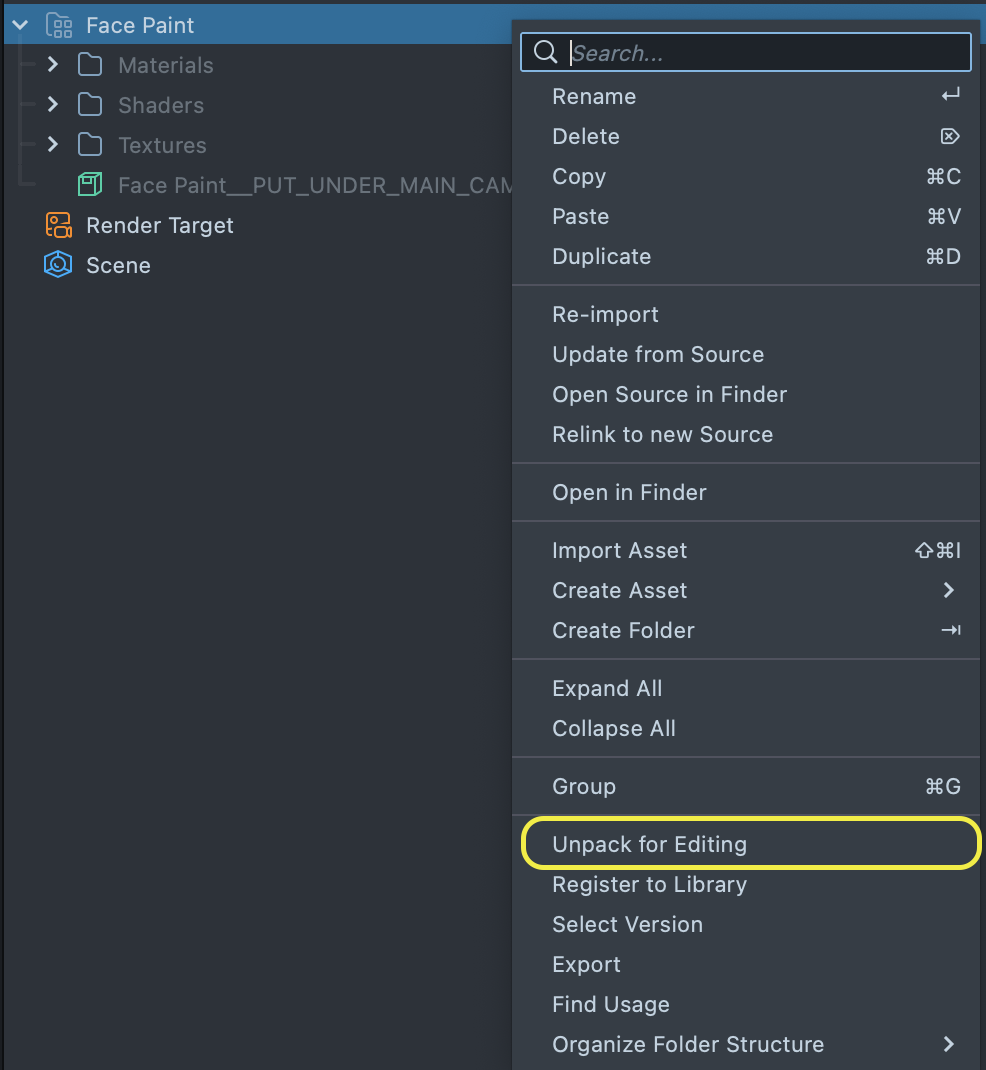
You can right-click and select Unpack for Editing from the drop-down menu to unpack all assets stored in the bundle. Click here to learn more about Asset Packages. Once you unpack the package, you can then edit its content.
Customize Face Paint
Download the Photoshop Template
Using the Photoshop Template
The Photoshop template contains different Artboards to help you create your face paint textures.
Three Artboards are used as a canvas for your textures. You can see how the different Artboards can be used later in this guide.
- Full - this Artboard is mapped to the “Full” face mask in Lens Studio
- Eye - this Artboard is mapped to the “Eye” face mask in Lens Studio
- Lips - this Artboard is mapped to the “Lips” face mask in Lens Studio
The Anchors and Reference layers are used purely for visual reference. Feel free to hide these layers.

To get started, you can create a layer in Photoshop under the Artboard which contains the face section you want to work on and paint on this layer.
When you’re ready to export, select the Artboard you’re working in, and in the menu bar select File > Export > Artboards to Files.

In the Artboard to Files options, choose PNG as the file type if you have transparency, or JPEG if you don’t. Make sure to have Artboard Content Only and Export Selected Artboards checked.

Adding the 2D Texture
Once you've exported your texture(s), you can add them to Lens Studio by dragging and dropping them into the Asset Browser panel.
Using Your Texture
With your texture imported, find the Face Paint Template Source object in the Scene Hierarchy panel. Underneath are multiple Face Mask effect objects that correspond to the available Artboards in the Photoshop template (Eye, Lips and Full). Duplicate the one that corresponds to the texture you created by selecting it in the Scene Hierarchy panel, right clicking and selecting Duplicate. Next, select your new object and in the Inspector panel, set the Texture field to your imported texture.
Additionally, you can change each Face Mask Effect’s Blend Mode and Alpha to adjust the appearance of your texture.
Previewing Your Lens
You're now ready to preview your world Lens experience. To preview your Lens in Snapchat, follow the Pairing to Snapchat guide.